To polish concrete floors, start by evaluating the surface for cracks and imperfections. Gather a concrete grinder, diamond polishing pads, and a vacuum for dust collection. Clean the area thoroughly, then grind using coarse pads for damages, progressing to finer pads for a smooth finish. After grinding, apply a concrete sealer based on your needs to protect and enhance the surface. Regular maintenance includes sweeping and mopping with a pH-neutral cleaner to prevent dullness. For troubleshooting issues like stains or uneven finishes, specific strategies can be implemented. Explore additional techniques to achieve the best results in your polishing project.
Assessing Your Concrete Floors
How can you determine the condition of your concrete floors before polishing? Start with a thorough surface evaluation. Inspect for cracks, chips, and discoloration, as these imperfections can affect your polishing results. Use a moisture meter to check for trapped moisture, which can hinder adhesion and finish. Evaluate the overall Boden condition; a solid foundation is essential for successful polishing. If the surface is uneven, consider grinding it down first. Additionally, take note of previous coatings or sealers, as these may require removal before you proceed. Document your findings to create a clear picture of what needs to be addressed. By accurately evaluating your concrete floors, you'll guarantee a smoother, more effective polishing process, allowing for that desired freedom of a flawless finish.
Besorgen der notwendigen Werkzeuge
Before you start polishing, it's vital to gather all the essential tools and safety gear. You'll need equipment like a concrete grinder, polishing pads, and a vacuum, along with protective eyewear and gloves. Ensuring you have everything ready will streamline the process and enhance your safety.
Erforderliche Werkzeuge
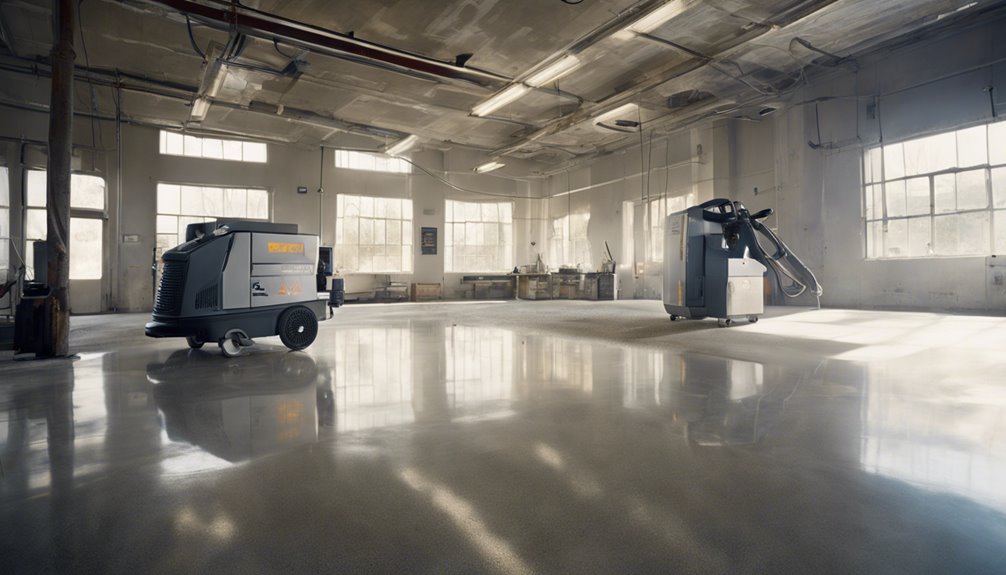
While starting on the task of polishing concrete floors, it's important to gather the right tools to guarantee a smooth and effective process. You'll need a concrete grinder, which comes in various tool types, including handheld and walk-behind models, depending on your project's scale. Diamond polishing pads are vital for achieving the desired shine; choose them based on the concrete's hardness. Don't forget a vacuum for dust collection, ensuring a clean work area. For tool maintenance, regularly check your equipment for wear and tear, changing pads as necessary to maintain efficiency. Having these tools ready not only streamlines your work but also gives you the freedom to focus on achieving a stunning finish.
Safety Gear Needed
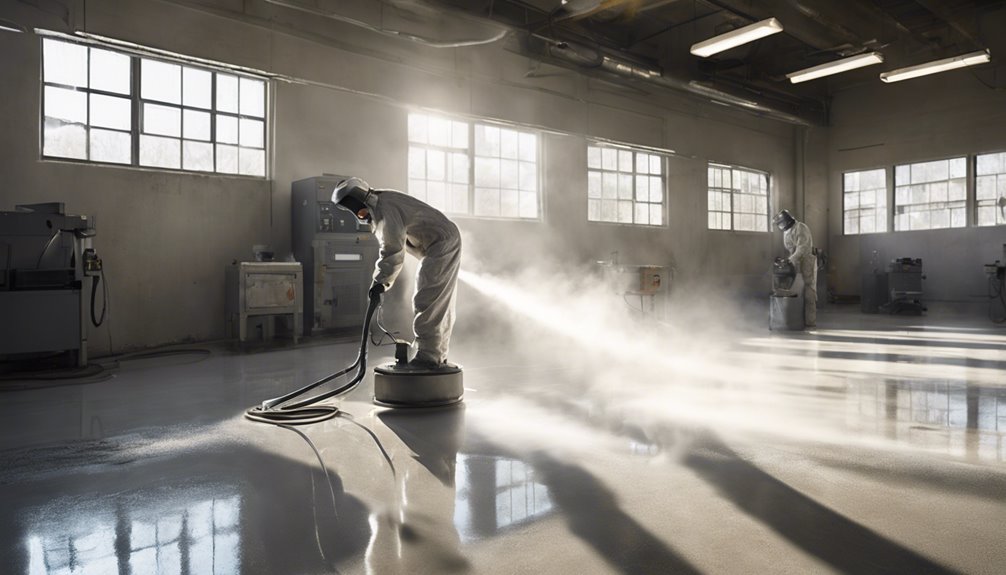
Gathering the necessary tools is just the first step; ensuring your safety during the polishing process is equally important. Start by donning safety goggles to shield your eyes from dust and debris. This protective gear is essential, as tiny particles can easily become airborne while you're working. Next, wear a dust mask to filter out harmful particles, keeping your lungs safe from any harmful inhalants. These masks are vital, especially if you're sensitive to dust or have respiratory issues. Additionally, consider using ear protection to minimize noise exposure from grinding equipment. Finally, durable gloves will protect your hands from sharp tools and chemicals. Prioritizing safety gear not only promotes a secure working environment but also enhances your freedom to work effectively.
Preparing the Surface
Preparing the surface is essential for achieving a high-quality polished concrete floor, and there are several key steps you'll need to follow. Start with thorough surface cleaning to remove dust, dirt, and any contaminants. Use a high-powered vacuum or a floor scrubber to guarantee a clean base. Next, conduct a damage assessment; inspect for cracks, chips, or stains that could affect the final finish. Any imperfections should be repaired with a suitable concrete patching compound. Once repairs are made, allow them to cure completely. Finally, consider using a concrete densifier to enhance the surface's durability before you move on to the grinding phase. Following these steps carefully will set you up for a successful polishing process.
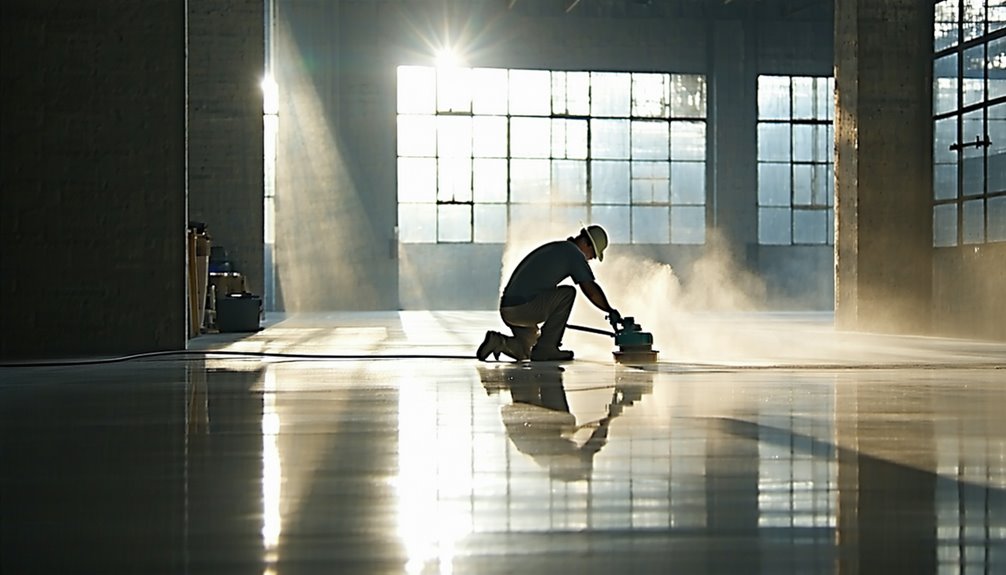
Grinding the Concrete
Grinding the concrete is an essential step that transforms the surface, making it smooth and ready for polishing. This process involves using floor grinding machines equipped with diamond pads to effectively remove imperfections and create a level surface. To guarantee superior results, follow these steps:
- Choose the right grit level of diamond pads for your project.
- Begin with coarse pads to tackle heavy grinding and surface imperfections.
- Progress to finer pads to achieve a smoother finish.
- Regularly check for even grinding across the entire surface.
- Vacuum dust and debris frequently to maintain visibility and prevent scratches.
Polishing Techniques
To achieve a high-quality polished concrete floor, you'll need to follow specific polishing techniques that include thorough surface preparation, a structured grinding process, and effective sealing and finishing methods. Start by ensuring the surface is clean and free of debris to maximize adhesion and results. Then, systematically progress through the grinding and polishing stages to achieve the desired sheen and durability.
Surface Preparation Steps
While achieving a high-gloss finish on concrete floors may seem intimidating, proper surface preparation is essential to the polishing process. Start by guaranteeing the surface is clean and free of contaminants. Follow these steps for effective surface preparation:
- Perform thorough surface cleaning to remove dirt and debris.
- Inspect for any cracks or imperfections needing damage repair.
- Fill in any voids or holes with a suitable concrete patch.
- Allow repairs to cure fully before proceeding.
- Conduct a final inspection to confirm readiness for polishing.
Completing these steps guarantees a solid foundation for polishing, enhancing the overall appearance and durability of your concrete floor. Remember, meticulous preparation leads to stunning results!
Grinding Process Overview
With the surface prepared, the next phase involves the grinding process, which is essential for achieving a polished finish. You'll want to choose the right grinding techniques based on the condition of your concrete. Using high-quality grinding equipment will make a significant difference in efficiency and results.
| Grinding Technique | Equipment Type | Zweck |
|---|---|---|
| Dry Grinding | Angle Grinder | For light surface preparation |
| Wet Grinding | Floor Grinder | Reduces dust and cools surface |
| Polishing Pads | Polisher | Final finish and shine |
Each technique serves a specific purpose and helps you achieve the desired level of smoothness and sheen. Remember, consistency is key to a flawless concrete floor.
Sealing and Finishing Techniques
Once you've achieved a smooth surface through grinding, the next critical step involves sealing and finishing the concrete to enhance its durability and aesthetic appeal. You have several options for sealer types and finishing methods that can notably impact the final look of your floors.
Consider the following:
- Acrylic Sealers: Provide a glossy finish and are easy to apply.
- Epoxy Sealers: Offer a durable, chemical-resistant surface.
- Polyurethane Sealers: Great for high-traffic areas due to their toughness.
- Penetrating Sealers: Protect against stains while maintaining a natural look.
- Burnished Finishes: Create a reflective surface for a polished appearance.
Choose the combination that best suits your needs and enjoy your newly polished concrete!
Applying Concrete Sealer
Applying a concrete sealer is essential to protect your polished floors from stains, moisture, and wear. Start by selecting the right sealer type for your needs, such as penetrating, topical, or epoxy sealers. Each type offers different levels of protection and aesthetics, so choose wisely. Before application, verify the floor is clean and dry. For the application methods, you can use a roller, sprayer, or brush, depending on the sealer type and your comfort level. Apply the sealer evenly, working from one end of the room to the other, and avoid pooling. Allow sufficient drying time as recommended by the manufacturer, and consider applying a second coat for enhanced durability. This step will guarantee your polished concrete remains vibrant and long-lasting.
Wartungstipps
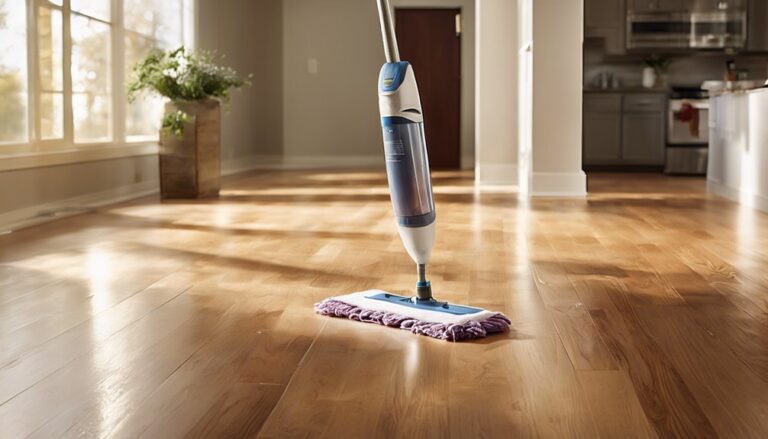
Maintaining polished concrete floors is essential for preserving their appearance and longevity after sealing. To guarantee your floors stay in top shape, establish a consistent upkeep schedule and use appropriate cleaning methods. Here are some maintenance tips to follow:
- Sweep regularly to remove dirt and debris.
- Mop with a pH-neutral cleaner to avoid damaging the surface.
- Avoid harsh chemicals that can dull the shine.
- Use felt pads under furniture to prevent scratches.
- Seal annually to protect against stains and wear.
Troubleshooting Common Issues
While polished concrete floors are known for their durability and aesthetic appeal, issues can occasionally arise that may require attention. Identifying common mistakes is essential for effective troubleshooting techniques. Here's a table to help you diagnose and address typical problems:
| Issue | Common Causes | Lösungen |
|---|---|---|
| Dull Appearance | Poor maintenance | Regular polishing routine |
| Cracks | Improper curing | Fill with epoxy or resin |
| Stains | Spills left untreated | Immediate cleaning |
| Uneven Finish | Inconsistent grinding | Re-grind affected areas |
Enhancing Aesthetics With Color
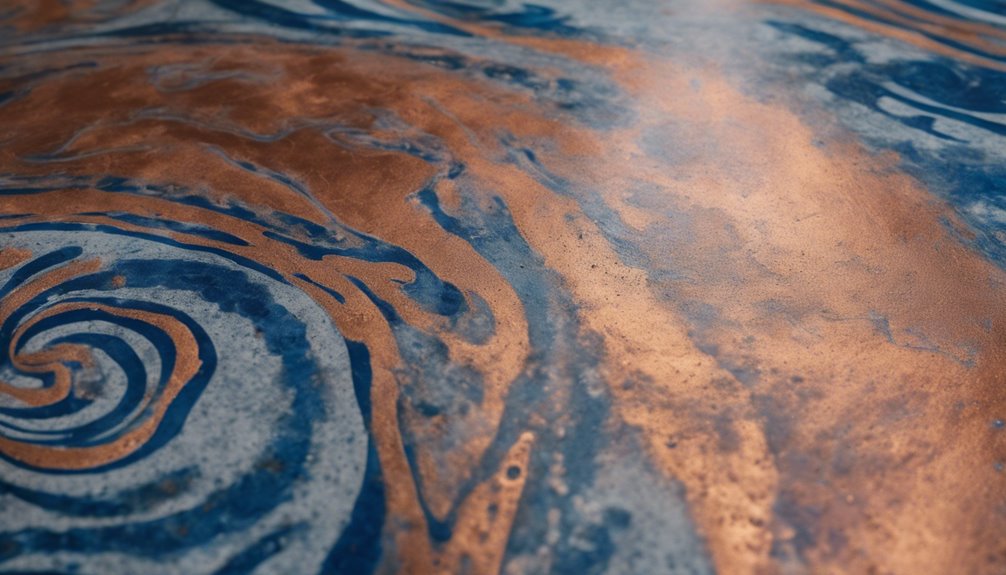
After addressing common issues with polished concrete floors, enhancing their aesthetic appeal through color can greatly elevate the overall design of a space. You can achieve stunning results through careful color selection and dye application. Here are some tips to take into account:
- Choose the Right Dye: Water-based or solvent-based dyes can yield different effects.
- Test Colors: Always test on a small area to see how the color reacts with your concrete.
- Reflect on the Space: Lighter colors can make a room feel larger, while darker tones add warmth.
- Mix Colors: Blend different dyes for a unique, customized look.
- Seal After Dyeing: Use a good sealer to protect the color and enhance its vibrancy.
Häufig gestellte Fragen
How Long Does It Take to Polish Concrete Floors?
Think of polishing concrete like preparing a gourmet dish; the prep time can make all the difference. Generally, polishing timeframes depend on the size and condition of the area. For a typical residential floor, expect around 1-3 days, including concrete preparation. If you've got extensive damage or need multiple grit levels, it might take longer. Always factor in drying time and any additional coatings, as they can extend the overall process.
Can I Polish Outdoor Concrete Surfaces?
Yes, you can polish outdoor concrete surfaces, but you need to guarantee proper surface preparation first. Start by cleaning the area thoroughly to remove dirt and debris. Then, check for any cracks or imperfections that might need repair. For outdoor polishing, choose a suitable diamond grinding tool designed for exterior use. This'll help you achieve a smooth, durable finish that can withstand the elements while enhancing the aesthetic appeal of your outdoor space.
Is Professional Help Necessary for Polishing?
Polishing concrete is like crafting a fine piece of furniture; it requires precision and skill. While you can use DIY techniques to achieve decent results, professional services may provide a flawless finish. If you're comfortable with tools and have time, go the DIY route. However, for complex projects or larger areas, hiring professionals might save you time and assure a quality outcome. Weigh your options carefully before deciding which path to take.
What Are the Costs Associated With Polishing Concrete Floors?
When considering the costs associated with polishing concrete floors, you'll need to evaluate several cost factors. These include the size of the area, the level of finish desired, and whether you're hiring professionals or doing it yourself. Budget considerations also play an essential role; tools and materials can add up quickly. Researching various options can help you make informed decisions, ensuring you stay within your financial limits while achieving the desired look.
Are There Specific Safety Gear Requirements for This Process?
When you're working with concrete, safety gear's essential. You'll need to wear safety goggles to protect your eyes from dust and debris. A dust mask is also critical to prevent inhaling harmful particles that can be released during the process. Don't overlook the importance of sturdy gloves and appropriate footwear to safeguard against slipping or injuries. By equipping yourself properly, you can enjoy the freedom to focus on your work without unnecessary risks.