To patch a concrete floor, first clean the damaged area thoroughly, removing loose debris and dust to guarantee proper bonding. Next, mix the concrete patch as per instructions, achieving a workable consistency, then firmly apply it into the damage using a trowel. Finally, smooth the surface to match the surrounding area and cover it to cure properly, avoiding traffic for at least 24 hours. Following these steps guarantees a durable repair. For detailed techniques and tips, keep exploring the process.
Preparing the Damaged Area

Before you begin patching, thoroughly clean the damaged area to remove all loose debris, dust, and dirt. Start by evaluating damage carefully—identify cracks, chips, or spalling that need repair. Use a wire brush or scraper to dislodge any loose concrete or particles. Vacuum or blow away remaining dust to guarantee a clean surface. This step is essential because any residual debris can compromise patch adhesion and longevity. Pay close attention to edges of the damaged zone; these should be solid and stable. If necessary, widen the repair area slightly to expose sound concrete, facilitating better bonding. Properly preparing the damaged area by evaluating damage and cleaning debris gives you control over the repair’s success, allowing you to restore your Boden efficiently and maintain your freedom to move without constraints.
Mixing and Applying the Concrete Patch
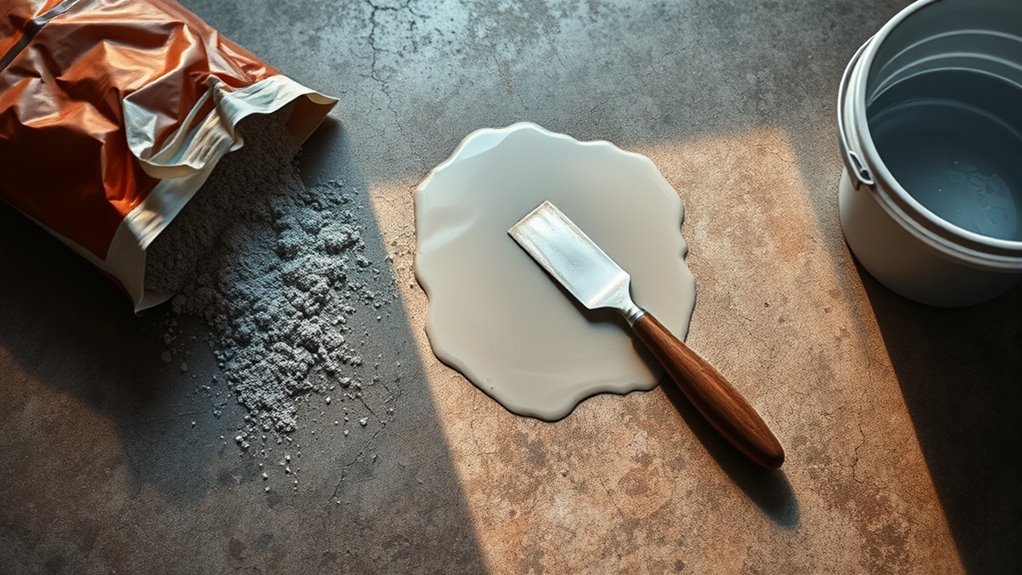
Mix the concrete patch according to the manufacturer’s instructions, making sure you achieve a consistent, workable texture that isn’t too runny or dry. Use proper mixing techniques by gradually adding water to the dry mix while stirring continuously to avoid lumps and maintain uniformity. Once mixed, apply the patch promptly to prevent premature setting. For application, press the patch firmly into the damaged area using a trowel, making sure full adhesion and eliminating air pockets. Smooth the surface to match the surrounding floor level. Application tips include working in manageable sections and keeping edges clean for a seamless repair. By following these precise mixing techniques and application tips, you’ll regain control over the repair process and guarantee a durable, professional-quality patch that restores your concrete floor’s integrity.
Finishing and Curing the Repair
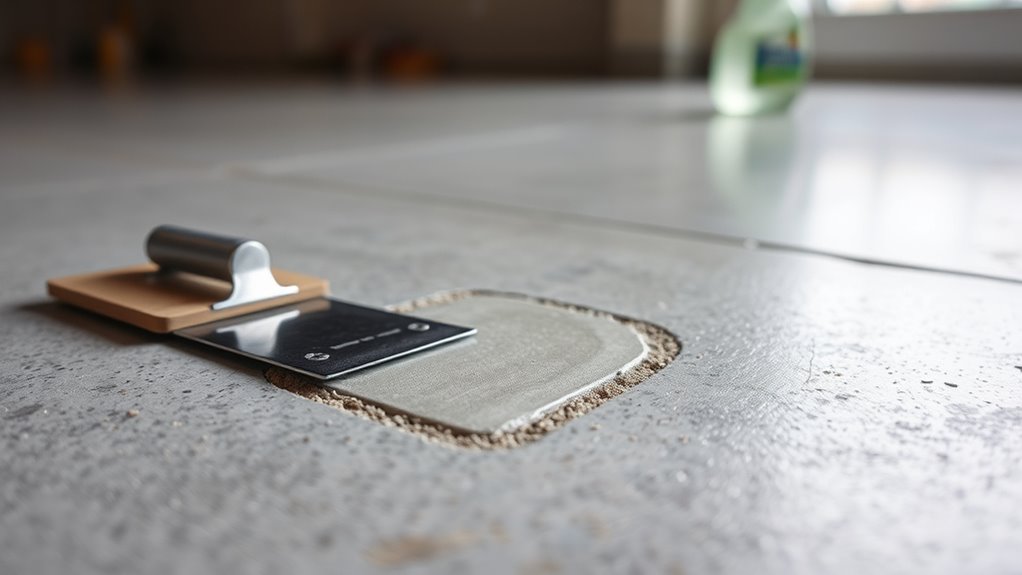
Once you’ve applied the patch, you’ll need to finish and cure it properly to guarantee maximum strength and durability. Start by smoothing the surface with a trowel or float, ensuring no air pockets or unevenness remain. This step is essential for a seamless repair that blends with the surrounding floor. Next, control the drying time by protecting the patch from rapid moisture loss—cover it with plastic sheeting or damp burlap for at least 24 to 48 hours. Avoid heavy foot traffic during this period to prevent surface damage. Proper curing locks in moisture, allowing the concrete to set and gain strength. Following these precise finishing and curing steps will grant your repair the freedom to withstand daily use without premature cracking or failure.