To lay plank flooring, first prepare a clean, level subfloor free of debris and damage. Acclimate your planks in the room for 48–72 hours under controlled humidity and temperature. Start by installing the first row snug against the wall using spacers, guaranteeing perfect alignment. Measure and cut planks precisely for each row, and secure them following manufacturer instructions. Finish with the final row and trim to cover gaps. Careful execution here guarantees durability and appearance. Learn the detailed steps and tips that make a lasting installation.
Benötigte Werkzeuge und Materialien
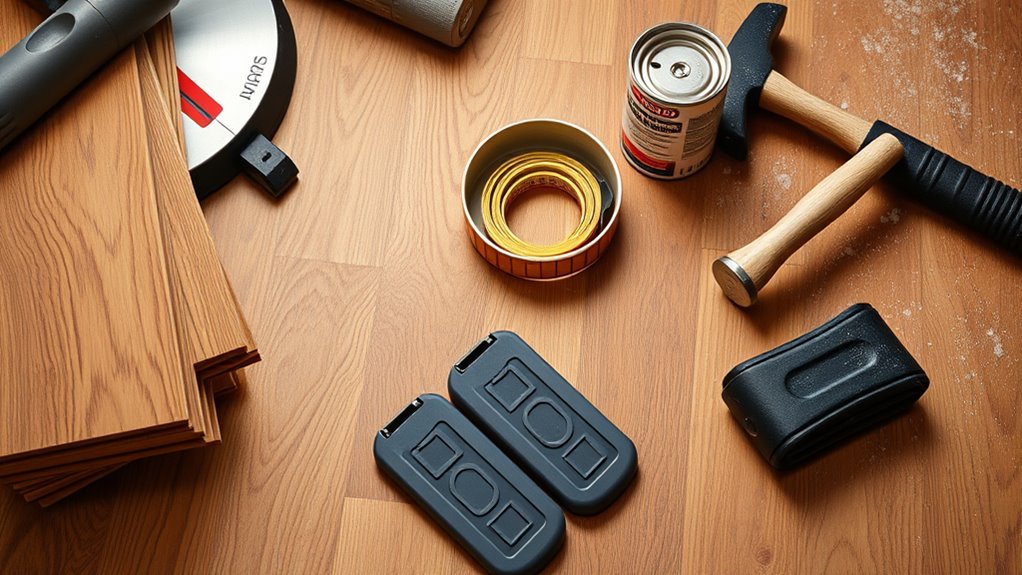
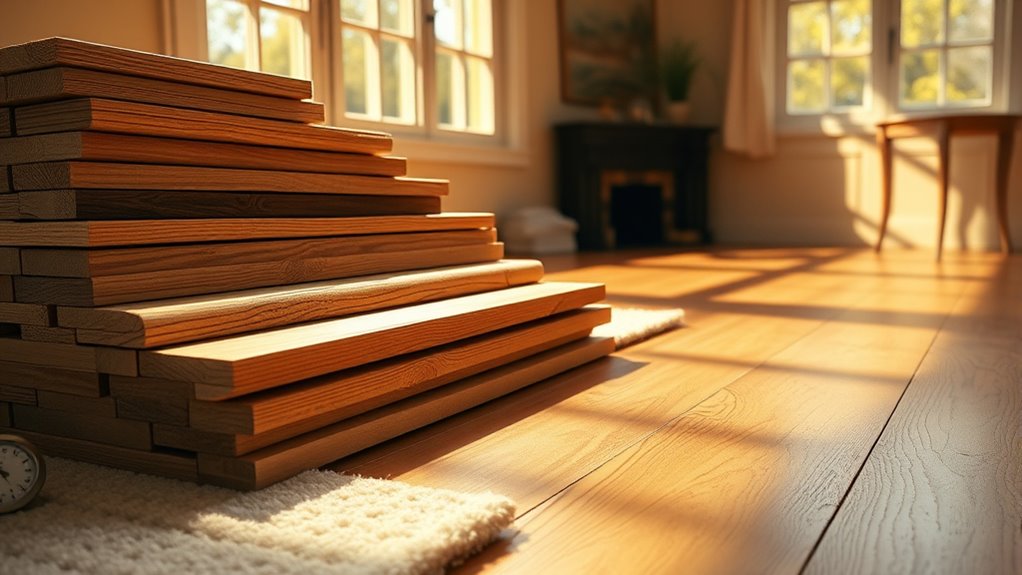
Before you begin laying plank Bodenbelag, you’ll need to gather specific tools and materials to guarantee a smooth installation. First, choose your plank types—solid hardwood, engineered wood, or laminate—based on durability and aesthetic preference. Each plank type may require different installation methods, such as glue-down, nail-down, or floating. Essential tools include a tape measure, chalk line, rubber mallet, tapping block, and spacers to maintain expansion gaps. You’ll also need a saw appropriate for cutting the planks to size, such as a miter or circular saw. For floating installations, an underlayment is necessary to provide moisture protection and sound absorption. Having these precise tools and materials ready assures your flooring project proceeds efficiently and with professional results.
Vorbereitung des Unterbodens
Before installing plank flooring, you need to thoroughly clean and level the subfloor to guarantee a stable base. Any debris, bumps, or dips can compromise the flooring’s integrity and appearance. After leveling, apply a moisture barrier to protect against water damage and prolong the life of your flooring.
Cleaning and Leveling
Three essential steps guarantee your subfloor is ready for plank flooring: thorough cleaning, inspection, and leveling. Begin with effective cleaning techniques—vacuum debris, sweep dust, and remove adhesive residues to ascertain a contaminant-free surface. Pay special attention to corners and edges where dirt accumulates. Next, inspect the subfloor meticulously for cracks, nails, or loose boards that could disrupt flooring stability. For leveling methods, use a straightedge to identify uneven areas exceeding 3/16 inch over 10 feet. Apply a self-leveling compound on concrete or patch wood subfloors with a leveling compound for plywood surfaces. Sand high spots and fill low spots to achieve a flat, smooth base. Proper cleaning and leveling secure a flawless foundation, guaranteeing your plank flooring installs smoothly and lasts longer without warping or gaps.
Moisture Barrier Installation
Since moisture can severely damage plank flooring, installing an effective moisture barrier is crucial to protect your subfloor and prolong the lifespan of your installation. Begin by selecting the appropriate vapor barrier type based on your subfloor material—polyethylene sheets work well for concrete, while specialized underlayment films suit wooden subfloors. Unroll the barrier smoothly, overlapping seams by at least 6 inches to guarantee complete coverage. Secure the barrier with moisture prevention techniques such as taping seams and sealing edges to prevent vapor intrusion. Avoid puncturing the barrier during installation by using non-invasive fasteners or weights. Proper moisture barrier installation minimizes risks of warping, mold, and structural damage, giving you the freedom to enjoy durable, long-lasting plank flooring without unexpected setbacks.
Acclimating the Flooring Planks
Before installation, you need to acclimate your flooring planks to prevent expansion or contraction after laying. Place the planks in the installation area for 48 to 72 hours under controlled temperature and humidity—ideally 60–80°F and 35–55% relative humidity. This step guarantees dimensional stability and a proper fit once installed.
Bedeutung der Akklimatisierung
Although it might seem like an extra step, acclimating your flooring planks is crucial to prevent warping or gaps after installation. The acclimation process allows the wood to adjust to the humidity effects of your specific environment, stabilizing its moisture content. Without this adjustment, planks may expand or contract unpredictably, compromising the floor’s integrity and appearance. By controlling moisture levels during acclimation, you make certain the planks reach equilibrium with the room’s conditions. This reduces stress within the material once installed, preserving the floor’s structural stability and aesthetic. Skipping this step limits your flooring’s durability and could lead to costly repairs. Taking the time to acclimate your planks grants you freedom from future issues and ensures a professional, long-lasting finish.
Ideal Acclimation Conditions
To acclimate your flooring planks properly, you need to control specific environmental factors that affect moisture balance. Maintaining stable humidity levels and a consistent temperature range is essential to prevent expansion or contraction after installation. Aim for humidity between 30% and 50% and a temperature range of 60°F to 80°F (15°C to 27°C). This balance allows the wood to adjust naturally to your home’s conditions.
| Faktor | Ideal Range |
|---|---|
| Humidity Levels | 30% – 50% |
| Temperature Range | 60°F – 80°F (15°C – 27°C) |
| Acclimation Time | 48 – 72 hours |
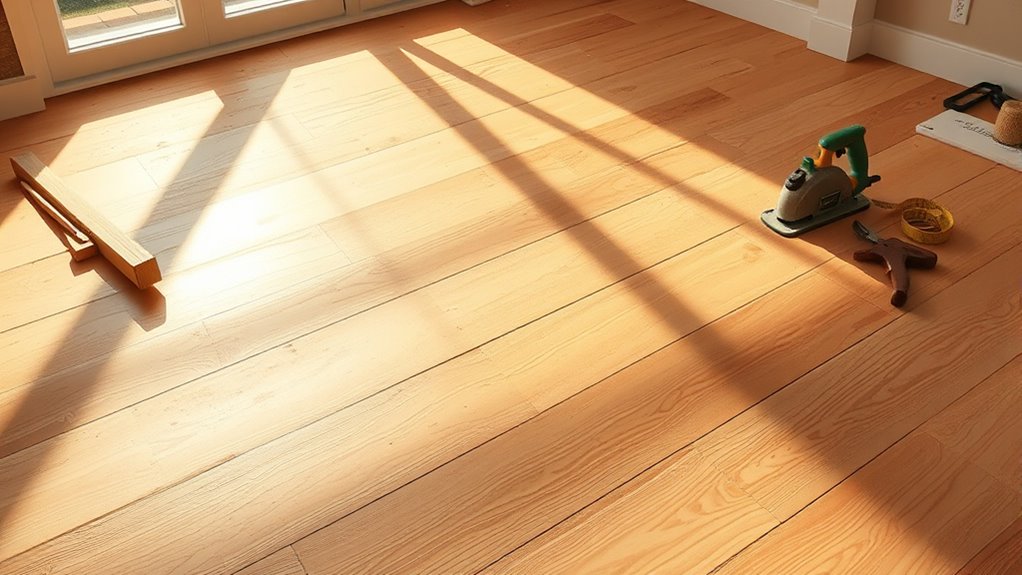
Planning Your Layout
Since plank flooring installation depends heavily on an accurate layout, you’ll need to carefully measure the room and determine the direction of the planks to secure a balanced, professional appearance. Begin by evaluating plank orientation: laying planks parallel to the longest wall or main light source enhances visual flow and room spaciousness. Next, explore layout patterns such as straight, diagonal, or staggered to suit your aesthetic and structural needs. Accurate measurements guarantee plank cuts are minimized, preventing uneven edges or narrow planks at walls. Mark reference lines with a chalk line to maintain alignment throughout installation. Planning your layout precisely will free you from costly mistakes and guarantee the flooring complements the room’s dimensions and style, giving you control over the final look before you start installing.
Installing the First Row
With your layout finalized and reference lines in place, you’re ready to install the first row of planks. Begin by positioning the first plank snugly against the wall, using spacers to maintain expansion gaps. Ensuring perfect plank alignment is critical here—any deviation will amplify along the floor. Secure each plank firmly, checking alignment continuously. The first row sets your pace and precision, so take your time.
| Schritt | Emotion |
|---|---|
| Position plank | Confidence |
| Maintain gap | Control |
| Align planks | Freedom to create |
| Secure plank | Zufriedenheit |
Cutting Planks to Fit
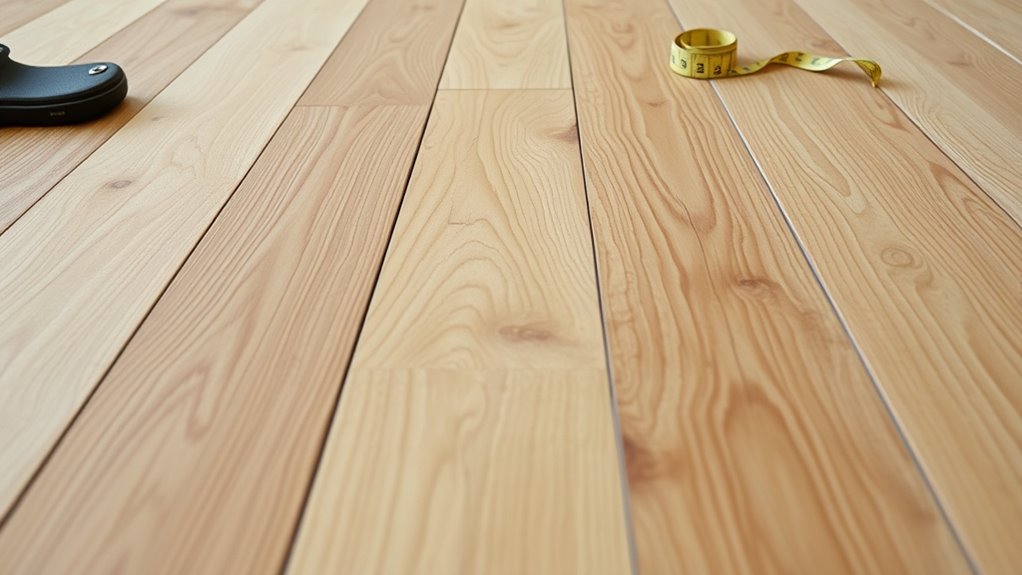
Several precise cuts will be necessary to assure your planks fit perfectly along walls and obstacles. Start by taking accurate plank measurements, accounting for expansion gaps recommended by the manufacturer. Use a tape measure and mark your cuts clearly on the plank’s surface. Employ appropriate cutting techniques: a miter saw or circular saw is ideal for straight cuts, while a jigsaw handles curves or notches around pipes. Always cut with the decorative face down to minimize splintering. When measuring irregular spaces, transfer dimensions onto the plank using a template or cardboard mock-up to assure accuracy. Double-check your measurements before cutting to avoid waste. Mastering these cutting techniques preserves material integrity and assures your flooring fits seamlessly, giving you the freedom to achieve a professional finish with confidence.
Securing the Flooring
After cutting your planks to fit accurately, the next step is to secure them firmly in place. Begin by applying a suitable flooring adhesive evenly on the subfloor, guaranteeing full coverage to prevent gaps that could cause movement. Align each plank precisely, maintaining consistent plank alignment to avoid uneven surfaces or gaps. Press down firmly to bond the plank with the adhesive, using a roller if necessary to enhance adhesion. In tongue-and-groove systems, interlock planks carefully, checking that alignment remains true throughout the process. Avoid shifting planks after placement to ascertain the adhesive sets properly. Securing the flooring correctly provides stability and durability, allowing your floor to withstand daily use without compromising its structure or appearance.
Installing the Final Row
Though it can be challenging, installing the final row of plank flooring requires careful measurement and trimming to guarantee a snug fit. Start by measuring the distance between the last secured row and the wall, subtracting the required expansion gap—typically 1/4 inch—to allow for natural wood movement. Transfer this measurement to your planks, marking precise cut lines for the final plank placement. Use a utility knife or saw to trim each plank accurately. Because these pieces must fit tightly without forcing, use a pull bar to position the last row firmly against the previous one while maintaining the expansion gap along the wall. Ensuring this gap prevents buckling and preserves your floor’s integrity, giving you a professional finish and the freedom to enjoy your newly installed flooring without worry.
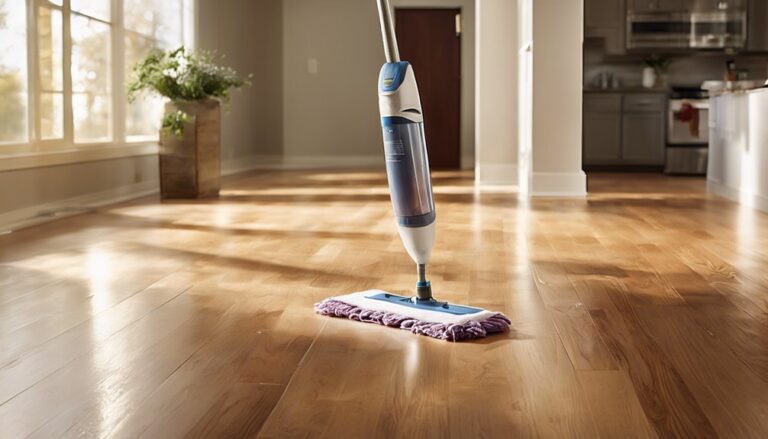
Finishing Touches and Cleanup
Once you’ve secured the final row, you’ll need to focus on finishing touches and cleanup to guarantee your plank flooring looks flawless and functions properly. Begin by installing baseboards or quarter rounds to conceal expansion gaps, ensuring a seamless connection between floor and wall. Use a nailer or adhesive for secure attachment, maintaining uniform spacing. Next, inspect for any minor gaps or imperfections; apply wood filler matching your plank color if necessary. For cleanup, start with thorough vacuuming to remove dust and debris. Follow with a damp mop using manufacturer-recommended cleaners to avoid damage. Avoid excessive water to prevent warping. These cleanup tips help preserve your flooring’s durability and appearance. By executing these finishing touches and cleanup steps precisely, you’ll enjoy a professional-looking, long-lasting plank floor.