To install vinyl tile flooring in 10 easy steps, start by gathering your materials and tools, then prepare and clean the subfloor thoroughly. Measure the area and plan your tile layout carefully. Next, apply adhesive evenly, cut tiles to fit edges, and press each tile firmly into place. Use a floor roller to secure adhesion, then let the floor set undisturbed for at least 24 hours. Follow these basics, and you’ll guarantee a smooth, long-lasting finish—keep going to explore more tips and tricks.
Gather Your Materials and Tools
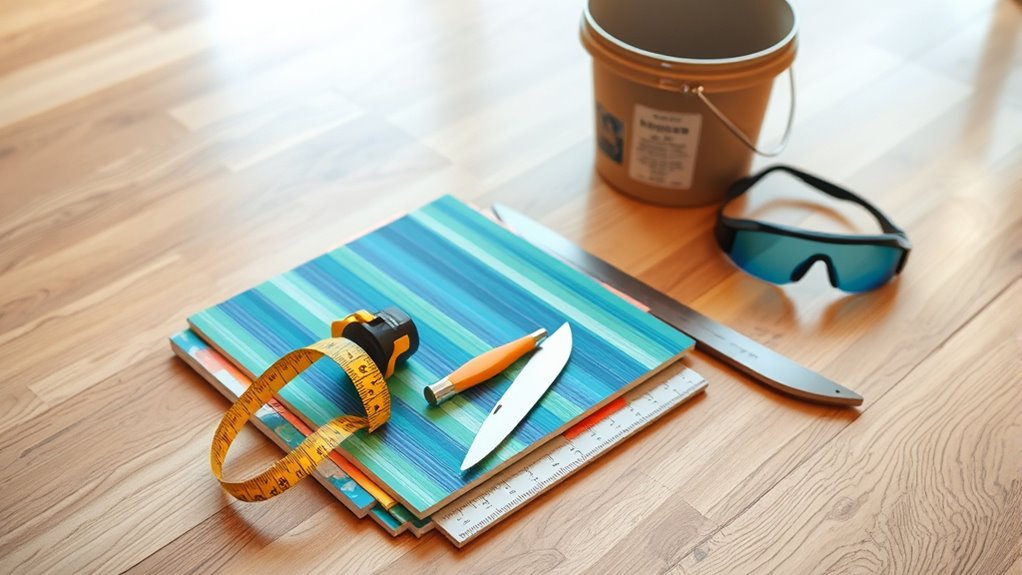
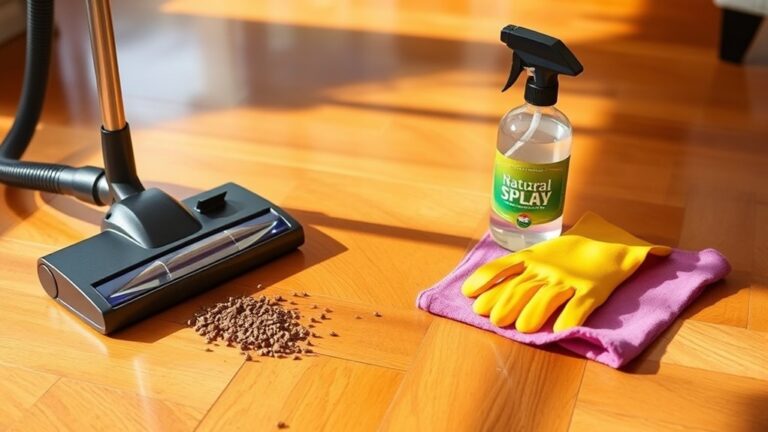
Before you begin installing vinyl tile Bodenbelag, you’ll need to gather all the necessary materials and tools to guarantee a smooth process. Start by choosing the right vinyl tile types for your space—options range from peel-and-stick to luxury vinyl planks. Each offers unique flooring benefits like durability, water resistance, and easy maintenance, perfect for a hassle-free lifestyle. You’ll also need a utility knife for cutting tiles, a tape measure for accuracy, a straightedge, and a chalk line to keep your layout straight. Don’t forget a roller to press tiles firmly into place and adhesive if your tiles require it. Having these tools and materials ready assures your installation goes quickly and efficiently, letting you enjoy your new floor with minimal stress and maximum freedom.
Prepare the Subfloor Surface
Since a smooth, clean subfloor is essential for vinyl tile installation, you’ll want to thoroughly prepare the surface beforehand. Start by identifying your subfloor type—whether it’s plywood, concrete, or existing vinyl. Each requires different prep steps. For plywood, make certain it’s sturdy and sand down any rough spots. Concrete needs to be level and free of cracks. Moisture control is critical; test for dampness using a moisture meter. If moisture is present, apply a vapor barrier or moisture sealer to prevent damage to your vinyl tiles. Clean the entire area, removing dust, debris, and grease. This prep work guarantees your vinyl tiles will adhere properly, last longer, and give you the freedom to enjoy a flawless, durable floor.
Measure and Plan Your Layout
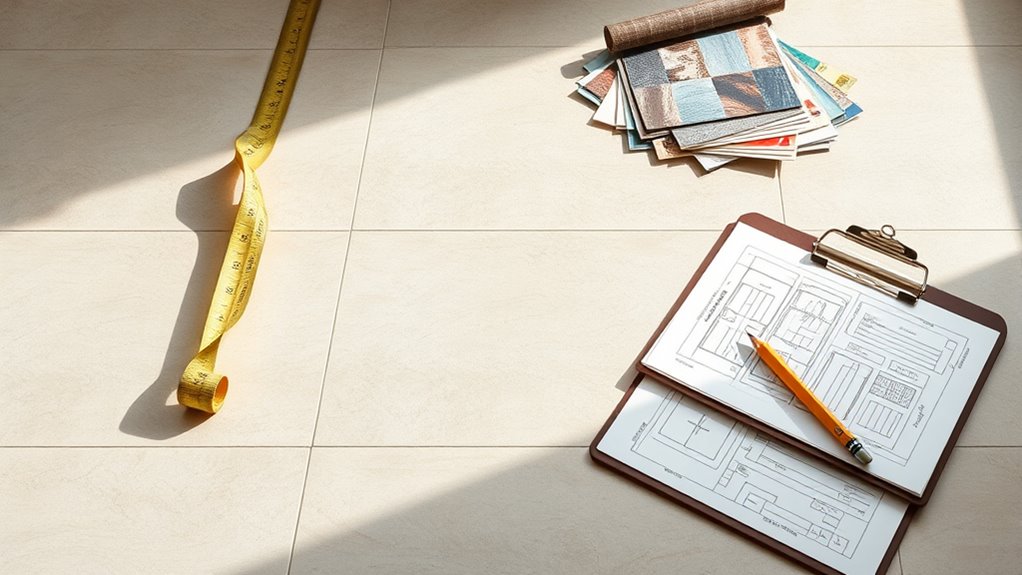
One of the most important steps in installing vinyl tile flooring is measuring and planning your layout carefully. Accurate measuring techniques and thoughtful layout planning guarantee your tiles fit perfectly and look balanced. Here’s how to get started:
Careful measuring and layout planning ensure your vinyl tiles fit perfectly and create a balanced, professional look.
- Measure the length and width of the room using a tape measure, noting any irregularities.
- Calculate the total square footage to estimate the number of tiles needed.
- Snap chalk lines at the room’s center to create a grid, helping you align tiles symmetrically.
- Plan the tile placement starting from the center, working outward to avoid awkward cuts along walls.
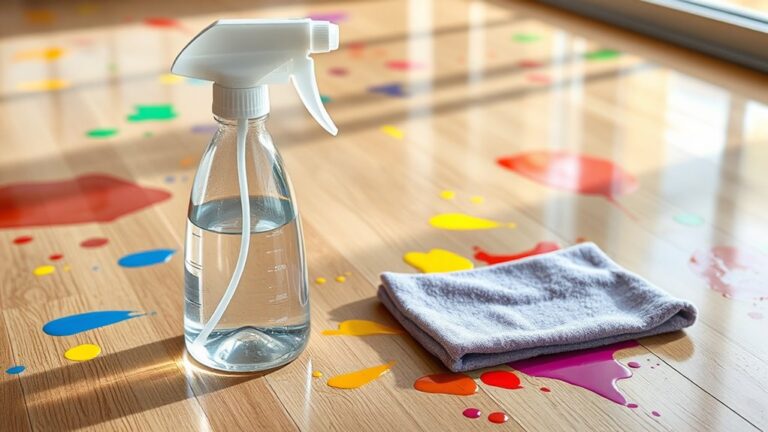
Clean and Dry the Subfloor
Before you lay down any vinyl tiles, make certain to remove all debris from the subfloor, including dust, dirt, and old adhesive. You’ll also want to verify that the surface is completely dry to prevent moisture issues later on. Taking these steps guarantees a smooth, long-lasting installation.
Remove Debris Thoroughly
Clear away all dust, dirt, and loose debris from the subfloor to guarantee a smooth surface for your vinyl tile installation. Different debris types—like sawdust, small stones, and dried adhesive—can interfere with tile adhesion, so effective removal techniques are vital. Start by:
- Sweeping the floor thoroughly to pick up loose particles.
- Using a vacuum to reach corners and crevices where dust settles.
- Scraping off any stuck-on residue with a putty knife.
- Wiping the surface with a damp cloth to catch fine dust and let it air dry.
These steps guarantee your subfloor is clean and ready, giving your vinyl tiles the best chance to stick well and last longer. Taking time here saves you from issues later and sets you free to enjoy your new floor confidently.
Ensure Complete Dryness
Although you’ve removed all visible debris, it’s vital to make sure your subfloor is completely dry before installing vinyl tiles. Moisture control is essential to prevent warping, mold, or adhesive failure. Start by checking for damp spots with a moisture meter or by taping a plastic sheet over the floor for 24 hours; if condensation forms underneath, the subfloor isn’t dry enough. Use drying techniques like increasing ventilation, running fans, or a dehumidifier to speed up the process. If possible, allow the subfloor to air out naturally for several days after cleaning. Remember, rushing this step limits your flooring’s lifespan and freedom to enjoy your space without issues. Ensuring complete dryness sets a solid foundation for a smooth, long-lasting vinyl tile installation.
Apply Adhesive to the Floor

Before you start, make certain to pick an adhesive that’s compatible with your vinyl tiles and subfloor type. Apply the adhesive evenly using a notched trowel to guarantee strong, consistent bonding. Taking your time here will help prevent bumps or gaps under the tiles.
Choosing the Right Adhesive
Since the type of adhesive you choose directly affects the durability and appearance of your vinyl tile flooring, it’s important to pick one suited for your specific subfloor and room conditions. When choosing adhesive, consider these key adhesive types:
- Pressure-sensitive adhesive – great for flexibility and easy tile replacement.
- Acrylic adhesive – ideal for high-moisture areas like kitchens and bathrooms.
- Epoxy adhesive – offers strong bonding for commercial spaces or heavy traffic.
- Water-based adhesive – eco-friendly and easy to clean up but better for dry areas.
Choosing adhesive means matching its properties with your room’s environment and subfloor type. This guarantees your vinyl tiles stay secure, look great, and give you the freedom to enjoy your space without worry.
Even Adhesive Application
Once you’ve picked the right adhesive for your vinyl tile flooring, the next step is applying it evenly across the subfloor. Different adhesive types, such as pressure-sensitive or wet-set, require specific application techniques. Use a notched trowel to spread the adhesive uniformly, keeping the notches consistent to guarantee the right thickness. Work in manageable sections to prevent the adhesive from drying out before you place the tiles. Avoid puddling or thin spots, as uneven adhesive can cause tiles to lift or shift. Maintain steady pressure and smooth strokes for an even coat. Proper application not only secures your tiles but also gives you the freedom to walk and arrange confidently, knowing your floor will stay flawless and durable over time.
Start Laying the Tiles From the Center
To achieve a balanced and professional look, you’ll want to start laying your vinyl tiles from the center of the room. Begin by using center point measurement to find the exact middle of your floor. This guarantees symmetry and helps with tile alignment techniques later on.
Follow these steps:
- Snap chalk lines intersecting at the center point.
- Align your first tile precisely at this intersection.
- Lay tiles outward along the chalk lines, maintaining straight rows.
- Regularly check alignment to keep tiles perfectly straight and even.
Starting from the center gives you freedom to work toward walls evenly, avoiding awkward gaps. This method creates a visually appealing floor, making your vinyl tile project feel polished and effortless.
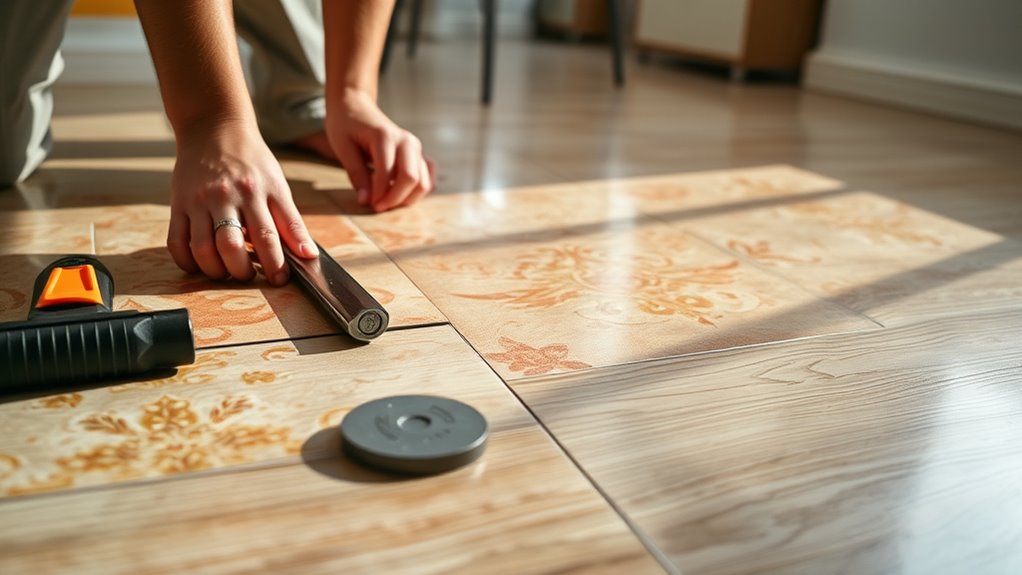
Cut Tiles to Fit Edges and Corners
After laying tiles from the center and moving outward, you’ll reach the edges and corners where full tiles won’t fit. At this point, precise cutting techniques become essential for clean corner fitting. Measure the gap carefully, mark the tile, and use a utility knife or vinyl cutter to score and snap the tile along the lines.
| Schritt | Benötigtes Werkzeug | Tipp |
|---|---|---|
| Measure space | Bandmaß | Double-check dimensions |
| Mark tile | Pencil | Use a straight edge |
| Score tile | Universalmesser | Score multiple times gently |
| Snap tile | Hands or pliers | Snap cleanly along scored line |
This approach guarantees your vinyl tile flooring fits snugly at edges and corners, giving your space a professional finish and freedom from gaps.
Press Tiles Firmly Into Place
Press each vinyl tile firmly into place to secure a strong bond with the adhesive beneath. Applying consistent tile pressure guarantees that no air pockets form, which could weaken the hold. Pay close attention to tile alignment, as misaligned tiles can disrupt the floor’s seamless look and cause uneven wear. To do this effectively:
Firmly press each vinyl tile to ensure strong adhesion and perfect alignment for a smooth, durable floor finish.
- Place the tile gently on the adhesive, aligning it with adjacent tiles.
- Apply firm, even pressure across the entire surface using your hands or a flat tool.
- Check for any gaps or lifted edges and press down again if needed.
- Repeat the process systematically, maintaining tile alignment throughout the room.
This careful approach frees you from worries about loose tiles, offering a durable, clean finish.
Roll the Floor for Proper Adhesion
Grab a floor roller to assure your vinyl tiles bond securely to the adhesive. Rolling the floor evenly assures the vinyl flooring adheres well, preventing bubbles and lifting. Depending on the adhesive types you used—pressure-sensitive or wet-set—rolling helps activate and spread the glue evenly beneath the tiles. Apply steady pressure, rolling in multiple directions for full coverage. Here’s a quick guide to rolling pressure based on adhesive and tile thickness:
| Adhesive Type | Recommended Pressure (lbs) |
|---|---|
| Pressure-sensitive | 50 |
| Wet-set | 75 |
| Thin vinyl tiles | 40 |
| Thick vinyl tiles | 60 |
| General recommendation | 50-75 |
This method locks your vinyl flooring into place, giving you a flawless, durable finish you can trust.
Allow the Floor to Set Before Use
While it might be tempting to walk on your new vinyl tile flooring right away, you’ll want to give it ample time to set properly. The floor curing process is essential for durability and adhesion. To guarantee your flooring lasts and performs well, follow these traffic restrictions:
Give your new vinyl flooring time to set for lasting durability and strong adhesion.
- Avoid walking on the floor for at least 24 hours after installation.
- Keep heavy furniture and appliances off the floor for 72 hours.
- Maintain a controlled room temperature and humidity to aid curing.
- Use protective pads if you must move light objects during this period.