Are you ready to transform your bathroom space and elevate its functionality and style? Installing a shower base on a concrete floor might seem daunting, but with the right guidance, you can accomplish this task with confidence.
Whether you’re upgrading your existing bathroom or building a new one, knowing how to install a shower base correctly is crucial. This guide will walk you through the process step-by-step, ensuring a sturdy and leak-proof foundation for your shower. Imagine stepping into a beautifully finished shower, knowing you had a hand in its creation.
Let’s dive in and get started on this rewarding DIY project that promises to enhance both your skills and your home.
Benötigte Werkzeuge und Materialien
Gather all the necessary Werkzeuge und Materialien before starting. You will need a shower base and a tape measure. Use a Ebene to check evenness. A pencil will help mark areas. Don’t forget a drill for holes. A saw is useful for cutting. Keep a bucket nearby for water. You will need a spirit level too.
Get concrete mix for the floor. Use a trowel to spread it. Grab some shims for adjustments. A caulking gun and sealant are necessary. Have some Sandpapier ready to smooth edges. Ensure you have a Schraubendreher for screws. Safety gear is important too. Wear gloves and goggles.

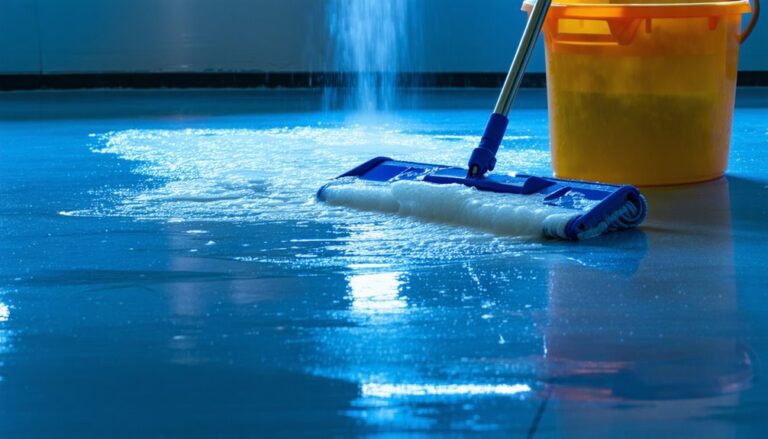
Preparing The Concrete Floor
Start by sweeping away all dirt and dust. Use a broom or a vacuum. Mop the floor with water to remove sticky spots. Make sure the surface is dry before moving on.
Place a long level tool on the floor. This will help you see if the floor is even. Mark any spots where the floor is not level. You might need to fix these spots later.
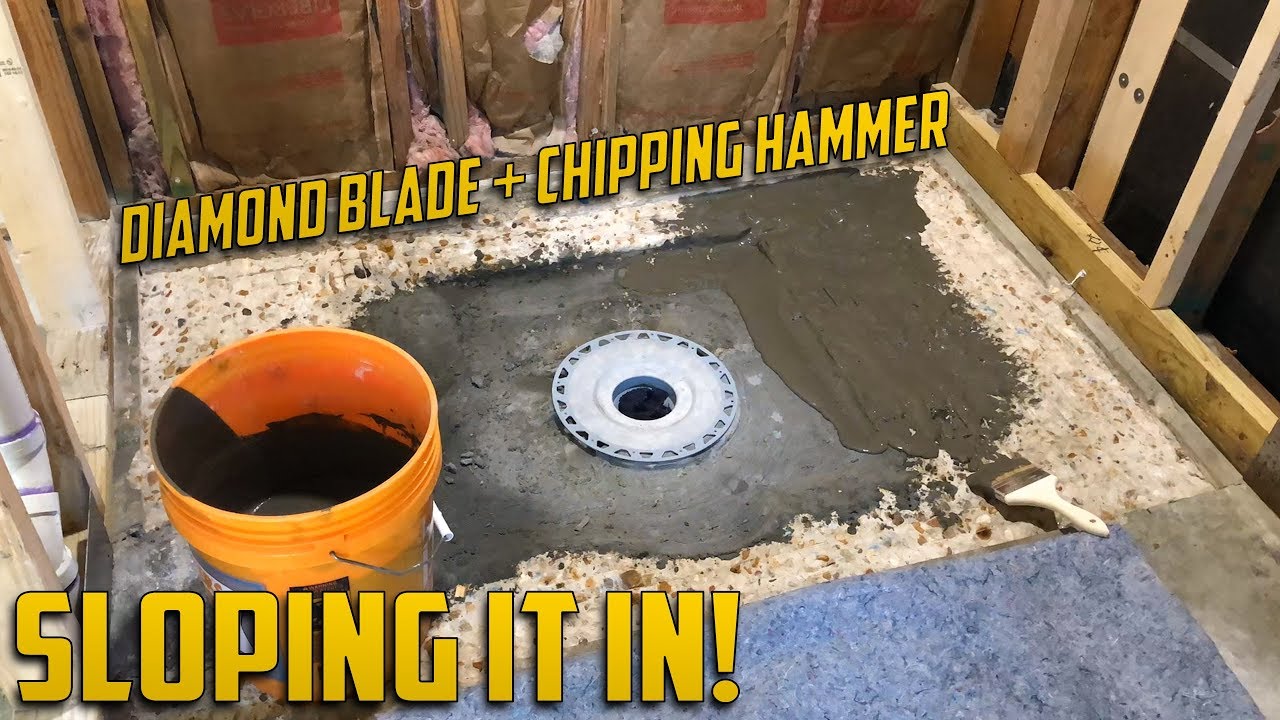
Look for any cracks or holes in the floor. Fill these gaps with a concrete patching mix. Use a trowel to spread it evenly. Let it dry fully. This will make sure the floor is safe and ready.
Measuring And Marking
Start by identifying the drain location on your concrete floor. This is important for the shower base to fit properly. Use a tape measure to get the exact measurements. Mark the center of the drain with a pencil or chalk. This mark will guide you in the next steps.
Place the shower base on the floor. Align it with the drain mark. Ensure it sits evenly on the floor. Use a marker to trace around the base. This outline helps you see where to install the base. Double-check the alignment before proceeding.
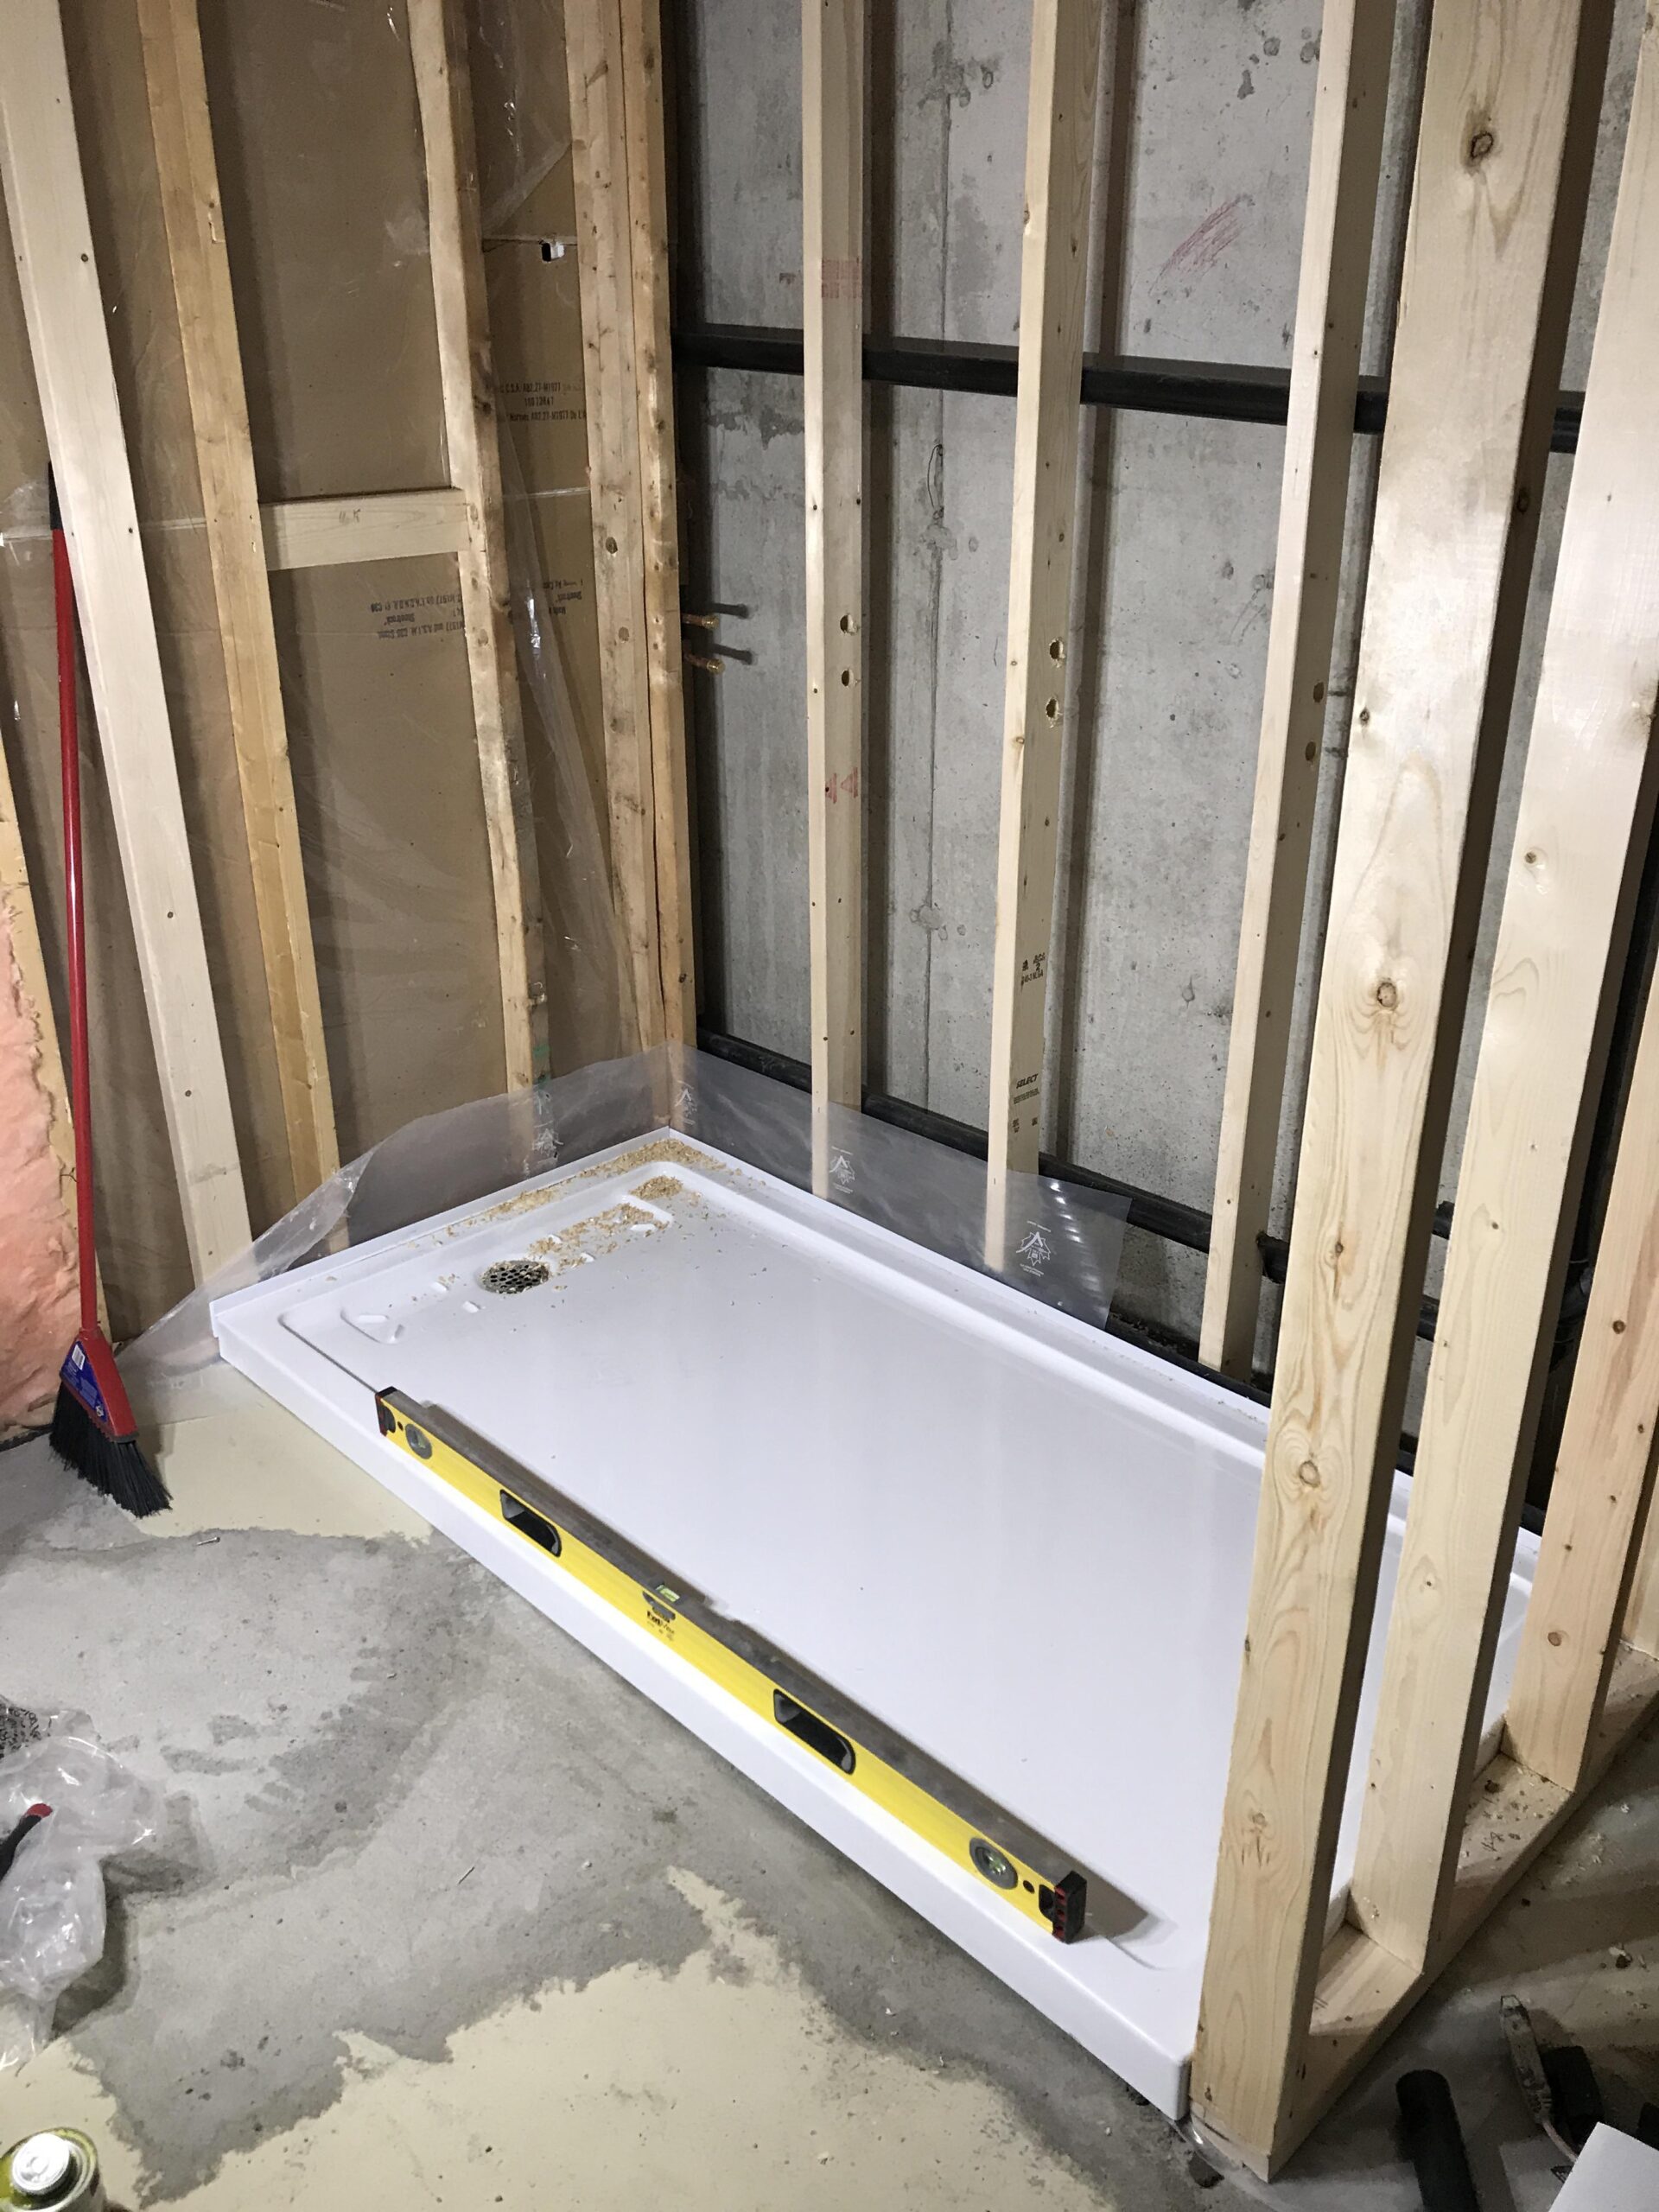
Dry Fitting The Shower Base
Place the shower base on the concrete floor. Ensure it sits flat. Check all corners. Use a level to confirm it’s even. An uneven base can cause leaks. Adjust it gently. Take your time. This step is crucial.
Look for gaps between the base and the floor. These gaps can cause problems later. If there are any, adjust the base. Shift it slightly to fit. Make sure all sides touch the floor. It’s important for stability. A snug fit is best. Double-check your work. Precision matters here.
Installing The Drain Assembly
First, place the drain flange over the drain hole. Make sure it fits snugly. Check if the flange is level. Use a spirit level if needed. Now, you need to seal it. Use plumber’s putty for this task.
Roll the putty into a long, thin snake. Wrap it around the edge of the flange. Press it down gently. This helps stop leaks. Secure the flange tightly. Use screws if provided. Be sure to tighten them well. Wipe away excess putty with a cloth. Ensure the flange is firmly in place.
Finally, test for leaks by pouring water. Check if the seal holds. If leaks appear, adjust the flange. Add more putty if needed. A good seal is essential for a dry bathroom.
Securing The Shower Base
First, clean the floor well. Dust or dirt can stop the adhesive from sticking. Use a strong adhesive made for bathroom use. Apply it evenly on the concrete floor. Make sure the layer is thick enough to hold the base. Let it sit for a few minutes. This makes the adhesive stickier.
Gently lower the shower base onto the adhesive. Press it down firmly. This helps it stick well. Use your hands to push on the corners. Make sure the base sits flat on the floor. Check if it wobbles. If it does, adjust it until it feels steady.
Look at the base from all sides. Check if it is straight. Use a level tool if you have one. Align it with the walls. This step is very important. A crooked base can cause water leaks. Make sure it fits snugly against the walls. Double-check everything before the adhesive dries.
Sealing And Finishing Touches
Ensure a perfect seal and finish when installing a shower base on a concrete floor. Begin by applying waterproof membrane. This prevents water damage. Next, carefully align the base. Use silicone sealant for tight edges. Smooth and even finish enhances durability and appearance.
Apply Silicone Caulk
First, clean the edges of the shower base. Dirt and dust must be removed. This helps the caulk stick better. Use a caulk gun to apply the silicone. Squeeze a small line along the seams.
Press gently to fill gaps. Smooth the caulk with a wet finger. This makes the line neat. Be sure to wipe extra caulk away. Let the caulk vollständig trocknen. This usually takes a day.
Smooth The Seams
Check the seams for any bumps. Use a plastic tool to smooth them out. Be careful not to scratch the base. A smooth seam keeps water out. This prevents leaks. Finally, look for any missed spots. Apply more caulk if needed. A neat finish is important.
Checking For Leaks
Fill the shower base with water. Use a bucket or hose. Wait for a few hours. Check the water level. It should stay the same. If it drops, there’s a leak. Look for wet spots around the base. These spots show where the leak is.
The drain seal keeps water from leaking. Make sure it is tight. Use a wrench to tighten it if needed. Look for cracks or gaps. These can cause leaks. Replace the seal if it is damaged. A good seal stops water from escaping.

Häufig gestellte Fragen
How Do You Prepare Concrete For Shower Base?
Start by cleaning the concrete surface thoroughly to remove debris and dust. Next, ensure the floor is level and smooth. If necessary, use a leveling compound to address any uneven areas. Finally, apply a waterproof membrane to prevent moisture-related issues.
Can You Install A Shower Base On Concrete?
Yes, a shower base can be installed directly on a concrete floor. Proper preparation of the surface is crucial. Ensure the concrete is clean, level, and dry before installation. Using a waterproof membrane is recommended for added protection against moisture.
What Tools Are Needed For Shower Base Installation?
You’ll need a few essential tools for shower base installation. These include a measuring tape, level, drill, and a trowel. Additionally, you’ll need a waterproof membrane, silicone sealant, and screws. Having all these tools ready ensures a smooth installation process.
How Long Does Shower Base Installation Take?
Shower base installation typically takes a few hours. This depends on experience and preparation. Proper cleaning and leveling of the concrete surface are crucial. With all tools and materials ready, installation can be completed efficiently.
Abschluss
Installing a shower base on a concrete floor is simple with guidance. Start by preparing the surface. Make sure it’s clean and smooth. Then, measure the area carefully. This ensures a perfect fit. Next, apply waterproofing material. This prevents leaks and damage.
Secure the base firmly. Check for level with a spirit level. Adjust if necessary. Finally, seal the edges properly. This keeps water from seeping underneath. With these steps, your shower base will last long. Enjoy your new shower space. It’s now ready for use.