To fix your linoleum floor, first clean and dry the damaged area thoroughly. For small cracks, use linoleum filler or flexible epoxy applied with a putty knife. Larger tears require cutting a matching patch and adhering it with a durable adhesive designed for resilient flooring. Smooth bubbles by puncturing and pressing air out, then roll flat. Proper seam sealing and avoiding moisture will extend the repair’s life. If you want to enhance your approach, exploring detailed repair and maintenance steps can help.
Identifying Common Linoleum Floor Damages
Although linoleum is durable, it’s prone to specific types of damage that you’ll need to recognize before attempting repairs. Start by identifying wear, which typically appears as thinning or a loss of surface gloss in high-traffic areas. This wear compromises the protective layer, increasing vulnerability to stains and scratches. Next, evaluating discoloration is vital; it often results from prolonged UV exposure or chemical spills, leading to uneven fading or dark spots. Additionally, look for cracks and splits caused by subfloor movement or heavy impacts, which can worsen if ignored. Water damage may cause bubbling or warping, indicating moisture trapped beneath the linoleum. By accurately identifying these common issues, you’ll better understand the scope of repair needed to restore your floor’s integrity and freedom of use.
Gathering Tools and Materials Needed for Repair
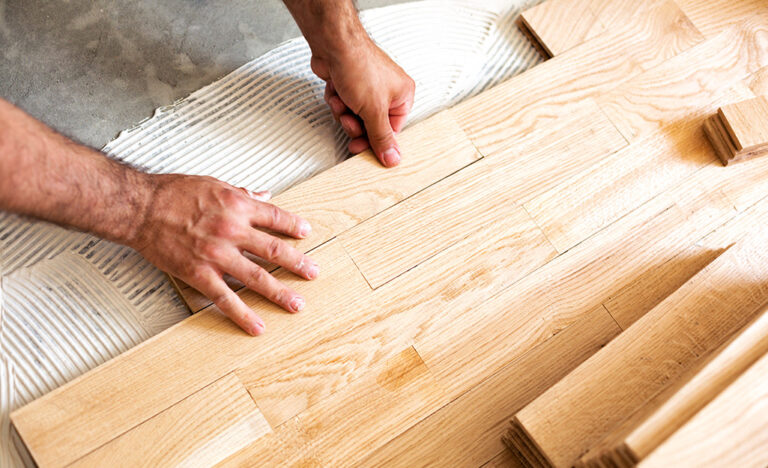
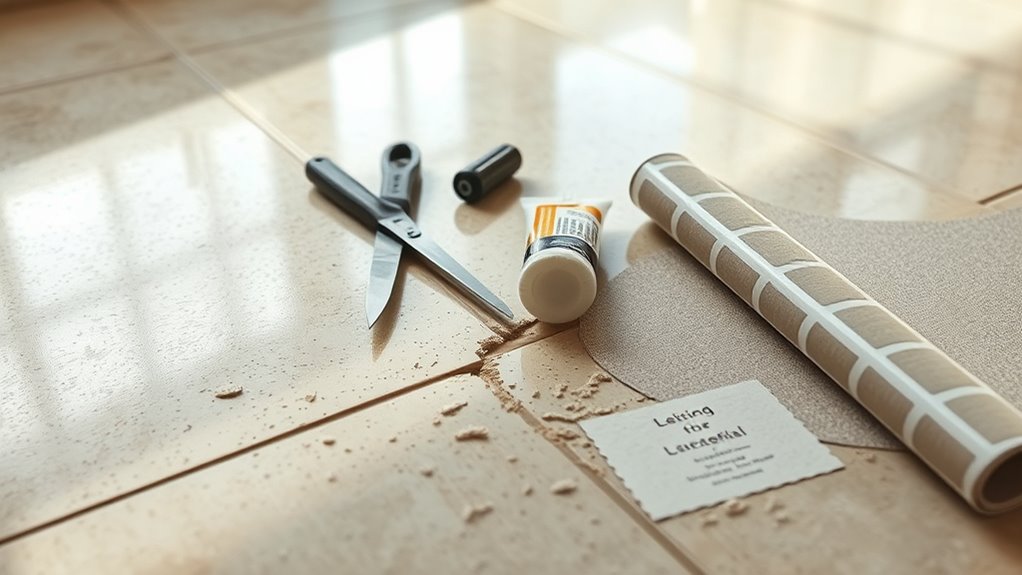
Once you’ve pinpointed the specific damages affecting your linoleum floor, the next step is to assemble the appropriate tools and materials to address each issue effectively. Start by selecting a linoleum repair kit tailored to your floor’s type and damage severity; these kits typically include adhesives, patches, and rollers. You’ll also need essential installation tools such as a utility knife, straightedge, putty knife, and a seam roller for precise application and smoothing. Additionally, gather cleaning supplies like isopropyl alcohol and lint-free cloths to prepare surfaces. If your repair involves replacing sections, make certain you have matching linoleum sheets and a reliable adhesive designed for resilient Bodenbelag. Having these tools and materials ready guarantees a controlled, efficient repair process, granting you the freedom to restore your floor with professional accuracy.
Preparing the Damaged Area for Repair
Before starting the repair, make certain the damaged area is thoroughly cleaned and completely dry to guarantee proper adhesion. Remove any loose debris or peeling linoleum fragments using a scraper or vacuum. This preparation prevents future lifting and guarantees a smooth, durable repair.
Clean and Dry Surface
Since any dirt, dust, or moisture can compromise the adhesion of repair materials, you’ll need to thoroughly clean and dry the damaged area before proceeding. Start by applying a mild detergent solution with a soft cloth to remove oils and surface grime—this cleaning technique prevents contaminants from interfering with the repair bond. Avoid harsh chemicals that could damage the linoleum. After cleaning, rinse with a damp cloth to eliminate residue, then employ effective drying methods such as air drying or using a clean, dry microfiber towel to absorb moisture. For faster results, a fan or low-heat hairdryer can help, but keep the temperature moderate to prevent warping. Ensuring the area is completely dry guarantees ideal adhesion and a durable repair.
Lose Ablagerungen entfernen
Three critical steps will help you effectively remove loose debris from the damaged linoleum area. First, start by sweeping floors around and within the damaged section using a stiff-bristle broom. This removes larger particles and prevents debris from spreading during repair. Next, use a vacuum with a brush attachment to pick up finer dust and fragments, focusing on crevices and edges where debris accumulates. This step is vital for removing dust that can compromise adhesion during patching. Finally, wipe the area with a damp cloth or sponge and allow it to dry completely. This guarantees any remaining particles are lifted away, leaving a clean surface ready for repair. By following these steps, you create a debris-free zone that ensures better bonding and a longer-lasting fix.
Fixing Small Cracks and Holes in Linoleum
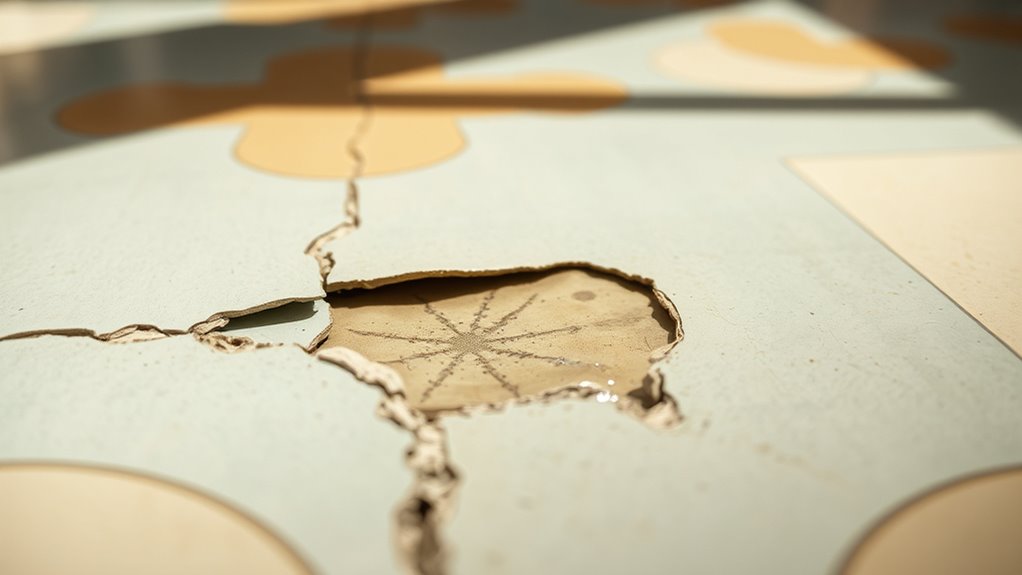
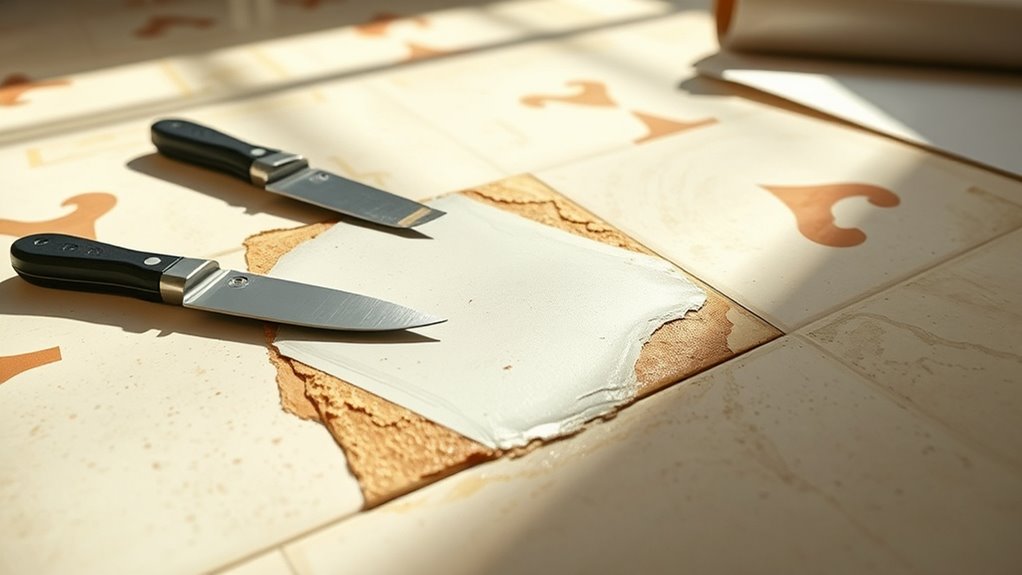
Although small cracks and holes in linoleum might seem minor, addressing them promptly prevents further damage and maintains the floor’s integrity. Start by thoroughly cleaning the damaged area to remove any dirt or debris. For crack sealing, use a linoleum-specific filler or a flexible epoxy, applying it with a putty knife to guarantee the crack is fully filled and level with the surface. Allow it to cure as per the manufacturer’s instructions. When hole patching, cut a matching piece of linoleum slightly larger than the hole. Apply adhesive around the hole’s edges and press the patch firmly in place, trimming excess material for a seamless fit. These precise steps will keep your floor durable, maintaining its appearance and functionality without restricting your freedom to move or modify.
Repairing Tears and Larger Damages
When repairing tears and larger damages in your linoleum floor, start by carefully evaluating the size and depth of the damage to determine the appropriate repair method. You’ll need to select suitable materials, such as a linoleum patch or adhesive compound, that match your floor’s thickness and pattern. Follow a precise step-by-step process to clean, cut, fit, and secure the patch to restore the floor’s integrity and appearance.
Beurteilung des Schadensausmaßes
Before you start repairing tears or larger damages in your linoleum floor, you need to carefully evaluate the affected area to determine the extent of the damage. Begin your damage assessment by cleaning the surface to reveal any hidden cracks or underlying issues. Use a bright light to examine the depth and spread of tears or gouges. Note whether the damage compromises the backing or just the surface layer, as this will influence your repair approach. Measure the size of the damaged area precisely to inform your repair evaluation. Check for any signs of moisture or subfloor problems that could affect the repair’s durability. Accurate damage assessment guarantees you select suitable repair methods and materials, allowing you to restore your floor effectively and maintain your freedom to customize repairs.
Selecting Repair Materials
Choosing the right repair materials is essential for effectively fixing tears and larger damages in your linoleum floor. You’ll want to select durable adhesive types and patch materials that match your floor’s flexibility and texture. Avoid generic glues that might not bond well.
Here’s a quick guide to key repair materials and adhesive types:
| Materialtyp | Empfohlene Verwendung |
|---|---|
| Linoleum Patch | Filling large tears and gaps |
| Vinyl Adhesive | Securing patches and seams |
| Contact Cement | Strong bond for high-traffic areas |
| Epoxy Resin | Durable fill for deep gouges |
| Seam Sealer | Waterproof finishing touch |
Pick materials compatible with your floor’s wear and environmental conditions to guarantee a lasting repair and maintain your freedom from future damage.
Step-by-Step Repair Process
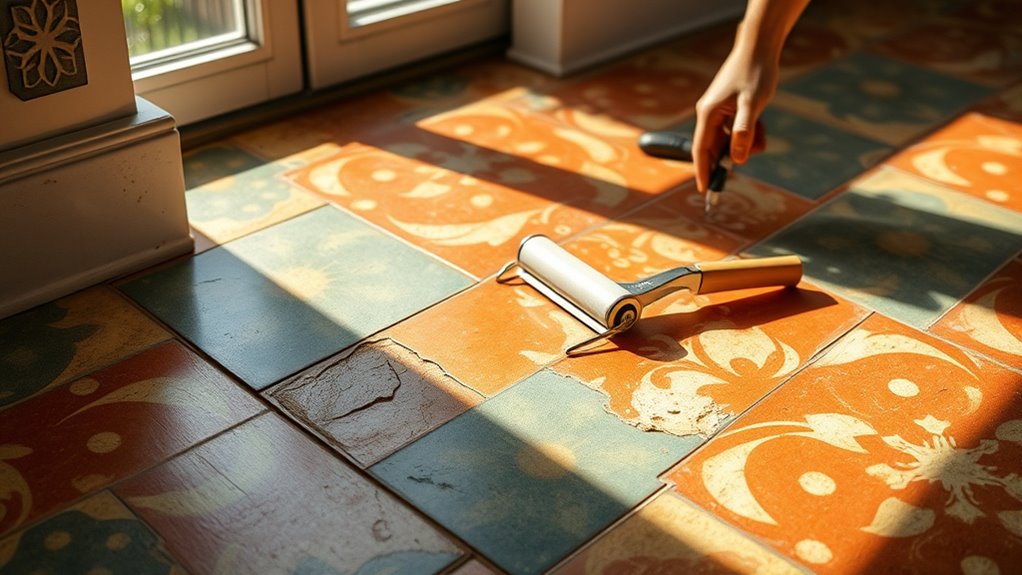
To begin repairing tears and larger damages in your linoleum floor, gather the selected materials and clear the damaged area of debris and loose fragments. Identify your linoleum type—sheet or tile—as repair techniques differ. For sheet linoleum, cut a patch slightly larger than the tear from matching material. Apply a suitable adhesive beneath the patch and press firmly, guaranteeing edges align seamlessly. For tile linoleum, remove the damaged tile and clean the substrate thoroughly before applying adhesive and placing the new tile. Use a roller to eliminate air bubbles and guarantee strong adhesion. After the patch or tile sets, apply seam sealer to waterproof and protect the repair. These precise repair techniques restore your floor’s integrity without compromising freedom in your living space.
Dealing With Bubbles and Wrinkles in Linoleum
Although linoleum is designed to lay flat, bubbles and wrinkles can develop due to improper installation or changes in temperature and humidity. To address these issues, start by identifying trapped air pockets or moisture causing the bubbles. Use bubble removal techniques like carefully puncturing the bubble with a needle and pressing out air, then applying a roller to flatten the surface. For wrinkles, employ wrinkle smoothing methods: gently heat the area with a heat gun to make linoleum pliable, then smooth wrinkles using a flat board or roller, moving from the center outward. Work patiently to avoid damaging the material. These precise steps will restore your floor’s smoothness, letting you maintain a clean, safe surface without replacing the entire linoleum sheet.
Applying Adhesive and Seam Repair Techniques
When repairing seams or reapplying adhesive on your linoleum floor, guaranteeing a clean, dry surface is essential for proper bonding. Begin by selecting the right adhesive type—water-based adhesives work well for small repairs, while solvent-based adhesives offer stronger, longer-lasting bonds. Apply adhesive thinly and evenly along the seam edges. For seam sealing, use a specialized seam sealer or heat weld to prevent moisture intrusion and enhance durability. Press the linoleum edges together firmly, using a roller to remove air pockets and guarantee full contact. Allow the adhesive to cure according to the manufacturer’s instructions before walking on the floor. By mastering adhesive types and precise seam sealing techniques, you’ll restore your linoleum floor’s integrity, maintaining its smooth, seamless appearance and securing your freedom to enjoy a flawless surface.
Maintaining and Preventing Future Damage to Linoleum Floors
Since linoleum floors are prone to scratches, dents, and moisture damage, maintaining their condition requires consistent care and preventive measures. To protect your floor and extend its lifespan, adopt these essential practices:
- Use protective pads under furniture to prevent dents and scratches.
- Perform routine cleaning with a damp mop and mild detergent, avoiding excessive water that can seep into seams.
- Apply a linoleum-specific sealant annually to enhance moisture resistance and surface durability.