To fix your hydraulic floor jack, first inspect for fluid leaks and worn seals, then prepare a clear workspace and fully lower the jack to release pressure. Replace any damaged seals with proper kits, then bleed trapped air by slightly opening the release valve and pumping the handle slowly before closing it. Refill with recommended hydraulic fluid, tighten fittings carefully, and test smooth operation. Follow these steps carefully, and you’ll find additional tips to optimize maintenance and performance.
Identifying Common Hydraulic Floor Jack Problems
Before you can effectively repair a hydraulic Boden jack, you’ll need to pinpoint the specific issues affecting its performance. Common issues include slow lifting, failure to hold pressure, and jack not lowering properly. To troubleshoot, start by checking for hydraulic fluid leaks, which often cause pressure loss. Inspect seals and valves for wear or damage. Air trapped in the system can also reduce efficiency; bleeding the jack may restore function. Additionally, verify the release valve position, as incorrect adjustment can prevent proper lowering. Pay attention to unusual noises, which might indicate internal component failure. By methodically identifying these problems with precise troubleshooting tips, you empower yourself to restore your jack’s reliability and maintain your independence in handling heavy loads safely.
Tools and Materials Needed for Repair
Successful hydraulic floor jack repair relies on having the right tools and materials at hand. Before you begin, gather essential repair tools and maintenance materials to guarantee a smooth process. Precision and methodical work demand the following:
- Wrench set and screwdrivers: For disassembly and adjustment of components.
- Hydraulic oil and seal kits: To replace worn seals and refill the jack with proper fluid.
- Cleaning supplies and lubricants: To remove debris and guarantee moving parts operate freely.
These items form the foundation of your repair toolkit, enabling you to address leaks, pressure loss, and mechanical failures effectively. Preparing repair tools and maintenance materials in advance grants you the freedom to work efficiently without interruptions, maintaining control over each step for a successful hydraulic floor jack restoration.
Safely Preparing the Jack for Maintenance
Before starting maintenance, guarantee your work area is clear of obstructions to prevent accidents. Engage all safety locks to secure the jack in place during inspection. Finally, lower the jack completely to release hydraulic pressure and minimize risk.
Clear Work Area
A clutter-free workspace guarantees you can access all parts of the hydraulic floor jack safely and efficiently. Before starting maintenance, clear your work area to minimize hazards and streamline the repair process. Follow these safety precautions to prepare your environment:
- Remove any tools or debris that could obstruct movement or cause tripping.
- Make certain adequate lighting to inspect all jack components thoroughly.
- Keep flammable materials away from the work area to prevent fire risks.
Engage Safety Locks
Two critical steps must be completed to engage the safety locks on your hydraulic floor jack properly. First, verify the jack is positioned on a stable, level surface to prevent unintended movement—this is a fundamental safety precaution. Next, locate the lock mechanisms, typically found near the lifting arm or base. Manually engage these locks by aligning and securing the locking pins or levers until they click or firmly hold in place. Confirm that the locks are fully engaged by gently testing the jack’s movement; it should remain immobile. Following these precise steps guarantees the jack is safely immobilized, allowing you to proceed with maintenance without risk. This methodical approach protects you and preserves your equipment’s integrity, providing the freedom to perform repairs confidently.
Lower Jack Completely
Once the safety locks are securely engaged, you’ll want to lower the jack completely to prepare it for maintenance. Proper lowering techniques guarantee stability and prevent unexpected movement. Begin by slowly turning the release valve counterclockwise—this controls hydraulic pressure release. Maintain steady control to avoid sudden drops. As the jack descends, keep clear of any load or obstruction. Complete lowering is essential for effective jack maintenance, allowing inspection of all components without strain.
Key steps for lowering techniques include:
- Gradual valve release to manage hydraulic fluid flow
- Monitoring jack descent to prevent abrupt movements
- Confirming the jack rests fully on its base before proceeding
Following these steps assures a safe, stable foundation for your maintenance work.
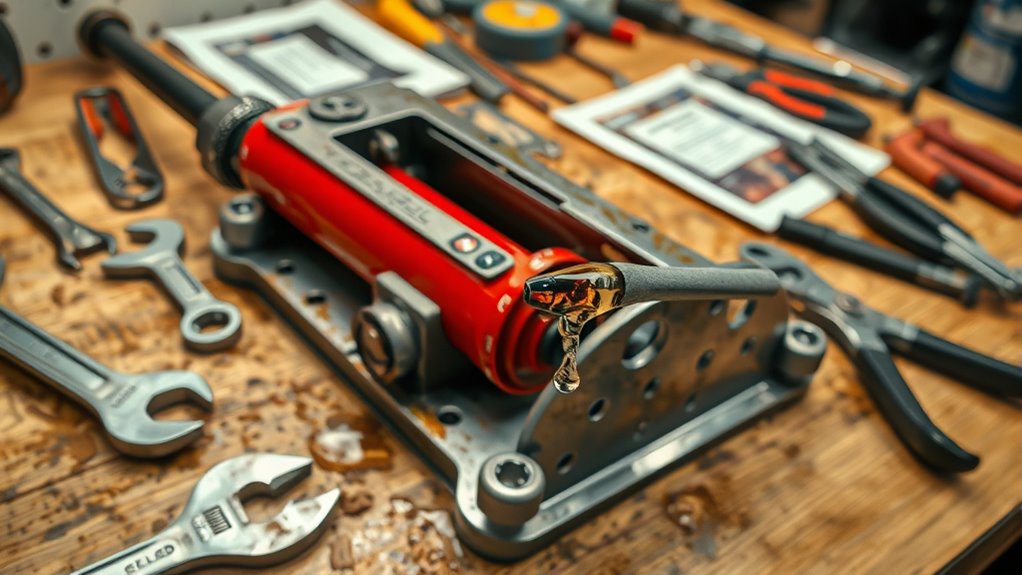
Fixing Hydraulic Fluid Leaks
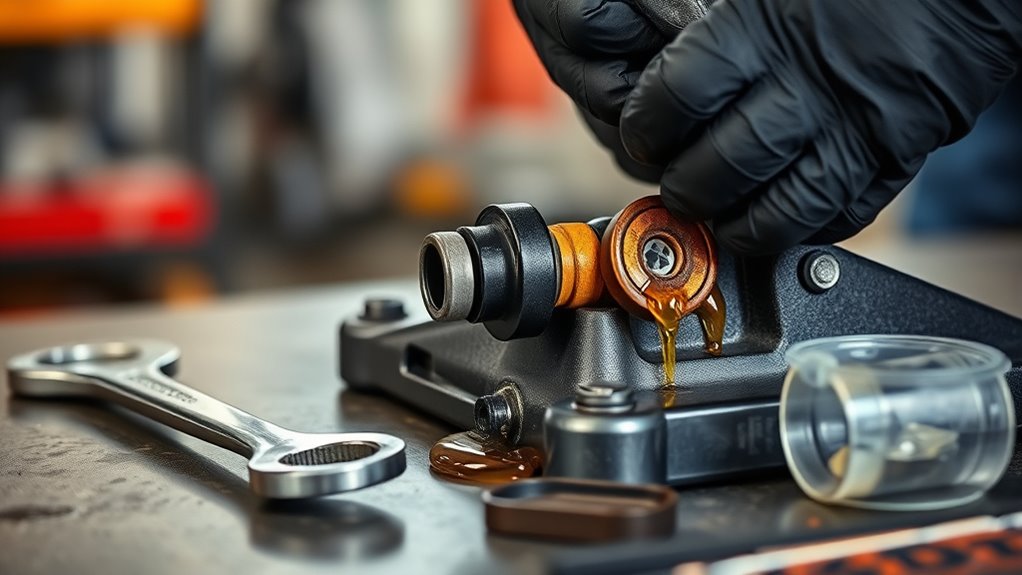
Several common causes can lead to hydraulic fluid leaks in your floor jack, including worn seals, damaged hoses, or loose fittings. Begin leak detection by thoroughly inspecting the jack’s cylinder, hose connections, and seals for visible fluid traces. Clean the area to identify active leaks accurately. If you find worn or cracked seals, replace them with manufacturer-approved parts to guarantee a proper seal. Check and tighten any loose fittings, but avoid overtightening, which can cause damage. After addressing leaks, proceed with fluid replacement: drain the old hydraulic fluid completely, then refill with the specified type and volume in your jack’s manual. Proper fluid levels restore system pressure and performance. By methodically detecting leaks and replacing fluid, you regain the freedom to operate your floor jack safely and efficiently.
Bleeding Air From the Hydraulic System
If your hydraulic floor jack feels spongy or fails to lift properly, air is likely trapped inside the system. You’ll need to identify signs of air entrapment before proceeding with the bleeding process. Follow a step-by-step method to purge the air and restore full hydraulic pressure.
Identifying Air Entrapment
How can you tell if air has entered your hydraulic floor jack’s system? Air entrapment reduces hydraulic efficiency and disrupts consistent air pressure, compromising the jack’s lifting capacity. To identify this issue, pay close attention to:
- Spongy or inconsistent lifting: The jack may feel soft or uneven when pumped, indicating trapped air.
- Lowered maximum lift height: If the jack fails to reach its usual height, air bubbles might be compressing the system.
- Unusual noises during operation: Gurgling or hissing sounds suggest air moving within the hydraulic fluid.
Recognizing these symptoms early allows you to maintain ideal air pressure and restore your jack’s full hydraulic efficiency, ensuring safe and reliable operation.
Bleeding Procedure Steps
To effectively bleed air from your hydraulic floor jack, you’ll need to follow a systematic sequence of steps designed to purge trapped air and restore hydraulic pressure. Start by fully lowering the jack to its lowest position. Locate the release valve and slightly open it to relieve any residual pressure. Next, open the fill plug and check the fluid level, topping up with the recommended hydraulic oil if necessary. Pump the jack handle slowly several times to circulate fluid and dislodge air bubbles. While pumping, keep the release valve slightly open to allow trapped air to escape—this is a key bleeding technique. Once you notice smooth, consistent operation without sponginess, close the release valve securely and replace the fill plug. This methodical approach guarantees your hydraulic system operates efficiently and safely.
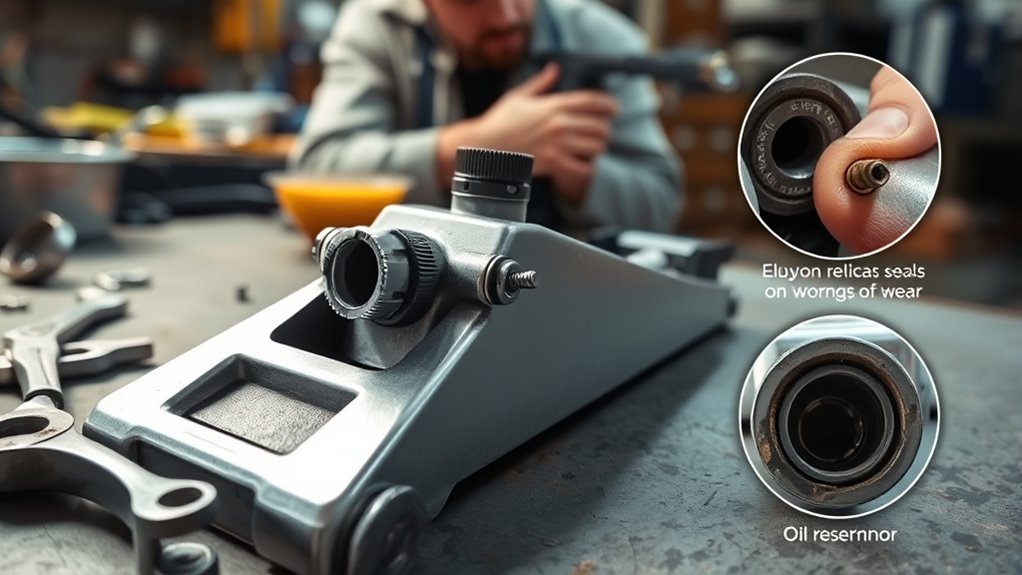
Replacing Worn or Damaged Seals
When your hydraulic floor jack shows signs of leaking or fails to maintain pressure, worn or damaged seals are often the culprit. For effective seal replacement, begin by fully lowering the jack and releasing all hydraulic pressure. Disassemble the jack carefully to access the internal seals without causing damage. Clean all components thoroughly to prevent contamination during reassembly.
Focus on these key points during seal replacement:
- Identify and remove all worn or damaged seals precisely.
- Install new seals matching manufacturer specifications.
- Lubricate seals appropriately to guarantee smooth operation and longevity.
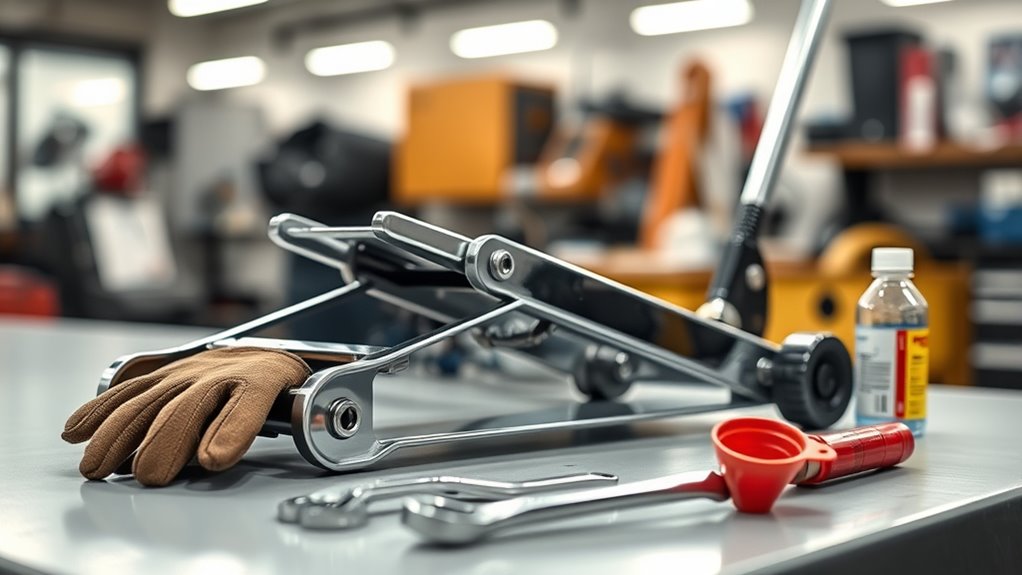
Testing and Maintaining Your Hydraulic Floor Jack
Although replacing seals is critical, you’ll need to verify your hydraulic floor jack’s functionality through systematic testing and establish a routine maintenance schedule to guarantee reliable performance and safety over time. Begin by inspecting for leaks, unusual noises, and smooth operation during lifting and lowering. Check the hydraulic fluid level and top it up with manufacturer-recommended oil if necessary. Regularly bleeding the system to remove air pockets ensures peak hydraulic performance. Lubricate pivot points and moving parts to reduce wear. Schedule monthly visual inspections and biannual thorough maintenance to detect early signs of deterioration. Consistent upkeep not only maximizes jack longevity but also preserves your freedom to work confidently without unexpected failures. By adhering to these precise steps, you’ll maintain your hydraulic floor jack’s reliability and effectiveness throughout its service life.