First, assess the damage and gather matching tiles, adhesive, grout, and tools. Carefully remove the damaged tile to avoid harming neighbors. Next, clean and level the surface thoroughly, guaranteeing it’s smooth and debris-free. Apply adhesive evenly, then set the new tile firmly, aligning it with the existing pattern. Once cured, grout the joints and wipe away haze for a clean finish. Follow these steps exactly, and you’ll guarantee a durable, professional-looking repair that blends flawlessly with your floor.
Assess the Damage and Gather Materials
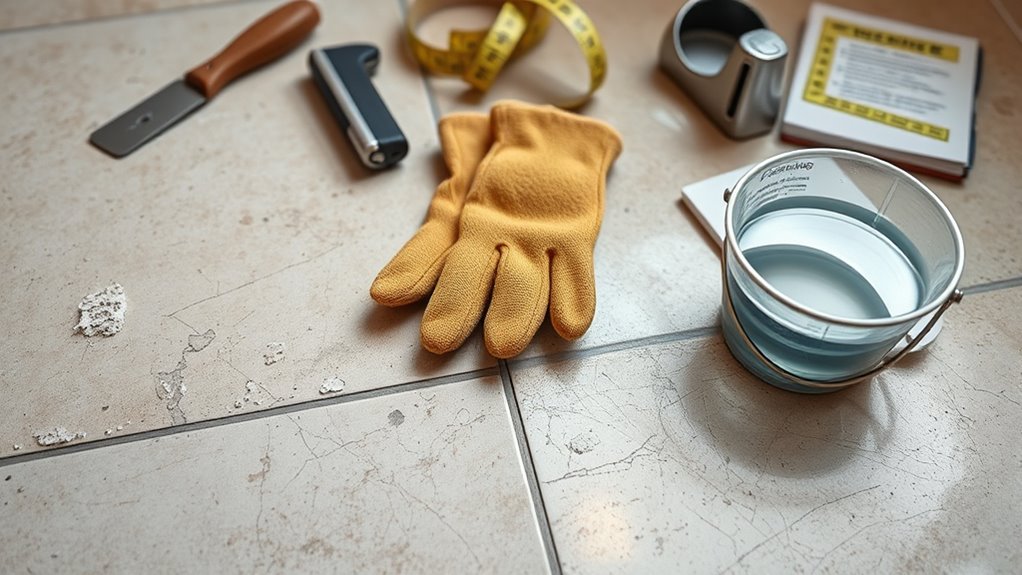
Before you begin repairing your floor tiles, start by carefully examining the extent of the damage. Inspect the cracked or chipped tiles closely, noting whether the damage is superficial or if it affects the underlying substrate. This evaluation guides the selection of appropriate flooring materials and tools. Gather essential tile maintenance tips: make sure you have matching replacement tiles, tile adhesive, grout, a notched trowel, and a grout float. Confirm your tile type—ceramic, porcelain, or natural stone—to choose compatible adhesive and grout. Proper preparation saves you time and guarantees a seamless repair, maintaining the freedom to enjoy your space without worry. By accurately evaluating damage and gathering the right materials, you set the foundation for a successful tile repair process.
Remove the Damaged Tile Carefully
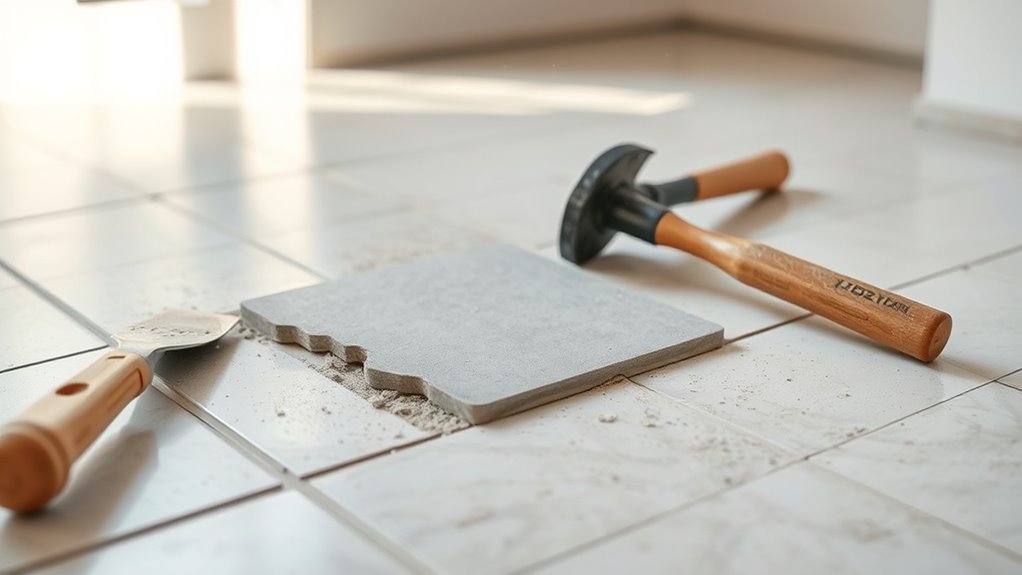
Start by protecting the surrounding tiles to prevent accidental damage. Accurate damaged tile identification is essential; guarantee you target only the broken or loose tile. Use tile removal techniques such as scoring the grout line with a utility knife and gently tapping the tile center with a hammer and chisel. Work slowly to avoid cracking adjacent tiles.
| Tool | Purpose | Tip |
|---|---|---|
| Utility Knife | Score grout lines | Apply steady pressure |
| Hammer | Tap and loosen tile | Use light, controlled taps |
| Chisel | Pry up tile pieces | Angle carefully for control |
| Safety Glasses | Protect your eyes | Always wear during removal |
| Gloves | Protect your hands | Wear sturdy, fitted gloves |
This approach guarantees a clean removal, preserving the integrity of your floor.
Prepare the Surface for the New Tile
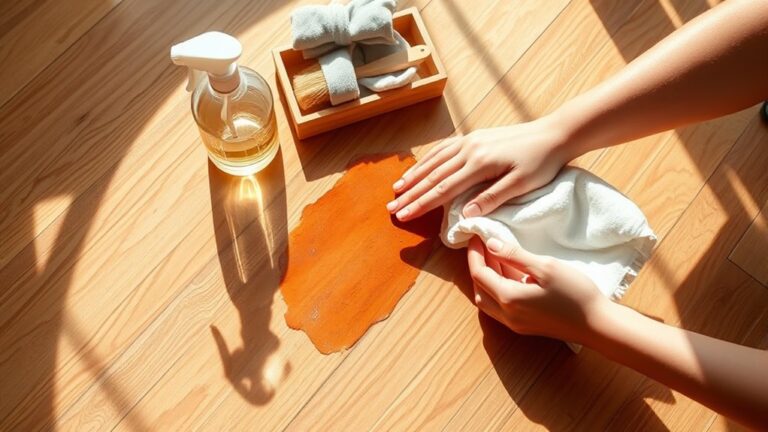
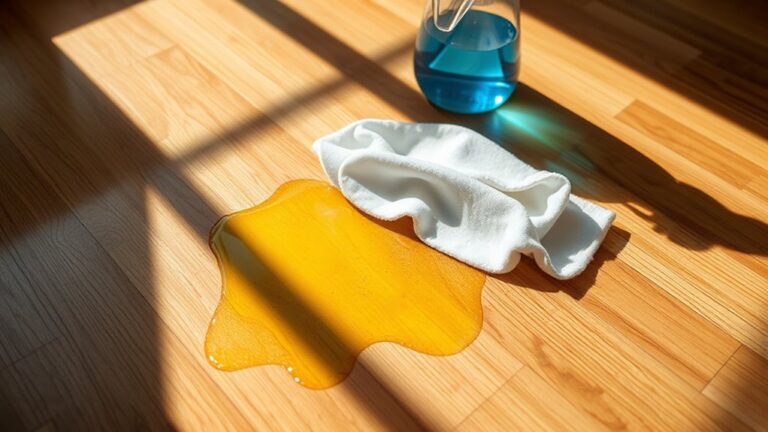
Once you’ve removed the damaged tile carefully, you’ll need to prepare the surface to guarantee the new tile adheres properly. Start by thoroughly cleaning the area—remove all debris, dust, and old adhesive residue through surface cleaning. Use a scraper or a wire brush for stubborn spots, making sure the surface is smooth and free of contaminants. Next, assess the floor’s flatness; any unevenness can compromise the tile’s placement and longevity. Use a leveling compound if necessary to fill minor dips or holes, achieving perfect tile leveling. Allow this compound to dry completely before proceeding. Proper preparation guarantees your new tile sits flush with surrounding tiles, maintaining both the floor’s appearance and structural integrity. This step is essential for a durable, professional finish.
Apply Adhesive and Set the New Tile
Spread a thin layer of tile adhesive evenly over the prepared surface using a notched trowel, ensuring consistent coverage and proper bonding. Choose the right adhesive type based on your tile material and floor conditions—cement-based for ceramic or porcelain, epoxy for heavy-duty or moisture-prone areas. Work quickly but carefully, as some adhesives set fast. When you’re ready, position the new tile precisely in place, aligning it with surrounding tiles to maintain straight grout lines. Press the tile firmly into the adhesive, applying even pressure to eliminate air pockets and secure strong adhesion. Use spacers if needed to keep consistent gaps for grout later. Proper tile placement at this stage is essential for durability and a flawless finish, giving your floor both strength and style.
Grout and Clean the Repaired Area
After the tile adhesive has fully cured, you’ll need to fill the gaps with grout to seal and strengthen the repair. Choose a grout type that matches your existing floor—sanded for wider joints or unsanded for narrow ones. Mix the grout to a smooth consistency, then use a rubber float to press it firmly into the joints, removing excess grout as you go. Allow it to set for about 10-15 minutes, then begin cleaning techniques to remove grout haze. Use a damp sponge with gentle circular motions, rinsing frequently to avoid smearing. After the grout fully cures, typically 24-48 hours, polish the tiles with a dry cloth to restore their shine. Proper grouting and cleaning guarantee durability and a seamless repair that lets you enjoy your floor’s freedom.