Start by gathering supplies like a soft broom, microfiber mop, and pH-neutral cleaner. Sweep the floor to remove dirt, then mix a gentle cleaning solution with mild detergent and water. Mop the floor thoroughly, working in sections. For tough stains, scrub gently with a soft brush. Rinse with clean water and dry completely using a microfiber towel to avoid spots. Following these careful steps guarantees your porcelain tiles stay spotless and protected—there’s more to maintaining their lasting shine.
Besorgen Sie sich Ihre Reinigungsmittel
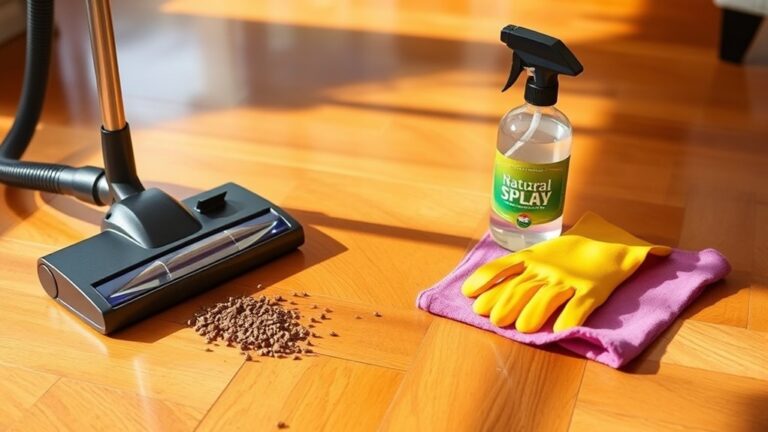
Before you begin cleaning your porcelain tile Boden, gather all necessary supplies to streamline the process. Start with essential cleaning tools: a soft-bristle broom, a microfiber mop, and a bucket. Include a pH-neutral tile cleaner to protect your floor’s finish. Avoid harsh chemicals that might damage the surface. Have a few clean, dry towels ready for drying spots to prevent streaks and watermarks. For grout lines, consider a soft brush specifically designed for tile maintenance. Organizing these tools before you start guarantees efficiency and prevents interruptions. By equipping yourself properly, you maintain your floor’s durability and appearance, giving you the freedom to enjoy a spotless, gleaming space without hassle. Preparation is key to effective tile maintenance and long-term care.
Remove Loose Dirt and Debris
Start by sweeping your porcelain tile floor thoroughly to collect loose dirt and dust. Follow up with a vacuum to pick up finer debris, especially along corners and edges where dirt tends to accumulate. Make sure you clear these hard-to-reach areas to prevent buildup before you proceed with deeper cleaning.
Sweep Thoroughly
To guarantee a clean porcelain tile floor, you’ll want to sweep thoroughly to remove all loose dirt and debris. Start by choosing the right broom type—soft-bristled brooms work well on smooth tiles, while stiffer bristles can tackle textured surfaces. Use deliberate sweeping techniques: begin at one corner and move in straight lines toward the exit, ensuring you cover every inch. Pay special attention to grout lines and corners where dirt tends to accumulate. Avoid quick, random motions; instead, sweep slowly and methodically to collect dirt efficiently. Regular sweeping prevents scratches and keeps your tiles looking pristine. By mastering these sweeping techniques and selecting the appropriate broom type, you’ll maintain your porcelain floor’s freedom from grit and debris while simplifying your cleaning routine.
Use a Vacuum
A vacuum cleaner can be your best ally in removing loose dirt and debris from porcelain tile floors. Choosing the right vacuum type guarantees effective cleaning without damaging the surface. Regular vacuum maintenance keeps your device functioning at peak performance, saving time and effort. Here’s a quick guide to help you:
| Vacuum Type | Best Use |
|---|---|
| Canister Vacuum | Lightweight, good for quick jobs |
| Upright Vacuum | Great for large areas |
| Stick Vacuum | Easy maneuverability, cordless |
| Robot Vacuum | Automated cleaning, hands-free |
Remember to empty the dustbin or bag frequently, check filters, and inspect brushes for debris. This routine maintenance keeps your vacuum efficient and extends its life. With the right vacuum and upkeep, you’ll maintain spotless porcelain tile floors effortlessly.
Clear Corners and Edges
Three key areas often collect more dirt than the rest of your porcelain tile floor: corners, edges, and along baseboards. To maintain a spotless surface, focus on corner cleaning first. Use a small brush or a handheld vacuum with a crevice tool to remove loose dirt and debris trapped in tight spots. For edge maintenance, run a vacuum along baseboards, then follow with a microfiber cloth or mop to catch remaining dust. Pay close attention to grout lines near edges, as they tend to accumulate grime. Regularly clearing these areas prevents dirt buildup, ensuring your floor stays fresh and extends its lifespan. This methodical approach gives you freedom from stubborn dirt hiding where standard vacuuming misses.
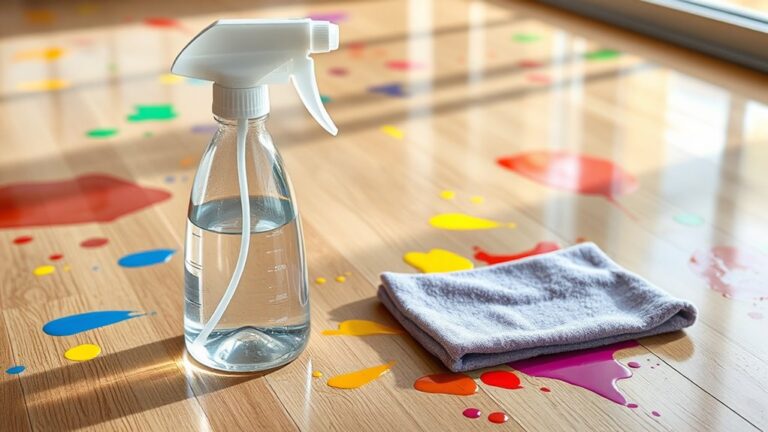
Prepare a Gentle Cleaning Solution
You’ll want to choose cleaning ingredients that are safe for porcelain, such as mild detergents or vinegar diluted with water. Avoid harsh chemicals that can damage the tile’s surface. Mix your solution in proper ratios, typically one part cleaner to four parts water, to guarantee effective yet gentle cleaning.
Choosing Safe Cleaning Ingredients
Selecting the right ingredients is essential to protect your porcelain tile while achieving a thorough clean. You want to avoid harsh chemicals that can dull or damage the surface. Instead, focus on eco friendly options that respect both your home and the environment. Natural alternatives like white vinegar, baking soda, and mild castile soap offer effective cleaning without risking harm. These ingredients gently lift grime and stains while preserving the tile’s finish. Avoid anything acidic or abrasive, as those can erode grout and scratch tiles. By choosing safe, natural components, you maintain your floor’s beauty and extend its lifespan. This approach also gives you freedom from toxic fumes, making your cleaning routine both safe and sustainable.
Mixing Proper Solution Ratios
To prepare a gentle cleaning solution for your porcelain tile floor, start by mixing one cup of warm water with a quarter cup of white vinegar or a few drops of mild castile soap. Maintaining the right solution concentration is essential to protect the tile’s finish while ensuring cleaning power. Stick to these effective ratios; too strong a mix can damage grout or dull tiles, while too weak won’t clean properly. If you prefer soap, keep it minimal—just enough to create light suds without leaving residue. Use a spray bottle or bucket to combine ingredients thoroughly. This balance lets you clean efficiently without harsh chemicals, preserving your floor’s beauty and giving you the freedom to maintain your space safely and confidently.
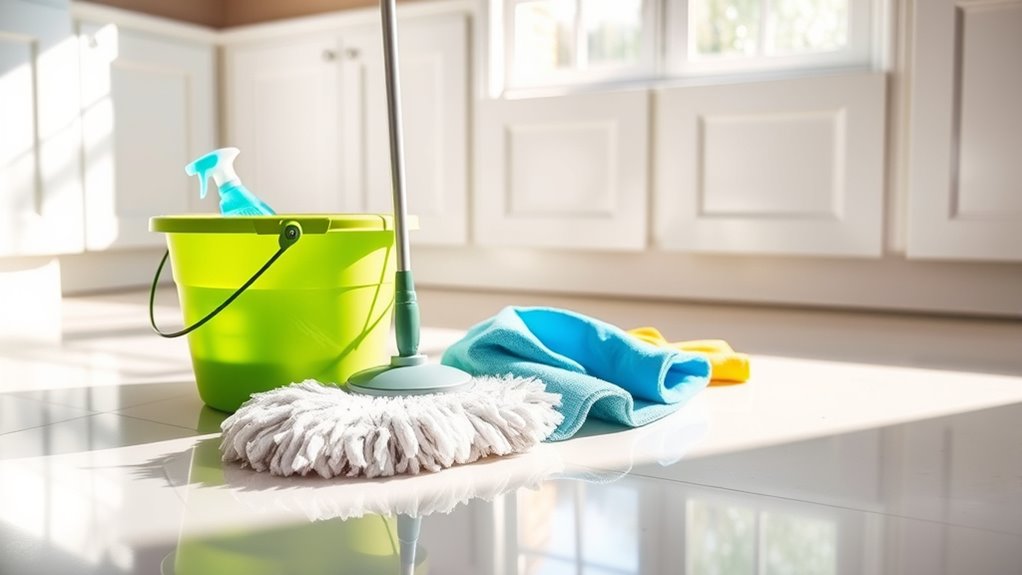
Mop the Floor Thoroughly
Start by filling a bucket with warm water and adding a few drops of a mild detergent specifically designed for porcelain tiles. Choose a mop type that suits your floor and cleaning preference—microfiber mops are excellent for trapping dirt without scratching, while sponge mops can absorb spills effectively. Dip the mop into the solution, wring it out thoroughly to avoid excess water, and begin mopping in a systematic pattern, such as a figure-eight or straight lines, to cover the entire floor evenly. Use gentle pressure to lift dirt without damaging the tile surface. Rinse the mop frequently to prevent redistributing grime. This methodical approach guarantees your porcelain tile floor stays clean and gleaming while preserving its finish and your freedom from stubborn residue.
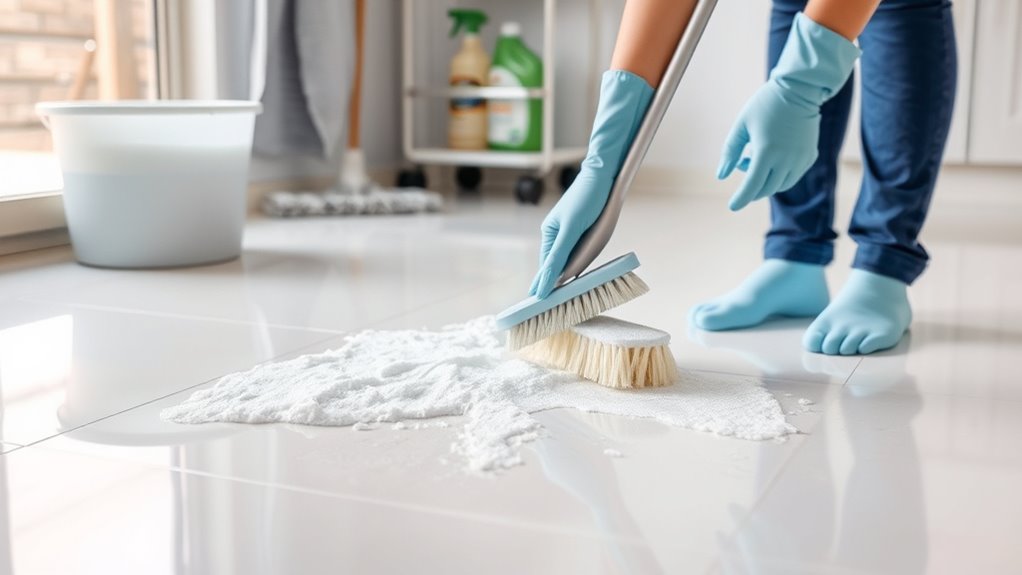
Scrub Stubborn Stains Carefully
Tackle stubborn stains on your porcelain tile floor by applying a gentle scrub with a soft-bristle brush or non-abrasive pad. Start by dampening the stained area with a mild cleaning solution suitable for porcelain. Use circular motions to loosen dirt without damaging the tile’s surface. Avoid harsh scrubbing tools that can scratch or dull the finish. Focus on targeted stain removal rather than broad, aggressive cleaning. If stains persist, repeat the process, allowing the cleaner to sit briefly before scrubbing. This methodical approach guarantees effective cleaning techniques that respect the integrity of your floor while freeing you from stubborn marks. Patience and careful attention to detail make all the difference in restoring your tile’s natural shine without compromising its durability.
Rinse the Floor With Clean Water

After scrubbing, you’ll need to rinse the floor thoroughly with clean water to remove any remaining cleaning solution and loosened dirt. Use a mop or a soft cloth soaked in lukewarm water—water temperature plays a key role in effective rinsing. Avoid hot water, as it can damage the grout or tile surface. To follow proper cleaning techniques, rinse in sections, wringing out excess water frequently to prevent puddles. Rinse until you see no soap residue left on the tiles; this guarantees no film dulls your porcelain. If needed, change the rinse water regularly to avoid redistributing dirt. Taking this step seriously frees your floor from grime and prepares it for drying without leaving streaks or residue behind.
Dry the Tiles to Prevent Water Spots
Although rinsing removes most of the cleaning solution, you’ll still need to dry the tiles promptly to prevent water spots and streaks. Start by using a clean, dry microfiber mop or towel to absorb excess moisture. Apply consistent pressure and work in small sections to guarantee thorough drying. For larger areas, consider using a squeegee to push water toward a drain or floor edge, speeding up the drying process. Avoid air drying alone, as minerals in water can leave unsightly spots. By mastering these drying techniques, you’ll maintain the porcelain’s shine and keep your floor looking flawless. Prioritizing water spot prevention not only enhances your floor’s appearance but also extends its lifespan, giving you the freedom to enjoy a pristine, hassle-free space.