To start your DIY epoxy flooring, first prep your floor thoroughly by cleaning, repairing, and etching for better adhesion. Next, pick an epoxy kit that suits your floor type, color preference, and coverage needs. Mix the epoxy carefully following manufacturer instructions, then apply evenly using a roller or squeegee to avoid bubbles and lap marks. You can add decorative flakes or texture for style and safety. Finally, let it cure properly before finishing with a clear coat for durability. Discover more tips to achieve a flawless finish.
Preparing Your Floor Surface
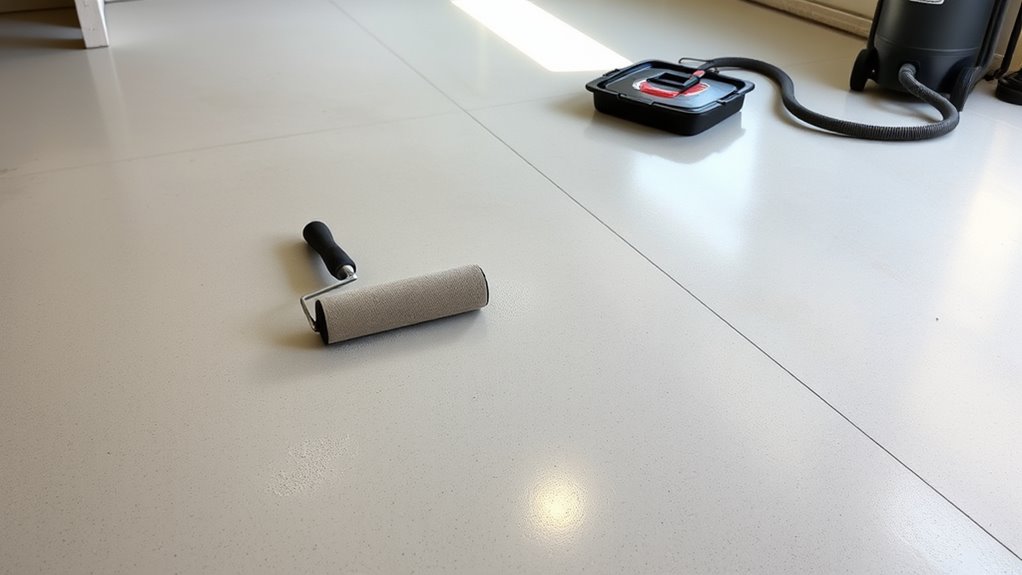
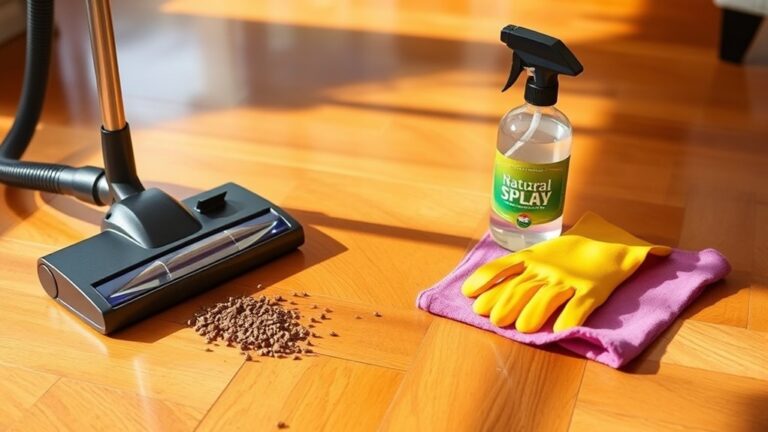
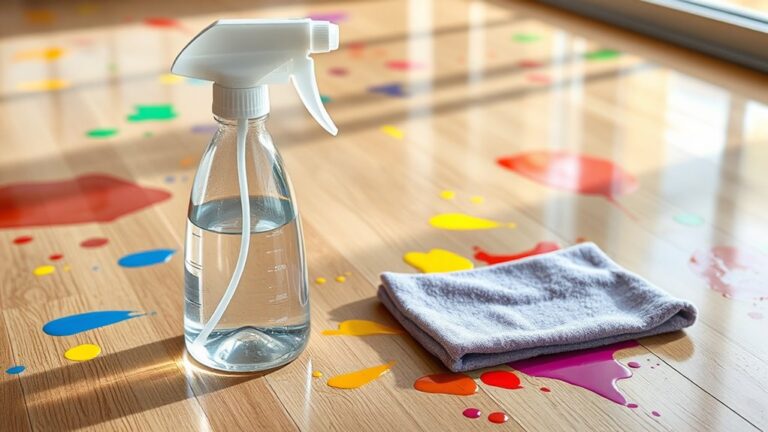
Before applying epoxy, you need to thoroughly prepare your Boden surface to guarantee proper adhesion and durability. Start with a detailed surface assessment—check for cracks, oil stains, and loose debris. Any imperfections can compromise the epoxy’s bond, so addressing them upfront is essential. Next, focus on cleaning techniques: use a heavy-duty degreaser to eliminate oils and grime, then scrub the floor vigorously with a stiff brush. Rinse thoroughly and allow it to dry completely. For concrete floors, etching with a muriatic acid solution or mechanical grinding can enhance epoxy adhesion by creating a slightly rough texture. Remember, skipping or rushing this preparation phase limits your freedom to enjoy a long-lasting, flawless finish. Taking these precise steps guarantees your DIY epoxy flooring stands up to wear and time.
Choosing the Right Epoxy Kit
Once your floor is properly prepared and spotless, selecting the right epoxy kit becomes your next priority. Choosing wisely guarantees durability and a flawless finish, empowering you to take control of your space. When picking your epoxy kit, consider these factors:
- Compatibility of kit brands with your floor type
- Available epoxy colors to match your design vision
- Coverage area per kit to avoid shortages
- Cure time for planning your project timeline
- Included tools and instructions for ease of application
Stick to reputable kit brands known for quality and clear guidance. Selecting the right epoxy colors lets you personalize your floor, reflecting your unique style and freedom. This decision sets the foundation for a smooth application and long-lasting results, so choose thoughtfully before moving forward.
Mixing and Applying the Epoxy
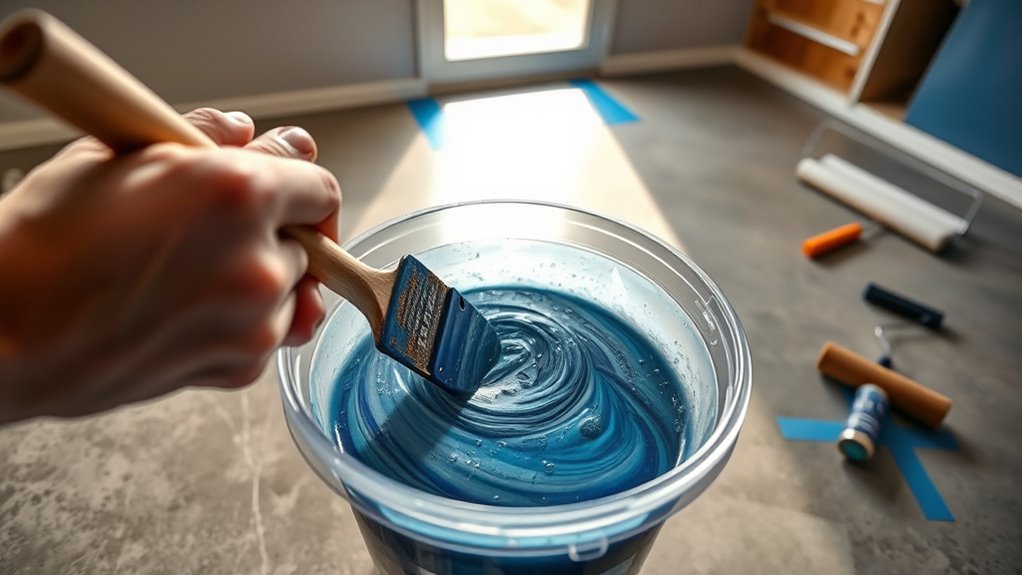
Mixing and applying epoxy involves careful attention to detail to secure a smooth, durable finish. Start by strictly following the manufacturer’s mixing ratios; incorrect proportions can ruin your entire floor. Use a clean container and stir thoroughly for at least three minutes, scraping the sides and bottom to guarantee an even blend. Once mixed, apply the epoxy promptly, as it begins to cure quickly. Employ proper application techniques—pour small sections and spread with a notched squeegee or roller for consistent coverage. Work methodically, maintaining a wet edge to avoid lap marks and bubbles. Ventilate your space well, wear protective gear, and avoid overworking the epoxy. Mastering these steps lets you harness freedom in your workspace, achieving professional results without relying on costly contractors.
Adding Decorative Elements and Texture
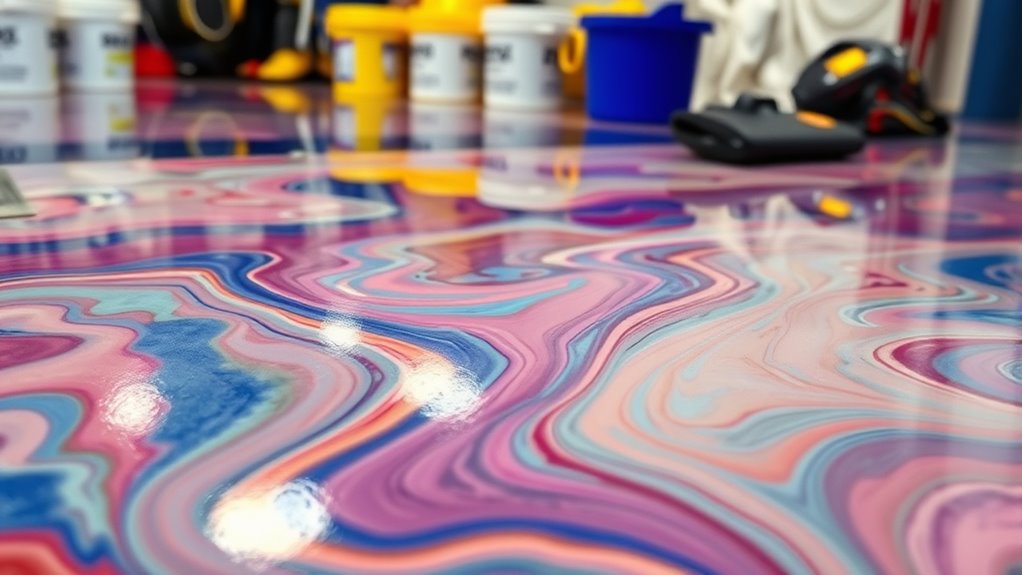
Although the base epoxy layer provides strength and durability, adding decorative elements and texture can transform your floor from functional to striking. You have full creative control with color choices, allowing you to match or contrast your space’s aesthetic. Texture techniques not only boost visual appeal but also improve slip resistance. Consider these options to personalize your epoxy floor:
- Metallic pigments for a shimmering, dynamic finish
- Color flakes to add depth and pattern complexity
- Stencils or tape to create geometric shapes or borders
- Anti-slip additives for practical texture and safety
- Faux finishes like stone or wood grain for unique looks
Curing and Finishing Your Epoxy Floor
As your epoxy floor reaches the final stages, you’ll need to focus on proper curing to confirm a durable, long-lasting finish. Start by maintaining a consistent temperature and humidity level—these curing techniques assure the epoxy hardens evenly without bubbles or imperfections. Avoid walking on the floor for at least 24 to 48 hours, depending on the product specifications. Once fully cured, inspect the surface for any rough spots or dust particles. For the finishing touches, lightly sand any uneven areas with fine-grit sandpaper, then apply a clear topcoat if desired to enhance gloss and protection. Proper curing and finishing not only enhance durability but also give you the freedom to enjoy a professional-grade epoxy floor you installed yourself.