To build your own dance floor, start by gathering quality plywood or laminate panels, underlayment, and basic tools like a drill and level. Next, pick a flat, stable location indoors or outdoors, ensuring enough space and clearance. Clean and level the surface, then frame it securely using pressure-treated wood. Lay and fasten your Bodenbelag panels precisely, leaving expansion gaps. Finally, add non-slip coatings and edge trim for safety and style. Follow these clear steps to create a durable, professional dance floor—keep exploring for helpful tips and techniques.
Gather Your Materials and Tools
To get started on your DIY dance floor, you’ll need to gather five essential materials and tools that guarantee durability and safety. First, focus on material selection: choose high-quality plywood or laminate panels for a smooth, resilient surface. Next, secure underlayment foam or rubber mats to absorb impact and prevent slipping. You’ll also need strong adhesive or screws to firmly attach panels. For tool requirements, have a power drill, measuring tape, level, utility knife, and safety gear like gloves and goggles ready. These tools facilitate precise assembly and a secure finish. By carefully selecting materials and preparing your tools, you set the foundation for a reliable, safe dance floor that lets you move freely and confidently in your space.
Choose the Perfect Location for Your Dance Floor
Selecting the right spot for your dance floor is essential for both safety and performance. First, measure the dance floor dimensions you need based on your event size and available space. Whether you choose outdoor vs indoor, consider factors like weather, lighting, and foot traffic. Indoor locations offer controlled environments, protecting your floor from moisture and debris, while outdoor spots provide openness but require more weatherproofing. Guarantee the area is flat, stable, and roomy enough for dancers to move freely without crowding. Avoid uneven ground or areas prone to water pooling. Also, check for overhead clearance and proximity to power sources if you plan on lighting or sound equipment. By carefully selecting your location, you set the stage for a smooth, safe, and enjoyable dance experience.
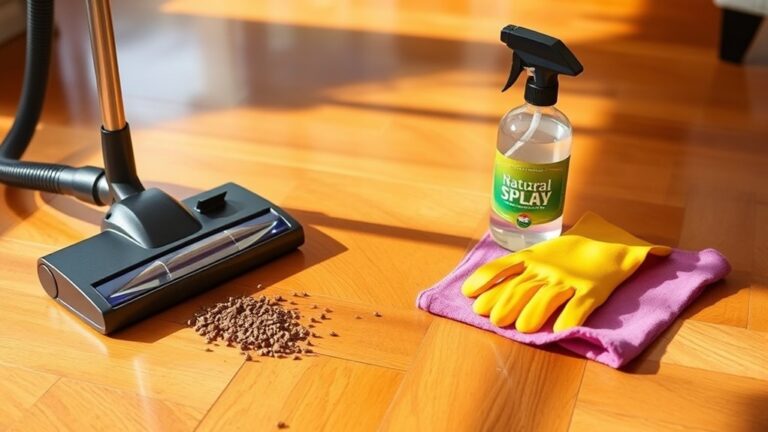
Prepare the Surface and Frame the Floor
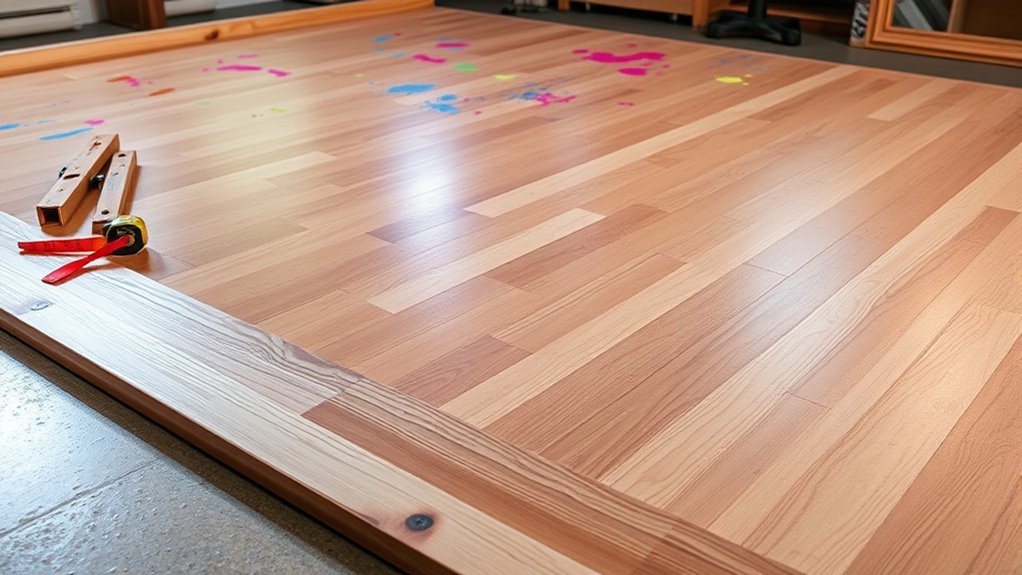
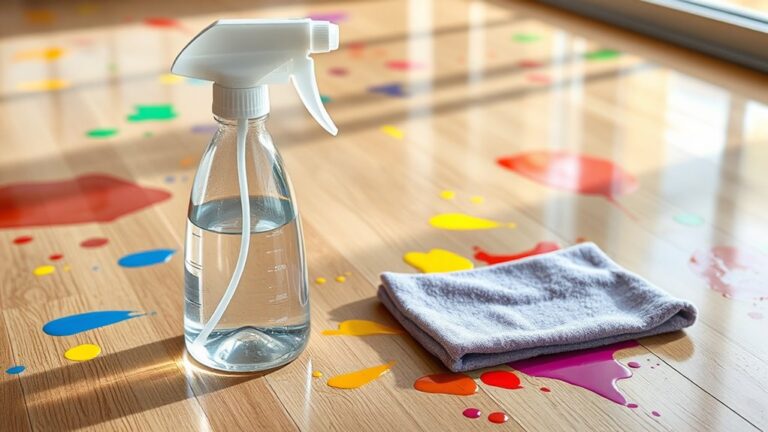
Once you’ve chosen your location, you’ll need to guarantee the surface is clean, level, and sturdy enough to support the dance floor. Surface preparation involves removing debris, filling cracks, and checking for evenness. For frame construction, use pressure-treated wood to build a stable base that supports the flooring panels without shifting.
| Schritt | Details |
|---|---|
| Clean Surface | Remove dirt, dust, and debris |
| Level Surface | Use a level tool; fill dips or cracks |
| Frame Materials | Pressure-treated wood, screws, anchors |
| Frame Assembly | Secure frame edges; confirm square corners |
Proper surface preparation and precise frame construction guarantee your dance floor lasts and performs safely, giving you the freedom to dance with confidence.
Install the Flooring Panels Securely
With the frame securely in place and the surface properly prepared, you’re ready to install the flooring panels. Begin by positioning the first panel at one corner, ensuring secure panel alignment with the frame edges. Use spacers if necessary to maintain consistent gaps for expansion. As you add each panel, check that all edges fit snugly without gaps or overlaps; this is essential for flooring stability. Secure panels using screws or clips designed for your flooring type, fastening into the frame without over-tightening. Work systematically across the surface, verifying alignment frequently to prevent shifts. Proper installation prevents movement, enhances durability, and creates a solid dance surface. Take your time—precise alignment and secure attachment are the foundation of a dance floor that supports freedom of movement without compromise.
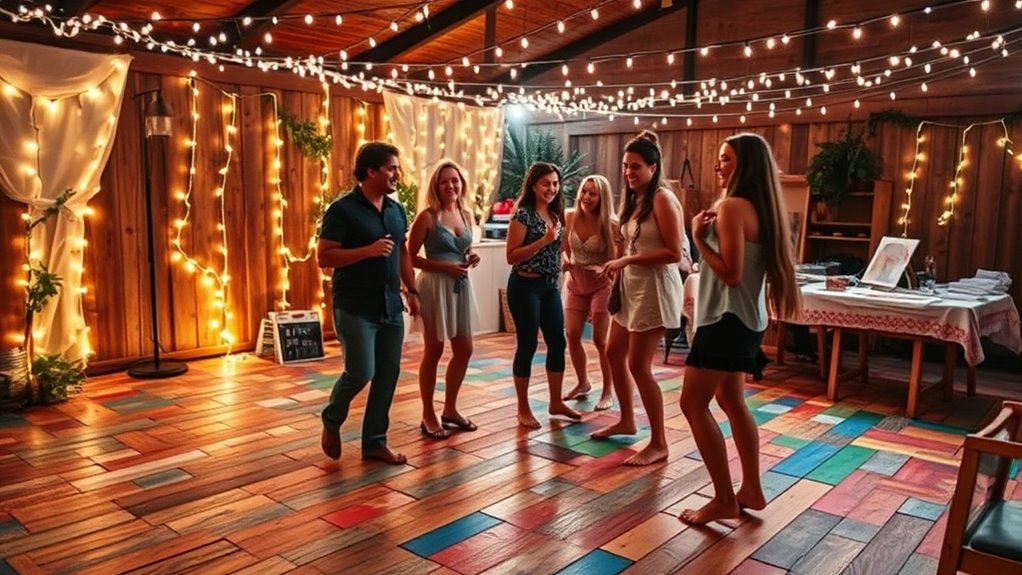
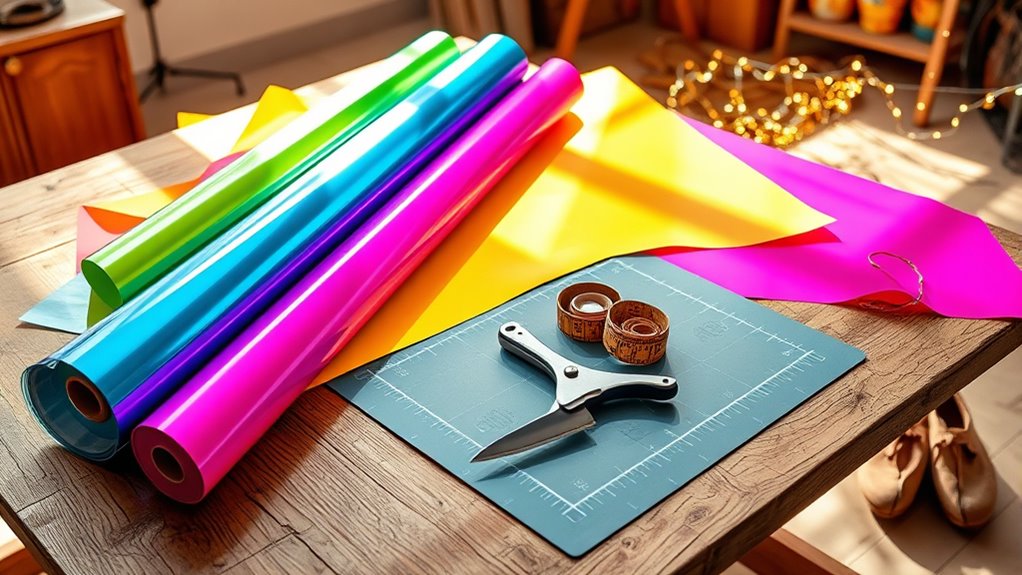
Add Finishing Touches for Style and Safety
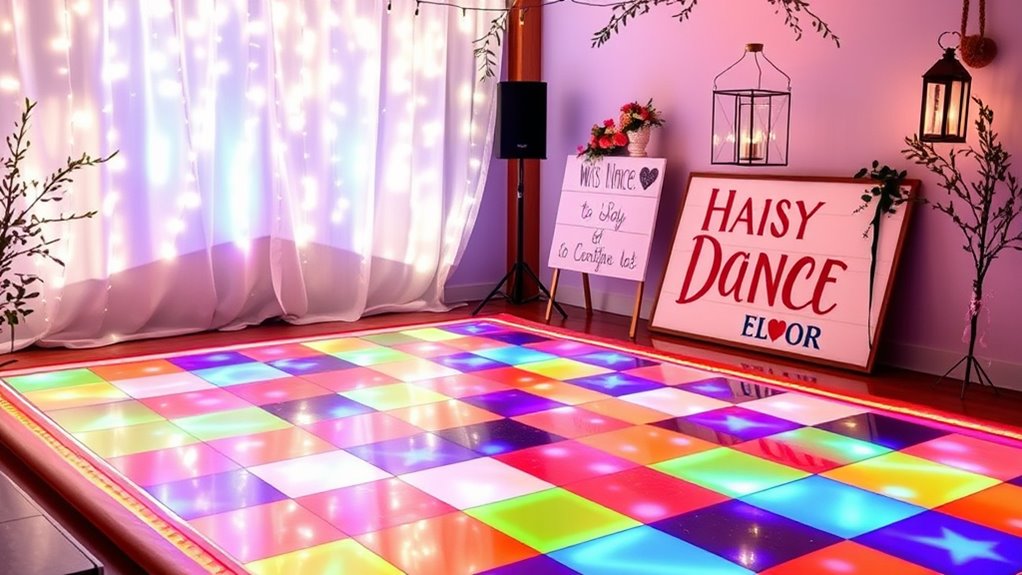
Although your dance floor is structurally complete, adding finishing touches is essential to enhance both its appearance and safety. Start by applying non-slip coatings or mats around the perimeter to enforce safety measures, preventing slips during energetic moves. Next, install edge trim or molding to cover gaps and sharp edges, reducing trip hazards. For style, incorporate decorative accents like LED strip lights beneath panels or colorful inlays that reflect your personality while maintaining durability. Consider custom stencils or decals to personalize the surface without compromising traction. Finally, regularly inspect your additions and flooring for wear, ensuring all safety measures remain effective. By thoughtfully combining these functional and aesthetic elements, you’ll create a dance floor that’s as safe as it is striking, empowering your freedom to dance confidently.