Are you staring at your hardwood floors, feeling overwhelmed by the thought of removing them yourself? You’re not alone.
Many homeowners feel the same way when they first consider tackling this project. But what if I told you that removing hardwood floors can be simpler than you think? With the right approach, you can transform your space without the stress and hassle you might expect.
Imagine the satisfaction of seeing your room evolve, knowing you did it all yourself. By following a few straightforward steps, you’ll not only save money but also gain the confidence of a seasoned DIY expert. Ready to get started? Let’s dive in and discover how you can efficiently remove your hardwood floors with ease.
Preparation Steps
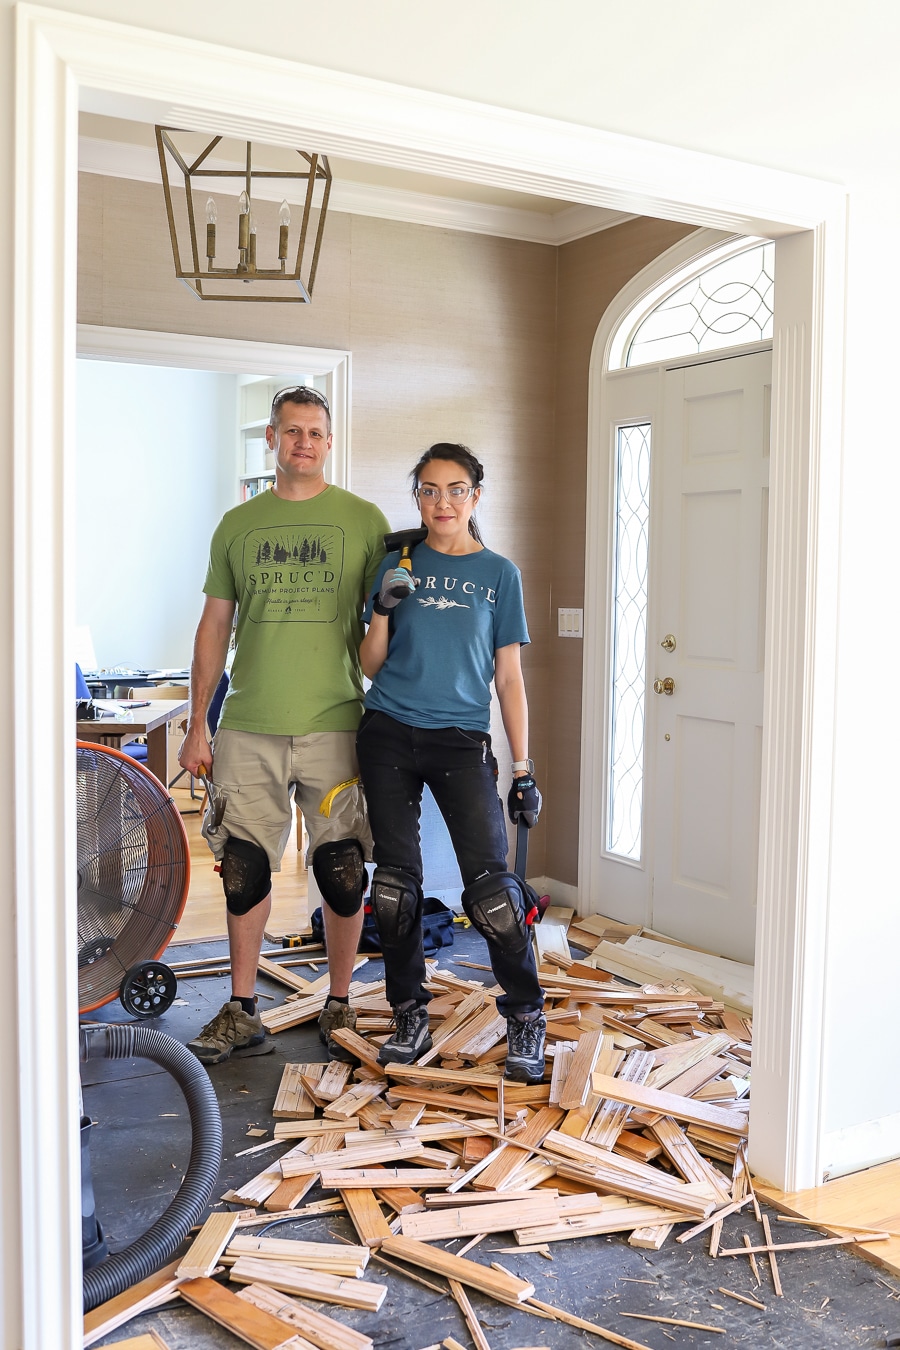
Start with a Hammer Und crowbar. Get a Universalmesser Und floor scraper too. A pry bar Und nail puller are needed. Don’t forget Schutzbrille. Gloves are important for safety. Keep a Staubmaske handy for dust.
Wear Schutzbrille to protect eyes. Gloves keep hands safe. A Staubmaske is good for breathing. Make sure the area is well-lit. Keep a first-aid kit nearby. Tell others to stay away when working.
Move all Möbel out of the room. Take away Teppiche Und carpets. Remove any decorations on the floor. Check for nails Und tacks. Pick up small items to avoid tripping. Make sure the floor is clear.
Assessing The Floor Type
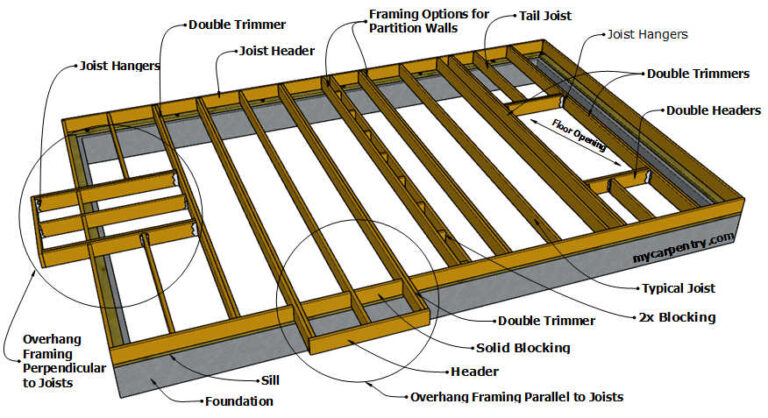
Check how the hardwood is attached. Is it nailed, glued, or floating? Each method needs different tools. Nailed floors need a pry bar or hammer. Glued floors need a scraper. Schwimmende Böden are easier to lift. Look for gaps or seams to know more. Knowing the method helps avoid damage.
Underlayment is the layer below the hardwood. It can be foam, felt, or plywood. Some floors have no underlayment. Finding the underlayment is important. It shows how to remove the floor safely. Carefully lift a corner to peek below. This helps you plan the next steps.
Removing Baseboards And Trim
First, gather your tools. A pry bar is needed for this job. Slide the pry bar under the baseboard. Be gentle to avoid damage. Slowly lift the baseboard away from the wall. Work your way down the length. Go slowly to keep the wood intact. If nails are stubborn, use a hammer. Tap the pry bar gently. Patience is key here.
Label each piece for easy reinstallation. Use a marker for this. Write on the back of the trim. This helps when putting it back later. Organize the pieces in a safe spot. Keep them in order.
Taking Out The Hardwood
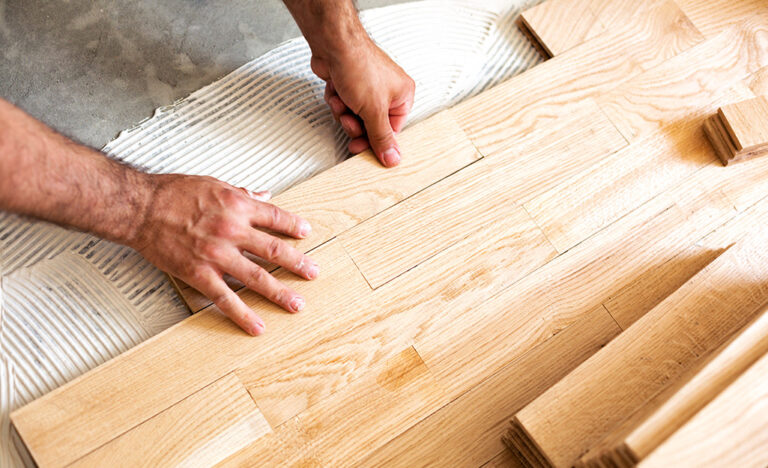
Begin your work at a corner of the room. Corners are easier to manage. Use a pry bar to lift the boards. Be careful not to damage the floor. Lift slowly to avoid breaking the wood.
A pry bar and mallet are your best tools. The pry bar helps lift the wood. The mallet gives you more force. Tap gently with the mallet. Too much force can break the wood. Repeat until the board is loose.
Some boards will be damaged. Damaged boards need care. Use the pry bar to lift them. Go slow with damaged pieces. A slow lift prevents more harm. Be patient and gentle.
Dealing With Adhesive
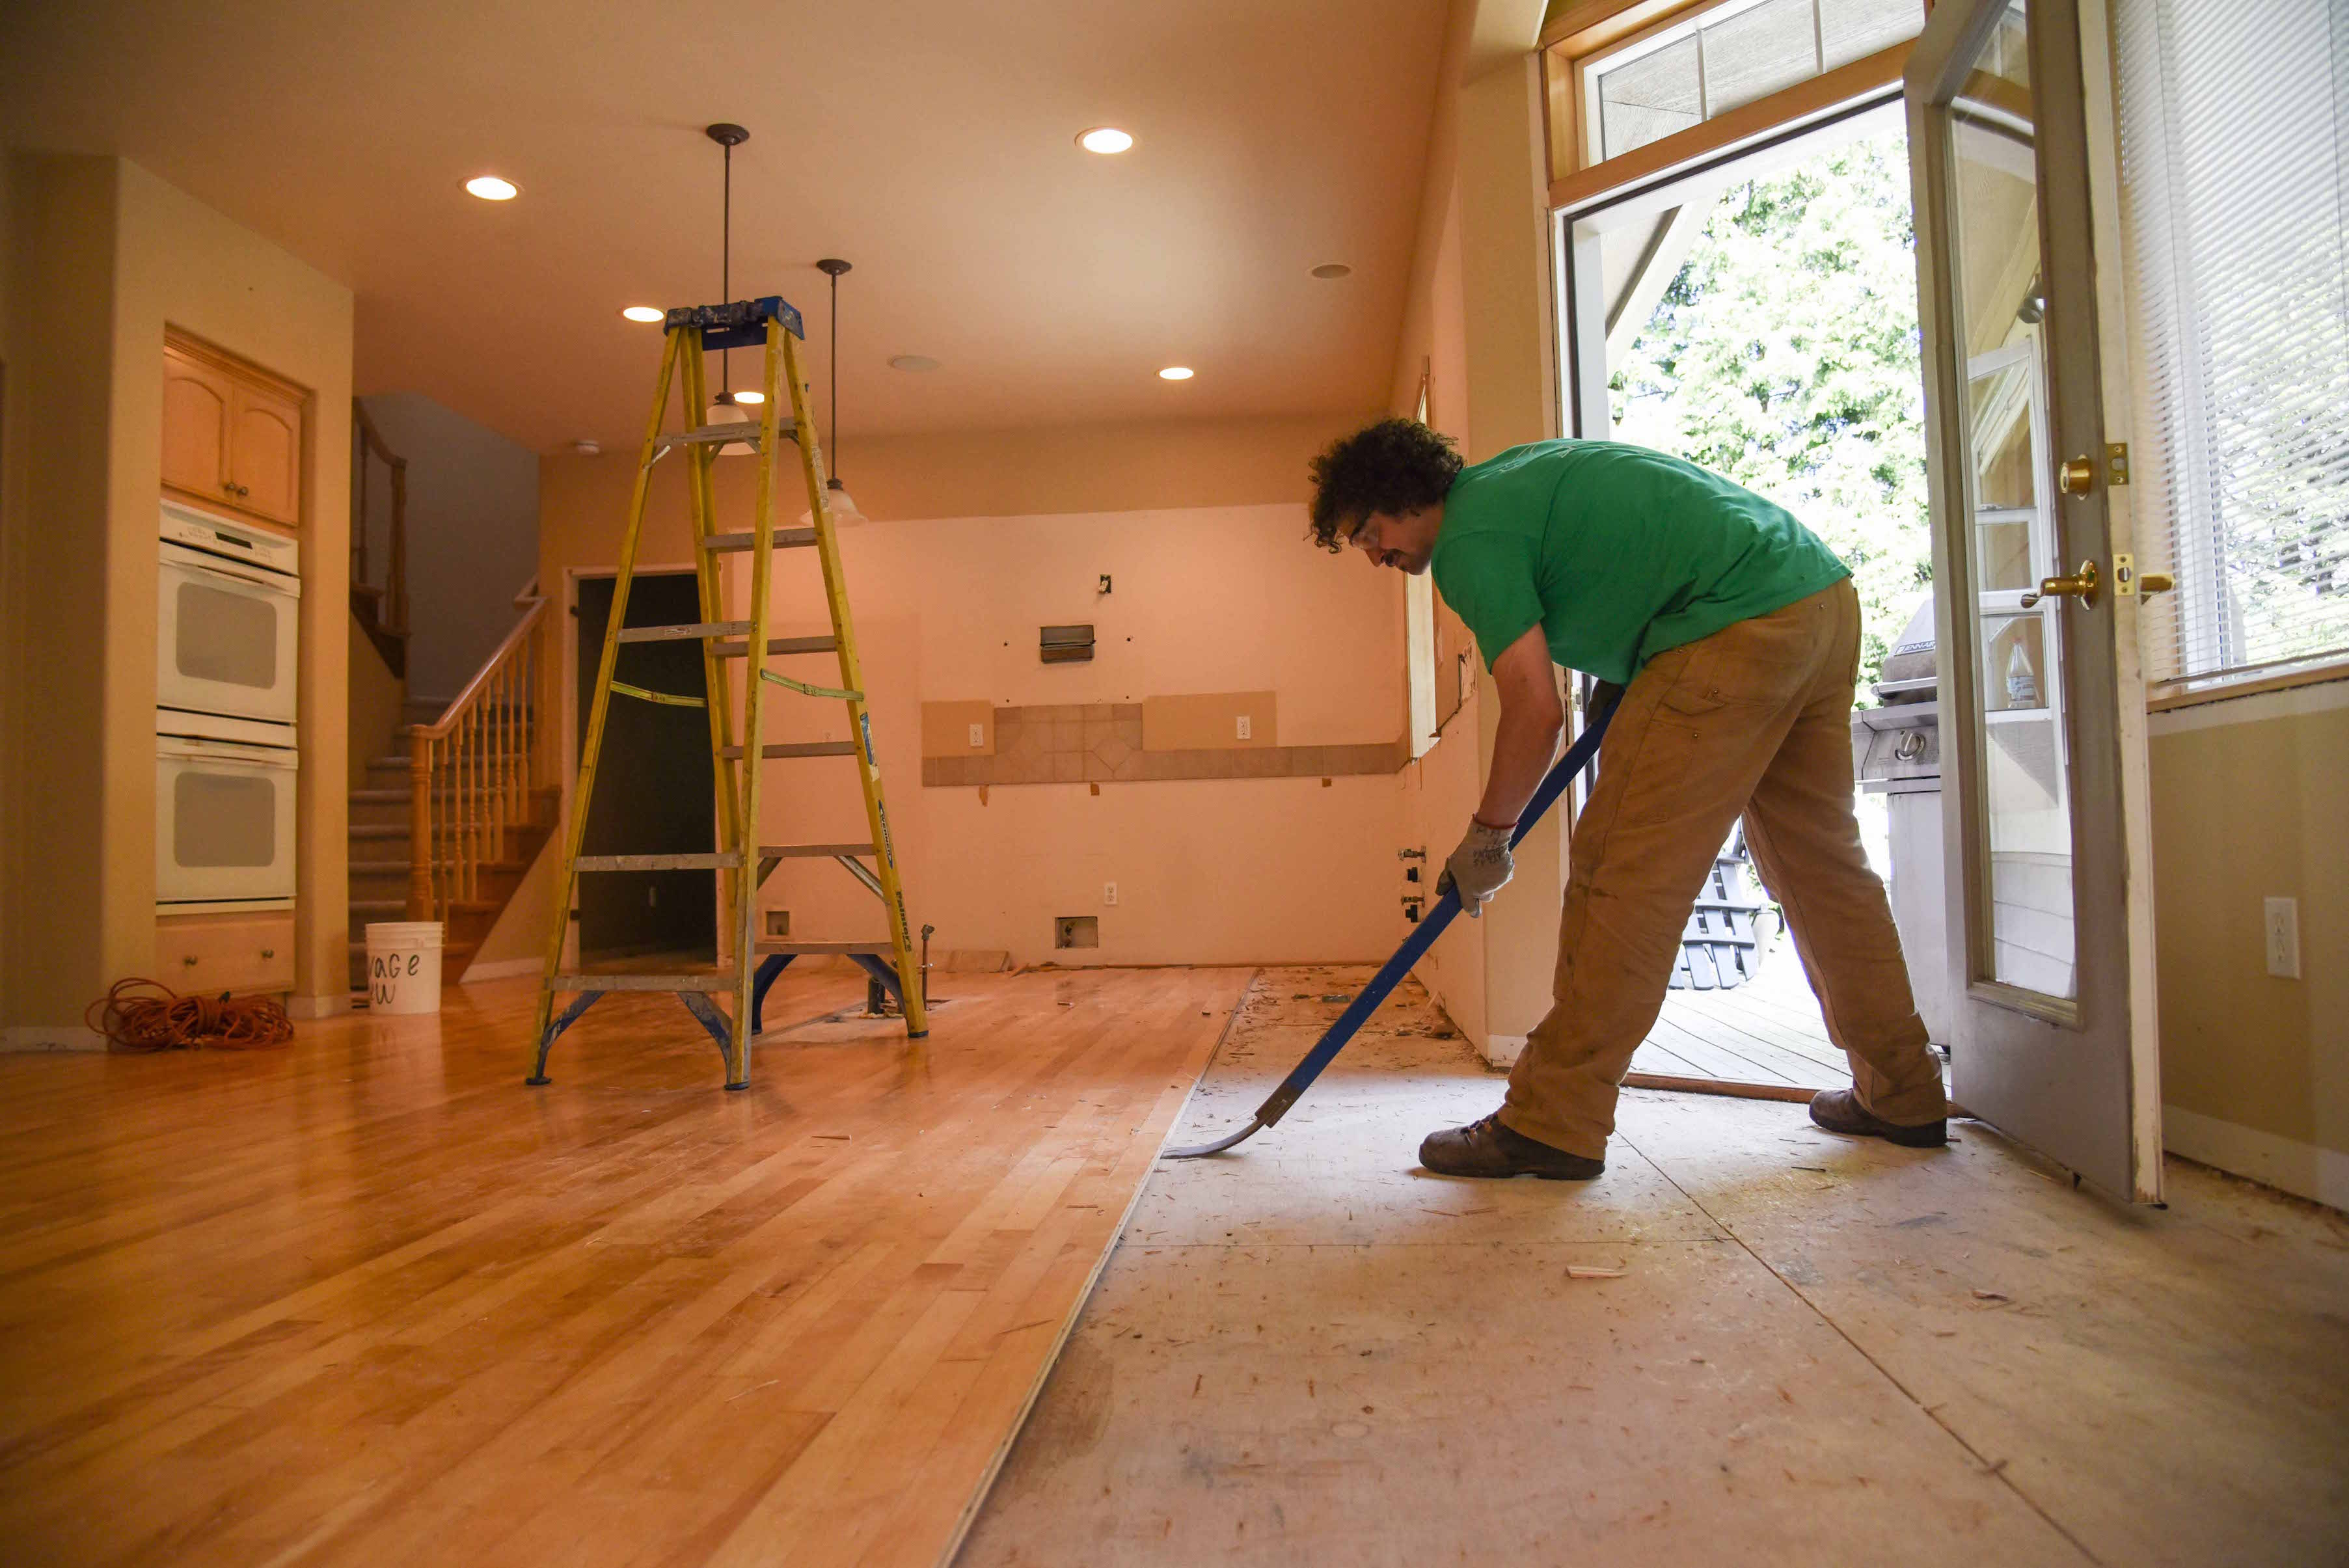
Start by using a scraper or putty knife. Gently push it under the leftover glue. Be careful not to damage the floor. Slowly work your way across the area. This helps remove most of the glue.
Sometimes glue is very sticky. Solvents can help in such cases. Apply a small amount to a cloth. Rub it on the glue. Wait for a few minutes. The glue should start to soften. Use the scraper again to remove it. Be sure to wear gloves when using solvents.
Cleaning The Subfloor
Start by clearing the room of furniture and debris. Remove the old hardwood floors carefully to avoid damaging the subfloor. Clean any residue and nails to prepare for the new installation.
Sweep And Vacuum Debris
Begin by sweeping the Unterboden to remove loose debris. Use a broom with soft bristles. Ensure all corners are reached. After sweeping, use a vacuum cleaner. This will pick up fine dust and small particles. Make sure the vacuum is set to the correct setting. Avoid using a vacuum with a beater bar. It can scratch the surface. Clean thoroughly, as debris can cause issues later.
Inspect For Damage
Check the subfloor for any visible damage. Look for cracks or holes. These can weaken the floor. If found, mark them for repair. Use a flashlight to see better. Check for water damage too. Wet spots or stains are signs. If damage is present, fix it before proceeding. A smooth, clean subfloor is essential.
Disposal Of Old Flooring
Determine local disposal rules to manage old Bodenbelag. Some areas have strict rules. Check with your local waste management. They can guide you. Some places may require special bags. Others might have designated drop-off points. Knowing these rules helps avoid fines. It also keeps your community clean. Always follow local guidelines for safety and compliance.
Consider recycling options for your old hardwood. Recycling is good for the planet. It reduces waste. Some companies take old flooring for reuse. They might use it for other projects. Contact local recycling centers. Ask if they accept hardwood. This is an eco-friendly choice. It helps the earth and saves resources.
Preparing For New Flooring
Before installing new floors, check the subfloor’s levelness. A level subfloor ensures a smooth floor surface. Use a long level tool to check different areas. If the subfloor is uneven, it can cause problems later. Fixing it now will save time and money.
Nächste, repair any imperfections on the subfloor. Look for cracks, holes, or bumps. Fill holes with a patching compound. Sand down any high spots. Make sure the surface is smooth and even. This step is important for a stable floor. A well-prepared subfloor helps the new floor last longer.
Häufig gestellte Fragen
What Tools Are Needed To Remove Hardwood Floors?
You’ll need a pry bar, a mallet, and a circular saw. Safety gear like gloves and goggles is essential. A vacuum or broom helps clean debris. Ensure you have a suitable disposal method for removed flooring.
How Long Does It Take To Remove Hardwood Floors?
Removing hardwood floors can take a few hours to a day. Duration depends on the room size and flooring type. Professional removal may be faster. DIY projects might take longer due to the learning curve.
Is Removing Hardwood Floors A Diy Project?
Yes, removing hardwood floors can be a DIY project. Proper tools and safety equipment are necessary. Follow step-by-step guides carefully. Professional help is recommended for complex installations or if unsure.
What Should I Do With Old Hardwood Floors?
Old hardwood floors can be recycled or reused. Donate to local charities if in good condition. Consider selling or repurposing for DIY projects. Check local disposal regulations for non-reusable flooring.
Abschluss
Removing hardwood floors requires patience and careful planning. With the right tools, you can safely complete the task. Remember to wear protective gear. Dust and debris can be harmful. Take breaks during the process. This helps maintain energy and focus.
Check for any hidden nails or staples. They can damage tools or cause injury. Dispose of old flooring responsibly. Recycling is a good option. Consider hiring a professional if the task seems overwhelming. Their expertise can make the job quicker.
Enjoy your new space once the old floors are gone. It’s worth the effort.