To polish your marble floors in seven steps, first gather tools like a microfiber mop, pH-neutral cleaner, polishing powder, and a low-speed buffer. Clear the floor, clean thoroughly to remove dust and oils, then address stains using appropriate cleaners or fine sanding. Apply polishing powder evenly, let it set, then buff with a soft pad in overlapping circles. Rinse well, dry fully, and seal to protect the shine. Follow these steps to restore your floor’s brilliance and learn how to maintain it effectively.
Gather the Necessary Tools and Materials
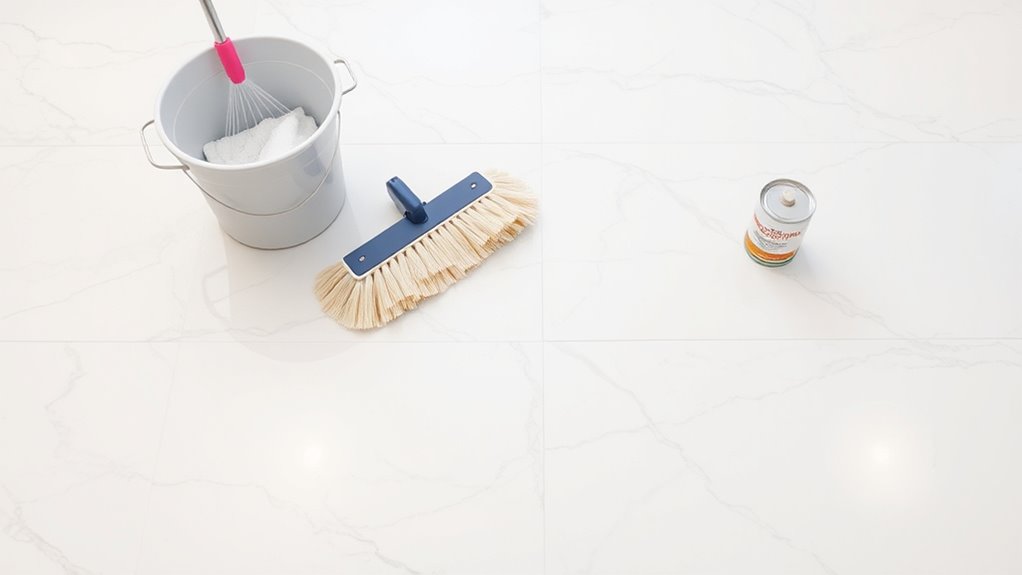
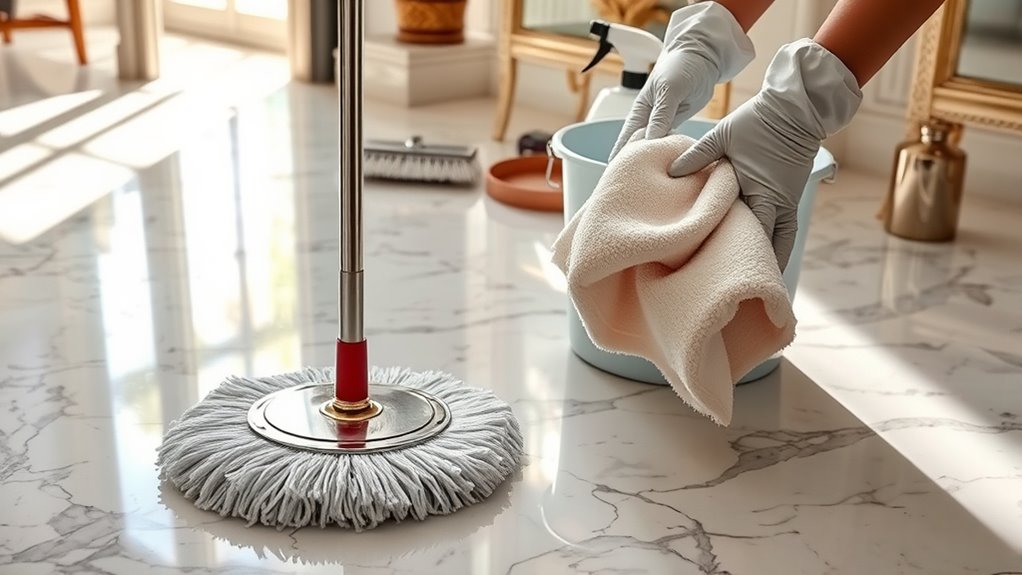
Before you begin polishing your marble floors, you’ll need to gather specific tools and materials to guarantee an effective and safe process. Start with a soft microfiber mop and a pH-neutral marble cleaner, essential for proper marble cleaning techniques that won’t damage the surface. Obtain a high-quality marble polishing powder or cream, along with a low-speed floor buffer equipped with a white or red polishing pad. Protective gloves and safety goggles are necessary to shield you during the procedure. Additionally, have clean, dry cloths ready for buffing and drying. Following these floor maintenance tips assures you avoid abrasive or acidic products that can etch the marble. By preparing these precise tools and materials, you’ll set the foundation for a successful, free-spirited approach to maintaining your marble floors.
Clear and Clean the Marble Surface
Once you have all your tools and materials ready, the next step is to clear the marble floor of any furniture, rugs, and debris. This is vital for effective surface preparation. Next, apply appropriate cleaning techniques to guarantee the marble is free from dust, dirt, and oils that can interfere with polishing. Use a pH-neutral cleaner and a soft mop or cloth to avoid damage.
| Step | Action | Tools Needed |
|---|---|---|
| 1 | Remove all movable items | Gloves, storage boxes |
| 2 | Sweep/vacuum debris | Broom, vacuum cleaner |
| 3 | Mop with pH-neutral cleaner | Mop, bucket, cleaner |
This methodical clearing and cleaning prepare your marble surface effectively for polishing.
Remove Stains and Surface Imperfections
Although marble is a durable material, stains and surface imperfections can develop over time and diminish its appearance. For effective stain removal, start by identifying the type of stain—organic, oil-based, or rust—then apply a suitable poultice or cleaner specifically formulated for marble. Avoid acidic or abrasive agents that can etch the surface. For surface repair, examine any scratches or etches closely. Light imperfections can be addressed using fine-grit sandpaper or diamond polishing pads, progressing from coarse to fine to restore smoothness. Always keep the surface wet during sanding to prevent dust and heat buildup. Afterward, thoroughly clean the area to remove residues. By following these precise stain removal and surface repair steps, you’ll maintain your marble floor’s natural beauty and extend its lifespan without compromising its integrity.
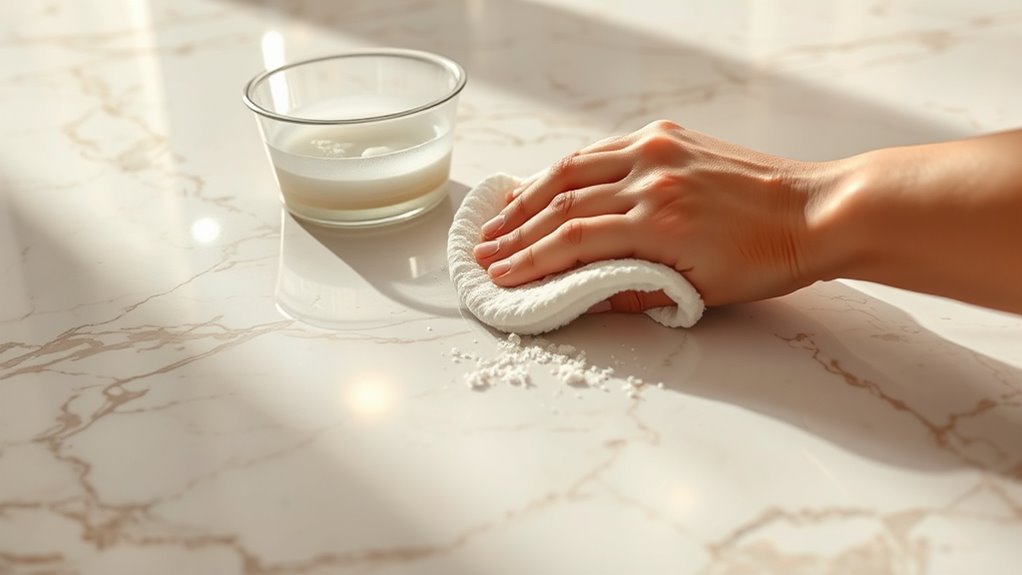
Apply a Marble Polishing Powder
Start by selecting a marble polishing powder that matches your floor’s specific finish and type. Choosing polishing powder correctly is vital to avoid damage and achieve a glossy, smooth surface. Apply the powder evenly, following marble polishing techniques suited for your marble grade. Use minimal water to form a paste, guaranteeing the powder adheres properly without oversaturating.
| Step | Action | Result |
|---|---|---|
| 1 | Select appropriate powder | Protects marble |
| 2 | Mix with water to paste | Guarantees adhesion |
| 3 | Even application | Uniform polish |
| 4 | Avoid excess moisture | Prevents damage |
| 5 | Let sit before buffing | Maximizes shine |
Precise application grants you freedom to restore your marble floor’s elegance efficiently.
Buff the Floor Using a Polishing Pad
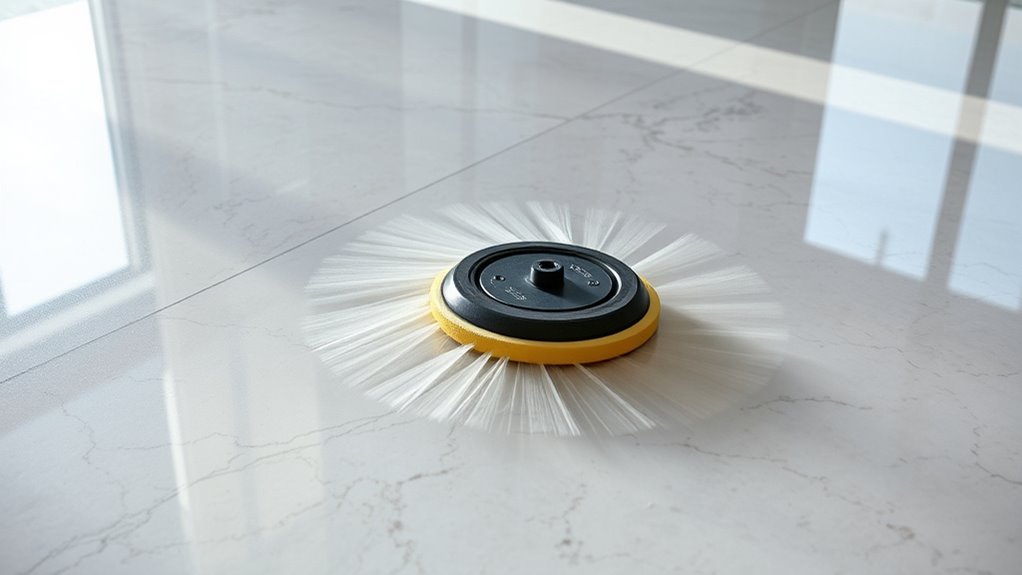
After applying the polishing powder evenly and letting it set, you’ll need to buff the floor to bring out the marble’s natural luster. Begin by selecting the correct polishing pad—usually a fine-grit diamond or microfiber pad designed specifically for marble surfaces. Proper pad selection is essential to avoid scratches and achieve a smooth finish. Attach the pad to a low-speed floor buffer or polisher. Using consistent pressure and slow, overlapping circular motions, work across the entire floor surface. This polishing technique guarantees even abrasion and enhances the powder’s effectiveness. Maintain steady speed and never rush, as haste can damage the marble. Focus on small sections sequentially, allowing the pad to work thoroughly. With the right approach, your marble floor will regain its shine without compromising its integrity.
Rinse and Dry the Marble Thoroughly
Two thorough rinses are essential to remove any polishing residue from the marble surface. Use clean, lukewarm water and a microfiber mop or soft cloth for the first rinse, ensuring you cover every inch without leaving streaks. Follow immediately with a second rinse to guarantee no abrasive particles remain, which could dull the finish. After rinsing, apply effective drying techniques: use a dry, lint-free microfiber towel to absorb moisture completely. Avoid letting water sit on the marble, as it can cause etching or stains. Consistent marble maintenance tips emphasize drying thoroughly to preserve shine and prevent water damage. By rinsing and drying meticulously, you maintain the marble’s natural luster and extend the longevity of your polishing efforts, granting you the freedom to enjoy a flawless, gleaming floor.
Seal the Marble to Protect the Shine
Once the marble is thoroughly rinsed and dried, the next step is to apply a high-quality sealer to protect the polished surface. Selecting the right seal types—penetrating or topical—is vital for durability and maintaining freedom from stains and etching. Use precise application techniques such as a microfiber cloth or a low-pressure sprayer to guarantee even coverage. Avoid puddling to prevent uneven gloss.
- Preserve your marble’s natural beauty effortlessly
- Shield against spills, stains, and wear
- Maintain the freedom to enjoy your floors without constant worry
- Extend the life of your polished finish with minimal upkeep
Following these steps lets you confidently safeguard your marble’s shine while embracing the freedom of a pristine, durable floor.


