To strip and wax your floor in five easy steps, start by clearing and inspecting the surface, making sure it’s clean and damage-free. Next, evenly apply a suitable floor stripper using a mop, then wait 10-15 minutes before carefully scraping off the old finish. Thoroughly clean and dry the floor to remove residue, then apply thin, even coats of quality wax, letting each dry completely. Follow these steps for a refreshed floor, and you’ll find tips to perfect the process ahead.
Prepare the Floor Surface
Begin by clearing the floor of all furniture and debris to secure an unobstructed working area. Next, conduct a thorough surface inspection to identify any damage, stains, or residues that could interfere with the stripping process. This step guarantees you address problem areas effectively and achieve a smooth finish. Don’t forget to wear appropriate protective equipment—gloves, goggles, and a mask—to safeguard yourself from harsh chemicals and dust. Proper preparation is essential; a clean, unobstructed, and intact floor surface allows for efficient stripper application and waxing. Taking these methodical steps now will save you time and effort later, granting you the freedom to enjoy a flawlessly maintained floor with less hassle. Precision in preparation is your foundation for success.
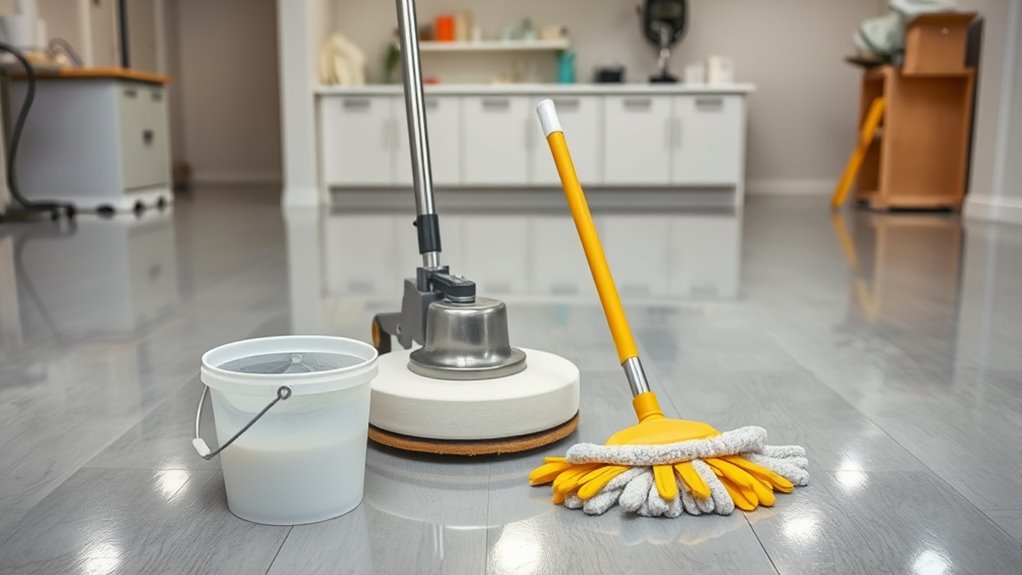
Apply Floor Stripper
Apply the floor stripper evenly across the surface using a mop or applicator designed for the purpose. Choosing the right floor stripper type and mastering application techniques are essential to avoid uneven stripping. You want consistent coverage without oversaturating any area. Use smooth, overlapping strokes and work in manageable sections.
| Floor Stripper Types | Application Techniques |
|---|---|
| Liquid | Mop application |
| Gel | Brush for edges |
| Powder | Mixed with water, mop |
Keep safety in mind; wear gloves and guarantee ventilation. Following these steps gives you control over the process and prepares the floor for the next phase with minimal hassle.
Remove Old Finish
Scrape and lift the old finish carefully once the stripper has had time to work, usually 10 to 15 minutes. Effective old finish removal is key to successful floor maintenance, guaranteeing your floor is prepped for a fresh wax layer. To do this right:
- Use a plastic scraper to avoid damaging the floor surface.
- Work in small sections for better control.
- Remove all softened finish; any residue can affect wax adhesion.
- Collect and dispose of stripped finish promptly to keep your workspace clean.
- Wear gloves and guarantee proper ventilation for safety.
Taking these methodical steps gives you the freedom to maintain your floor’s look and longevity. Precision here means less rework later, so take your time and stay thorough.
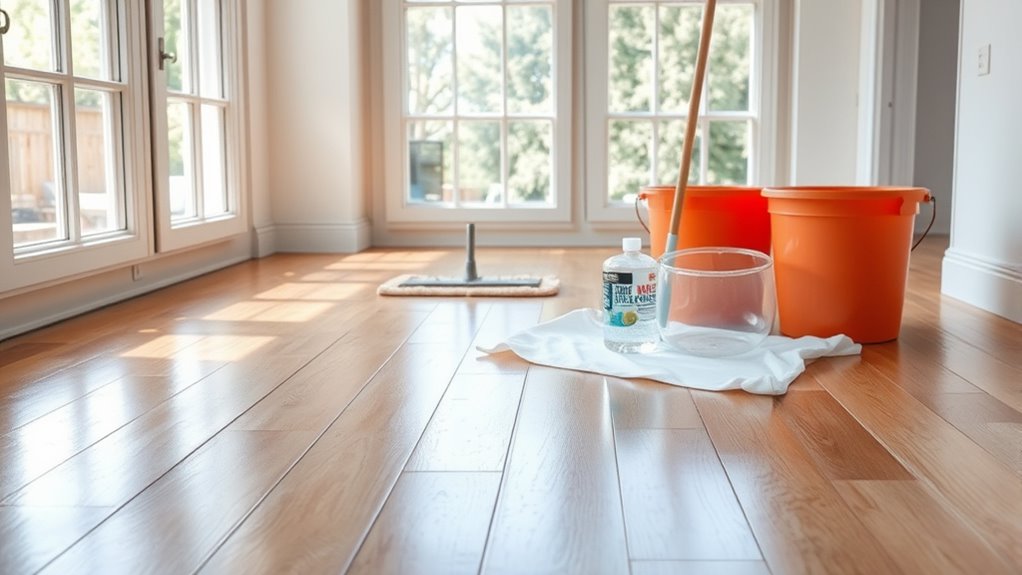
Clean and Dry the Floor
Once you’ve completely removed the old finish, you’ll need to thoroughly clean the floor to eliminate any remaining residue and debris. Start by using a neutral pH cleaner designed for floor cleaning to avoid damaging the surface. Mop the floor carefully, paying close attention to corners and edges where residue often accumulates. After rinsing, change the water frequently to prevent redistributing dirt. Once cleaned, focus on drying the floor properly. Employ effective drying techniques such as using microfiber mops or fans to speed evaporation and avoid streaks or water spots. Ensuring the floor is completely dry is essential before moving on, as any moisture left behind can interfere with the wax’s adherence and final appearance. This step sets the foundation for a flawless wax application and lasting finish.
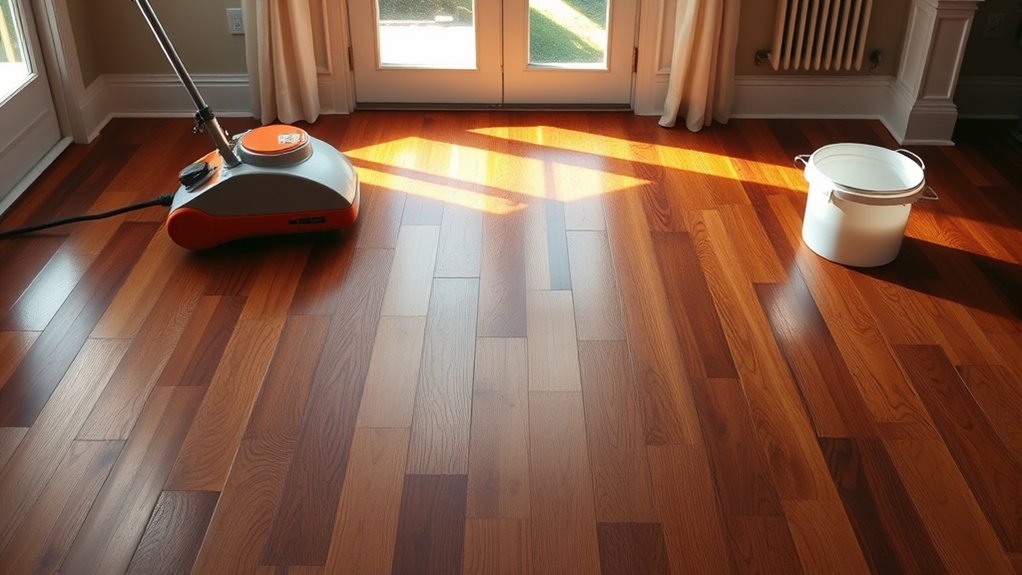
Apply Floor Wax
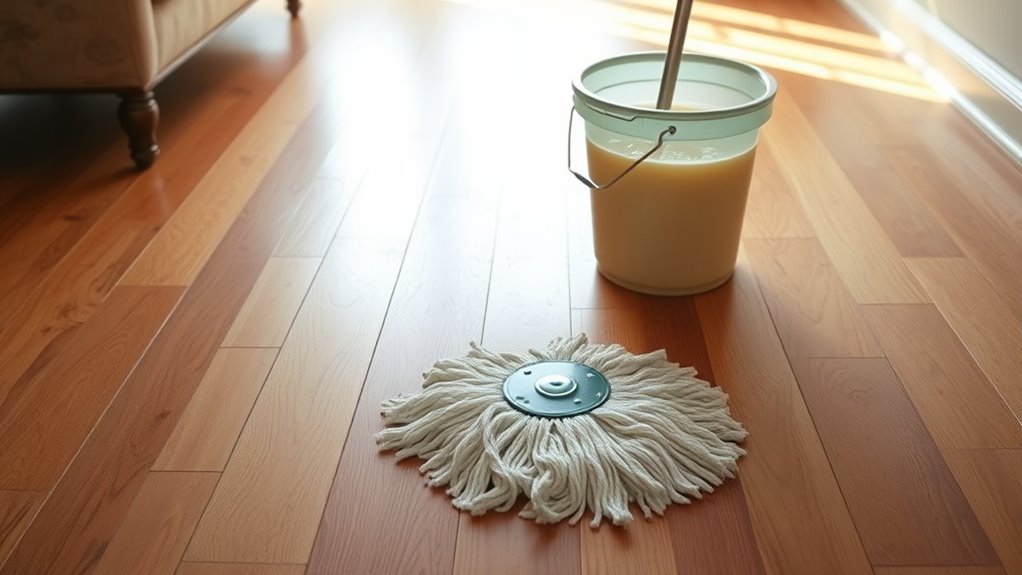
Start by selecting a high-quality floor wax that matches your floor type and desired finish. Proper application is key to effective floor maintenance and achieving a durable, attractive surface. Follow these precise waxing techniques:
- Use a clean, lint-free mop or applicator pad.
- Apply wax in thin, even coats to avoid buildup.
- Work in small sections, overlapping slightly for uniform coverage.
- Allow each coat to dry completely before applying the next.
- Ventilate the area well to speed drying and reduce fumes.


