To replace your bathroom floor in five easy steps, start by gathering all necessary tools and materials for a smooth process. Next, remove the old flooring carefully without damaging the subfloor. Then, prepare the subfloor by cleaning, repairing, and installing a moisture barrier. After that, install your new flooring evenly, guaranteeing proper adhesive application and alignment. Finally, finish with trim and sealant to protect edges and enhance appearance. Keep going to uncover detailed tips that guarantee a flawless finish.
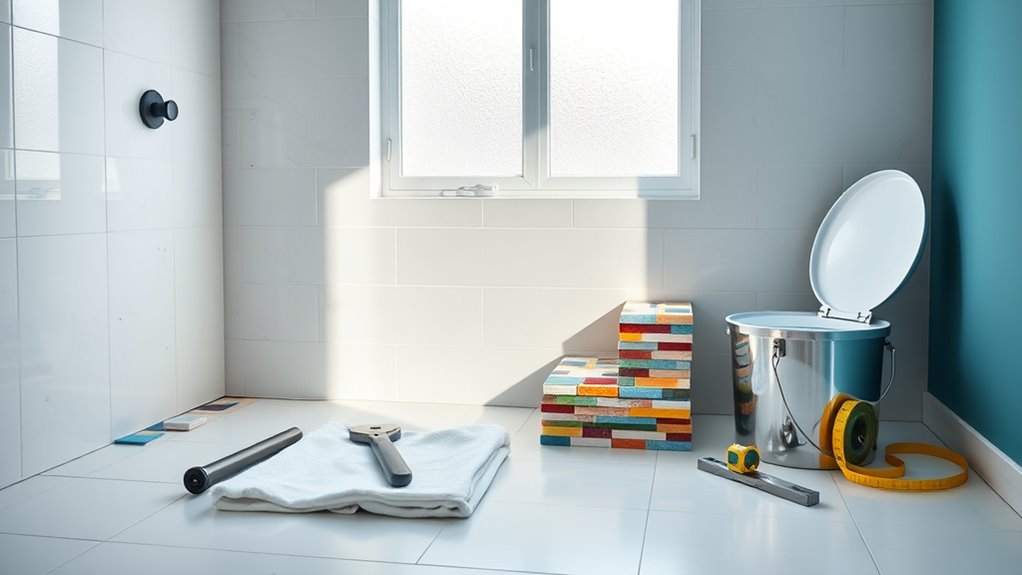
Gather Your Tools and Materials
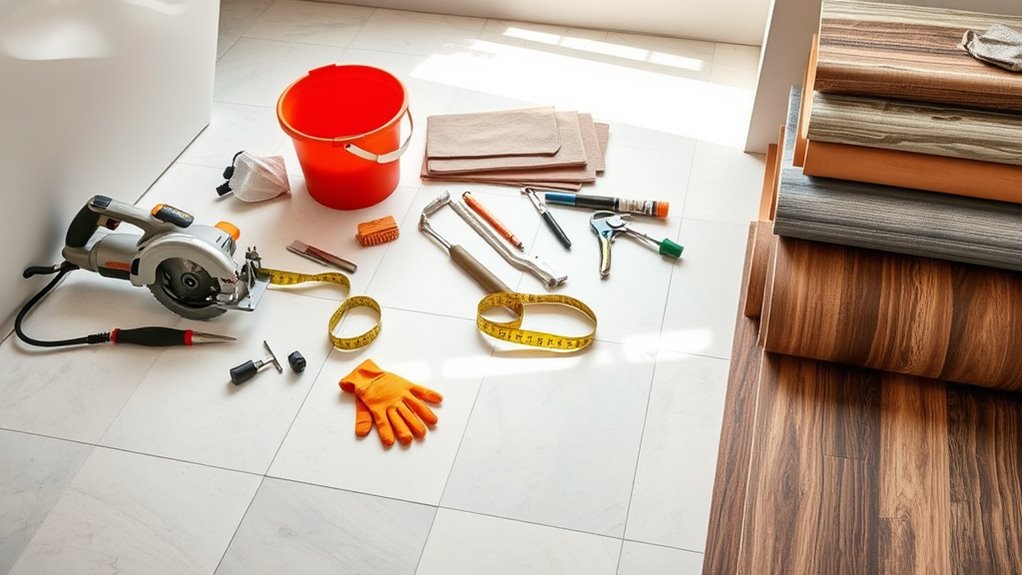
Before you begin replacing your bathroom floor, you’ll need to gather all the necessary tools and materials to guarantee the project goes smoothly. Start with careful tool selection: a utility knife, pry bar, tape measure, level, trowel, and a wet saw if cutting tile. These essentials will help you work efficiently and accurately. Next, review your material options. Consider durable, water-resistant flooring like ceramic tile, vinyl planks, or natural stone. Choose materials that match your style and suit bathroom conditions. Don’t forget underlayment for moisture protection and adhesive appropriate for your flooring choice. Having everything on hand before starting guarantees you maintain momentum and freedom throughout the project, avoiding delays and unnecessary trips to the store. Proper preparation is key to a successful bathroom floor replacement.
Remove the Old Flooring
Start by clearing the bathroom of any furniture or fixtures that might obstruct your work area. Next, choose the right removal techniques based on your current flooring options. For tile or vinyl, use a utility knife to score seams and a pry bar or floor scraper to lift the material carefully. If you have laminate or wood, gently pry up planks to avoid damaging the subfloor. Always wear safety gear like gloves and goggles during this process. Dispose of old flooring responsibly, considering recycling options if available. Removing the old floor thoroughly guarantees a clean surface, preventing issues under your new floor. Taking these steps will give you the freedom to install your preferred flooring options with confidence and ease.
Prepare the Subfloor
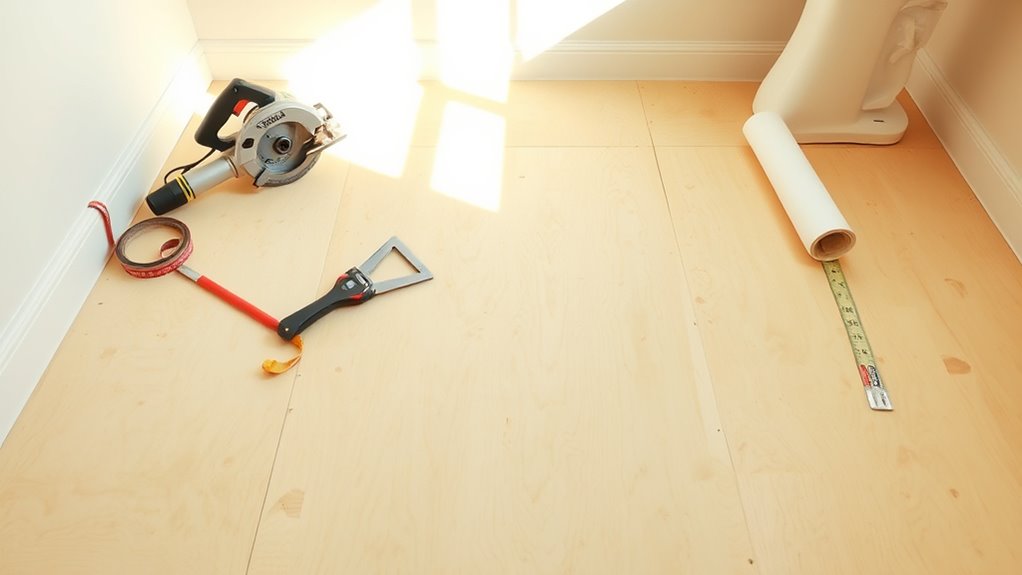
Once you’ve removed the old flooring, your focus should shift to preparing the subfloor for the new installation. Start by identifying the subfloor type—common options include plywood, concrete, or cement board. Inspect it thoroughly for damage, rot, or uneven areas. Repair or replace any compromised sections to guarantee a solid base. Next, clean the surface of debris and dust. Since bathrooms are prone to moisture, installing a moisture barrier is essential. This protective layer prevents water from seeping into the subfloor, reducing the risk of mold and structural damage. Lay the moisture barrier carefully, overlapping edges and sealing seams as needed. Proper subfloor preparation creates a durable foundation, giving you the freedom to install your new bathroom floor with confidence and lasting results.
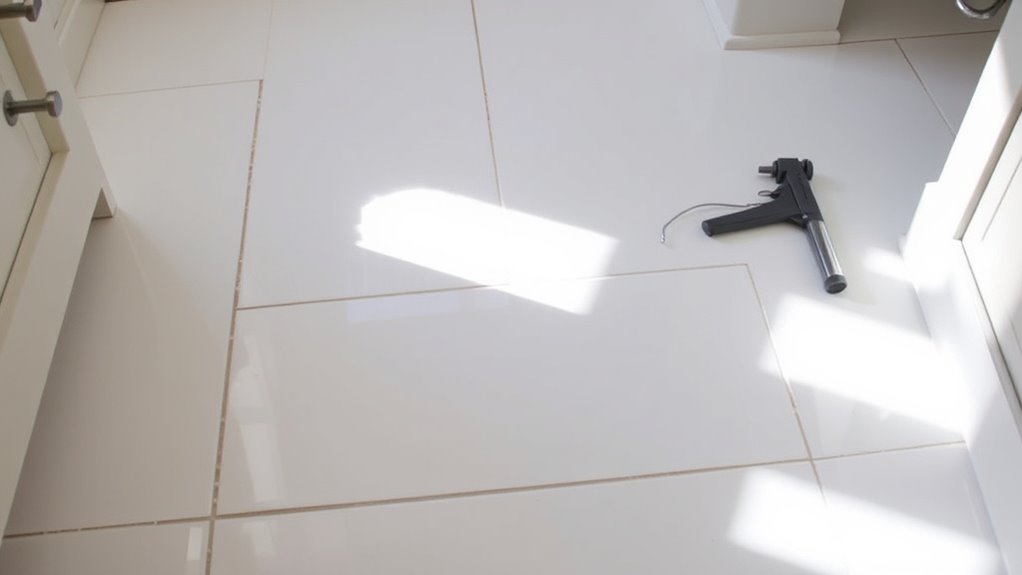
Install the New Flooring
Although installing new bathroom flooring can seem intimidating, careful attention to detail will assure a smooth process. Begin your tile installation by laying out your flooring patterns on the subfloor to visualize the final look and assure balanced cuts at edges. Use spacers to maintain consistent grout lines and start from the center or a straight edge for symmetry. Apply thin-set mortar evenly with a notched trowel, pressing each tile firmly in place. Check alignment frequently with a level and adjust tiles before the mortar sets. Allow adequate drying time according to manufacturer instructions before walking on the tiles. By methodically following these steps, you’ll achieve a durable, attractive floor that reflects your personal style and grants the freedom you desire in your space.
Finish With Trim and Sealant
After your tiles have fully set, you’ll want to focus on finishing touches that both enhance appearance and protect your work. Start by selecting trim options that complement your floor and walls, such as quarter round, shoe molding, or baseboards. These trims not only provide a polished look but also cover expansion gaps and uneven edges.
Next, apply the appropriate sealant types to safeguard against moisture. Use a high-quality silicone or acrylic sealant along joints and edges where water exposure is likely. Be sure to smooth the sealant evenly for a clean finish and verify it adheres well to both tile and trim surfaces. Taking these steps will secure your flooring, maintain its aesthetic, and give you peace of mind in your beautifully updated bathroom.


