First, inspect the mortar and concrete for damage or loose spots. Gather safety gear like goggles and a dust mask, plus tools—hammer, chisel, and possibly power scrapers. Start manually by chiseling at a low angle, tapping carefully to avoid gouging the concrete. For larger areas, use an angle grinder or rotary hammer with appropriate attachments. After removal, clean thoroughly with a broom, vacuum, and detergent scrub, then check for residue to guarantee a smooth surface. Step-by-step guidance can help you tackle every phase efficiently.
Assessing the Condition of the Mortar and Concrete Surface
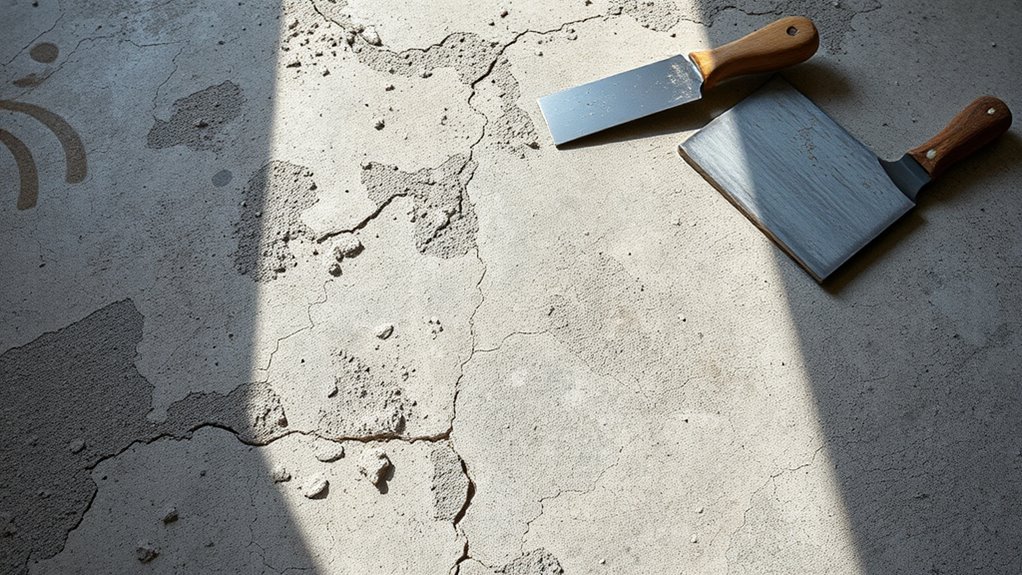
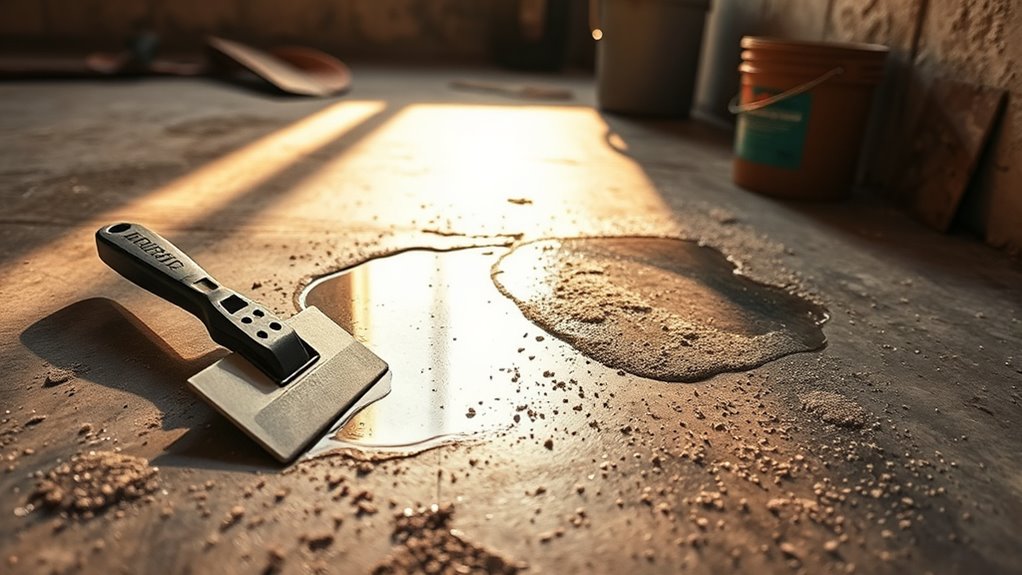
Before you begin removing tile mortar, carefully inspect both the mortar and the concrete surface to determine their condition and identify any damage or irregularities. Conduct a thorough mortar damage assessment by checking for cracks, crumbling, or loose sections that may require special attention during removal. Simultaneously, perform a concrete surface evaluation to identify any surface degradation, pitting, or embedded debris that could affect adhesion or structural integrity. Use a flashlight and a scraper to reveal subtle inconsistencies. Document all findings to plan your removal approach effectively. This step guarantees you understand the extent of work needed and prevents further damage, giving you the freedom to proceed confidently and efficiently with mortar removal. Accurate assessment is key to preserving the concrete’s integrity throughout the process.
Gathering the Necessary Tools and Safety Equipment
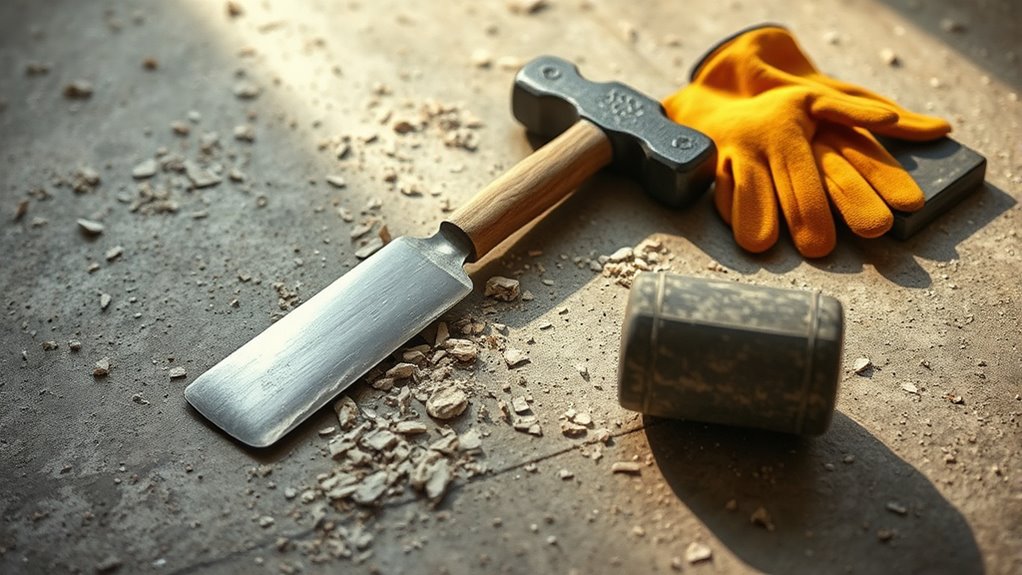
To efficiently remove tile mortar from a concrete floor, you’ll need at least five essential tools and pieces of safety equipment. Start with safety goggles and dust masks to protect your eyes and lungs from dust and debris. Next, gather a hammer and chisel for manual mortar removal, or an electric scraper for faster results. A heavy-duty putty knife or floor scraper will help in loosening stubborn patches. Finally, have a sturdy broom or shop vacuum on hand to clean the workspace frequently, maintaining visibility and safety. Choosing quality, ergonomic tools enhances your control and minimizes fatigue. Prioritize safety gear to guarantee your freedom to work effectively without risking injury or respiratory issues during this demanding task.
Manual Methods for Removing Mortar From Concrete
Start by positioning your chisel at a low angle against the mortar, then tap it gently with the hammer to chip away small sections. Use precise chisel techniques to avoid gouging the concrete beneath. Manual scraping demands patience; work systematically, focusing on one area at a time. Maintain consistent pressure and angle to maximize efficiency and minimize fatigue. For stubborn mortar, leverage the chisel’s edge while applying firm, controlled taps. Always keep the chisel sharp to enhance cutting action and reduce effort. Manual methods give you full control, letting you navigate tight spots where power tools can’t reach. By mastering these techniques, you’ll free the concrete surface cleanly and prepare it perfectly for your next project—granting you the freedom to shape your space exactly as you envision.
Using Power Tools to Speed Up Mortar Removal
While manual methods offer fine control and precision, they can be time-consuming and physically demanding when dealing with large areas or thick mortar layers. To speed up the process, you can use power tool types such as angle grinders with diamond blades, rotary hammers with chisel attachments, or floor scrapers equipped with motorized heads. Before starting, make sure you wear appropriate personal protective equipment—eye protection, dust masks, earplugs, and gloves are essential. Additionally, always check that your tools are in good working order and use dust extraction systems if available. Operate the tools at a consistent angle, applying moderate pressure to avoid damaging the concrete substrate. By following these safety precautions and selecting the right power tool type, you’ll efficiently remove mortar, gaining the freedom to move on to your next project phase.
Cleaning and Preparing the Concrete Floor After Mortar Removal
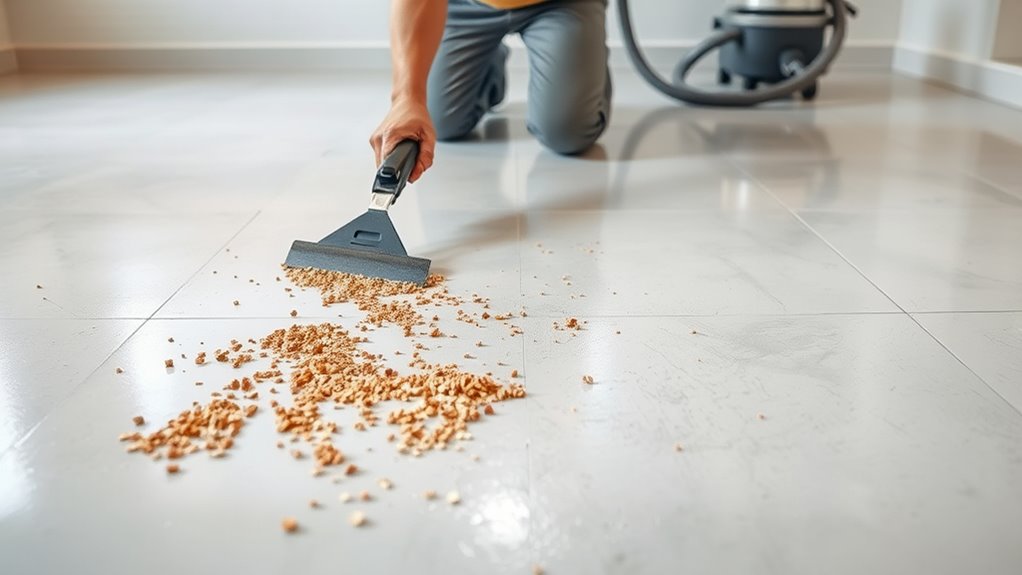
Once you’ve removed the bulk of the tile mortar, you’ll need to thoroughly clean and prepare the concrete floor to guarantee proper adhesion for any new flooring or coatings. Start by sweeping and vacuuming to eliminate dust and loose debris. Next, scrub the surface with a stiff brush and a mild detergent solution to remove residual mortar and contaminants. Rinse thoroughly with clean water and allow the floor to dry completely. Inspect the surface for any remaining mortar spots or uneven areas; use a floor grinder or hand scraper to address imperfections. Proper floor cleaning and precise surface preparation promote a smooth, clean substrate, fostering ideal bonding and longevity of your new installation. Don’t skip these steps if you want freedom from future flooring issues.


