First, gather tools like a plastic scraper, soft brush, gloves, and appropriate solvent based on your paint and tile types. Test your removal method on a small spot to avoid damage. Gently scrape off excess paint, then apply the correct remover carefully. Scrub the tile surface with moderate pressure, rinse thoroughly with warm water, and dry completely. Check for any leftover paint and treat it as needed. Following these steps guarantees effective paint removal and protects your tile—more detailed guidance can help perfect this process.
Gather Necessary Materials and Tools

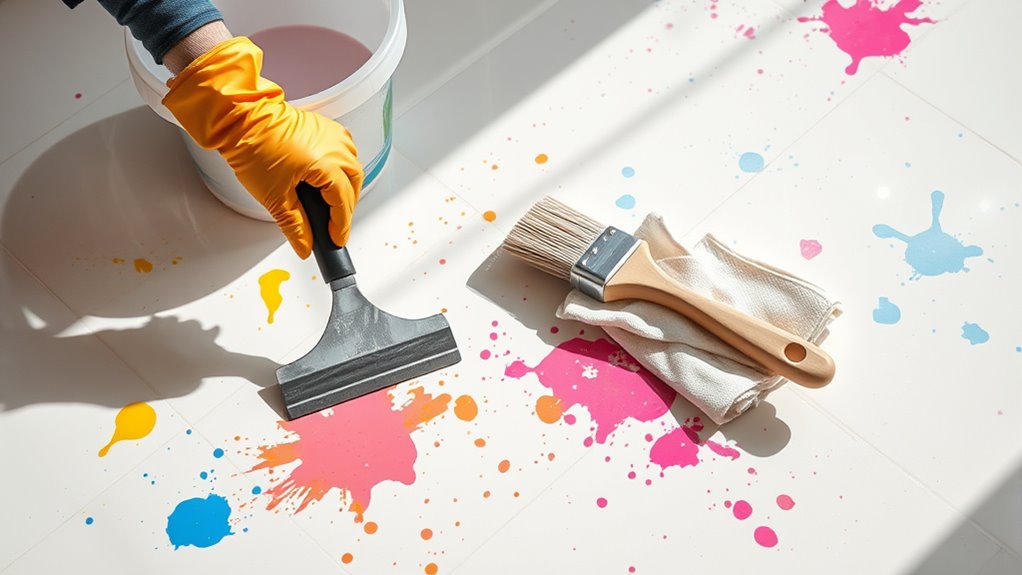
Before you begin removing paint from your tile floor, you’ll need to gather all the necessary materials and tools to guarantee an efficient process. First, identify the paint types involved—latex, oil-based, or acrylic—as each requires specific solvents or removers. Next, consider your floor types; ceramic, porcelain, and natural stone tiles respond differently to chemicals and scrubbing methods. Essential tools include a plastic scraper to avoid tile damage, a stiff nylon brush, and protective gloves. For solvents, acquire paint thinner for oil-based paints, and warm soapy water or rubbing alcohol for latex paints. Additionally, have clean rags or microfiber cloths ready for blotting. Gathering these materials beforehand assures you maintain control, preserving your tiles’ integrity while effectively targeting the paint without unnecessary harm.
Test Paint Removal Method on a Small Area
Although it might seem tedious, you should always test your chosen paint removal method on a small, inconspicuous area of the tile floor first. Select a test area that won’t be easily noticed if any damage occurs. Apply the removal product or technique exactly as planned, following manufacturer instructions or recommended procedures. Observe how the paint adhesion responds—whether it softens, peels, or remains intact. Also, check if the tile surface shows signs of discoloration, etching, or other damage. This step lets you confirm the method’s effectiveness without risking the entire floor. Adjust your approach based on this test, ensuring you preserve the tile’s integrity while effectively loosening the paint. Testing minimizes surprises and gives you confidence to proceed with freedom and control.
Scrape Off Excess Paint Gently
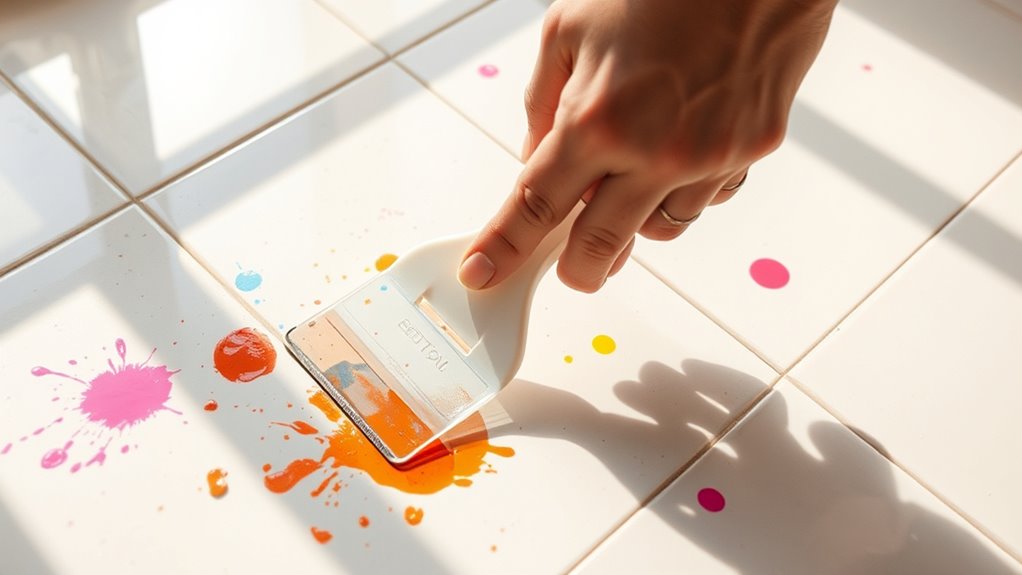
You’ll want to use a plastic scraper to remove excess paint, as metal tools can damage your tile surface. Work slowly and carefully to avoid scratching or chipping the tiles. Applying gentle pressure guarantees you lift the paint without harming the floor.
Use Plastic Scraper
Start by selecting a plastic scraper with a flat, thin edge to avoid damaging the tile surface. Using proper plastic scraper techniques, position the scraper at a low angle and apply gentle, consistent pressure to lift paint without scratching. Focus on effective scraping by working in small sections, gradually loosening paint edges before lifting. Avoid forcing the scraper, which could gouge tiles or grout. Instead, employ smooth, controlled motions to peel away layers of paint. Clean the scraper frequently to maintain effectiveness and prevent redistribution of paint residue. This method gives you precise control, preserving your tile’s finish while efficiently removing excess paint. Employing these steps guarantees you maintain freedom to restore your tile floor without risking damage, mastering paint removal with technical accuracy and care.
Avoid Metal Tools
While metal tools might seem effective for scraping paint, they can easily damage tile surfaces and grout lines. To guarantee proper paint removal without compromising tile care, use plastic or nylon scrapers instead. These materials provide enough rigidity to lift excess paint gently without scratching or chipping the tile. When removing paint, apply light pressure and work at a shallow angle to avoid gouging the surface. Avoid dragging any sharp edges across grout to maintain its integrity. This approach preserves your tile’s finish and prevents costly repairs. By choosing the right tools and techniques, you maintain control over paint removal while safeguarding your flooring. Remember, prioritizing tile care during cleanup guarantees your tile floor remains pristine and durable for years to come.
Work Slowly and Carefully
Using plastic or nylon scrapers reduces the risk of damaging your tile, but you still need to approach paint removal with patience. A careful technique guarantees you remove excess paint gently without scratching or etching the surface. Work slowly, applying consistent pressure, and avoid rushing the process. Each stroke should lift the paint away incrementally.
| Step | Action |
|---|---|
| 1 | Choose plastic/nylon scraper |
| 2 | Position scraper at low angle |
| 3 | Apply steady, gentle pressure |
| 4 | Scrape paint in small sections |
| 5 | Wipe debris frequently |
Apply a Suitable Paint Remover
You’ll need to select a paint remover compatible with your tile type to avoid damage. Apply the remover evenly, following the manufacturer’s instructions, and allow the recommended dwell time. Always wear protective gloves and guarantee proper ventilation to maintain safety during the process.
Choosing the Right Remover
How do you determine the best paint remover for your tile floor? Start by identifying the type of paint and tile material. Remover types include chemical solvents, gel-based formulas, and natural options like citrus-based removers. Chemical solvents work efficiently on oil-based paints but require strict safety precautions due to toxicity and fumes. Gel-based removers cling to vertical surfaces, minimizing runoff and making them ideal for textured tiles. Natural removers offer a safer alternative but may require longer application times. Always review product labels for compatibility with your tile type to avoid damage. Choosing the right remover balances effectiveness and safety, allowing you to reclaim your floor without compromising your health or your tile’s integrity. This guarantees a smooth, efficient paint removal process tailored to your needs.
Application Tips and Safety
Once you’ve selected the appropriate paint remover based on your tile and paint type, proper application guarantees ideal results and safety. You must prioritize paint safety by wearing gloves, goggles, and ensuring ventilation. Follow chemical precautions meticulously to avoid damage or injury. Apply the remover evenly with a brush or cloth, avoiding excess that can seep into grout.
| Step | Action |
|---|---|
| Preparation | Clear area, ventilate, wear protection |
| Application | Evenly apply remover, avoid pooling |
| Dwell Time | Wait as per product instructions |
| Removal | Scrape gently with plastic scraper |
| Cleanup | Wash with water, neutralize chemicals |
Scrub the Tile Surface Carefully
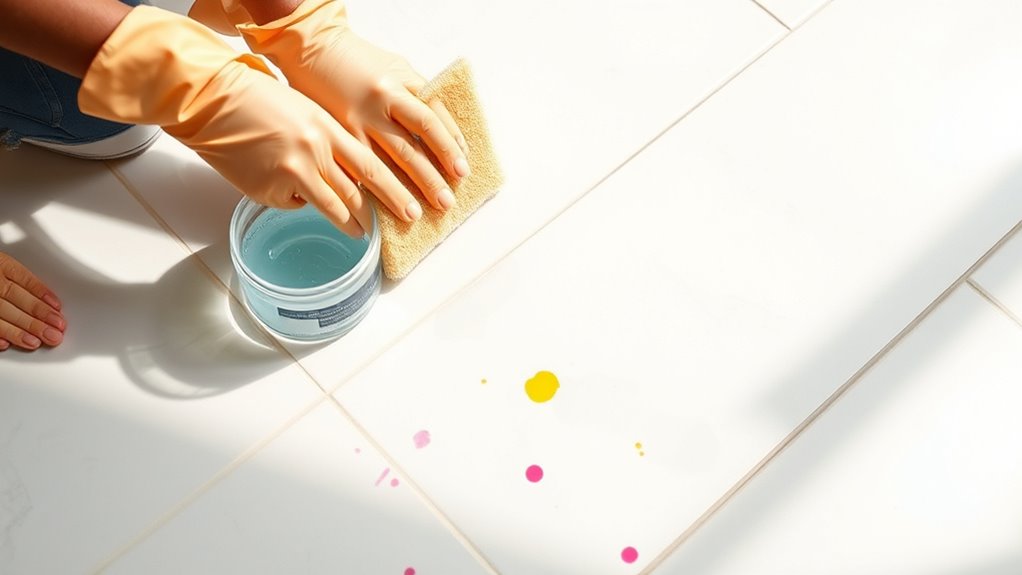
Begin scrubbing the tile surface gently using a soft-bristle brush or a non-abrasive scrub pad to avoid damaging the tile or grout. Employing proper tile cleaning techniques guarantees you effectively lift paint without compromising the floor’s integrity. Focus on small sections, applying consistent, moderate pressure to loosen paint residues. Avoid harsh scrubbing that can scratch or erode grout lines. For stubborn spots, repeat paint removal methods carefully, allowing the cleaning agent to penetrate before scrubbing again. Work methodically, maintaining control to prevent spreading paint or causing surface wear. Remember, your goal is to remove paint while preserving the tile’s finish, so patience and precision are essential. This approach maximizes freedom in restoring your floor without unnecessary damage or extra cleanup.
Rinse and Clean the Area Thoroughly
After carefully scrubbing the paint from the tile, you’ll want to remove any remaining residue and cleaning agents to prevent buildup or damage. Start by rinsing the area thoroughly with clean water, ensuring all cleaning solutions are washed away. Use a damp microfiber cloth to wipe the surface, promoting effective tile maintenance.
Here’s a quick reference for ideal rinsing:
| Task | Recommendation |
|---|---|
| Rinse frequency | At least twice |
| Water temperature | Warm, not hot |
| Cloth type | Microfiber preferred |
Ensuring proper rinsing eliminates potential film or slipperiness caused by leftover cleaning agents. This step is vital to preserving your tile’s integrity and appearance while maintaining a safe, free-moving environment.
Dry and Inspect the Floor for Remaining Paint
Although rinsing removes most of the paint residue, you’ll need to dry the tile floor completely before inspecting it closely for any remaining paint spots. Use a clean, dry microfiber cloth or allow natural air drying to avoid moisture accumulation, which can obscure paint remnants. Once dry, examine the floor under good lighting, paying attention to grout lines and textured tile materials where paint might cling. Different paint types—such as oil-based or latex—adhere differently depending on the tile surface, so adjust your inspection accordingly. For instance, glazed ceramic tiles may show glossy paint spots more clearly than porous natural stone. Identifying these residual areas precisely lets you target further removal steps efficiently, ensuring your tile floor returns to its original condition without damage or leftover paint.


