To lay laminate flooring on cement, start by thoroughly cleaning and repairing the surface to guarantee it’s dry and smooth. Lay a polyethylene vapor barrier to block moisture, then roll out a suitable underlayment for cushioning and sound absorption. Acclimate your laminate planks in the room for a couple of days before installation. Use spacers to maintain expansion gaps and lock the planks securely row by row. Keep going to discover detailed steps and expert tips for a flawless finish.
Assessing and Preparing the Cement Surface
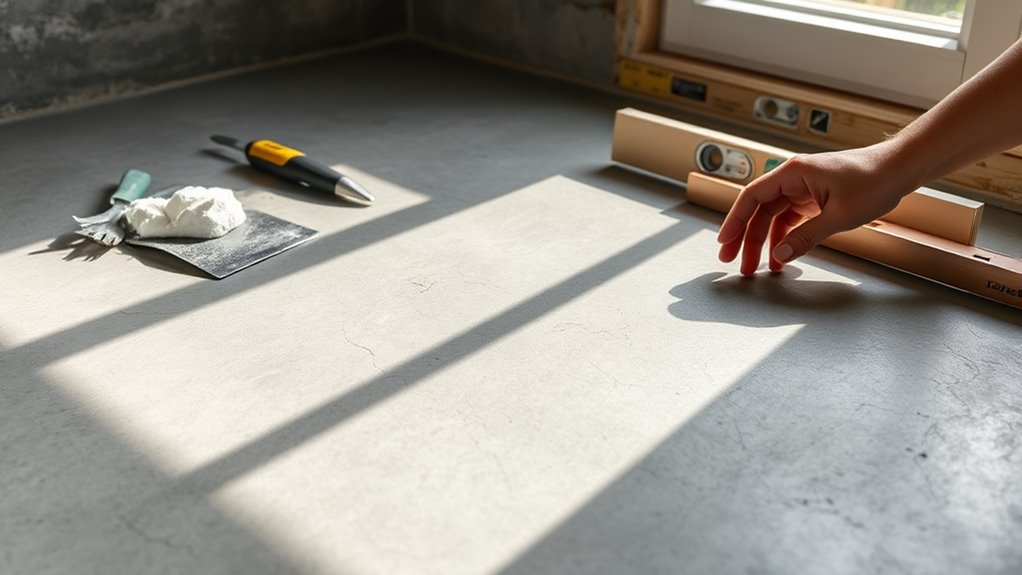
Before laying laminate flooring on cement, you need to carefully assess and prepare the surface to guarantee a smooth, durable installation. Start with a thorough surface evaluation: check for cracks, uneven spots, moisture levels, and debris. Use a moisture meter to verify the cement is dry enough, as excess moisture can damage laminate. Address any imperfections with appropriate repair methods—fill cracks with epoxy or cement patching compounds and grind down high spots to level the floor. Remove all dust and dirt by sweeping and vacuuming, then clean with a damp mop. Proper surface preparation is vital; it prevents future issues like warping or buckling, allowing you the freedom to enjoy your new floor without worry. A well-prepared cement base guarantees your flooring lasts and performs at its best.
Choosing the Right Underlayment for Cement Floors
You’ll need an underlayment that includes a moisture barrier to protect your laminate from damp cement. Consider the thickness carefully, as it provides cushioning and helps with sound absorption. Make certain the underlayment is compatible with your specific laminate flooring to guarantee proper installation and durability.
Moisture Barrier Importance
A moisture barrier is essential when laying laminate flooring over cement to prevent water vapor from seeping up and damaging your flooring. Cement slabs naturally release moisture, so effective moisture control is vital to maintain your floor’s integrity and longevity. When choosing your underlayment, look for one that includes a built-in vapor barrier or install a separate vapor barrier sheet directly on the cement. This prevents moisture from penetrating the laminate, which could cause warping, swelling, or mold growth. Proper installation of the moisture barrier guarantees a dry, stable base, giving you the freedom to enjoy your new flooring without worry. Prioritize products specifically designed for cement floors to achieve the best moisture protection and safeguard your investment.
Thickness and Cushioning
Although moisture protection is essential, selecting the right thickness and cushioning for your underlayment is equally important when installing laminate flooring over cement. You’ll want to evaluate cushioning options carefully, since they impact comfort, sound absorption, and floor stability. Thickness variation typically ranges from 2mm to 6mm, balancing support and flexibility. Too thin, and you risk discomfort and noise; too thick, and you might compromise flooring integrity.
| Thickness (mm) | Cushioning Type | Best Use Case |
|---|---|---|
| 2 | Foam | Low-profile, tight spaces |
| 3 | Felt | Moderate cushioning, durability |
| 5 | Rubber | Superior sound and impact absorption |
| 6 | Combination (Foam + Moisture Barrier) | Enhanced comfort and protection |
Choose an option that suits your floor’s needs and your lifestyle freedom.
Compatibility With Laminate
When installing laminate flooring over cement, selecting an underlayment that’s compatible with both materials is essential to confirm durability and performance. You’ll want an underlayment that provides moisture resistance to protect the laminate from cement’s natural dampness. Additionally, it should offer sound absorption and cushioning to enhance comfort and reduce noise. Consider underlayments specifically designed for concrete subfloors, such as foam with a built-in vapor barrier or cork options. These improve laminate durability by preventing moisture damage and supporting stable installation techniques. Avoid underlayments without vapor barriers, as they can compromise your flooring’s lifespan. Taking the time to match the underlayment with the laminate and cement guarantees a solid, long-lasting floor that meets your expectations for freedom in design and function.
Acclimating Laminate Flooring to the Room Environment
Before installing your laminate flooring, you’ll need to acclimate the planks to the room’s temperature and humidity to prevent expansion or contraction after installation. Keep the flooring in the installation area for at least 48 hours, maintaining consistent environmental conditions. This step guarantees the material adjusts properly, promoting a stable and long-lasting floor.
Temperature and Humidity Control
Since laminate flooring reacts to changes in temperature and humidity, you’ll need to acclimate the planks to the room where they’ll be installed. Proper temperature control and humidity management guarantee the flooring expands and contracts minimally after installation, preserving its integrity.
| Factor | Ideal Range |
|---|---|
| Temperature | 60°F – 80°F (15°C – 27°C) |
| Humidity Level | 35% – 65% |
| Ventilation | Moderate air circulation |
| Flooring Storage | Off the ground, flat |
Maintain these conditions by using a thermostat and humidifier/dehumidifier as needed. Avoid extreme fluctuations, as they can cause warping or gaps. By controlling temperature and humidity, you create a stable environment that allows your laminate flooring to settle naturally before installation.
Duration for Acclimation
Although acclimating laminate flooring is often overlooked, it’s crucial to let the planks adjust to the room’s temperature and humidity for at least 48 hours. This acclimation period guarantees the flooring expands or contracts naturally, preventing gaps or buckling after installation. Place the unopened boxes flat in the installation area, away from direct sunlight or heat sources, to maintain consistent environmental factors. Monitor the room’s temperature and humidity during this time, aiming for levels typical of daily living conditions. If environmental factors fluctuate considerably, extending the acclimation period up to 72 hours is wise. By respecting this timeframe, you allow the laminate to stabilize, giving you the freedom to enjoy a smooth, durable floor without issues related to improper acclimation.
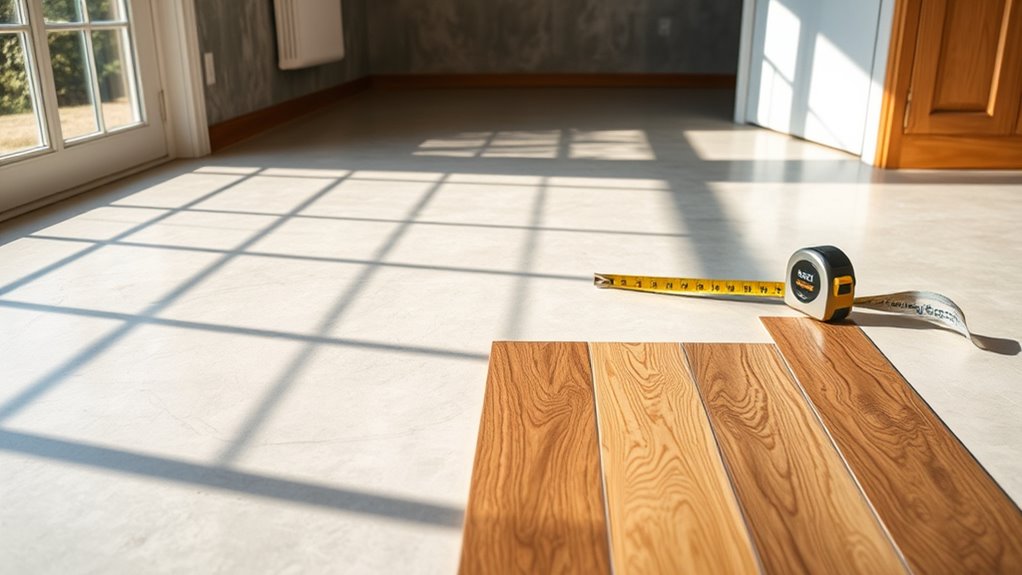
Tools and Materials Needed for Installation

Successful laminate flooring installation on cement requires specific tools and materials to guarantee a smooth, durable finish. You’ll need essential installation tools like a tape measure, spacers, tapping block, pull bar, rubber mallet, and a saw for precise cuts. For material types, select high-quality laminate planks designed for moisture resistance, along with a suitable underlayment to provide cushioning and vapor protection. Don’t forget a moisture barrier to prevent damage from concrete’s inherent dampness. Additionally, keep a pencil for marking and a utility knife handy. Having these installation tools and material types ready will ensure your project flows efficiently and your flooring lasts. Preparing properly gives you the freedom to work confidently and achieve professional results on your cement subfloor.
Laying the Vapor Barrier and Underlayment
Before laying your laminate flooring, you’ll need to properly install a vapor barrier and underlayment on the cement subfloor. Start with vapor barrier installation by rolling out a polyethylene sheet over the entire surface. Overlap seams by at least 6 inches and tape them securely to prevent moisture intrusion. This step is critical to protect your flooring from dampness rising through the concrete. Next, choose the appropriate underlayment type—options include foam, cork, or combination vapor barrier underlayments. Lay the underlayment smoothly over the vapor barrier, ensuring no gaps or wrinkles. This layer cushions your laminate, reduces noise, and provides additional moisture protection. Proper installation of both the vapor barrier and underlayment sets the foundation for a durable, comfortable laminate floor that lets you enjoy freedom in your space.
Installing the Laminate Planks Step-by-Step

Begin by selecting your starting wall, ideally the longest and straightest one, to establish a uniform layout. Place spacers along the wall to maintain an expansion gap. Start laying the first row of laminate planks with the tongue side facing the wall. Use installation techniques like clicking or locking systems to join planks securely. Confirm perfect plank alignment by tapping joints gently with a tapping block and mallet, avoiding gaps. For subsequent rows, stagger plank seams by cutting the first plank to a suitable length, enhancing stability and aesthetics. Continue row by row, maintaining consistent alignment and expansion gaps. Use a pull bar for tight-fitting planks near walls. This methodical approach guarantees a durable, professional laminate floor on cement.
Finishing Touches and Maintenance Tips
Once you’ve laid all the laminate planks, you’ll need to focus on finishing touches that secure your floor and enhance its appearance. Start by installing baseboards or molding to cover expansion gaps, ensuring a clean edge. Establish a consistent cleaning routine using a damp mop and laminate-friendly cleaner to protect the surface from scratches and moisture damage. Familiarize yourself with basic repair techniques, such as replacing damaged planks or using putty for minor scratches, to maintain your floor’s look and durability.
Finish your laminate floor with baseboards, regular cleaning, and simple repairs to keep it looking great.
- Use felt pads under furniture to prevent dents.
- Avoid excessive water to protect the laminate.
- Regularly inspect for signs of wear or damage.
These steps will help you enjoy a flawless, long-lasting laminate floor on your cement subfloor.


