Start by identifying your floor type, then put on gloves for protection. Use a scraper or paper towels to remove solids carefully, sealing waste in a plastic bag. Blot excess moisture with towels, then clean with an enzyme-based solution for carpets or mild detergent for hard floors. Rinse with warm water and dry thoroughly to prevent odors and damage. Finish by deodorizing to eliminate lingering smells. If you want to make certain no stains or germs remain, there’s more to take into account.
Assess the Type of Floor Surface
Before you begin cleaning vomit from the floor, it’s important to identify the type of surface you’re dealing with. Different materials require specific approaches to avoid damage and guarantee effective cleaning. For tile surfaces, you can use water-based cleaners without worrying about moisture absorption. Tiles are durable but grout lines may trap residue, so focus there. For carpet types, you need to be more cautious. Natural fibers like wool absorb liquids quickly, needing gentle blotting and specialized cleaners. Synthetic carpets can handle stronger solutions but still require careful drying to prevent mold. Knowing your floor type lets you choose methods that preserve freedom from stains and damage, allowing you to clean confidently and efficiently without restricting the use of your living space.
Gather Cleaning Supplies
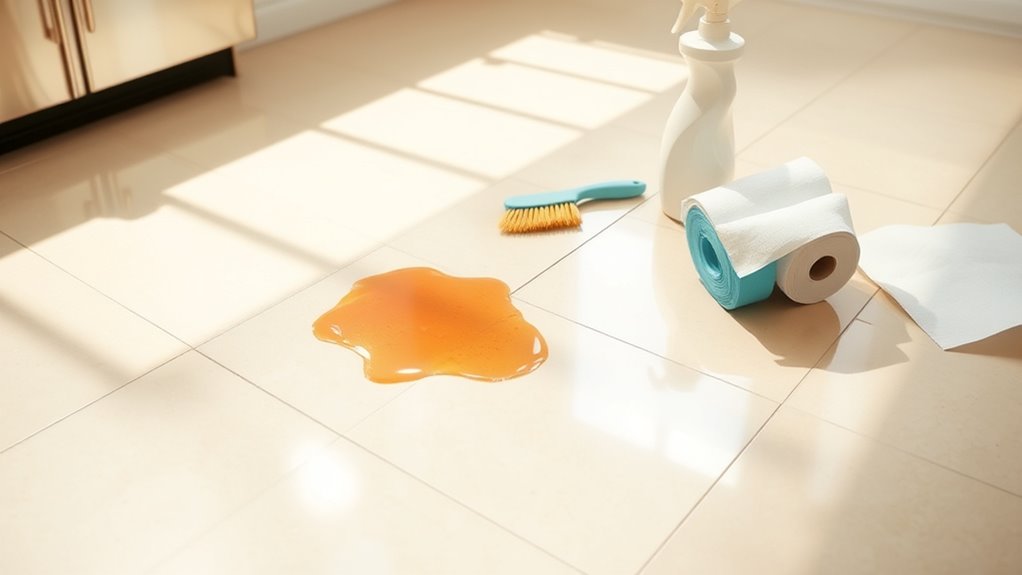
To effectively clean vomit from the floor, you’ll need a few essential supplies ready at hand. Gathering the right cleaning tools tailored to your floor’s surface types guarantees efficiency and prevents damage. Here’s what you should collect:
- Disposable gloves and paper towels to safely remove solids and absorb liquids.
- A scraper or spatula suited to your floor material to lift debris without scratching.
- An appropriate cleaning solution—enzyme-based for carpets, mild detergent for hard floors.
- A bucket with warm water and a mop or cloth for rinsing and wiping the area clean.
Having these items prepared lets you move quickly and confidently, preserving your freedom from prolonged mess and potential stains. Knowing your surface types guides your choice of tools and cleaners for best results.
Protect Yourself Before Cleaning
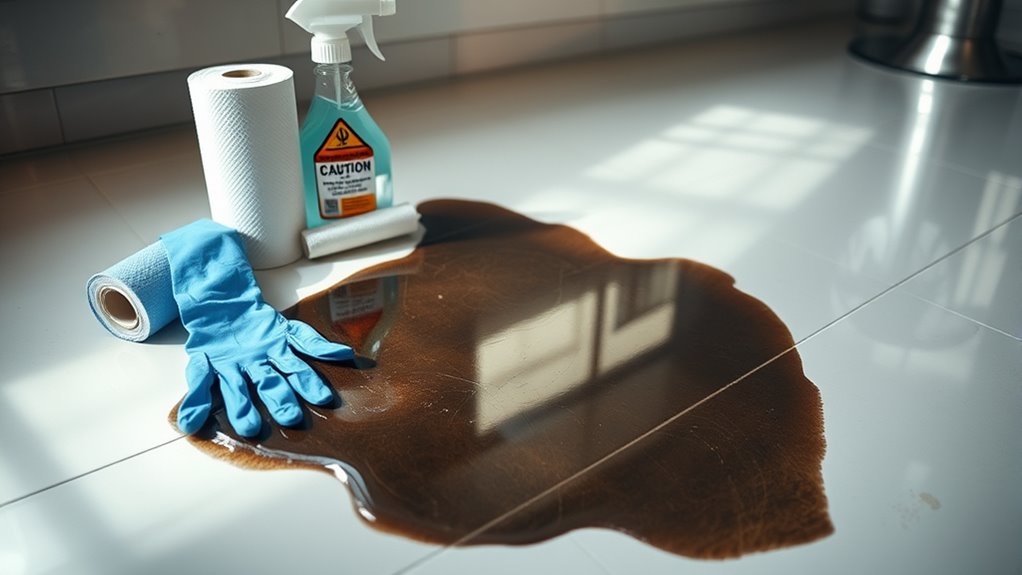
Two essential precautions help keep you safe when cleaning vomit: wearing protective gloves and ensuring proper ventilation. Before you begin, put on disposable gloves to avoid direct contact with bodily fluids. Protective gear shields you from germs and potential infections, making the cleanup safer. Next, open windows or turn on fans to circulate fresh air, reducing odors and airborne bacteria. These safety precautions minimize health risks and create a more comfortable environment. Avoid touching your face during cleanup, and wash your hands thoroughly afterward, even if you wore gloves. By following these steps, you maintain your freedom to clean efficiently and safely without unnecessary exposure. Taking these simple measures sets a solid foundation for effective vomit removal while protecting your well-being.
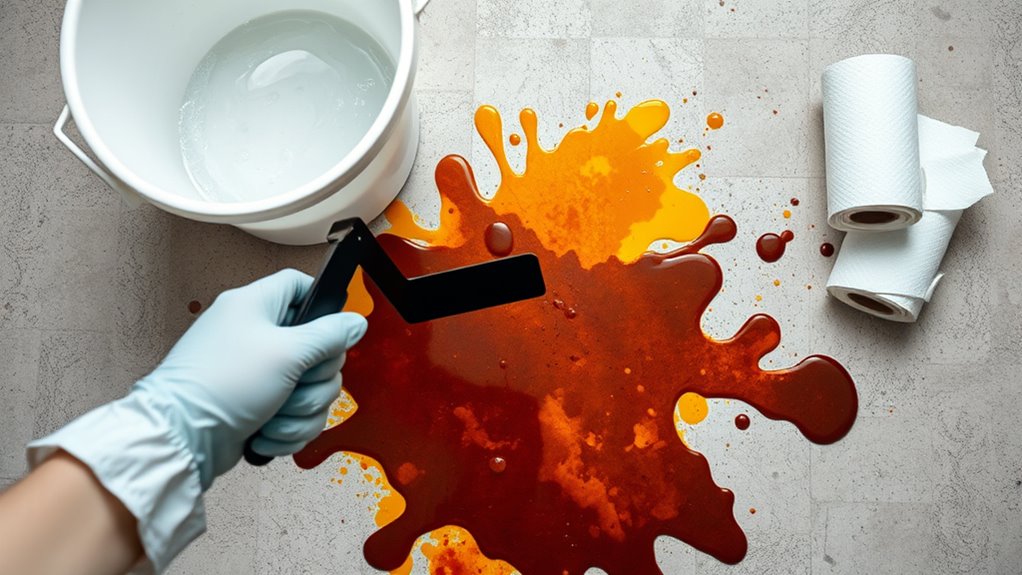
Remove Solid Material Carefully
You’ll want to put on gloves before handling any solid vomit to protect your skin. Use a disposable tool like a spatula or paper towels to scoop up the material carefully. Make sure to seal the waste in a plastic bag and dispose of it properly to prevent contamination.
Use Gloves and Tools
Although it might seem unpleasant, putting on gloves before handling vomit is essential for hygiene and safety. Choosing the right glove types, like disposable nitrile or latex, protects your skin from germs and chemicals. Selecting proper tools also makes the cleanup easier and more effective.
Follow these steps:
- Put on gloves that fit snugly to prevent contamination.
- Use a sturdy scraper or spatula to lift solid material gently.
- Avoid using porous tools that absorb fluids; opt for plastic or metal instead.
- Keep a disposable bag nearby to temporarily hold solid waste for easy removal later.
Dispose of Waste Properly
Properly disposing of solid vomit is essential to prevent spreading germs and odors. Start by carefully removing the solid material with a disposable tool, like a scraper or paper towel, to avoid direct contact. Place the waste in a sealed plastic bag to contain any contaminants. When handling vomit, always consider the environmental impact; use biodegradable bags if possible and avoid flushing waste down the toilet, which can strain sewage systems. After sealing the bag, dispose of it in your regular trash bin, guaranteeing it’s tightly closed. This method guarantees safe waste disposal while minimizing harm to the environment. Following these steps not only protects your space from lingering smells but also helps maintain hygiene and supports responsible waste management practices.
Blot Excess Moisture With Paper Towels
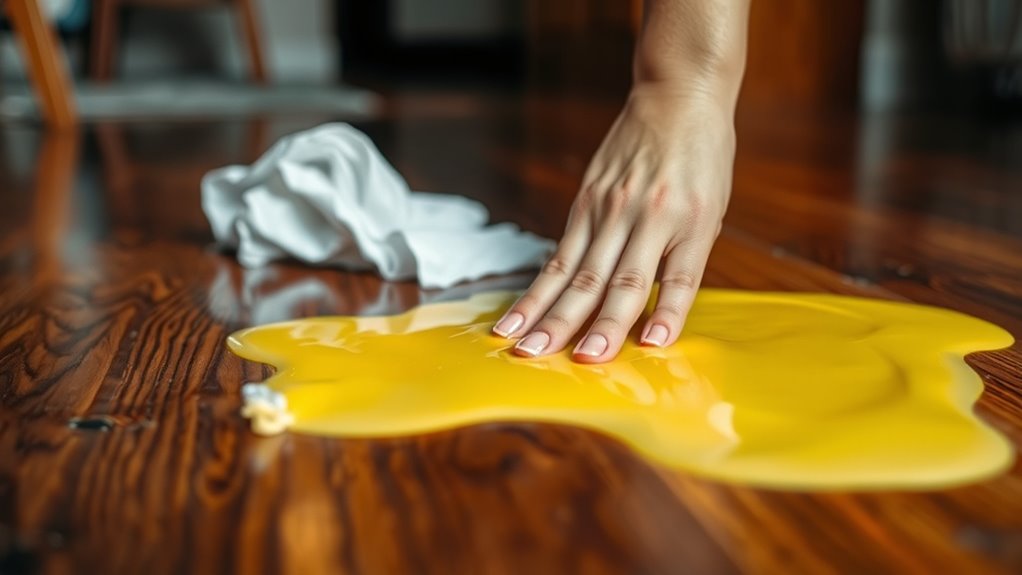
Start by grabbing several sheets of paper towels to gently blot the vomit, absorbing as much moisture as possible without rubbing. Using proper blot techniques is key to avoiding the spread of stains or deeper penetration into the floor. Follow these steps:
Begin by gently blotting vomit with paper towels to absorb moisture without spreading stains or pushing it deeper.
- Press paper towels firmly but gently onto the vomit to maximize moisture absorption.
- Replace damp towels frequently to prevent saturation and maintain effectiveness.
- Avoid scrubbing, which can push moisture and particles deeper into the surface.
- Continue blotting until no more liquid transfers to the paper towels.
This approach helps you contain the mess quickly, giving you freedom from extended cleanup. Mastering moisture absorption through precise blot techniques guarantees your floor stays as clean as possible before moving on to deeper cleaning.
Prepare an Appropriate Cleaning Solution
One effective cleaning solution combines equal parts warm water and white vinegar, which helps neutralize odors and break down stains without damaging most floor types. To prepare, measure the liquids precisely and mix them in a clean bucket or spray bottle. If you prefer stronger cleaning agents, adding a few drops of mild dish soap can boost stain removal without harsh chemicals. Avoid bleach or ammonia, as they can harm certain floor materials. Always test your solution on a small, inconspicuous area to verify it won’t cause discoloration or damage. By preparing a solution tailored to your floor’s needs, you maintain freedom from stubborn stains and lingering smells. This methodical approach empowers you to tackle vomit cleanup effectively and safely.
Clean the Affected Area Thoroughly
Start by gathering all necessary cleaning supplies to guarantee efficiency. Carefully remove any solid debris without spreading it further. Then, disinfect the area thoroughly and apply a deodorizer to eliminate odors completely.
Gather Cleaning Supplies
A well-prepared cleaning session hinges on gathering the right supplies before you tackle the vomit. Having a solid supply checklist guarantees you won’t interrupt your flow and helps you regain control quickly. Focus on essential cleaning tools that allow you to work efficiently and hygienically.
Start with:
- Disposable gloves to protect your hands.
- Absorbent paper towels or cloths for initial cleanup.
- A disinfectant spray suitable for floors.
- A sturdy trash bag for waste disposal.
Remove Solid Debris
With your gloves on and supplies ready, focus on removing the solid debris from the floor first. Accurate solid debris identification helps you target chunks and particles without spreading the mess. Use paper towels or disposable cloths to scoop up solids carefully, avoiding smearing. For stubborn bits, a plastic scraper or spatula works well—apply gentle pressure to lift debris without scratching the surface. Dispose of all solid waste immediately in a sealed bag to contain odor and bacteria. After initial removal, inspect the area to guarantee no solid remnants remain, as these can interfere with later cleaning steps. Mastering these removal techniques frees you from lingering messes and sets the stage for thorough cleaning and restoration.
Disinfect and Deodorize
Once you’ve removed all solid debris, it’s essential to disinfect and deodorize the area thoroughly to eliminate bacteria and odors. Choose a disinfect method suitable for your floor type—bleach solutions work well on tile, while vinegar suits hardwood. Follow these steps:
- Apply your chosen disinfectant evenly, ensuring full coverage.
- Let it sit for at least 5 minutes to kill bacteria effectively.
- Rinse with clean water to remove residue that might cause damage.
- Use deodorizing techniques like baking soda sprinkling or commercial odor neutralizers to absorb lingering smells.
Rinse and Dry the Floor Properly
Although the initial cleaning removes most residue, you’ll need to rinse the floor thoroughly to remove any lingering particles or cleaning solution. Use rinse techniques like wiping with a damp cloth or mopping with clean water. Avoid saturating the floor to prevent damage.
Next, apply drying methods promptly to avoid slips and mold growth. Use a dry mop, absorbent towels, or open windows for air circulation. Proper drying guarantees safety and maintains floor integrity.
| Rinse Techniques | Drying Methods |
|---|---|
| Damp cloth wiping | Dry mop |
| Mop with clean water | Absorbent towels |
| Avoid excessive water | Ventilation & airflow |
Follow these steps carefully to restore your floor’s cleanliness and freedom from residue.
Deodorize to Eliminate Lingering Smells
To eliminate lingering smells, you’ll want to choose an effective deodorizer suited to your needs. Consider whether a natural or chemical option works best for your space and sensitivities. Apply the deodorizer evenly, following instructions to guarantee lasting freshness.
Choose Effective Deodorizers
Odors from vomit can linger even after thorough cleaning, so choosing the right deodorizer is essential. To regain control of your space, consider these deodorizing options with effective fragrances:
- Opt for enzymatic deodorizers that break down odor-causing molecules at the source.
- Use sprays or gels with citrus or eucalyptus scents for a revitalizing, clean aroma.
- Select deodorizers that neutralize rather than mask odors, ensuring lasting freshness.
- Test a small area first to avoid any surface damage or unwanted residue.
Natural Vs Chemical Options
Selecting the right deodorizer means weighing natural and chemical options to tackle lingering smells effectively. Natural cleaners like baking soda, vinegar, and essential oils neutralize odors without harsh chemicals, offering a safer, eco-friendly approach. They’re ideal if you want freedom from synthetic ingredients and potential irritants. Chemical cleaners often contain enzymes or powerful agents designed to break down organic matter at a molecular level, providing fast, targeted odor elimination. However, they may introduce strong scents or residues and require cautious handling. Choose natural cleaners if you prefer gentle, sustainable methods and minimal exposure to chemicals. Opt for chemical cleaners when you need a quick, intensive solution. Balancing your preferences for safety, effectiveness, and convenience will help you eliminate vomit odors while maintaining freedom in your cleaning routine.
Application Tips for Freshness
Although cleaning up the vomit is essential, the real challenge lies in fully eliminating the lingering smell. To achieve lasting freshness, focus on effective application techniques and freshness tips that neutralize odors rather than mask them. Follow these steps:
- Apply deodorizer evenly over the affected area to guarantee thorough coverage.
- Let the product sit for the recommended time, allowing enzymes or natural agents to break down odor molecules.
- Gently blot excess moisture without rubbing, preserving the deodorizer’s effectiveness.
- Ventilate the room well, speeding up drying and removing airborne smells.
Prevent Future Stains and Odors
Since preventing future stains and odors starts with thorough cleaning, you’ll need to address all residue immediately and completely. Use a high-quality enzymatic cleaner to break down organic matter, ensuring no traces remain that could cause lingering smells or discoloration. After cleaning, apply stain protectors designed for your floor type; these create a barrier that repels liquids and stains, making future cleanups easier. Incorporate preventive measures such as placing washable mats in high-risk areas and encouraging prompt cleanup if accidents happen again. Regular maintenance, including vacuuming and mopping with gentle cleaners, supports these efforts. By combining immediate action with protective treatments, you’ll keep your floors pristine and odor-free, preserving your freedom to enjoy a clean, fresh environment without ongoing worry.


