Imagine transforming your space with a fresh, modern look that doesn’t break the bank. Vinyl flooring is your ticket to achieving a stunning new aesthetic in your home.
It’s not only affordable but also durable, making it the perfect choice for busy households. But how do you go from a roll of vinyl to a beautifully laid floor? This is where things get exciting. You might think laying down vinyl flooring is best left to the pros, but with the right guidance, you can do it yourself.
You’ll discover the secrets to successfully installing vinyl flooring in your home. We’ll break down each step into simple, easy-to-follow instructions, eliminating any guesswork. Whether you’re a DIY enthusiast or a complete novice, you’ll find these tips and tricks invaluable. Ready to dive in and create the home of your dreams? Let’s get started!
Tools And Materials Needed
Laying vinyl flooring is easy with the right tools. First, gather a tape measure and a utility knife. You’ll also need a pencil for marking. A straightedge or ruler is helpful for cutting. For installation, get a trowel and a roller. Safety goggles will protect your eyes. Don’t forget knee pads for comfort.
As for materials, vinyl sheets or tiles are necessary. Adhesive or double-sided tape will hold the vinyl. Buy a cleaner for the floor. It must be dust-free before starting. Underlayment might be needed for uneven floors. Have a sponge and bucket for cleaning spills. Always check the manufacturer’s instructions. They guide you on specific needs.
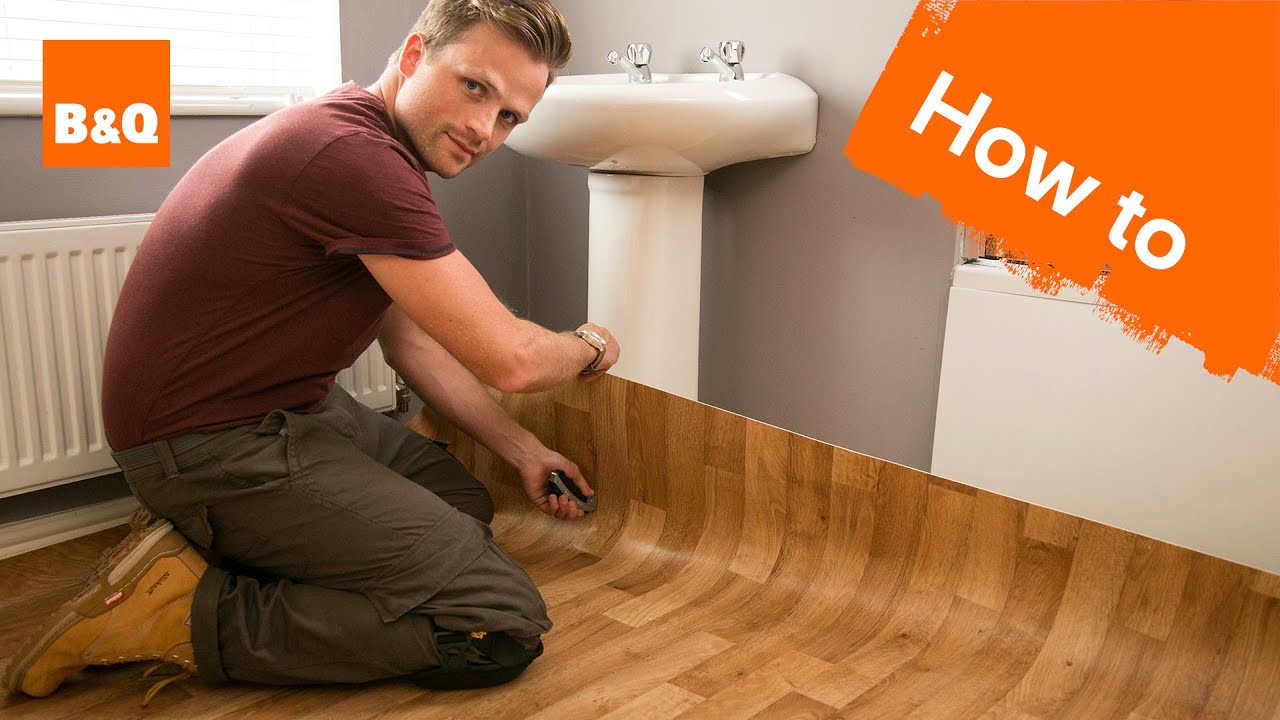
Preparing The Subfloor
A clean surface is very important. Remove all dirt and dust. Use a broom or vacuum. Make sure nothing is left behind. Sticky or greasy spots should be cleaned with soap and water. Let it dry completely. This helps vinyl stick well.
Moisture can damage vinyl flooring. Place a plastic sheet on the floor. Leave it for 24 hours. Check for water drops under the sheet. If you find any, the floor is wet. You must fix this before moving on.
A flat floor is key for vinyl. Use a straight edge tool. Check for bumps or holes. Fill holes with leveling compound. Sand down any high spots. Ensure the floor is smooth. This makes vinyl last longer.
Measuring And Planning
First, measure the room’s length and width in feet. Multiply these numbers to find the square footage. If a room has odd shapes, break it into smaller rectangles. Add the areas of each rectangle to get the total. Always buy a bit more vinyl than needed. This helps cover any mistakes or future repairs.
Plan the layout before you start. Lay the vinyl parallel to the longest wall. This makes the room look bigger. Use chalk to draw lines. These lines will guide you. Make sure to leave a small gap by the walls. This space lets the vinyl expand.
Let the vinyl sit in the room for 48 hours. This helps it adjust to the room’s temperature and humidity. If you skip this step, the vinyl might expand or contract later. This can cause problems with the fit. So, be patient and wait.
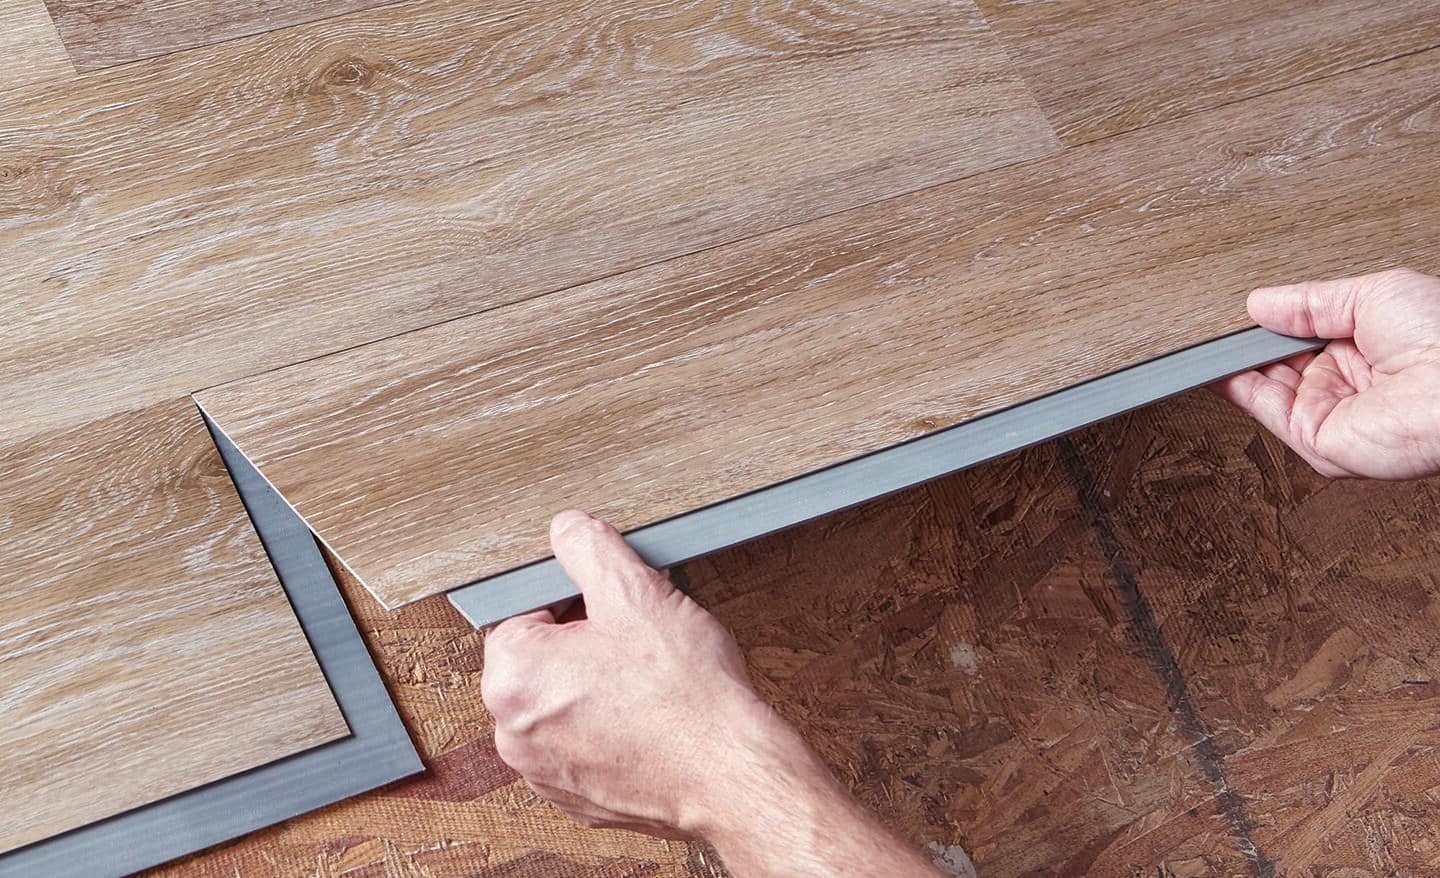
Cutting The Vinyl
A utility knife is a handy tool for cutting vinyl. It can make clean and precise cuts. Always hold the knife firmly. Keep your fingers away from the blade. Place the vinyl on a flat surface. Use a ruler for straight lines. Press down gently on the knife. Slide the blade along the ruler’s edge. Make sure to cut slowly. This helps prevent mistakes. Be careful, the blade is very sharp. Always cut away from your body. Check your cuts before moving to the next step.
Creating Precise Cuts
Precise cuts need a steady hand. Use a pencil to mark lines first. This gives a guide to follow. Make sure lines are clear and straight. Use the utility knife along these marks. Double-check each cut. Ensure it’s the right size. Trim any rough edges. This ensures a smooth finish. Accurate cuts help the vinyl fit well. This prevents gaps and overlaps.
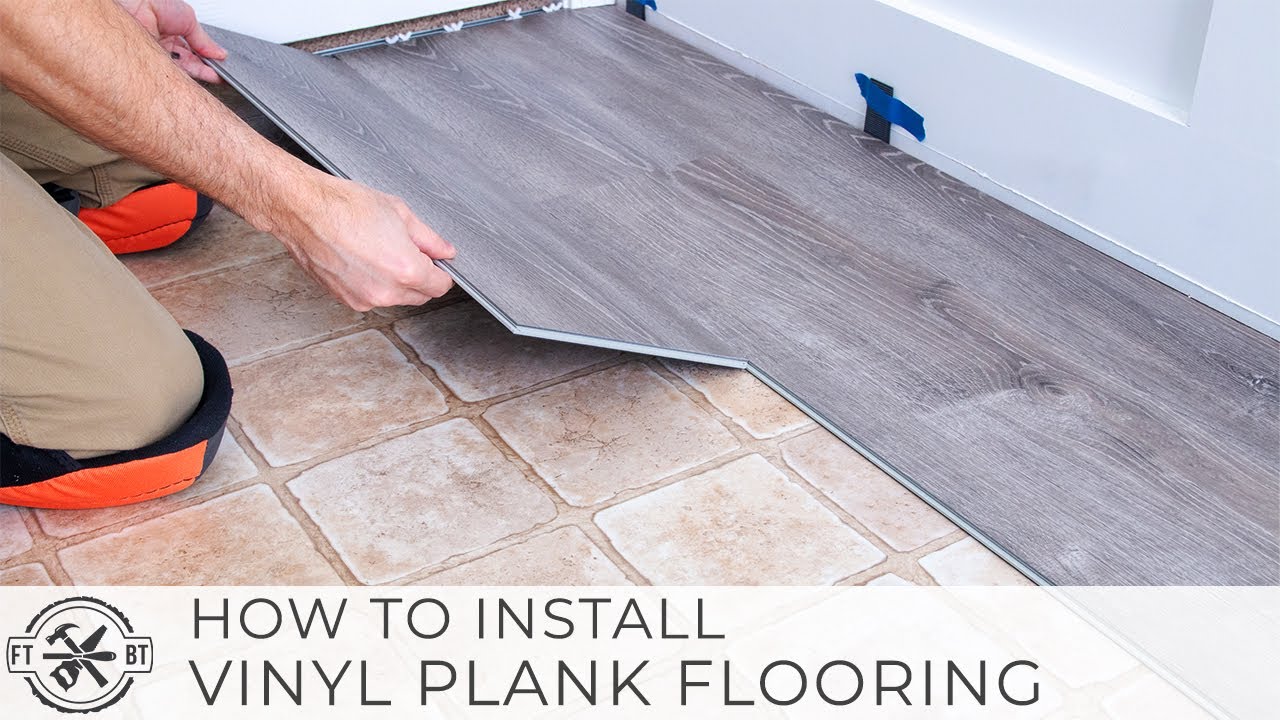
Laying The Vinyl
Begin at the room’s center point. Measure the room to find the middle. Use a pencil to mark the spot. Lay the vinyl from this point. This helps balance the floor. You won’t have small pieces at the edges.
Line up the vinyl edges carefully. Keep them straight to avoid gaps. Press down each seam firmly. This will help the vinyl stick well. Overlapping pieces is a big mistake. Use a roller to smooth them out.
Cut the vinyl at the room’s edges. Use a sharp knife for clean cuts. Be slow and careful to avoid mistakes. Measure twice, cut once. Trim along walls and corners neatly. The vinyl should fit snugly against the wall.
Securing The Vinyl
Vinyl flooring installation begins with preparing a clean, smooth surface. Measure the area carefully to ensure precision. Cut the vinyl to fit, then secure it using adhesive, ensuring a snug fit.
Using Adhesive Options
Choose the right adhesive for your vinyl flooring. Some adhesives are strong. Others are more flexible. Read the instructions on the adhesive. Make sure it works with your flooring type. Apply the adhesive evenly on the floor. Use a trowel for this. Work in small sections. This helps the adhesive stay sticky.
Rolling The Surface
After laying the vinyl, use a roller. Press down on the vinyl. This removes any air bubbles. Bubbles can make the floor uneven. Roll slowly and carefully. Use a heavy roller for best results. Check the edges. Make sure they stick to the floor. If needed, add more adhesive there.
Finishing Touches
Achieve a seamless look by carefully trimming vinyl flooring edges. Ensure a snug fit around corners and walls. Use a utility knife for precise cuts, enhancing the overall appearance and durability of your floor.
Installing Baseboards
Baseboards give a neat finish to your flooring. Measure each wall carefully. Cut baseboards to fit each section. Use a saw for clean cuts. Place the baseboard against the wall. Ensure it sits flush against the floor. Nail it in place with small nails. Space the nails evenly for a tidy look. Paint or stain the baseboards if needed. This adds a polished touch to your room.
Cleaning The Floor
Cleaning the floor is simple. Sweep the floor to remove dust and dirt. Use a soft broom or vacuum. Avoid using a wet mop. Water can damage vinyl. Use a damp cloth for tough spots. Wipe gently to avoid scratches. Use a mild cleaner safe for vinyl. Keep your floor dry and clean. This will help it last longer.
Maintenance Tips
Laying vinyl flooring involves careful preparation and attention to detail. Start by cleaning the subfloor thoroughly. Measure the room accurately and cut the vinyl planks to fit. Ensure each plank clicks into place securely. Use a roller to remove air bubbles, ensuring a smooth finish.
Regular Cleaning
Regularly sweep the vinyl floor with a soft broom. This keeps dust away. Use a damp mop for a deeper clean. Avoid soaking the floor with water. Too much water can damage the vinyl. Use a gentle cleanser. Harsh chemicals are not good for the vinyl. Dry the floor with a clean cloth after mopping. This helps to prevent water spots.
Handling Spills And Stains
Wipe spills immediately to avoid stains. Use a soft cloth to clean spills. For tough stains, use a mild detergent. Rub gently to remove the stain. Do not use steel wool or abrasive pads. These can scratch the vinyl. Rinse the area with clean water after cleaning. Dry it well to prevent slipping. Keeping the floor clean protects its shine and beauty.
Frequently Asked Questions
How To Prepare The Floor For Vinyl?
Start by cleaning the subfloor thoroughly. Ensure it’s dry, smooth, and free of debris. Patch any holes or cracks. A level surface helps vinyl adhere better, preventing future issues. Use a leveling compound if necessary for uneven areas.
Can I Install Vinyl Over Existing Flooring?
Yes, you can install vinyl over certain floors. Ensure the existing surface is clean, dry, and smooth. Avoid installing over heavily textured or damaged flooring. A smooth base ensures better adhesion and a flawless finish.
What Tools Are Needed For Vinyl Installation?
You’ll need a utility knife, measuring tape, and a straightedge. A roller helps secure the vinyl. Adhesive and spacers might be necessary for specific types. Proper tools ensure a smooth installation process.
How Long Does Vinyl Flooring Last?
Vinyl flooring can last 10 to 20 years with proper care. Its longevity depends on quality and maintenance. Regular cleaning and avoiding heavy impacts extend its lifespan. It’s a durable choice for high-traffic areas.
Conclusion
Vinyl flooring adds style and durability to any space. The process is simple and rewarding. Start with a clean, smooth surface. Measure carefully for precise cuts. Use adhesive evenly for best results. Press vinyl firmly to avoid bubbles. Trim edges neatly for a polished look.
Regular maintenance ensures long-lasting beauty. With patience, your floors will shine. Friends will admire your handiwork. You’ll enjoy the transformation for years to come. Feel proud of your new floors. Ready to start? Gather your tools and materials. Dive into this DIY project today.
Enjoy the satisfaction of a job well done!


