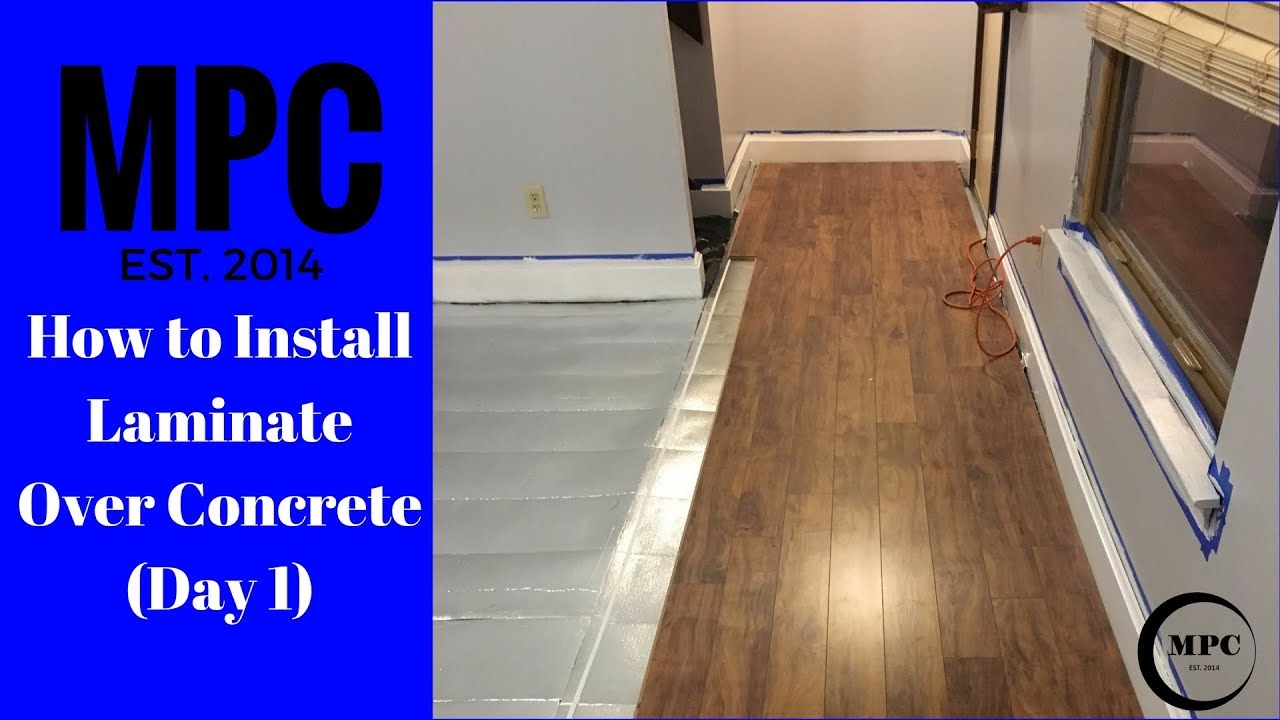
Are you looking to give your home a fresh, new look? Installing laminate flooring on concrete might be the perfect solution for you.
Not only is it an affordable option, but it also offers a sleek, modern finish that can transform any room. But here’s the catch: the process might seem daunting if you’ve never done it before. Don’t worry, though! You’re about to discover how easy it can be when you have the right guidance.
Imagine walking across your new floor, feeling the smooth texture beneath your feet, and knowing you did it yourself. Excited to get started? Let’s dive into the step-by-step guide that will make this DIY project a breeze and help you achieve that professional look without breaking the bank.
 Flooring on Concrete: Easy Guide”/>
Preparing The Concrete Surface
Moisture can ruin laminate floors. Place a plastic sheet on the concrete. Leave it for 24 hours. Check if water forms under the sheet. If it does, the floor is too wet. Use a dehumidifier to dry the area. Test again to ensure dryness. A dry floor is important for a good finish.
A clean surface is key. Remove all dirt and debris. Use a broom or vacuum cleaner. Make sure there is no dust left. A smooth and clean surface makes the flooring stick better.
Uneven floors cause problems. Use a long ruler or level. Check for bumps or dips. Fill dips with leveling compound. Smooth out bumps. Wait for the compound to dry. A level floor helps in laying the laminate easily.
Choosing The Right Underlayment
Underlayment comes in different types. Foam underlayment is soft and budget-friendly. It helps reduce noise. Felt underlayment is thicker and offers more warmth. It also provides better soundproofing. Rubber underlayment works best for moisture-prone areas. It is water-resistant and durable. Choose the type that fits your needs.
Underlayment provides many benefits. It helps make the floor feel softer. It also reduces noise when you walk. This layer can help protect the flooring from moisture. It also extends the life of your laminate. Installing underlayment can improve the overall comfort of your home.
Start by cleaning the concrete floor. Make sure it is dry and smooth. Roll out the underlayment across the floor. Cut it with a sharp knife for a clean edge. Overlap the edges slightly for better coverage. Tape the seams to keep them in place. Ensure a tight fit for a smooth finish.
Acclimating The Laminate Flooring
Acclimation helps the flooring adjust to your room. It stops bending and gaps. The laminate must sit in your room for 48 hours. This makes it fit well when you install it. Changes in temperature and humidity affect the laminate. Without this step, floors might not last long.
Laminate flooring can change shape. Room conditions cause these changes. A stable shape means a good-looking floor. This process makes sure the floor lasts a long time. Skipping acclimation can cause damage. It’s a simple step but very important.
| Step | Action |
|---|---|
| 1 | Place boxes in the room. |
| 2 | Keep boxes closed for 48 hours. |
| 3 | Maintain room temperature. |
| 4 | Check humidity levels. |
Tools And Materials Needed
Installing laminate flooring needs the right tools. A tape measure helps measure spaces. A utility knife cuts flooring pieces. You need a hammer for tapping boards. A pull bar is vital for fitting. Use a mallet to avoid damage. Spacers keep gaps right. A level checks flatness. Ensure a saw for cutting pieces. A pencil marks spots. A straight edge helps with lines. Lastly, a flooring installation kit is useful.
| Material | Purpose |
|---|---|
| Laminate Planks | Main flooring material |
| Underlayment | Smooth surface and insulation |
| Adhesive Tape | Secures underlayment |
| Flooring Glue | Adheres planks |
| Trim Molding | Finishing edges |
| Moisture Barrier | Protects from dampness |
Installation Process
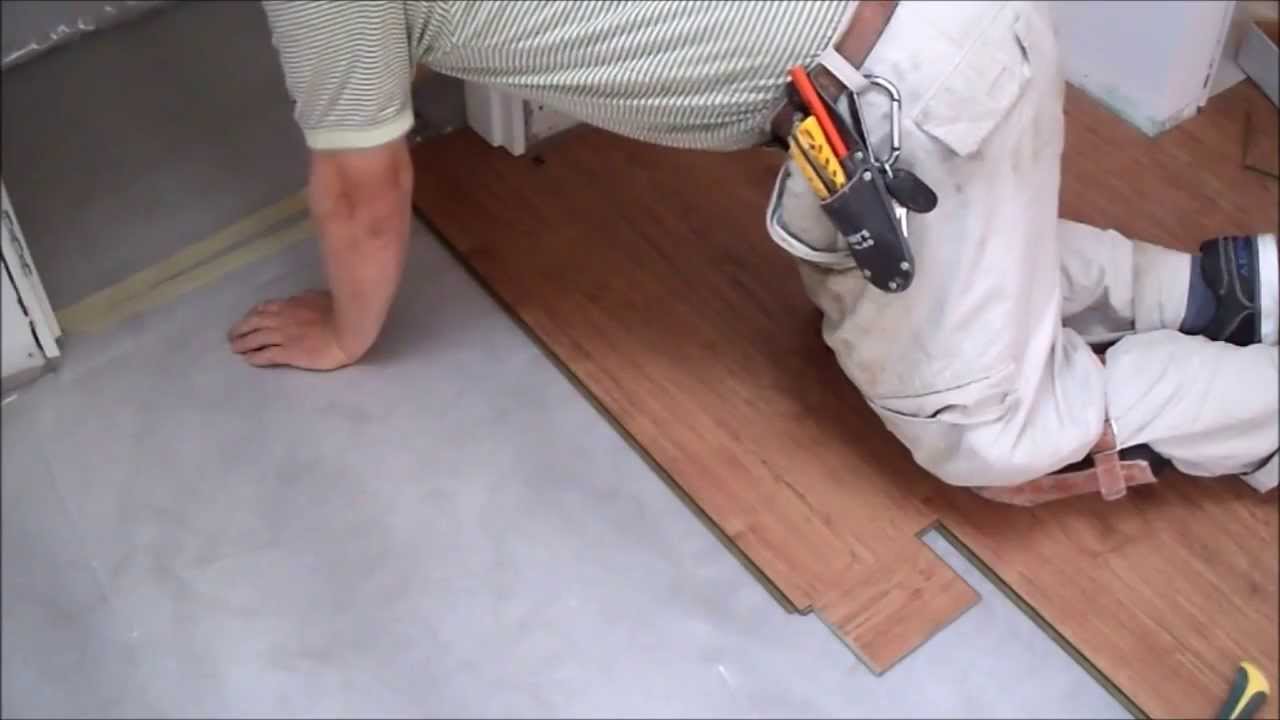
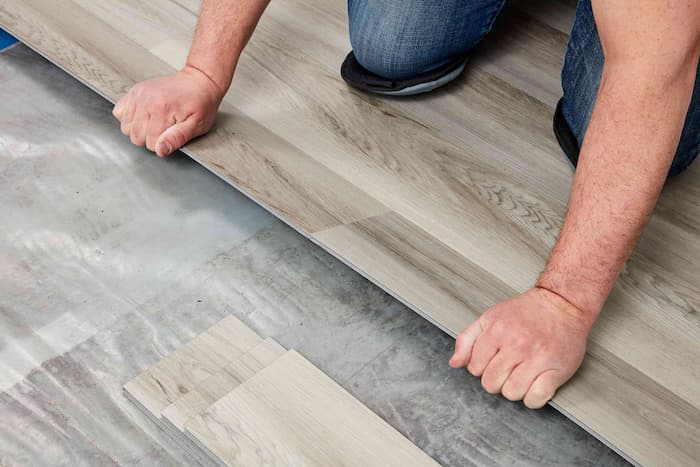
Start by cleaning the concrete floor well. Remove any dirt and dust. Next, roll out the underlayment across the floor. Make sure it covers the entire area. Keep it flat and smooth. Use tape to secure the seams. This will help keep it in place. Ensure there are no wrinkles or bumps.
Begin at one corner of the room. Lay the first plank along the wall. Leave a small gap for expansion. Use spacers to keep this gap. Click the next plank into place. Ensure it fits snugly. Continue laying planks across the room.
Measure the space for the last plank in a row. Cut the plank to fit using a saw. Ensure the cut piece fits well. Place it in the gap. Use the leftover piece to start the next row. This helps maintain a staggered pattern.
Once all planks are in place, remove the spacers. Ensure all planks are tight and secure. Check that none move or shift. Adjust any loose planks as needed. The floor should feel solid underfoot. Your new floor is now ready to enjoy.
Finishing Touches
Baseboards make your floor edges look neat. They hide gaps between the wall and floor. Start by measuring the wall. Cut the baseboard to fit. Use a saw carefully. Nail the baseboard to the wall. Hammer gently. Check for gaps. Fill them with caulk. Paint the baseboard. Let it dry. Your room now looks tidy.
Keep your laminate floor clean. Use a soft broom for dust. Avoid scratching the surface. Mop with a damp cloth. Do not use too much water. Dry it quickly. Use gentle cleaners. Avoid harsh chemicals. They might damage the floor. Check for spills. Clean them up fast. Your floor stays beautiful.
Troubleshooting Common Issues
Installing laminate flooring on concrete requires careful preparation. Ensure the concrete is clean, dry, and level before starting. Use a moisture barrier to protect against dampness, then lay the underlayment for a smooth surface.
Addressing Gaps And Buckling
Gaps and buckling can happen with laminate floors. Temperature changes make floors expand and contract. Leave space between the floor and walls. This space helps avoid buckling. Use a tapping block to fix gaps. Gently tap boards closer together. Check the floor’s moisture level. Too much moisture causes buckling. Use a moisture barrier under the laminate. This keeps moisture away from the floor.
Fixing Uneven Edges
Uneven edges look bad and can cause trips. Check the subfloor for bumps or dips. A level subfloor is important for a smooth laminate finish. Use a floor leveler to fix dips. Sand down high spots. Trim laminate edges with a cutter or saw. Make sure all boards fit snugly. Use a rubber mallet to tap boards into place. This helps create an even surface.
Frequently Asked Questions
How Do I Prepare Concrete For Laminate Flooring?
To prepare concrete, ensure it’s clean, dry, and level. Remove any debris and repair cracks or imperfections. Use a moisture barrier to prevent dampness. This is crucial for a smooth installation and to prevent future issues with your laminate flooring.
Do I Need Underlayment For Laminate On Concrete?
Yes, underlayment is essential when installing laminate on concrete. It acts as a moisture barrier and provides cushioning, reducing noise. Choose an underlayment designed for concrete to ensure optimal protection and longevity of your laminate flooring.
Can Laminate Flooring Be Installed Over Uneven Concrete?
Laminate flooring requires a level surface for proper installation. Uneven concrete can cause gaps and damage over time. Use a self-leveling compound to even out the floor. This ensures a smooth and long-lasting laminate installation.
What Tools Are Needed For Laminate Installation On Concrete?
Essential tools include a tape measure, saw, spacers, tapping block, and a pull bar. You’ll also need a moisture barrier and underlayment. These tools help ensure precise cuts and a snug fit, leading to a professional-looking installation.
Conclusion
Installing laminate flooring on concrete is straightforward and rewarding. Prepare your concrete surface well. This ensures smooth installation and long-lasting results. Choose quality underlayment for comfort and sound insulation. Follow manufacturer instructions closely for best outcomes. Take your time with each step.
This avoids costly mistakes and ensures a beautiful finish. Enjoy your new, stylish floor! It adds charm and value to any space. Share your experience with others. Your insights can help them too. Ready to tackle your next home project?
You can do it!


