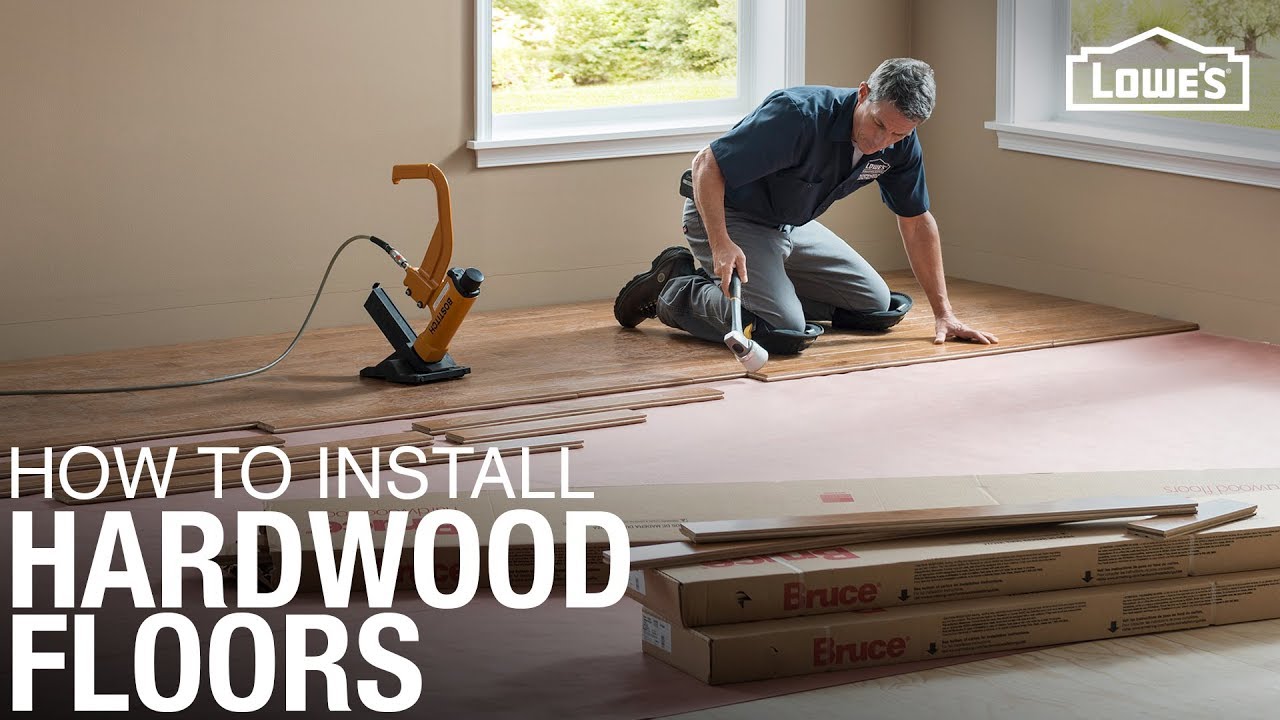
Are you dreaming of a beautiful hardwood floor that transforms your space into a warm and inviting haven? Imagine the rich, natural tones and timeless elegance right under your feet.
Installing a hardwood floor might seem like a daunting task, but with the right guidance, it can be a satisfying and rewarding experience. This guide will walk you through every step, ensuring you feel confident and prepared. You’ll discover the secrets to a flawless finish and learn how to avoid common pitfalls.
Whether you’re a DIY enthusiast or a first-timer, this article will be your trusted companion. Let’s get started on making your home truly remarkable!

Choosing The Right Hardwood
Hardwood floors come in many types. Oak, maple, and cherry are popular. Each type has its own look. Oak is strong and has a classic style. Maple is light and smooth. Cherry is rich and deep in color. Choosing the right type is important. Think about the look you want.
Hardwoods are strong. Some are stronger than others. Oak is very hard. It can handle a lot of foot traffic. Maple is also strong. It is good for busy homes. Cherry is softer. It might scratch more easily. Choose hardwood based on how busy your home is. Strong hardwood lasts longer.
The look of your floor matters. Hardwood comes in many colors. Light wood makes rooms feel big. Dark wood feels cozy and warm. Think about the room size. Also, think about the furniture color. Match the wood to your home’s style. This makes your home look nice and welcoming.
Preparing The Subfloor
Remove all dirt and dust from the floor. Use a vacuum cleaner to clean corners. Make sure no small debris remains. A clean surface is important. It helps the wood stick better.
Use a level tool to check the floor. Ensure there are no bumps or dips. A flat floor is key for even wood. Use a sander to fix any high spots.
Moisture can damage hardwood. Use a moisture meter to check the floor. The reading should be low. If too high, let the floor dry more. This prevents future problems with the wood.
Gathering Tools And Materials
You need some basic tools. A hammer and a nail set are vital. Use a tape measure for accuracy. A saw is essential for cutting wood. You might need a flooring nailer. A level helps keep things straight. Don’t forget a pull bar and spacers.
Wood planks are the main material. Choose the type you like. Underlayment is also necessary. It provides cushion and support. You need nails or staples to fix the planks. Adhesive might be required for some floors. Molding adds a nice finish.
Safety is important. Wear gloves to protect your hands. Use goggles for eye safety. Ear plugs are good for loud noises. A dust mask can help with sawdust. Make sure to wear sturdy shoes.
:strip_icc()/101206836-29035ec5a7c34a12a4c00cd5101818d4.jpg)
Acclimating The Hardwood
Acclimating hardwood is key before installation. This process helps the wood adjust to room temperature and humidity. Proper acclimation prevents floor issues like warping or gaps.
Duration Of Acclimation
Hardwood needs time to adjust. This is called acclimation. It usually takes three to five days. This helps the wood settle. It prevents future problems like warping.
Temperature and humidity are crucial. Wood should be in the same environment as where it will be installed. Keep the room between 60-80°F. Humidity should be 35-55%.
Place the wood in the center of the room. Ensure good air circulation. Avoid stacking the boxes tightly. This allows all pieces to breathe. Proper acclimation leads to a stable floor.
Laying The Underlayment
Underlayment is the layer between the floor and the wood. It helps with moisture control and sound reduction. There are different types of underlayment. Foam is soft and easy to use. It provides some cushioning. Felt is thicker and gives more protection. Rubber is durable and good for moisture control.
Start by cleaning the floor. Make sure there is no dust. Roll out the underlayment across the floor. Cut it to fit using a sharp knife. Place it neatly without wrinkles. Tape the seams for extra security. The underlayment should be smooth and even. This helps the wood sit properly. Follow these steps for a strong base.
Starting The Installation
Choose the room’s longest wall for your starting line. This is where the first row of wood will go. Aligning with the longest wall makes the floor look neat and balanced. Avoid odd angles. Wood should run parallel to the light from windows. This adds beauty to the floor. Measure the room to know how many planks you need. Leave a little space between the wall and the wood. This is called an expansion gap. It helps the wood move when it expands or shrinks. Use spacers to keep this gap even. Mark the floor with chalk for the first row. This ensures straight lines. Double-check your measurements before cutting any wood.
Use a chalk line to mark the starting point. This line will guide you. It must be straight to avoid crooked floors. Place the first plank along this line. Ensure the plank is even with the chalk mark. If not, adjust it. Keep checking the line as you work. This step is crucial for a smooth floor. Recheck your setup before moving forward. Mistakes here can be hard to fix later.
Installing The First Rows
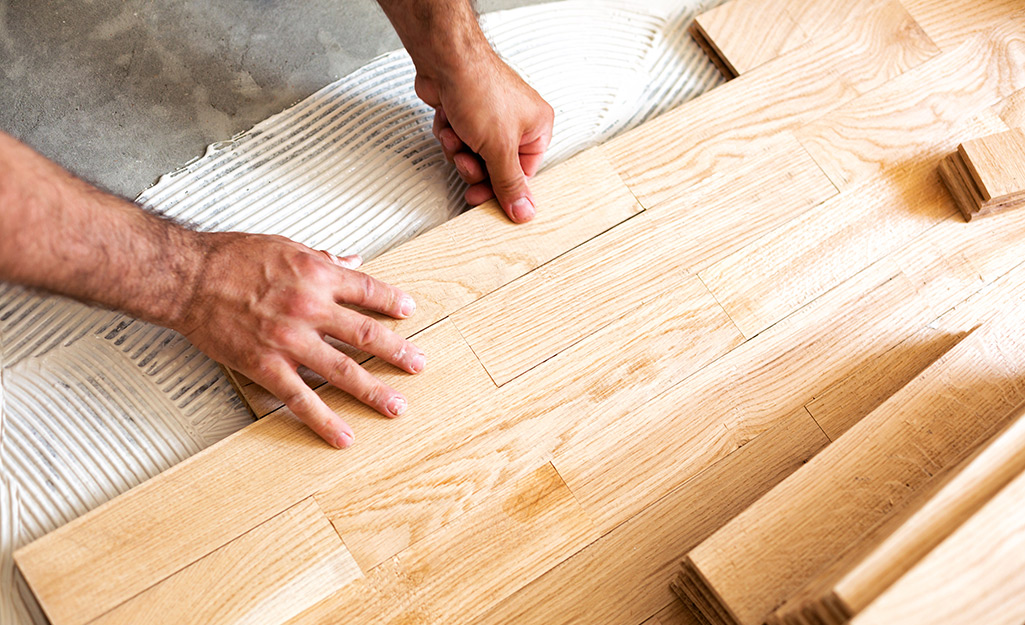
Begin by aligning the first row of hardwood planks with precision. Ensure tight seams for a solid base. Use spacers to maintain even gaps between boards and walls. This establishes a strong foundation for subsequent rows, promoting stability and longevity in your flooring.
Aligning The First Board
Start by finding a straight wall. This is where you will begin. Place a spacer between the wall and the board. The spacer keeps a small gap for expansion. Use a chalk line for straight guidance. This helps align the first board perfectly. Lay the board carefully along the chalk line. Make sure it is straight and even. Check it twice to avoid mistakes. A small error can cause big problems later.
Securing The Boards
Use a nail gun to secure the boards. Place nails every 6 to 8 inches. This keeps the boards in place. Check for tightness after nailing. Loose boards may move or squeak. Use a mallet to tap the boards together. This ensures they fit snugly. Repeat these steps for the next boards. Be patient and take your time. Accuracy is more important than speed.
Continuing The Installation
Maintaining consistent spacing is key for a beautiful floor. Use spacers between each plank. This keeps gaps even. Check spacing as you go. Fix any mistakes quickly. Small errors can cause big problems. Measure twice, cut once. This saves time and effort. Watch corners closely. They can be tricky.
Handling Obstacles And Irregularities
Obstacles like pipes and vents need special care. Use a jigsaw to cut around them. Measure carefully to fit around each. Irregularities in the floor can be challenging. Use leveling compounds for uneven spots. This keeps the floor even and stable. Take your time with these tasks. Patience makes perfect.
Finishing Touches
Installing baseboards is the final step. They cover gaps between floors and walls. Measure each wall length first. Cut baseboards to fit. Use a saw for precise cuts. Place baseboards along the wall edges. Use a nail gun to secure them. It keeps baseboards steady and firm.
Cleaning and sealing come next. Dust and debris may remain on floors. Sweep or vacuum them away. Use a damp cloth to wipe the surface. A clean floor is important before sealing. Choose a suitable wood sealant. Apply it with a brush or roller. Let the sealant dry completely. It protects floors from damage and stains.
Maintenance Tips
Installing hardwood floors requires careful preparation and planning. Choose quality materials, measure accurately, and clean surfaces thoroughly before starting. Follow manufacturer instructions closely for best results and longevity.
Regular Cleaning
Clean hardwood floors often to keep them nice. Use a soft broom or vacuum. Make sure the vacuum is safe for wood. Dust and dirt can scratch the wood. Use a damp mop with water and mild soap. Do not use too much water. It can damage the floor. Dry the floor with a soft towel. This helps to protect the wood.
Preventive Measures
Protect your floor from scratches. Place rugs at doors to catch dirt. Use furniture pads under chairs and tables. This prevents marks on the floor. Keep pet nails trimmed. Long nails can scratch the wood. Remove shoes at the door. High heels can dent the floor. Keep the floor safe and it will last long.
Frequently Asked Questions
What Tools Do I Need For Hardwood Flooring?
You’ll need essential tools like a saw, hammer, nail gun, and measuring tape. A pry bar, level, and safety gear are also crucial. Ensure all tools are in good condition to avoid delays. Proper tools make installation smoother and more efficient.
How Long Does Hardwood Floor Installation Take?
Installation time varies based on room size and complexity. Generally, it takes a few days for an average room. Preparation and acclimation of wood might add extra time. Plan for potential unforeseen delays due to weather or materials.
Can I Install Hardwood Floors Myself?
Yes, with basic skills, you can install hardwood floors yourself. Follow detailed guides and ensure proper tools are available. Consider professional help for challenging areas. DIY installation can save money but requires patience and precision.
What Are The Steps To Install Hardwood Flooring?
Start with preparation: clean, level, and measure the space. Install underlayment, then lay the flooring planks. Secure them with nails or glue, ensuring alignment. Finish with baseboards and cleanup. Follow each step carefully for best results.
Conclusion
Installing hardwood floors can be rewarding. With practice, it gets easier. Start with the basics. Measure accurately. Prepare the surface well. Follow each step carefully. Use the right tools. Ensure boards fit snugly. Safety is crucial. Wear protective gear. Take your time.
Rushing leads to mistakes. Enjoy the process. Admire your work. Hardwood floors add warmth. Enhance home value. Long-lasting beauty. It’s worth the effort. Practice makes perfect. You gain confidence. Soon, you’ll install like a pro. Happy flooring!


