Are you tired of looking at those old, scratched-up floors every day? Imagine transforming your space with beautifully sanded floors that look brand new.
Sanding a floor might seem like a daunting task, but with the right guidance, you can achieve professional results all on your own. This guide will walk you through each step, making the process simple and stress-free. Whether you’re a DIY enthusiast or just looking to save some money, learning how to sand a floor can be incredibly rewarding.
Stick with us, and soon you’ll be admiring your handiwork and the fresh, polished look of your floors. Are you ready to uncover the secrets of achieving stunning floors? Let’s dive in!
/refinish-hardwood-flooring-1314864-hero-8c687ea6601148a2af507a47c0e57491.jpg)
Choosing The Right Sandpaper
Sandpaper grit levels tell how rough or smooth the paper is. Higher grit numbers mean smoother paper. Lower numbers mean rougher paper. For floors, start with lower grit. It removes old finish. Then use medium grit to smooth. Finish with high grit for a shiny look.
Sandpaper materials vary. Aluminum oxide lasts long. Good for floors. Silicon carbide is sharp. Great for hard floors. Garnet is natural. Best for wood floors. Sandpaper comes in sheets, rolls, and discs. Sheets work by hand. Rolls cover big areas. Discs fit machines.
Preparing The Room
Remove all furniture and decorations from the room. This includes chairs, tables, and rugs. Empty bookshelves and move them out too. Clear the room completely. This makes sanding easier and safer. Check the floor for any small items. Picking up toys or coins is important. They can damage the sander. Store them in a safe place.
Cover the walls with plastic sheets. This keeps dust off. Use tape to hold the sheets in place. Wrap light fixtures to keep them safe. Use old sheets or plastic bags. Protect electrical outlets with tape. Dust can cause problems. Cover doorways with heavy curtains. This stops dust from spreading. Seal all gaps and holes. Your room is now ready for sanding.
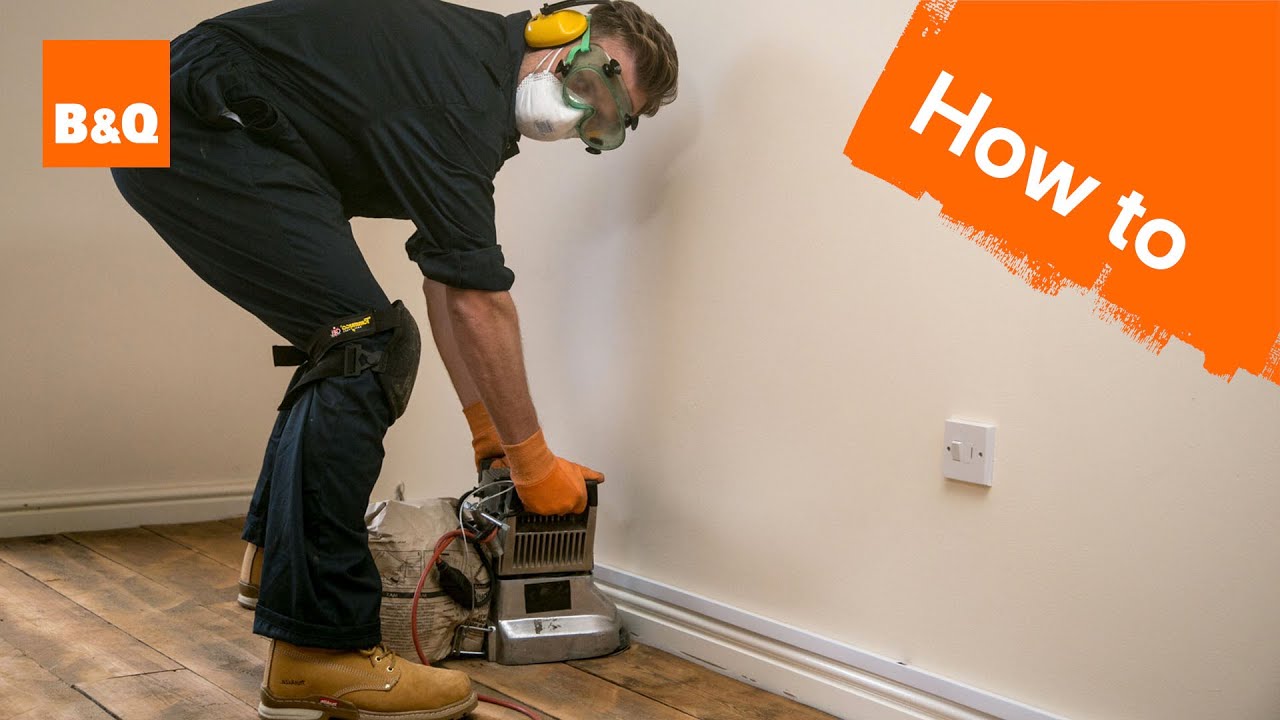
Safety Precautions
Always wear protective gear when sanding. Use a dust mask to cover your nose and mouth. This keeps harmful dust away. Wear goggles to protect your eyes. Gloves are important too. They keep your hands safe from splinters. Use ear protection to block loud noises. Safety is very important.
Proper ventilation is key when sanding floors. Open windows and doors. This helps fresh air come in. Fans can help move dust out. Good air flow keeps you safe. It prevents breathing in too much dust. Make sure the room is airy and fresh. Safe breathing is a must.

Equipment Essentials
Floor sanding needs special machines. Drum sanders are powerful. They are best for big spaces. Orbital sanders are smaller. They are easy to control. Good for corners. Edge sanders help with edges. They make floors smooth.
Extra tools make sanding easier. Vacuum cleaners pick up dust. Keep the area clean. Dust masks protect lungs. Safety comes first. Ear protection is important. Sanding is noisy. Knee pads are helpful. They protect knees during work.
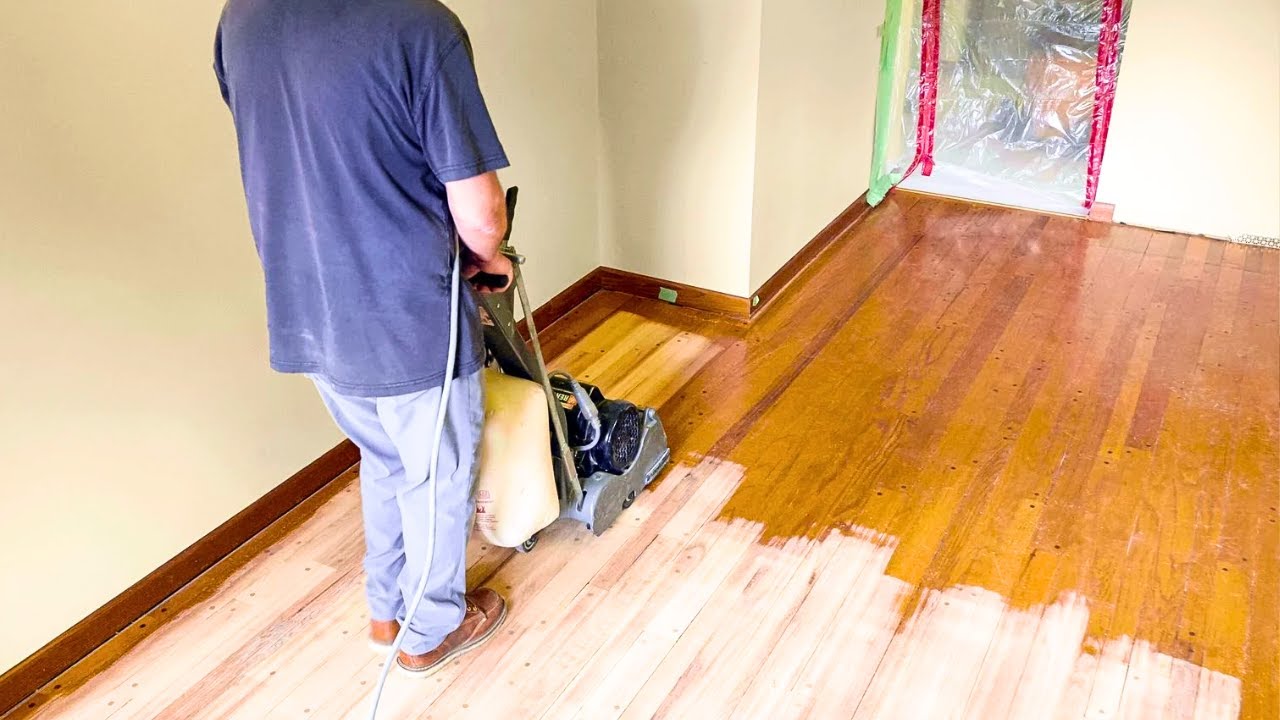
Sanding Techniques
Transform a dull floor by using effective sanding techniques. Start with coarse grit sandpaper to remove old finish. Gradually switch to finer grits for a smooth surface. Always move in the direction of the wood grain. This ensures a flawless finish, ready for staining or sealing.
Edging And Corners
Edges and corners need special care. Use a smaller sander for these areas. A handheld sander works best. It reaches tight spots easily. Always keep the sander moving. This avoids deep scratches. Sand in a straight line. Start with coarse sandpaper. Then, switch to a finer grit. This makes the floor smooth.
Avoiding Common Mistakes
Don’t rush the sanding process. Hurrying may cause uneven surfaces. Avoid pressing the sander too hard. This can damage the floor. Always check the sandpaper. Worn-out paper reduces effectiveness. Replace it often. Clean the floor regularly while sanding. Dust can cause scratches. Stay focused and patient. Your floor will look great in the end.
Dealing With Difficult Areas
Old finishes can be tough to remove. Use a strong stripper for this job. Wear gloves to protect your skin. Apply the stripper and wait for it to work. Scrape gently with a putty knife. Don’t rush. Take your time to avoid damage. Use sandpaper for stubborn spots. Make sure all the finish is gone. Check carefully before moving on. This step is important for a smooth result.
Gouges and scratches make floors look bad. Use wood filler to fix them. Apply the filler into the holes and scratches. Smooth it with a putty knife. Let it dry well. Sand the area with fine sandpaper after drying. Make it even with the floor. Check with your hand for smoothness. Repeat if needed. This helps in making the floor look new. Good preparation gives the best results.
Final Touches
Dust and small bits will be all over the floor. Use a vacuum to pick up all the loose dust. A damp mop can help clean the small bits. Make sure the floor is dry before the next step.
Choose a finish that suits your style. Apply the finish with a brush or roller. Make sure to cover every part of the floor. Let the finish dry completely. This can take a few hours. Check the instructions on the finish you use.
Maintenance Tips
Keep your floor clean every day. Use a soft broom for dust. Mop gently with water and mild soap. Avoid harsh chemicals on your floor. They can cause damage. Prevent scratches by placing mats at entrances. Keep furniture legs padded. This stops dents and marks.
Apply a protective finish to your floor. It helps against wear. Refinish your floor every few years. This keeps it looking fresh. Watch for signs of wear or damage. Fix them quickly to avoid bigger problems. Keep the room temperature steady. This protects the wood from expanding or shrinking.
Frequently Asked Questions
How Do I Prepare A Floor For Sanding?
Start by removing all furniture and rugs. Sweep and vacuum the floor thoroughly. Check for protruding nails or loose boards. Repair any damage before sanding. Make sure to wear protective gear. Proper preparation ensures efficient sanding and a smooth finish.
What Tools Do I Need To Sand A Floor?
You’ll need a drum sander, edger, and sandpaper of varying grits. A vacuum cleaner, broom, and mop are also essential. Protective gear like a mask and ear protection is recommended. Having the right tools ensures a successful sanding job.
How Long Does Floor Sanding Take?
The time varies depending on floor size and condition. Generally, a room can take 1 to 3 days. This includes preparation, sanding, and cleanup. Proper planning can help in managing time effectively.
Can I Sand A Floor Myself?
Yes, you can sand a floor yourself with the right tools. However, it requires patience and attention to detail. Consider renting professional equipment for better results. If unsure, consult or hire a professional for guidance.
Conclusion
Sanding a floor can feel like a big task. With the right tools, it’s manageable. Remember to prepare your space first. Clean thoroughly and remove any obstacles. Choose the right sandpaper for your floor type. Work slowly and evenly across the surface.
Don’t rush; patience is key. Take breaks to check your progress. A well-sanded floor can transform a room’s look. Enjoy the smooth finish and fresh appearance. With practice, you’ll improve your technique. Sanding offers a rewarding DIY project. Your effort will shine through in the final result.


