Have you ever stood in a room and imagined how stunning it would look with new flooring? Vinyl plank flooring is a fantastic choice that combines style, durability, and affordability.
But, before you can enjoy your refreshed space, you need to master the first step: starting the first row of vinyl plank flooring. This critical step can set the tone for the entire project, ensuring everything aligns perfectly and looks professional.
Imagine transforming your room with ease, confidence, and precision. Knowing how to lay that first row like a pro will save you time, reduce stress, and prevent costly mistakes. You don’t have to be a seasoned contractor to get it right; with a few insider tips, you can achieve flawless results. Ready to tackle this DIY project and make your vision come to life? Let’s dive in and explore how you can start your vinyl plank flooring journey with perfection.
Choosing The Right Tools
Starting your vinyl plank flooring needs good tools. A measuring tape is key for accuracy. A utility knife helps cut planks easily. A straight edge keeps lines straight. These tools make your job easier. A tapping block and rubber mallet help fit planks snugly. Safety glasses protect your eyes while working. Having gloves keeps hands safe from cuts. Gather all your tools before starting. This saves time and keeps things simple.
Preparing The Subfloor
A clean subfloor is important. Sweep away all dirt and dust. Use a mop to wipe the surface. Let it dry completely. A smooth base is needed for the planks. Check for bumps or low spots. Fill low areas with a floor patch. Sand down any high spots. A flat subfloor makes a big difference.
Moisture can damage vinyl planks. A moisture barrier helps stop this. Use plastic sheeting under the planks. Tape the sheets together. Cover the entire floor area. Overlap the sheets by a few inches. Secure them well. This keeps water away from the planks. A dry floor lasts longer.
Acclimating Vinyl Planks
Vinyl planks need time to adjust to the room. The room should have a stable temperature. Avoid extreme heat or cold. The ideal temperature is between 65°F and 85°F. Humidity should be between 30% and 50%. This helps the planks to settle well. Proper adjustment prevents warping and gaps. Always check the room’s climate before starting.
Carefully unpack the vinyl planks. Let them rest in the room for 48 hours. Do not stack them too high. Keep them flat on the floor. This helps them to adjust to room conditions. Avoid storing near windows or heaters. Protect them from direct sunlight. Proper storage ensures the planks stay in good shape.
Planning The Layout
Measure the length and width of the room. Use a tape measure for accuracy. Write down the numbers. Double-check the measurements. Make sure there are no mistakes. Precise measurements help in planning the layout.
Decide the direction of the planks. Planks can go left to right or front to back. Choose the way that looks best. Natural light can affect the choice. Consider how the sunlight enters the room. Direction impacts the room’s appearance.
Planks should not line up in straight rows. Stagger the joints for a stronger floor. Use different lengths for each row. This helps in creating a pattern. A staggered pattern looks nice and lasts longer. Avoid short pieces at ends.
Marking The Starting Line
A chalk line helps in keeping the floor straight. First, measure the room’s width. Then, find the center by dividing the width by two. Snap a chalk line down the room’s center. This line is your guide. It ensures the planks are straight. Always start laying planks along this line. This keeps your floor even.
Check the walls for straightness. Use a long ruler or level. Walls can be uneven sometimes. If they are, adjust the planks slightly. Align the planks with the chalk line. This method prevents gaps and misalignment. A straight start is very important for a neat floor. Keep checking the alignment as you work. This way, your floor looks perfect.
Cutting The First Plank
Starting with the right tools is key. A measuring tape helps measure the plank. Use a pencil to mark where to cut. A utility knife is ideal for scoring the plank. Saw options include a jigsaw or circular saw. These tools make cutting easier and safer.
Edges need to be smooth for a perfect fit. Use sandpaper to smooth rough edges. Run it gently along the cut edge. A clean edge ensures the plank fits snugly. This helps the floor look neat and professional.
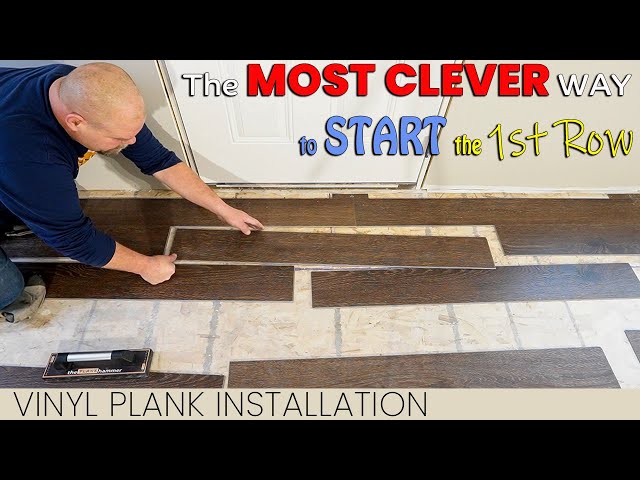
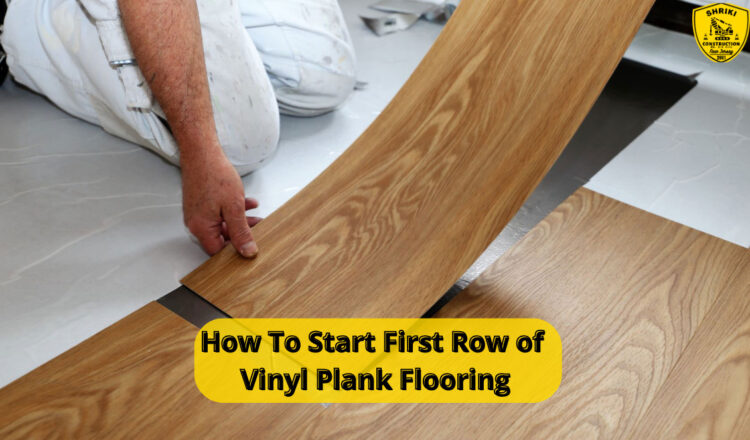
Installing The First Row
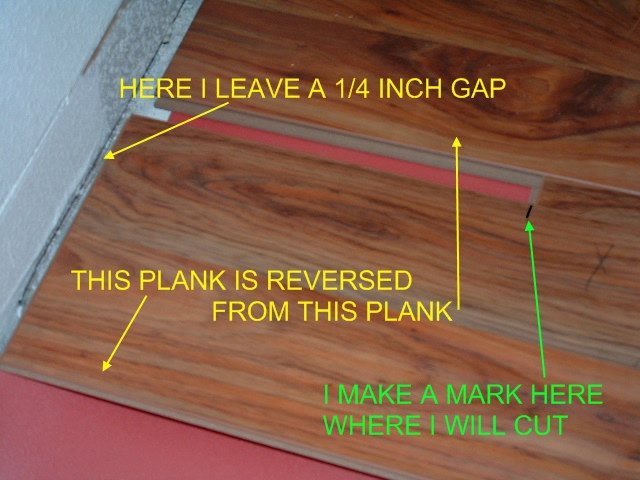
Start by laying the first plank on the floor. Make sure it is straight and aligned. This plank will guide the whole row. Use a spacer to keep the plank from the wall. This allows room for floor movement.
Keep a consistent gap between the plank and the wall. Use spacers along the wall. This helps the floor to expand. Do not push planks too close. Gaps are necessary for proper fitting.
Connect each plank tightly to the next. Use a tapping block for this. Tap gently to avoid damage. Check each connection is secure. This ensures a stable floor. Repeat for every plank in the first row.

Checking For Alignment
Begin by placing a straight edge along the wall. This tool helps you see any bumps or dips. Make sure the edge touches the floor evenly. If it doesn’t, you might need to fix the wall first. This ensures your floor looks straight and neat.
If the straight edge shows gaps, adjustments are needed. Use a pencil to mark high spots. Sand these spots down carefully. Use a level to check again. The floor must be flat for the planks to fit well. This avoids future problems with the flooring.
Frequently Asked Questions
What Tools Are Needed For Vinyl Plank Flooring?
To start vinyl plank flooring, you’ll need a tape measure, utility knife, and a straight edge. A rubber mallet helps with locking planks. Safety gear like knee pads and gloves is advisable. Preparation tools like a floor roller may also be needed for smooth installation.
How Do I Prepare The Subfloor?
Ensure the subfloor is clean and dry before installation. Check for uneven spots and level them. Remove any debris or adhesive residue. The subfloor should be smooth and firm to support the vinyl planks. Accurate preparation prevents future issues and ensures a long-lasting floor.
What Is The First Step In Installation?
Begin by measuring the room for precise plank cutting. Determine your layout and plan the starting point. Start from the corner and lay the first row against the longest wall. This ensures a straight line and solid foundation for the rest of the flooring installation.
How Do I Cut Vinyl Planks Accurately?
Measure twice before cutting to ensure precision. Use a utility knife for scoring along the marked line. Apply firm pressure to break the plank cleanly. A straight edge guides your cut for accuracy. Proper cutting ensures a seamless fit and reduces waste.
Conclusion
Starting the first row of vinyl flooring is simple. Follow the steps carefully. Measure your space accurately. Use tools like spacers for even gaps. Ensure the planks click together snugly. Check alignment frequently. Mistakes are easy to fix early. Take your time with cuts.
Double-check every plank. Enjoy a seamless finish. With patience, your floor will look great. Practice makes perfect. Learn as you go. Soon, you’ll install like a pro. Your home will feel fresh and stylish. Vinyl flooring adds value and beauty.
Keep these tips handy for future projects. Happy flooring!


