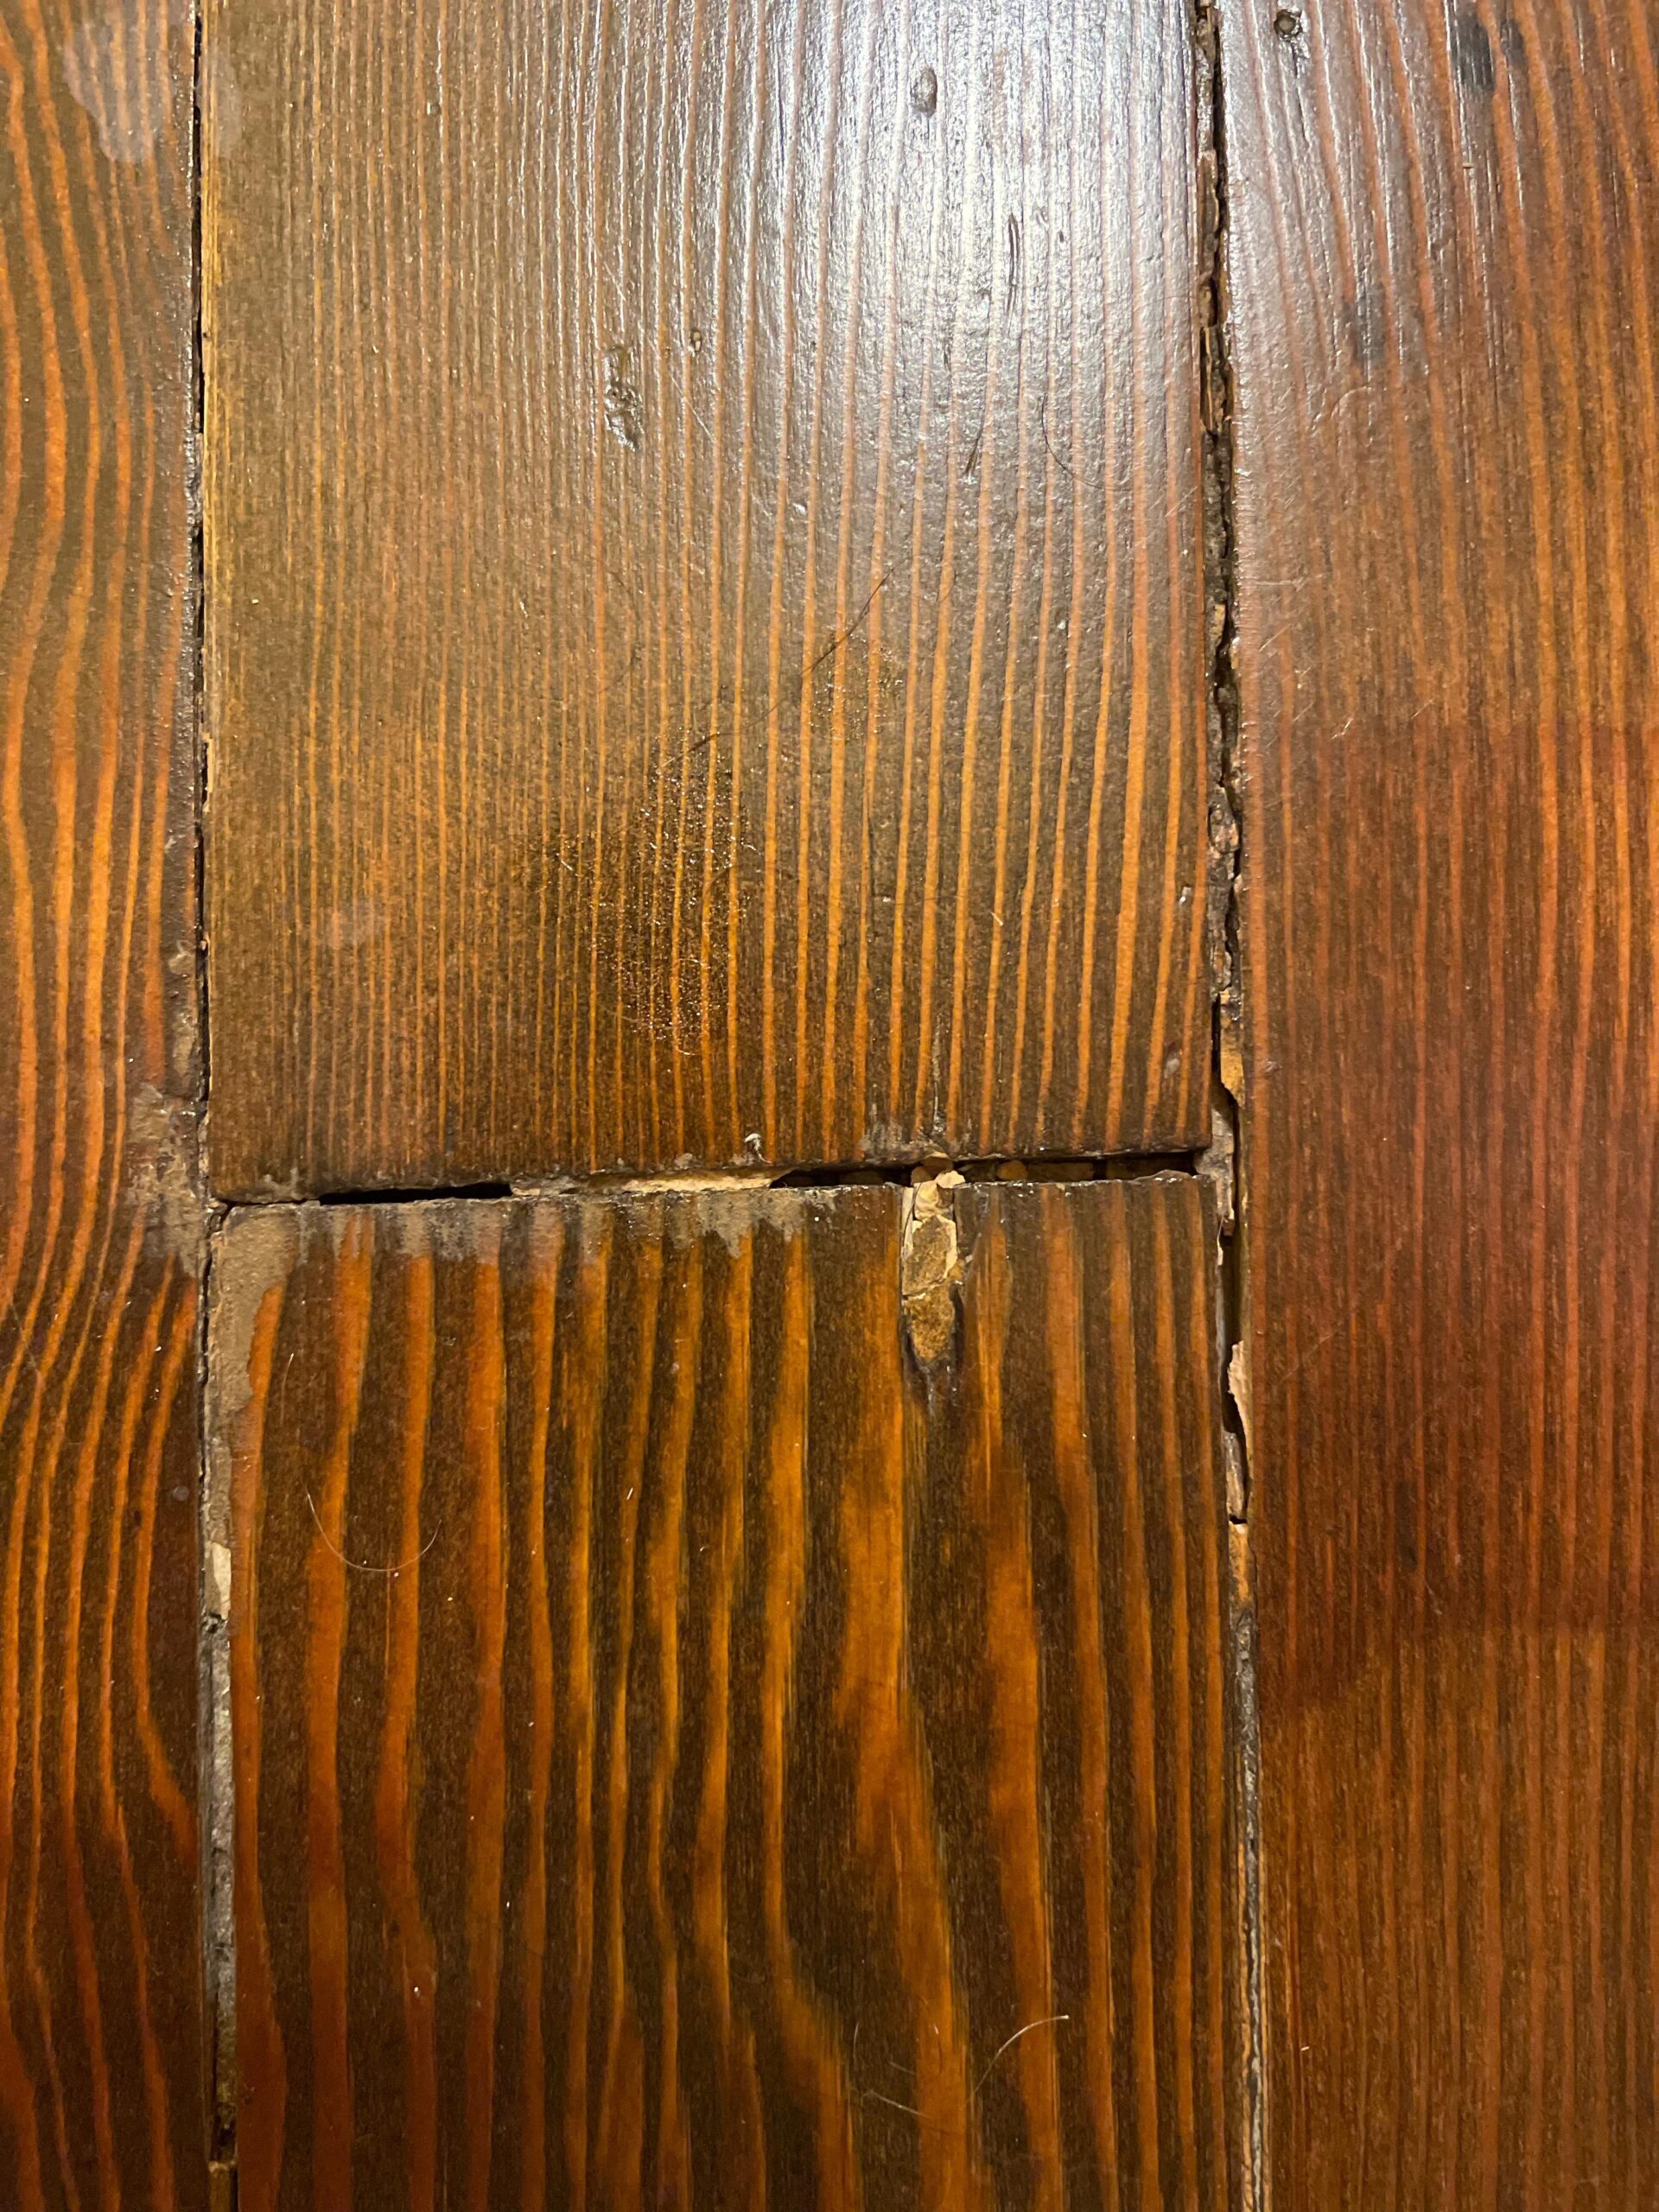
Have you noticed those annoying gaps in your wooden floor, making your room feel less cozy and polished? You’re not alone.
Wooden floors are beautiful, but they can shift and develop gaps over time. This not only affects the look but can also be a nuisance when cleaning. Imagine the satisfaction of walking on a perfectly smooth floor, with no gaps to trip over or collect dust.
That’s what we’re here to help you achieve. In this guide, you’ll discover simple steps to fill in those pesky wooden floor gaps. You don’t need to be a professional to make your floor look flawless again. With the right tips and tricks, you can transform your living space without the hefty price tag of hiring an expert. So, let’s dive in and give your wooden floor the seamless look it deserves!

Causes Of Wooden Floor Gaps
Wooden floor gaps appear due to several reasons. Wood expands and shrinks with weather changes. Warm weather makes wood expand. Cold weather makes it shrink. This causes gaps between wooden boards. Humidity levels also affect wood behavior. High humidity swells the wood. Low humidity dries it, creating gaps. Improper installation can lead to gaps too. If boards are not fitted tightly, gaps can form. Age of the floor is another factor. Older floors may have natural wear and tear. Over time, boards might loosen, causing gaps to appear. Understanding these causes helps in proper floor maintenance.
Essential Tools And Materials
Filling gaps in wooden floors needs the right tools. Wood filler is important. It fills the spaces. Putty knife helps spread the filler smoothly. Sandpaper is used to smooth the filler. It makes the floor even.
Vacuum cleaner removes dust before filling gaps. Clean gaps make better bonds. Damp cloth wipes away extra filler. This keeps the floor neat.
Tape measure helps check gap size. Measure correctly to use the right amount of filler. Protective gloves keep hands safe. Safety goggles protect eyes from dust and debris.
These tools and materials are easy to find. They are simple to use. They help keep wooden floors looking nice.
Preparing The Floor
First, make sure the floor is very clean. Dirt and dust can hide gaps. Use a vacuum cleaner to suck up loose dirt. After vacuuming, wipe the floor with a damp cloth. Let the floor dry completely before moving to the next step. A clean floor helps in seeing the gaps better.
Check the size of each gap carefully. Use a ruler or a measuring tape for this job. Small gaps are less than 1/8 inch. Medium gaps are between 1/8 and 1/4 inch. Large gaps are more than 1/4 inch. Knowing the gap size is important. It helps in choosing the right filler.
Choosing The Right Filler
Different fillers work for different floors. Wood putty is often used. It’s great for small gaps. Wood strips suit larger gaps. They fit snugly. Flexible fillers can move with the floor. This helps in areas with changes in temperature.
Hardwood floors need special care. Water-based fillers can damage them. Oil-based fillers work best here. For laminate floors, choose a filler that matches the color. This keeps the floor looking nice. Always check the filler label. It should say it’s safe for your floor type.
Filling Small Gaps
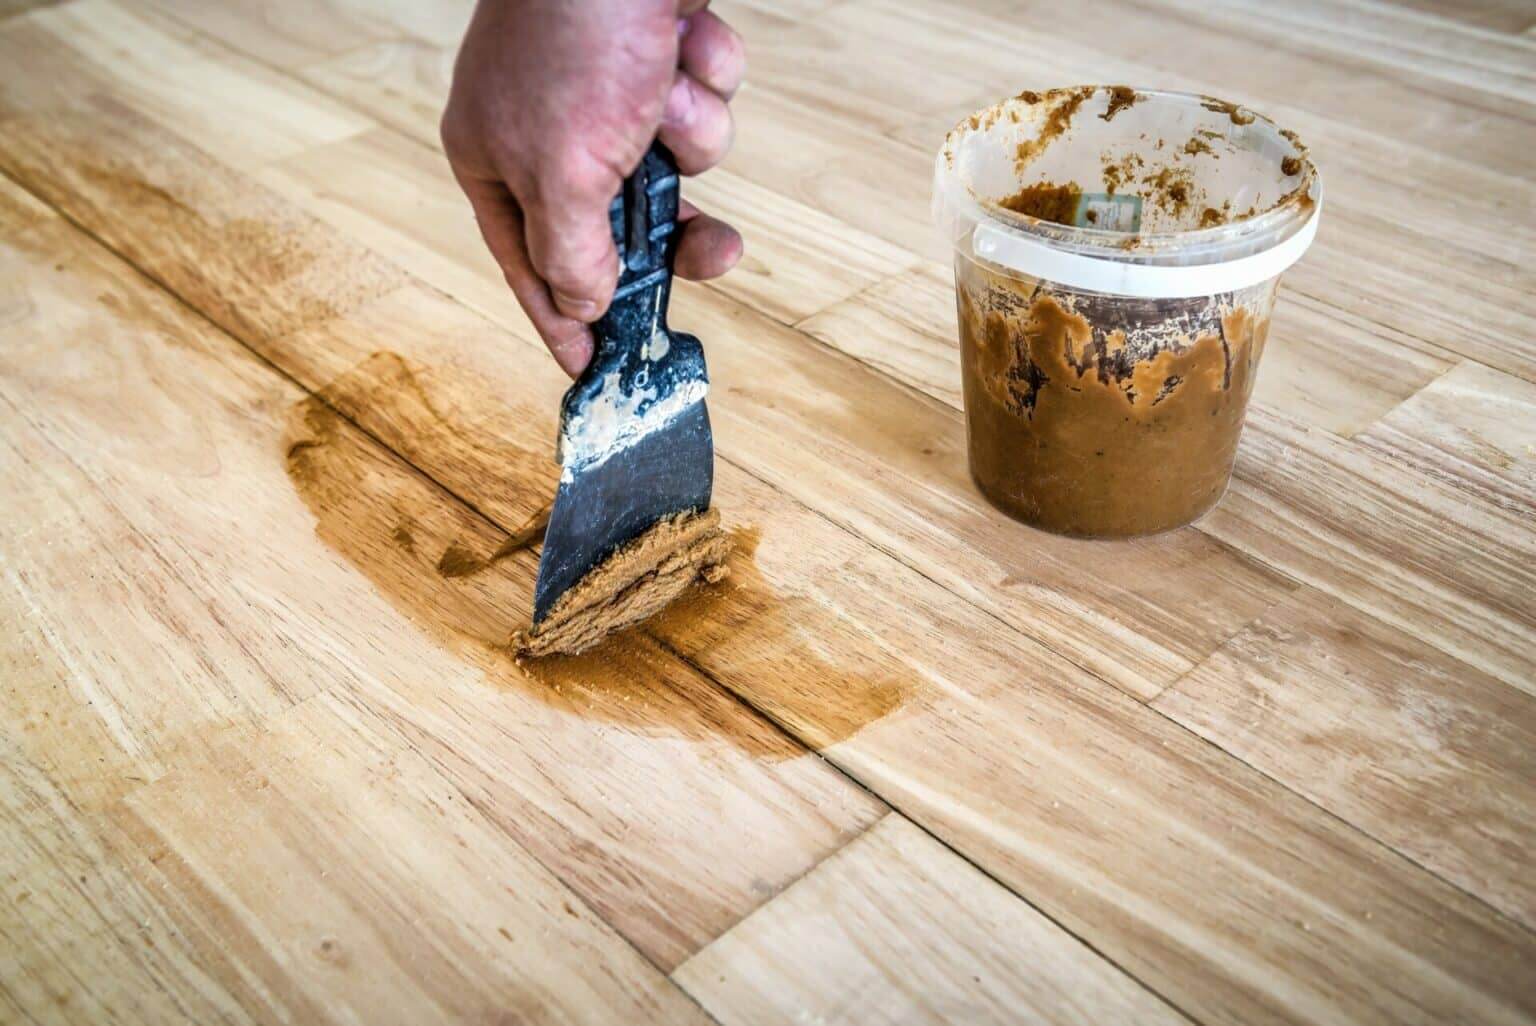
Wood putty is great for small gaps in floors. It comes in many colors. Choose one that matches your floor. Use a putty knife to apply it. Press it into the gap. Make sure it’s smooth. Let it dry for a few hours. Once dry, sand it gently. This makes it even with the floor. Finally, clean up any dust.
Wood filler is another option for gaps. It’s easy to use. Pick a color that matches the wood. Apply with a small tool like a spatula. Fill the gap fully. Wipe away extra filler. Let it dry completely. After drying, sand the area lightly. This ensures a smooth finish. Clean the surface after sanding. It’s now ready to look nice and even.
Filling Large Gaps
Use rope or twine to fill big gaps in floors. Measure the gap width first. Choose rope that fits snugly. Cut it to the right length. Press it into the gap with a flat tool. Make sure it sits below the floor level. This keeps it hidden. You can also stain the rope for a better match.
Create wood strips from matching wood. Measure the gap size carefully. Cut strips a bit wider than the gap. Sand the edges for a smooth fit. Gently tap the strip into the gap. Use wood glue to keep it in place. Wipe away extra glue quickly. Stain or seal the strip to match the floor. This method looks very natural.
Finishing Touches
Filling gaps in wooden floors enhances the appearance and prevents dirt accumulation. Use wood filler for small gaps and consider flexible fillers for larger spaces. Regular maintenance ensures durability and a seamless finish.
Sanding The Surface
Start by choosing the right sandpaper. A medium grit is good. Move the sandpaper gently over the floor. Use small circles. This will smooth the surface. Check the floor for rough spots. Sand these areas again. Make sure the floor is even. Clean the dust after sanding. A vacuum works well for this. This step is important. It prepares the floor for the next process.
Applying A Sealant
Pick a suitable sealant for wood floors. Use a brush or roller. Apply the sealant in thin layers. Let each layer dry before adding more. This keeps the floor smooth. Watch for bubbles or drips. Wipe them away quickly. The sealant protects the wood. It also gives a shiny look. Wait for the sealant to dry completely. This makes the floor ready for use.

Preventing Future Gaps
Wooden floors need proper care. Humidity is a big factor. Keep humidity between 35% and 55%. Use a humidifier in dry months. Use a dehumidifier in wet months. These tools help control air moisture. This stops wood from shrinking or swelling.
Check your floors often. Look for gaps or cracks. Clean the floors with a soft mop. Avoid water spills. Water can damage wood. Use a floor cleaner made for wood. Polish the floor every six months. This keeps it shiny and strong. These steps help your floor last longer.
Frequently Asked Questions
What Causes Gaps In Wooden Floors?
Gaps in wooden floors can occur due to changes in humidity and temperature. As wood expands in moist conditions and contracts in dry environments, gaps may form over time. Seasonal changes and poor installation can also contribute to this issue.
Can I Fill Wooden Floor Gaps Myself?
Yes, you can fill wooden floor gaps yourself with the right tools and materials. Common methods include using wood filler, rope, or flexible gap fillers. Ensure you follow instructions carefully for a seamless finish.
What Materials Are Best For Filling Gaps?
Wood fillers, rope, and flexible gap fillers are popular choices for filling gaps in wooden floors. Choose materials that match your floor’s color and texture for a cohesive look. Proper selection ensures durability and effectiveness.
How Can I Prevent Future Floor Gaps?
To prevent future gaps, maintain a stable indoor climate with consistent humidity levels. Use humidifiers in dry seasons and ensure proper installation. Regular maintenance and monitoring can also help reduce the likelihood of gaps forming.
Conclusion
Filling wooden floor gaps is simple with the right tools. It enhances the look and keeps your floor in good shape. Regular checks help prevent future gaps. Always use quality materials for lasting results. Enjoy a smooth floor by maintaining it well.
Share your experiences with friends. They might need this advice too. Remember, small gaps can grow bigger. Fix them early. A well-maintained floor boosts home comfort. Simple steps, great results. Keep your home cozy and inviting. Follow these tips for a beautiful wooden floor.
Happy fixing!


