Are you dreaming of the elegant charm that hardwood floors can bring to your home? Imagine walking on a surface that feels warm and welcoming, adding a touch of sophistication to every room.
You might think that installing hardwood floors is a job for the professionals, but with the right guidance, you can achieve it yourself and save money. Picture yourself transforming your space, gaining not just a beautiful floor but a sense of accomplishment.
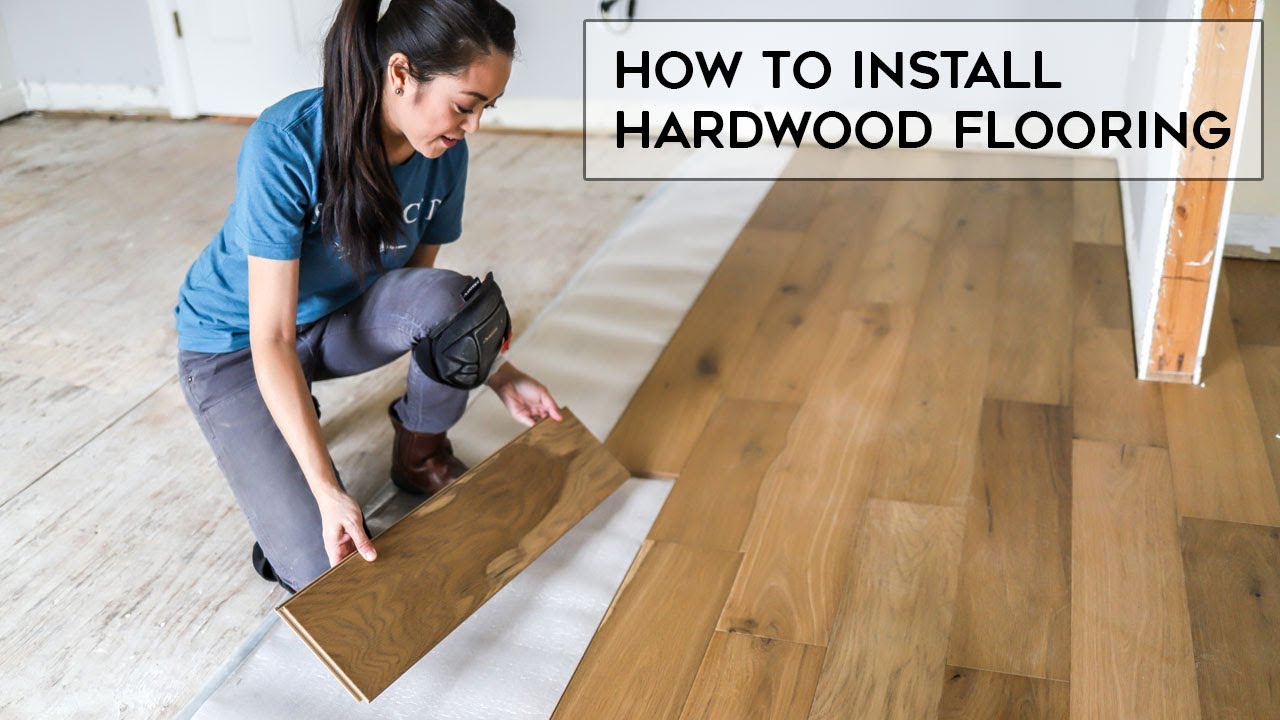
You’ll discover simple steps to lay down hardwood flooring, turning your vision into reality. Get ready to unleash your inner DIY enthusiast and learn how to create a stunning foundation for your home. Let’s dive in and see how you can make it happen.
Choosing The Right Hardwood
Oak is very popular for floors. It is strong and lasts long. Maple has a soft look. It is also hard and great for busy areas. Cherry wood is a bit softer. It has a rich, dark color. Walnut wood is dark and beautiful. It is often used in luxury homes. Hickory is the toughest wood. It is great for families and pets. Each type of wood has its own beauty.
Think about the cost before buying. Oak is usually the cheapest. Walnut can be more expensive. Look at the color you like best. Lighter floors show less dirt. Darker floors add warmth. Durability is important if you have kids or pets. Hickory and Oak are very strong. Consider how much maintenance you can do. Some woods need more care. Think about these things before you choose.
Preparing The Subfloor
First, remove all dirt and dust from the subfloor. Use a broom and a vacuum cleaner. Check the floor for any bumps or holes. Fill holes with wood filler. Use sandpaper to smooth out the bumps. Make sure the floor is flat and even. This helps the hardwood to lay properly.
A moisture barrier is very important. It keeps the hardwood dry. First, lay the barrier across the entire floor. Overlap the edges by a few inches. Secure the edges with tape. This stops water from coming in. Make sure there are no gaps in the barrier. This protects the wood from moisture.
Gathering Necessary Tools
Hammer and nails are crucial for securing the floor. Tape measure helps in measuring lengths accurately. Saw is needed for cutting planks to fit. Flooring nailer is used for quicker and precise nailing. Level ensures the floor is even. Chalk line helps mark straight lines. Pry bar removes old flooring. Rubber mallet helps tap boards into place. Drill is useful for pre-drilling holes. Utility knife trims small pieces. Wood glue bonds boards together. Spacers are needed for expansion gaps. Underlayment provides a smooth base.
Safety glasses protect eyes from flying debris. Dust mask keeps dust out of lungs. Knee pads guard your knees during floor work. Ear protection shields your ears from loud noises. Work gloves protect hands from splinters and cuts. Steel-toed boots protect feet from heavy objects.

Acclimating The Hardwood
Wood needs to adjust to the room’s temperature and moisture. This process is called acclimation. It helps prevent cracks and gaps. Without acclimation, wood might shrink or swell. Always let wood sit in the room. This should be done before installation. The wood should breathe and settle in. It’s a simple but important step.
Let wood rest for at least 48 hours. Some experts suggest 3-5 days. The time depends on the wood type and room conditions. Check the manufacturer’s guidelines. Always follow their advice. Each type of wood might need different timeframes. Keep the room’s temperature steady. Ensure windows are closed to avoid moisture changes.
Planning The Layout
Measure the room carefully. Use a tape measure for accuracy. Write down the length and width. This helps in calculating the total area. Use these measurements to buy the right amount of wood. Always add 10% extra for mistakes or future repairs.
Start by sketching the room on paper. Mark doors and windows. Draw lines for the wood planks. Plan how the planks will fit. Avoid small pieces at the edges. This makes the floor look neater. Planning saves time and reduces waste.
Installation Techniques
This method is best for solid hardwood floors. It uses nails or staples. Boards are attached to the subfloor. A hammer and nail are required. Ensure the subfloor is clean and dry. Start at the longest wall. Keep the nails hidden in the grooves. Boards should fit snugly. This prevents gaps.
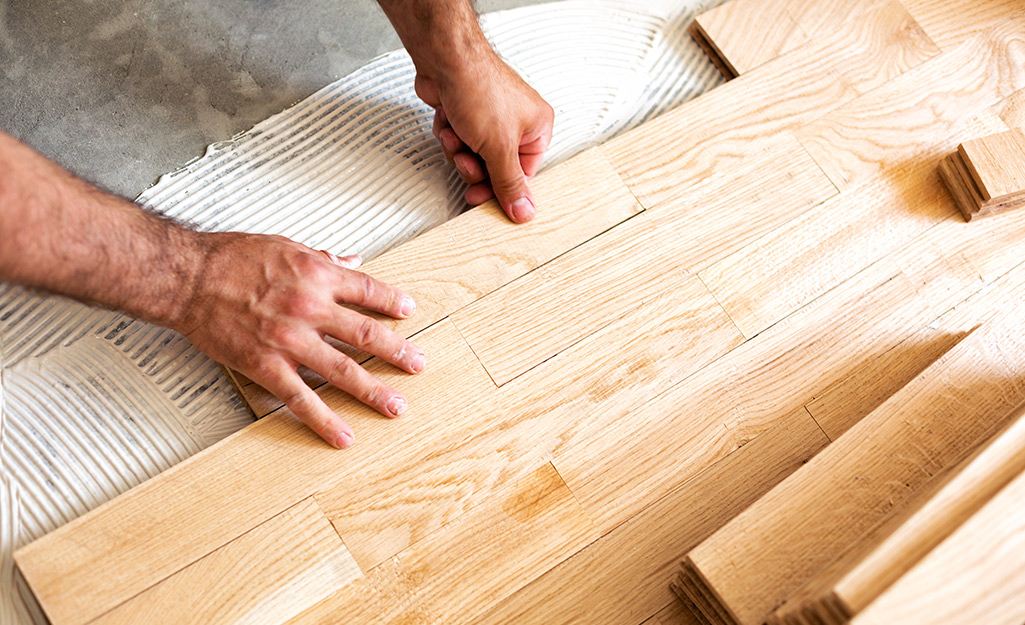
Perfect for engineered wood flooring. Glue is applied directly to the subfloor. It provides a strong bond. A trowel spreads the glue evenly. Avoid stepping on wet glue. Boards are pressed firmly into place. Use spacers for even gaps. This method is ideal for concrete surfaces.
This method suits laminate and some engineered wood. The floor “floats” above the subfloor. Boards connect with tongue-and-groove edges. No nails or glue needed. Use underlayment for soundproofing. It’s easy to install and remove. Great for DIY projects. Ensure a smooth surface underneath.
Finishing Touches
Add trimming around the edges of the floor. Use a saw to cut pieces to the right size. Secure them with nails or glue. This hides gaps near the walls. Choose molding that matches the floor color. It makes the room look neat and tidy.
Seal the floor to protect it from water and dirt. Use a brush or roller for even application. Allow it to dry completely. Stain the floor if you want a different color. Apply stain with a cloth or sponge. Wipe off any extra stain with a clean rag. Let it dry for a day before walking on it.
:strip_icc()/101206836-29035ec5a7c34a12a4c00cd5101818d4.jpg)
Maintenance Tips
Use a soft broom to sweep the floor daily. Avoid water when cleaning. Use a dry mop instead. Vacuum once a week to remove dust. Pick a vacuum with a soft brush. Avoid harsh chemicals on your floor. Use a gentle cleaner. Wipe spills right away to prevent stains. Keep shoes outside to reduce dirt. This keeps floors clean and safe.
Place mats at entrances to catch dirt. Use furniture pads under chairs and tables. This stops scratches. Keep pet nails trimmed to avoid marks. Avoid dragging furniture across the floor. Use curtains to block strong sunlight. This stops fading. Keep humidity levels stable. This prevents wood from warping. Regular checks for damage help too. Quick fixes protect your floor.
Frequently Asked Questions
What Tools Are Needed For Hardwood Flooring?
To lay down hardwood floor, you’ll need a saw, tape measure, hammer, and pry bar. A chalk line, nail gun, and safety gear are also essential. Ensure you have a moisture meter to check subfloor conditions. These tools will help you install efficiently and accurately.
How Do I Prepare The Subfloor?
Ensure the subfloor is dry, clean, and level before starting. Remove any old flooring materials and repair damage. Use a moisture meter to check for moisture levels. A level and clean subfloor ensures the hardwood floor will lay properly and last longer.
How Long Does Hardwood Acclimation Take?
Hardwood flooring typically requires 3-7 days to acclimate to your home’s conditions. Store the planks in the room where they’ll be installed. Proper acclimation prevents warping and gaps after installation. It’s crucial for the longevity and stability of your hardwood floor.
Can I Install Hardwood Over Concrete?
Yes, you can install hardwood over concrete with proper preparation. Ensure the concrete is dry and level. Use a vapor barrier to prevent moisture from affecting the wood. Consider using engineered hardwood for better stability over concrete surfaces.
Conclusion
Hardwood floors bring warmth and elegance to any space. Laying them takes patience, but the rewards are worth it. Follow the steps carefully. Your floor will last for years. Remember to measure accurately. Use quality materials for better results. Take your time with each plank.
Precision matters. Celebrate your new floor once finished. A well-laid floor boosts home value and style. Enjoy walking on your new hardwood masterpiece. It’s an achievement to be proud of. Keep your tools handy for future maintenance. Happy flooring!


