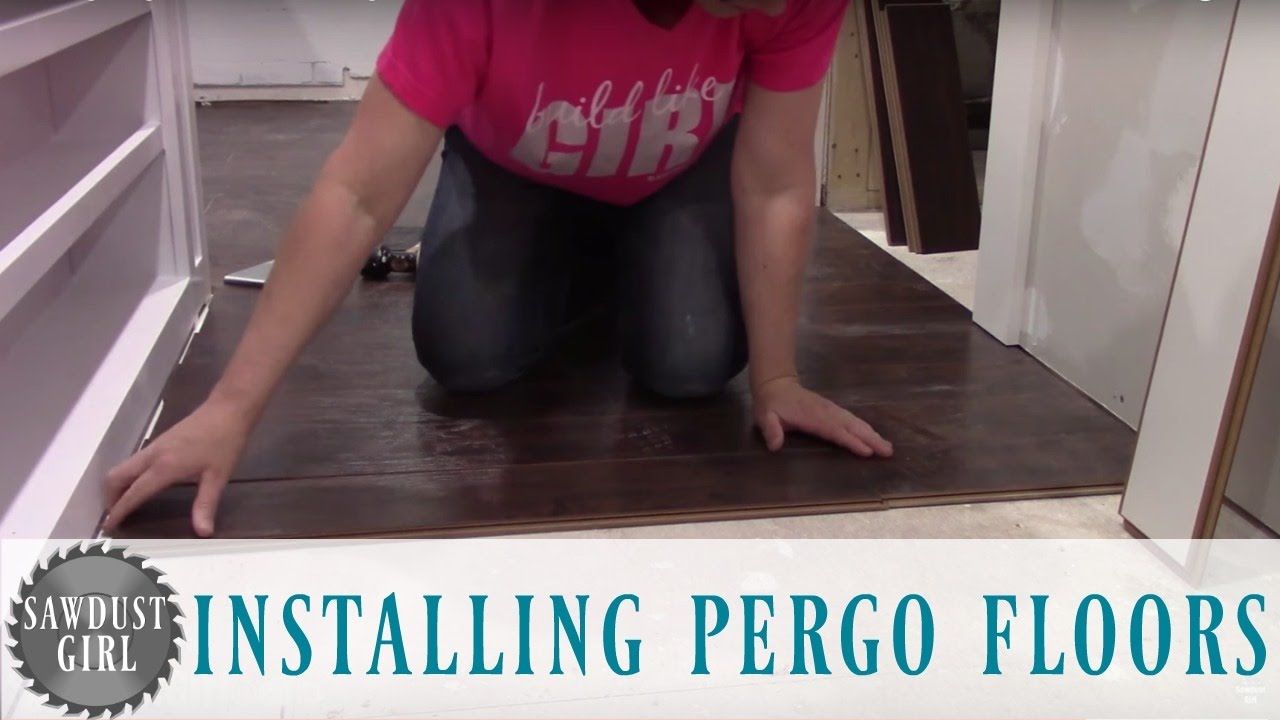
Are you ready to transform your living space with a fresh, stylish look? Installing Pergo laminate flooring might be the perfect solution for you.
This flooring option not only offers durability and beauty but also mimics the appearance of real wood without the hefty price tag. Imagine walking into your home and feeling the satisfaction of a job well done, as you admire the seamless finish that complements your décor.
With a few tools, a little patience, and the right guidance, you can achieve professional results on your own. So, are you curious to discover how easy and rewarding installing Pergo laminate flooring can be? Let’s dive into the step-by-step process that will empower you to tackle this project with confidence and enthusiasm.
Preparing Your Space
Start by gathering all the necessary tools. You will need a tape measure, saw, and hammer. Also, get an underlayment and spacers. Having these tools ready will make the job easier.
Make sure the space is clear. Move furniture and rugs away. Sweep or vacuum the floor. This helps to avoid any dirt or dust. A clean area ensures a smooth installation.
Look at the subfloor condition. It should be clean and flat. Fix any bumps or holes first. A solid subfloor is essential for a good finish. This step prevents future problems.
Choosing The Right Pergo Laminate
Think about how the room is used. Busy rooms need strong floors. Pergo laminate is great for homes with kids or pets. It handles a lot of foot traffic. Wet areas like kitchens need waterproof laminate. This keeps the floor safe from spills.
Choose a style that matches your home. Pergo offers many colors and designs. Light colors make rooms look bigger. Dark colors add warmth. Wood-look styles are very popular. They look like real wood.
Measure the room carefully. You need to know the length and width. Multiply these numbers to find the area. Always buy extra. This allows for mistakes or future repairs. 10% extra is a good rule. This ensures you have enough for cuts and waste.
Acclimating The Flooring
Unpack all the boxes of laminate flooring. This helps the boards adjust. Place them flat in the room where you will install them. Keep them away from walls and windows. Avoid direct sunlight. It can harm the boards.
Allow Time for Adjustment Let the laminate sit for at least 48 hours. This helps it adapt to the room’s temperature and humidity. The boards need to breathe and settle. Do not skip this step. It ensures a perfect fit when you install.
Installing Underlayment
Begin by laying a smooth underlayment to ensure Pergo laminate floors stay even. This layer reduces noise and adds comfort. Proper installation of underlayment is crucial for a lasting, professional finish.
Choose Suitable Underlayment
Picking the right underlayment is very important. Underlayment helps with sound and moisture. It makes the floor feel soft. Foam underlayment is popular. It is easy to use. Cork underlayment is good for sound. It is more costly. Rubber underlayment is great for moisture. It works well in wet areas. Always check the floor type. Make sure it fits with your Pergo laminate.
Lay Down The Underlayment
Begin with a clean floor. The floor must be dry. Roll out the underlayment. It should cover the whole area. Cut with scissors if needed. Make sure it is flat. No bumps or folds. Tape the edges. This keeps it in place. Do not overlap pieces. That can cause problems later. Lay each piece side by side. Now your floor is ready for Pergo.
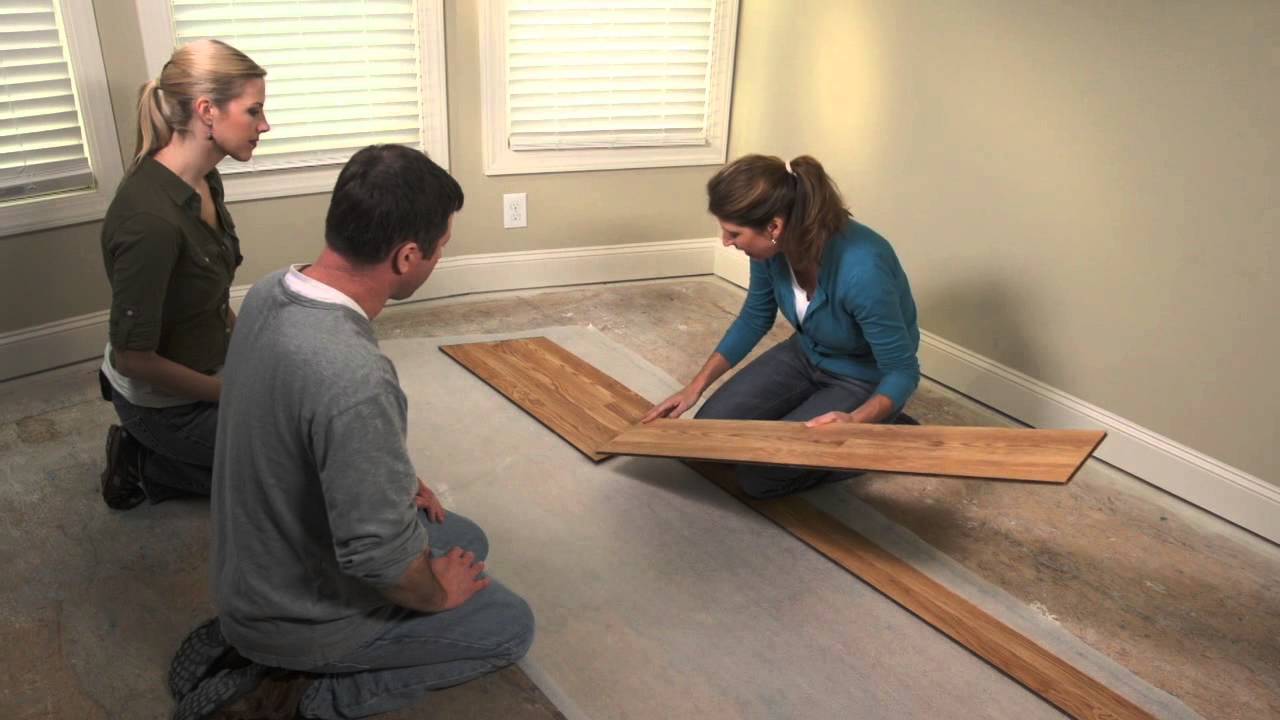
Laying The First Row
Plan the Layout carefully before starting. Measure the room length. Mark a straight line on the floor. This line helps keep boards straight. Use spacers by the wall. This allows room for the floor to expand.
Cut Boards if Necessary to fit. Measure the gap at the end. Use a saw to cut the board. Always wear safety goggles when cutting. Place the cut side against the wall. This hides the cut edge.
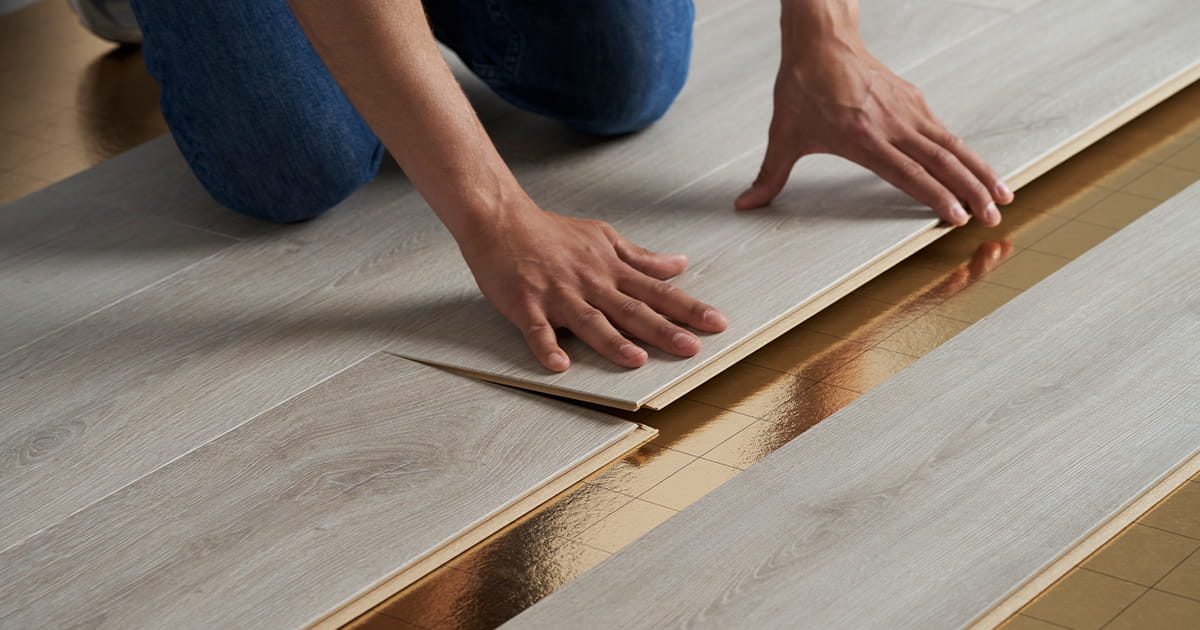
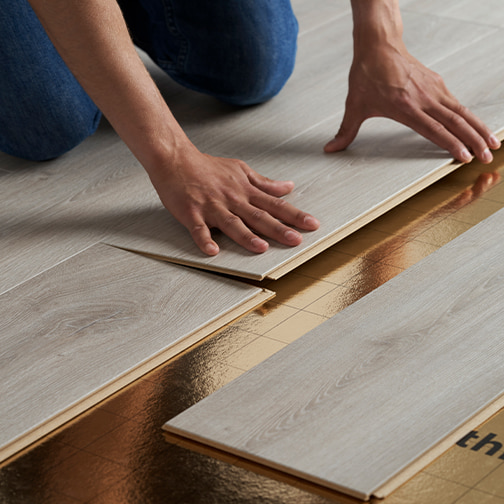
Snap Boards Together by aligning them. Click the edges into place. Use gentle taps with a rubber mallet. This ensures a snug fit. Check the boards are tight. No gaps should be visible. Continue until the first row is complete.
Continuing The Installation
Stagger the Seams by starting each row with a different length. This makes the floor look nice and strong. Cut pieces so the seams don’t line up. It stops weak spots and looks better.
It’s important to Maintain Expansion Gap around the room. This gap lets the floor move a little with changes in weather. Keep the gap about 10-12 mm wide. Never put the floor right against the wall.
Use Spacers to keep this gap consistent. Put spacers between the wall and the first row. This ensures the floor stays neat and straight. Remove spacers after installation finishes.
Cutting Around Obstacles
Always measure twice for accuracy. Use a measuring tape for precise dimensions. Mark the measurements with a pencil on the flooring. Double-check the marks to prevent mistakes. Ensure marks are visible and clear. This helps in cutting correctly.
Choose the right tool for cutting. A jigsaw works well for curves. For straight cuts, use a saw. Ensure the blade is sharp. Sharp blades make clean cuts. Avoid using dull tools. Dull tools can damage the flooring. Always wear safety goggles. Protect your eyes from dust. Keep tools clean and ready.
Completing The Last Row
Completing the last row of Pergo laminate flooring involves careful measurement and cutting. Ensure each piece fits snugly into place. Use a pull bar and tapping block for a secure fit. Achieving a seamless finish enhances the floor’s durability and appearance.
Trim Boards To Fit
Measure the gap for the last row. Mark the board where it needs to be cut. Use a saw to trim the board. Ensure it fits snugly into place. Leave a small gap for expansion. This helps the floor stay in good shape. Double-check your measurements. Mistakes can be costly.
Secure In Place
Place the trimmed board into the row. Press down gently to lock it in. Use a tapping block if needed. This ensures a tight fit. Check that there are no gaps. Use spacers to keep an even distance. Make sure the board aligns with the rest. Tight connections prevent movement.
Finishing Touches
Install baseboards to cover the edges of the flooring. Choose matching baseboards for a neat look. Use nails or glue to attach them securely. Ensure they are flush with the wall for a clean finish. Baseboards prevent dirt from getting underneath the flooring. They also add a professional touch to your room.
Seal gaps if needed to prevent moisture from entering. Use silicone sealant for small gaps. This keeps the flooring safe from water damage. Make sure the sealant matches the flooring color. Apply it neatly for a seamless appearance. Regular checks can help maintain the flooring’s condition.
Maintenance Tips
Installing Pergo laminate flooring is simple with a few handy tips. Start by preparing the subfloor to ensure it’s clean and dry. Carefully follow the manufacturer’s instructions for a perfect fit and finish.
Cleaning Guidelines
Use a soft broom or vacuum to remove dust. A damp mop helps in cleaning spills. Avoid soaking the floor with water. Too much water can damage it. Use a mild cleaner if needed. Make sure the cleaner is safe for laminate. Do not use abrasive scrubbers. They can scratch the surface. Dry the floor quickly with a soft cloth.
Handling Repairs
Small scratches can be fixed with a repair kit. Kits are available in stores. Follow the instructions carefully. For deeper scratches, replace the damaged plank. Lift the plank gently using a tool. Install a new plank in its place. Ensure it fits snugly with others. Always keep extra planks for future repairs. Regular checks help spot damage early.
Frequently Asked Questions
What Tools Are Needed For Pergo Installation?
For Pergo installation, you’ll need a saw, tape measure, spacers, and a tapping block. A rubber mallet and pull bar are helpful. Ensure you have a moisture barrier if installing on concrete. Always follow the manufacturer’s guidelines for any additional tools or materials required.
Can I Install Pergo Flooring Over Concrete?
Yes, you can install Pergo over concrete, but a moisture barrier is essential. Ensure the concrete is dry and level. Clean the surface thoroughly before installation. Using underlayment will help with sound absorption and insulation, enhancing the performance of your Pergo flooring.
How To Prepare The Room For Installation?
Start by removing existing flooring and cleaning the subfloor. Ensure the surface is dry, level, and free of debris. Acclimate Pergo planks to the room temperature for 48 hours. This helps prevent expansion or contraction post-installation, ensuring a smooth and lasting finish.
Do I Need Underlayment For Pergo Flooring?
Yes, underlayment is crucial for Pergo flooring, providing sound insulation and moisture protection. It enhances comfort and durability. Check if your Pergo flooring has pre-attached underlayment. If not, choose the right type based on your subfloor and installation area.
Conclusion
Installing Pergo laminate flooring can transform your space. It’s simple and rewarding. With the right tools, you can do it yourself. Follow each step carefully for a perfect finish. Prepare your floor, lay the underlayment, and click tiles into place.
Remember to leave room for expansion. Enjoy the warmth and style it brings to your home. Regular maintenance keeps it looking new. Now, your floor is ready to impress. Share your success with friends and family. Happy flooring!


