Imagine waking up on a chilly morning and stepping onto a warm, cozy floor. Heated floors can transform your home comfort, offering a luxurious touch without the luxury price tag.
If you’ve ever wondered about installing heated floors yourself, you’re in the right place. This guide will walk you through the process, demystifying each step. We’ll share insider tips that make installation a breeze, ensuring you get it right the first time.
By the end, you’ll feel confident in your ability to upgrade your space. Dive in, and discover how easy it is to bring warmth and style to your home.
Choosing The Right Heated Floor System
Heated floors keep your feet warm. There are two main types: electric and hydronic. Electric systems use wires. These wires heat the floor. They are easy to install. Good for small areas. Hydronic systems use water. Hot water flows through tubes. This method is good for large spaces. It is more complex. Needs a boiler.
Think about cost. Electric systems are cheaper at first. Hydronic costs more to set up. But it saves money over time. Consider the space size. Electric is best for small rooms. Hydronic fits bigger areas. Installation time matters too. Electric is quicker to install. Hydronic takes longer. Choose based on your needs.
Gathering Necessary Tools And Materials
Start with a measuring tape to check the room size. Use a utility knife to cut the materials. A screwdriver helps in fixing screws. You will need a trowel for smooth spreading. Keep a multimeter handy to test the wires. A level ensures a flat surface.
Heating mats are needed to warm the floors. Get adhesive for sticking the mats. A thermostat controls the heat. Insulation boards help in retaining warmth. Have flooring tiles ready to cover the mats. Stock up on grout for tile gaps.
Preparing The Subfloor
Preparing the subfloor is crucial before installing heated floors. Ensure it’s clean and level for proper heat distribution. Use appropriate materials to enhance the efficiency of the heating system and provide comfort.
Cleaning The Surface
Start by removing all dust and debris from the floor. Sweep or vacuum the area well. This makes sure nothing is left behind. Check for any stubborn spots. Use a damp cloth to wipe them away. Ensure the surface is dry before moving on.
Addressing Imperfections
Look for cracks or holes in the subfloor. Fill these gaps using a floor patch product. Sand down any high spots for a smooth finish. A level surface is key for heated floors. It ensures even heat distribution. Use a level tool to check for uneven areas. Fix these before installation.
Installing Insulation
Insulation keeps the heat inside the floor. It is important to pick the right materials. Foam boards are popular. They are easy to use. They are also very light. Another option is fiberglass. It is soft and fluffy. It fits well in small spaces.
- Measure the space carefully.
- Cut the insulation to fit.
- Use glue or tape to hold it.
- Check for gaps or holes.
Insulation helps floors stay warm longer. It saves energy and money. It is key for heated floors.
Laying The Heating Elements
Laying the heating elements is crucial for installing heated floors efficiently. Ensure they are evenly spaced across the floor surface. This setup provides consistent warmth and enhances comfort in any room. Proper placement avoids overheating and ensures energy efficiency.
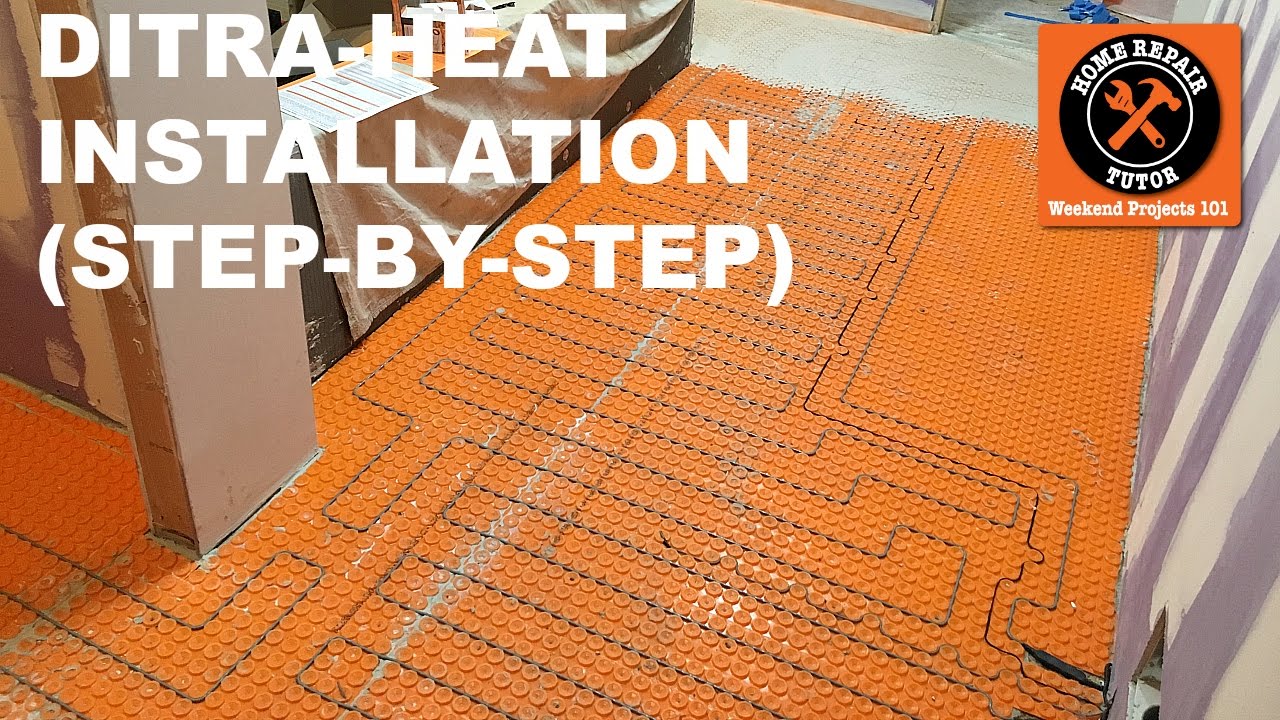
Electric Mats Or Cables
Electric mats or cables are easy to lay. Electric mats are like thin carpets. You roll them out. Cables come in rolls. You lay them like spaghetti. Check the floor size first. Cut the mat to fit the area. Secure them with tape or glue. Connect to the power source. Follow the instructions carefully. Safety is important. Keep mats away from water.
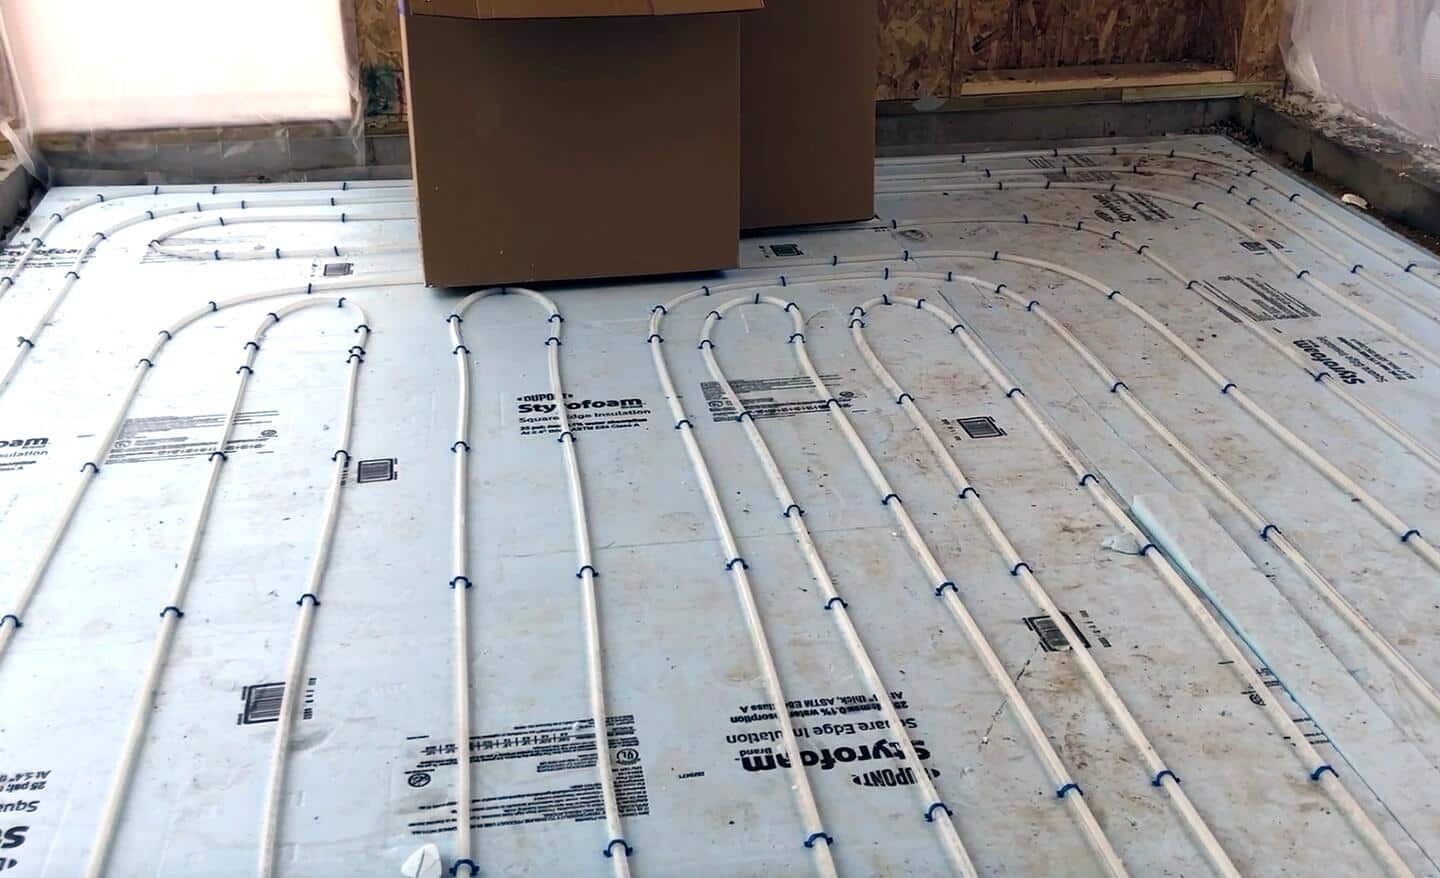
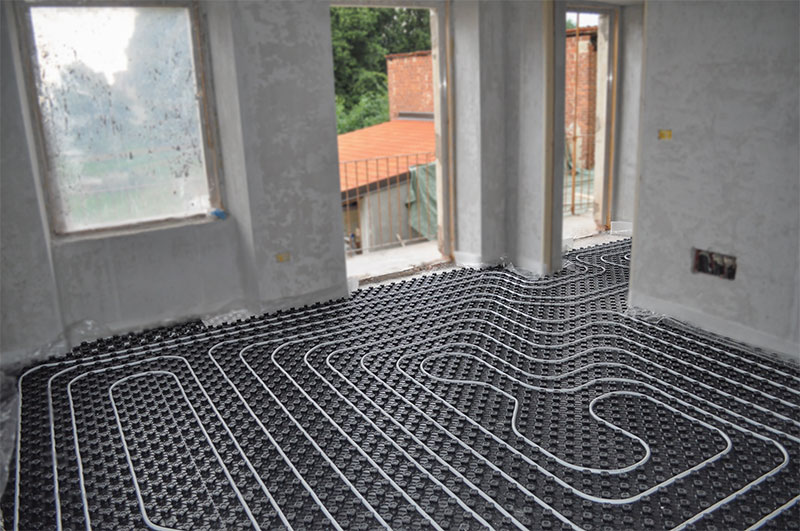
Hydronic Tubing Layout
Hydronic tubing uses hot water. Install tubes in a zigzag pattern. Check the tube layout. Make sure tubes are even. Use clips to hold them down. Connect tubes to a boiler. Test the water flow. Adjust if necessary. Ensure no leaks. Cover with flooring. Keep it neat and tidy.
Connecting The Thermostat
Connecting the thermostat is a key step in installing heated floors. Ensure it’s compatible with your flooring system. Follow the manufacturer’s instructions to wire it properly, ensuring efficient temperature control.
Wiring Instructions
Follow the thermostat manual for correct wiring. Each wire has a specific color. Match these colors to the correct terminals. Use a screwdriver to connect the wires. Tighten the screws gently to secure them. Avoid over-tightening. This can damage the wires.
Placement Considerations
Place the thermostat at a comfortable height. Make sure it is not blocked by furniture. Avoid placing it near windows or doors. These spots can give wrong temperature readings. Keep it in a central location. This helps in even heating of the room.
Testing The System
Discover the essential steps to install heated floors efficiently. Test the system to ensure even warmth and comfort. Proper installation guarantees a cozy, energy-efficient home.
Checking For Errors
Begin by turning on the heated floor system. Listen for any unusual noises. Ensure there are no strange smells. Look at the control panel for any error codes. If you find any, check the manual for solutions. Make sure all wires are connected properly. A loose wire can cause problems.
Ensuring Proper Functionality
Feel the floor to check if it is heating evenly. Walk around to test different spots. The entire floor should feel warm. If some parts are cold, there might be an issue. Check the thermostat settings. They should match the desired temperature. Ensure the system responds to changes quickly. This ensures it works properly. Regular checks can prevent bigger problems later.
Applying The Floor Covering
Choosing the right material is key for heated floors. Tile and stone are great choices. They conduct heat well. Laminate and vinyl work too. They are budget-friendly options. Carpets are not ideal. They block heat flow. Always check the material’s compatibility. Ensure it suits heated flooring systems.
Follow simple steps for installation. Begin with a clean floor. Lay the heating mats evenly. Connect wires safely. Test the system before covering. Use adhesive for tiles. Press tiles firmly in place. Let it dry fully. Follow the manufacturer’s instructions. Safety first, always wear gloves and goggles. Ensure all tools are within reach.

Frequently Asked Questions
What Are The Benefits Of Heated Floors?
Heated floors provide even heat distribution, enhancing comfort. They reduce allergens and dust circulation. They are energy-efficient and can lower heating costs. Additionally, they free up space since no radiators or vents are needed. They are also silent and require minimal maintenance compared to traditional heating systems.
How Much Does It Cost To Install Heated Floors?
The cost of installing heated floors varies based on size and type. Generally, it ranges from $10 to $20 per square foot. Electric systems tend to be more affordable than hydronic ones. However, hydronic systems are more cost-effective for large areas.
Installation costs may also include labor and additional materials.
Can I Install Heated Floors Myself?
Yes, installing heated floors can be a DIY project, especially electric systems. They often come with detailed instructions and kits. However, for hydronic systems or complex installations, professional help is advisable. Ensure you follow safety guidelines and local regulations. It’s crucial to have some electrical or plumbing experience for successful installation.
Are Heated Floors Compatible With All Floor Types?
Heated floors are compatible with most floor types, including tile, stone, laminate, and vinyl. However, some materials like hardwood may need special considerations. It’s essential to check the flooring manufacturer’s guidelines. Proper insulation beneath the heated floors ensures efficient heat transfer and prevents damage to the flooring material over time.
Conclusion
Installing heated floors is simpler than you might think. Follow the steps. Gather necessary tools. Prepare your space carefully. Choose the right flooring material. Ensure safety measures. Connect the heating system correctly. Test it. Enjoy the warmth. Your home will feel cozy and comfortable.
Invite friends and family. They will appreciate the comfort. Heated floors are a great addition. Perfect for cold months. They add value to your home. Keep your feet warm all winter. Start your installation project today. You’ll love the results.


