You’ve spent time admiring your beautiful wood floors, but those pesky gaps between the boards keep catching your eye. They’re not just an eyesore; they can also invite dirt, drafts, and even unwanted pests into your home.
But what if you could easily fix them yourself and restore your floor’s seamless beauty? Imagine walking across your floor without feeling those annoying separations. Picture your rooms looking more polished and welcoming. You don’t need to be a professional to achieve this transformation.
With the right tips and a bit of guidance, you can fill those gaps in no time, making your home feel cozier and more complete. Curious to learn how? Stick around, because by the end of this article, you’ll have all the tools and tricks you need to tackle those gaps head-on, ensuring your wood floors look as stunning as the day they were installed.
Identifying Floor Gaps
Discovering gaps in wood floors? Fill them with wood filler for a smoother, more polished look. Ensure a snug fit by choosing the right filler and applying it evenly.
Common Causes Of Gaps
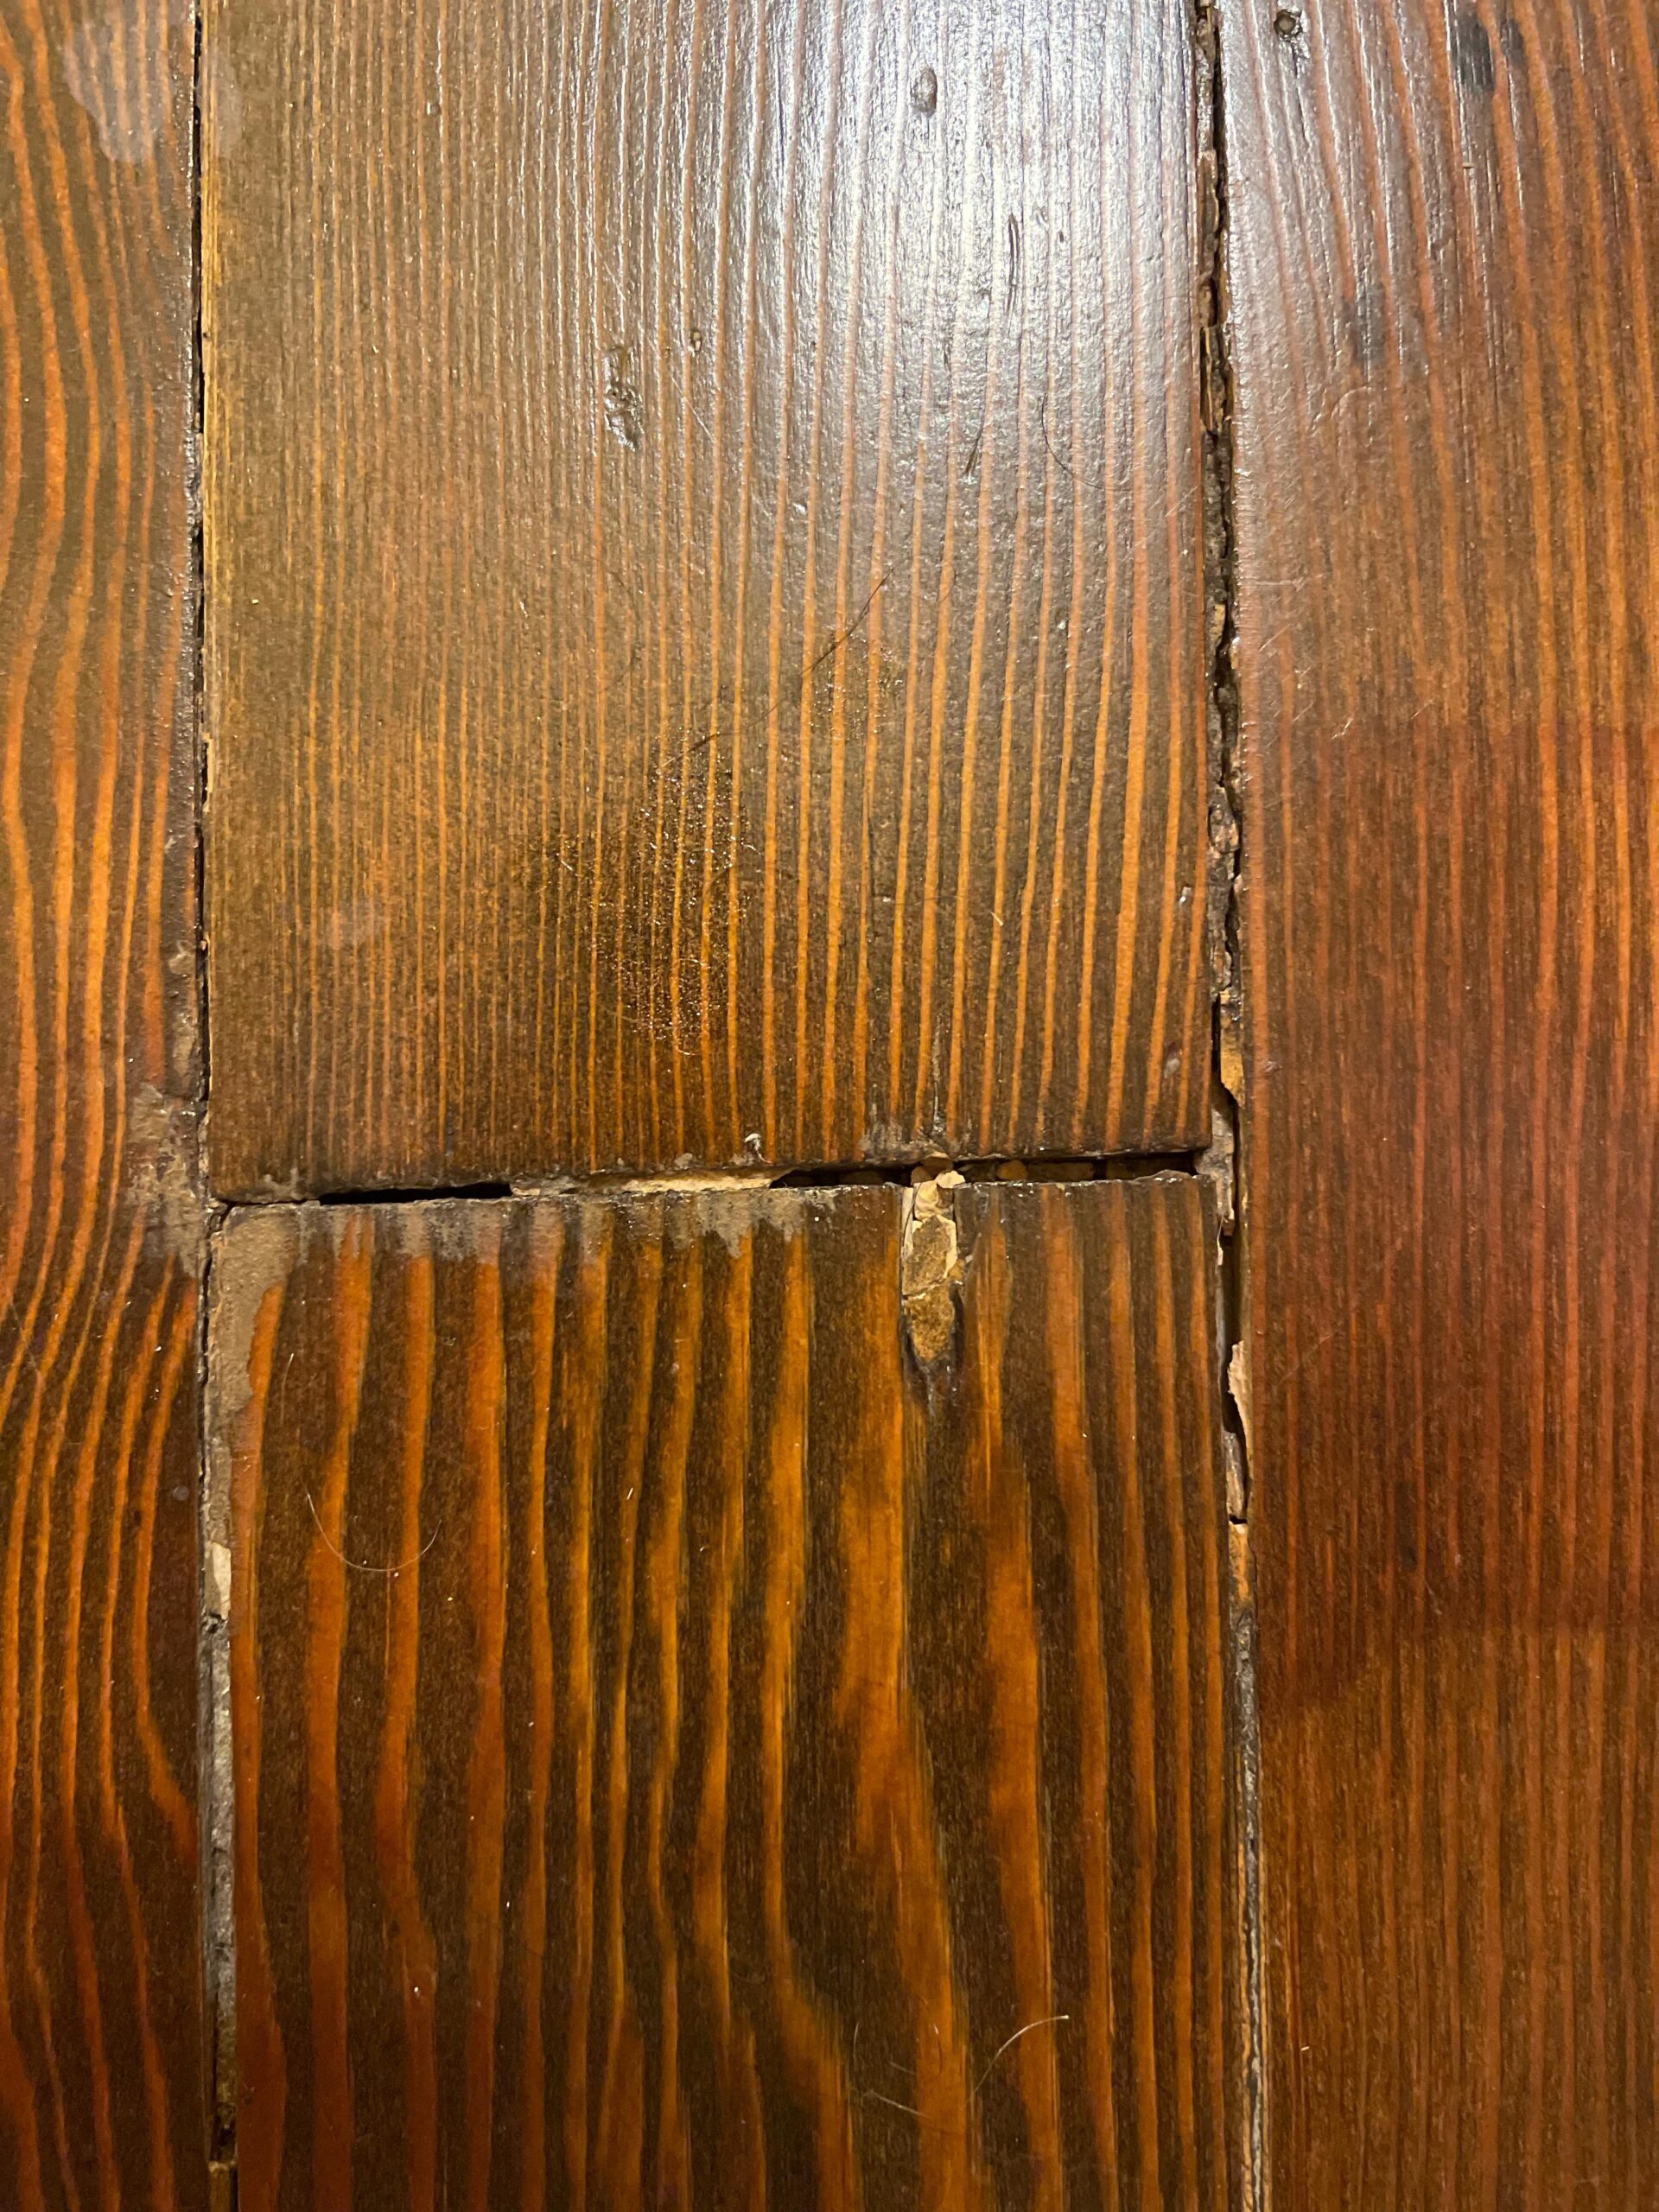
Wood floors may develop gaps over time. Temperature changes can be a major cause. Wood expands in heat and contracts in cold. Humidity levels also affect wood. High moisture makes wood swell. Dry air causes wood to shrink. Poor installation can lead to gaps. If the boards weren’t placed correctly, gaps may appear. Wear and tear is another factor. Over time, wood can wear down, creating space between boards.
Types Of Gaps In Wood Floors
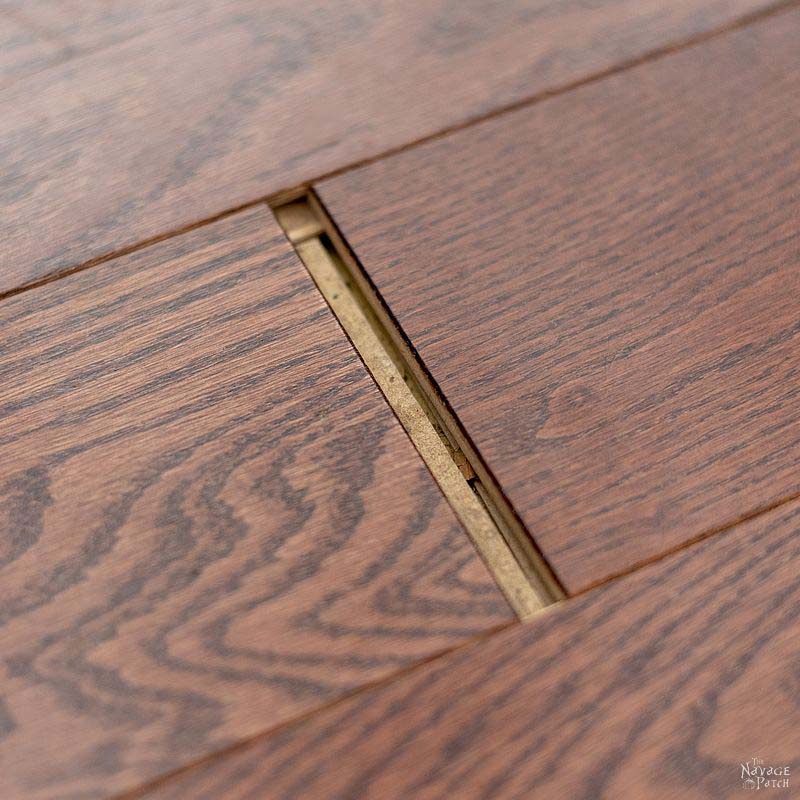
There are different types of gaps in wood floors. Seasonal gaps are common. They appear and disappear with temperature changes. Permanent gaps stay open all year. They need fixing to avoid damage. Wider gaps are more visible and may need more attention. Narrow gaps can be fixed easily. Understanding these gap types helps in choosing the right repair method.
Choosing The Right Materials
Wood fillers are used to fill gaps and holes in wood. They come in different types. Some are made from sawdust and glue. Others are made from synthetic materials. They can match the color of your wood. This makes them blend in well. Wood fillers dry hard. You can sand them smooth. Always check the label before use. Some fillers need a special finish. Others can be painted over easily.
Some people use acrylic caulk for filling gaps. It is flexible and easy to use. It can stretch and shrink with the wood. Rope or string can fill larger gaps. It is pressed into the gap and stained to match. PVA glue and sawdust mix is another option. It is simple and effective for small gaps. Always choose the best material for your floor.
Preparing Your Floor
Start by removing dirt and dust from the gaps. Use a vacuum with a thin nozzle. This tool will reach into the spaces easily. Next, take a damp cloth. Wipe the area to remove any leftover dirt. Let the floor dry completely before moving on. A clean surface helps the filler stick well. This step is important for a smooth finish.
Use sandpaper to smooth the edges of the gaps. This helps the filler to blend better. Rub gently along the edges. Be careful not to scratch the floor. After sanding, use a soft brush. Sweep away any dust from the floor. A clean and smooth surface is ready for filling. Your floor is now prepared for the next step.

Filling The Gaps
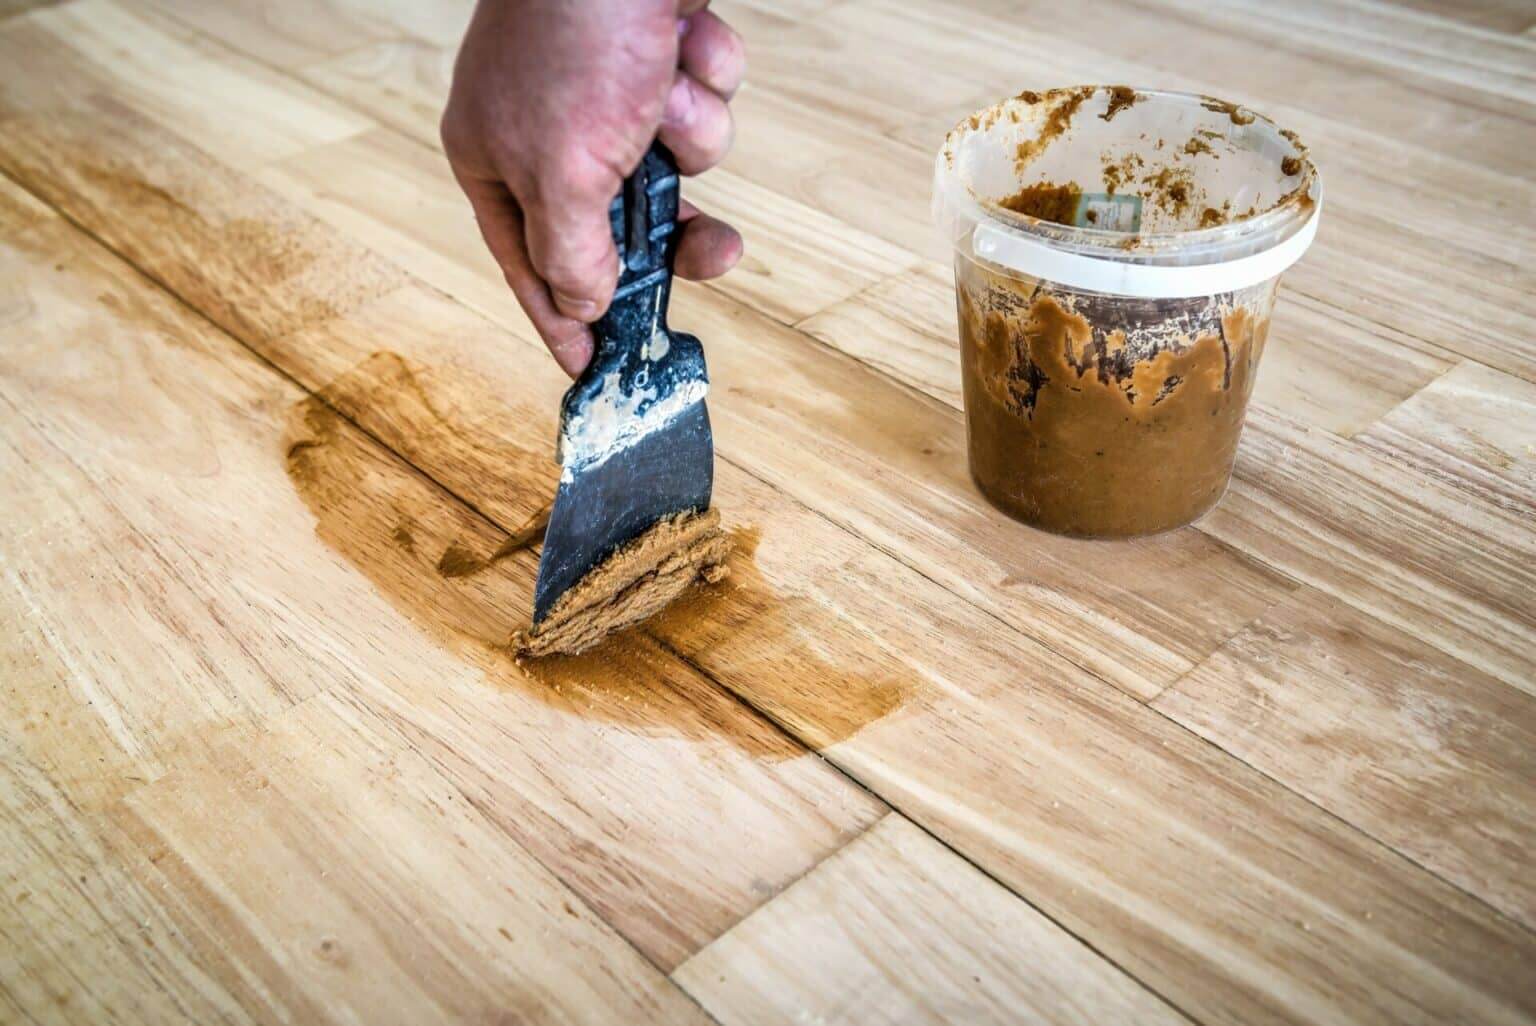
First, gather all necessary tools. You need a putty knife, wood filler, and sandpaper. Clean the floor thoroughly. Dust can cause problems. Ensure the gaps are clean and dry. Use the putty knife to apply the wood filler. Press it into the gaps firmly. Make sure it fills the gaps completely. Smooth the surface after applying. Wait for the filler to dry. Follow the instructions on the package. Once dry, sand the area gently. This helps to even the surface. Clean away the dust with a damp cloth. Now, your floor looks better. It feels smooth underfoot.
Use a putty knife to spread filler evenly. A wide knife works best. Choose a filler that matches your floor color. This keeps the look natural. Sandpaper is essential for smoothing. Use fine-grit for best results. It prevents scratches. Keep a damp cloth handy. It cleans the dust effectively. Always work in a well-lit area. It helps you see the gaps clearly. Proper lighting ensures perfect filling.
Finishing Touches
Seal the wood with a good sealant. This keeps moisture away. Choose a sealant that matches the wood color. Apply the sealant evenly. Let it dry completely. Check for any missed spots. Apply a second coat if needed. Make sure all gaps are sealed. This makes the floor look smooth. A well-sealed floor lasts longer. Protects against water and dirt.
Polish the floor for a shiny finish. Use a soft cloth to polish. Start at one end of the room. Move in small circles. Cover the entire floor area. Polishing adds shine to the wood. Helps the floor look new. Polishing also hides small scratches. It makes the wood look uniform. Use a polish that suits the wood type. Follow instructions on the polish bottle. Let the polish dry before walking on it.
Preventive Measures
Filling gaps in wood floors helps prevent damage and maintains their beauty. Use wood filler for small gaps and slivers for larger ones. Regular maintenance keeps floors looking fresh and sturdy.
Maintaining Stable Humidity
Wood floors love stable environments. Humidity control is very important. Keep it between 35% and 55%. Use a humidifier during dry months. A dehumidifier helps in wet seasons. This keeps the wood from swelling or shrinking. It prevents gaps and cracks.
Regular Floor Maintenance
Clean floors often. Dust and dirt can harm the wood. Use a soft broom or a vacuum. Avoid water spills. Wipe them quickly to stop damage. Check for loose boards often. Fix them right away. This keeps the floor strong and gap-free.
When To Seek Professional Help
Professional help is essential when gaps in wood floors are too wide or if boards are damaged. Experts ensure repairs are durable and match the floor’s original style, preserving its beauty and functionality.
Assessing Diy Limitations
Filling gaps in wood floors can be tricky. Sometimes, DIY methods don’t work well. Large gaps or uneven floors need special tools. Home solutions may not last long. Floors may get worse. Knowing limits is key. Small gaps are fine for DIY. Big problems need experts.
Benefits Of Professional Services
Experts know how to handle tricky floors. They have special tools and skills. This makes the job easier and faster. Professional services give better results. They use quality materials for longer-lasting fixes. Hiring experts can save time and stress. Floors look nicer and stay strong longer.
Frequently Asked Questions
What Materials Fill Wood Floor Gaps?
Common materials include wood fillers, caulk, and rope. Wood fillers are easy to apply and blend well. Caulk is flexible and ideal for larger gaps. Rope can be stained for a seamless look. Choose a material based on the size and location of the gaps.
Can I Fill Gaps Myself?
Yes, filling gaps in wood floors is a DIY task. With proper materials and tools, you can achieve professional results. Follow instructions carefully for best outcomes. However, consult a professional for large gaps or complex issues.
Why Do Wood Floors Develop Gaps?
Wood floors develop gaps due to humidity and temperature changes. Wood expands in summer and contracts in winter. Installation mistakes and age can also cause gaps. Regular maintenance helps minimize these issues and maintain floor beauty.
How Do I Prepare Floors For Gap Filling?
Clean the gaps thoroughly before filling. Remove dust and debris using a vacuum or brush. Ensure the gaps are dry and free from moisture. Preparation ensures better adhesion and longevity of the filler material.
Conclusion
Filling gaps in wood floors enhances both beauty and durability. Small changes can make a big difference in your home. Regular maintenance prevents future issues and keeps floors looking fresh. Choose the right method for your wood type and gap size.
This ensures a smooth finish and long-lasting results. Remember, patience and attention are key for successful repairs. A well-maintained floor adds value to your home. It also creates a welcoming space for family and friends. Enjoy the satisfaction of a job well done.
Happy flooring!


