You’ve noticed those pesky gaps in your wood floors, haven’t you? They seem to appear out of nowhere, causing frustration and maybe even a bit of panic.
But don’t worry—there’s a solution, and you’re about to discover it. Imagine your home looking flawless, with floors that are smooth and seamless. It’s not just a dream; it’s within your reach. You’ll learn simple, effective methods to fill those gaps, ensuring your floors not only look beautiful but also last longer.
Whether you’re dealing with seasonal changes or settling issues, the techniques we’ll share are designed to restore your floors to their former glory. You’ll find that with the right approach, those gaps can become a thing of the past. Stay with us as we guide you through the process step by step. By the end, you’ll feel empowered and ready to tackle those gaps with confidence. Your floors can look as good as new, and you’ll have the satisfaction of knowing you made it happen.
Identifying The Gaps
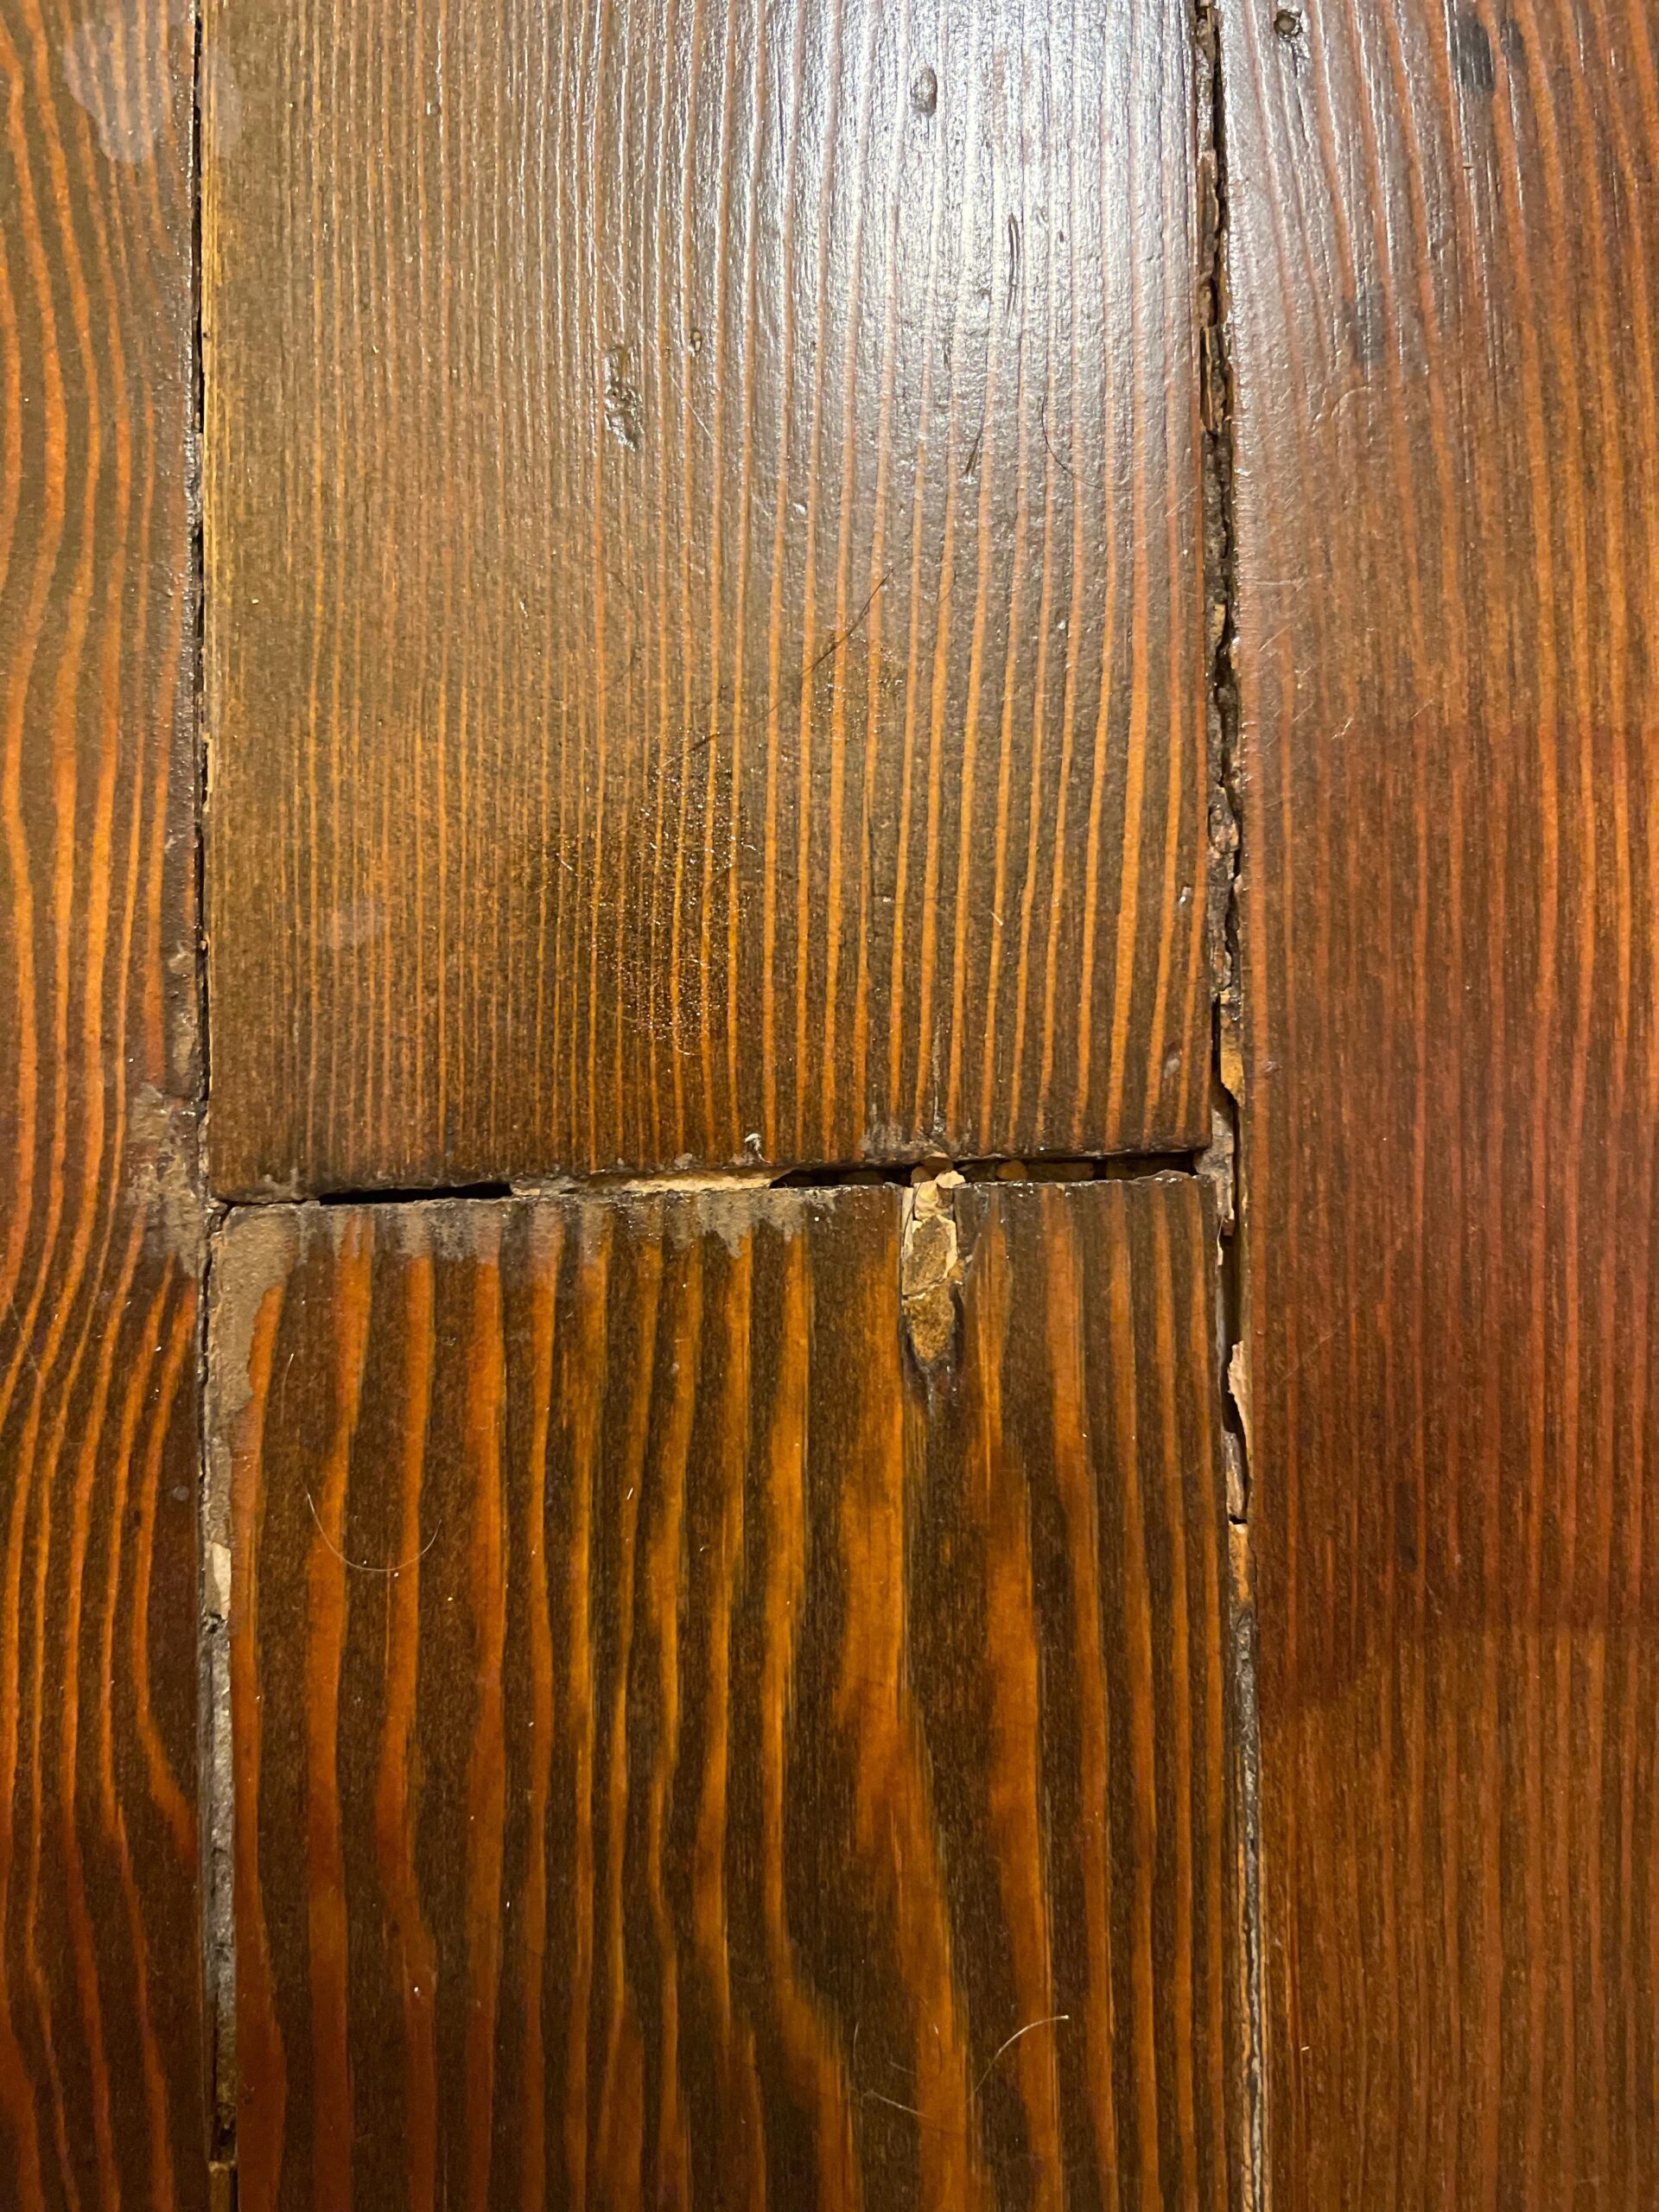
Wood floors often have gaps due to changes in the weather. Humidity and temperature shifts cause wood to expand and contract. This natural process leads to spaces between boards. Dry air can make gaps wider as wood shrinks. Floors near heat sources may show more gaps.
Floors installed in winter might gap in summer. This happens because the wood is drier in cold months. Old age also makes wood floors gap. Over time, boards wear down and fit less tightly. Understanding these causes helps in fixing the gaps.
Not all gaps need fixing. Small gaps are often normal. Use a coin to check gap width. If a coin fits, the gap is small. Large gaps might need attention. Look for cracks and squeaky sounds. These signs mean the gap is severe.
Try walking over the floor. Feel for any movement. Large gaps can cause boards to shift. This could lead to damage. Fixing severe gaps is important. It helps keep the floor safe and strong.

Choosing The Right Materials
Wood fillers are a great choice for small gaps. They come in different colors. You can match them with your floor. They are easy to use. Just apply and let them dry. Then, sand the area smooth.
Caulking compounds are good for wider gaps. They are flexible. This helps them move with the wood. This means they are less likely to crack. Choose a color that blends with your floor.
Rope is an old way to fill gaps. It works well for big gaps. You push the rope into the gap. Then, you can stain it to match. It is a simple and cheap method.
Preparing The Floor
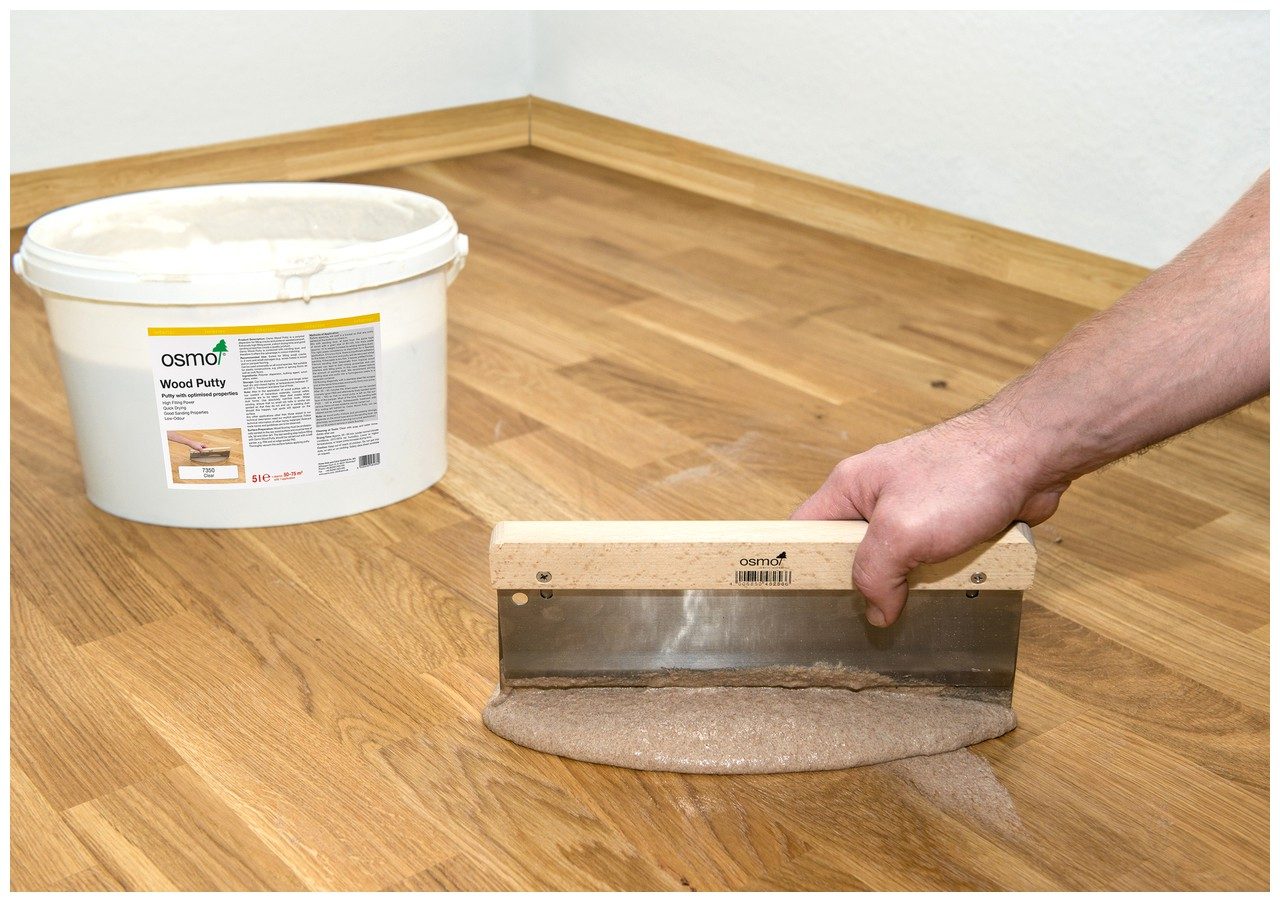
Filling gaps in wood floors involves using wood filler or putty to create a smooth surface. Clean the gaps and apply the filler carefully. Let it dry before sanding for a seamless finish.
Cleaning And Clearing Debris
Start by clearing the area. Move furniture and objects away. Sweep the floor to remove dust. Use a vacuum cleaner for deeper cleaning. Check corners and gaps. Remove any hidden debris. Clean the floor with a damp cloth. Ensure the cloth is clean. Allow the floor to dry. This step is very important. It prepares the surface for sanding.
Sanding For A Smooth Surface
Sanding makes the floor smooth. Choose the right sandpaper. Coarse sandpaper removes rough spots. Fine sandpaper gives a smooth finish. Use a sanding machine for large areas. Sand carefully around edges. Hand sanding works for small spots. Check for evenness. Look for any rough areas. Sand again if needed. Clean the dust after sanding. This helps the filler stick better.
Filling Techniques
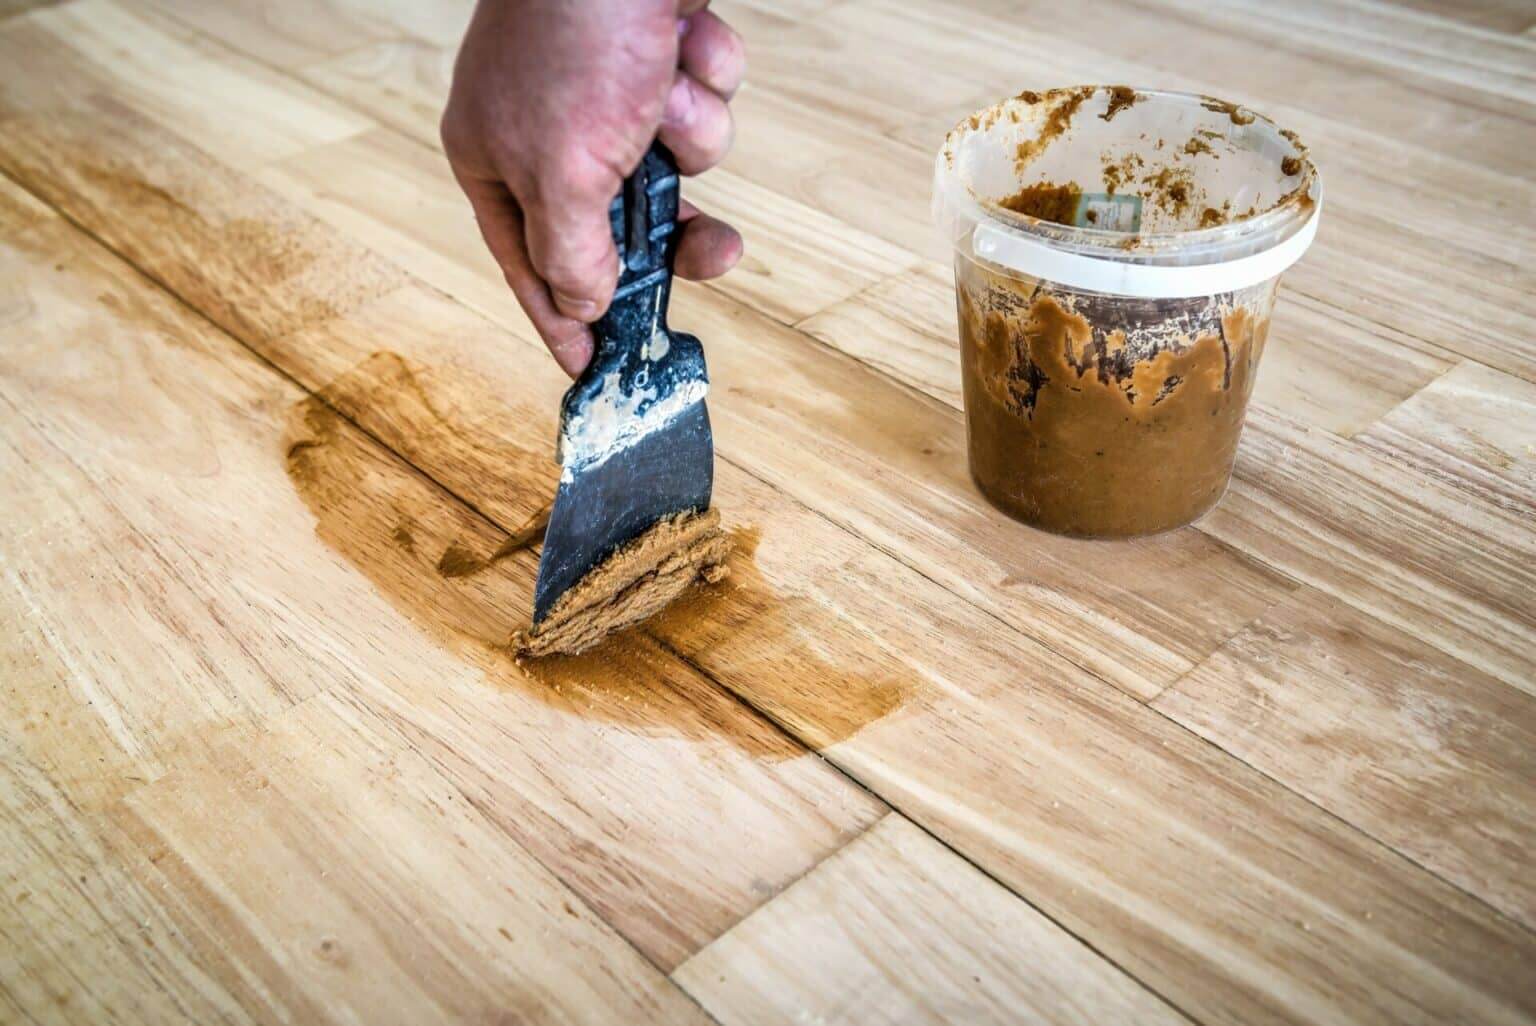
Wood filler helps fill small gaps in floors. It is easy to use. Choose a filler that matches your floor color. Clean the gap before applying. Use a putty knife for even spread. Let it dry completely. Sand it smooth once dry. This step is important. Sealing the area makes it durable.
Caulk is flexible and fills wider gaps. Select a caulk suitable for wood. Apply it with a caulking gun. Press the caulk into the gap. Smooth it out with your finger. This technique is great for moving wood floors. Allow it to dry for best results. Check the drying instructions on the package.
Rope is perfect for big gaps. Find a rope that fits snugly. It should be slightly wider than the gap. Push the rope into the gap using a screwdriver. Trim excess rope with scissors. Seal it with wood glue or caulk. This method is simple and effective. Ensure the rope is secure.
Finishing Touches
Sanding makes the wood floor smooth and even. Use a fine-grit sandpaper for the best results. Sand in the direction of the wood grain. This helps to avoid scratches. Be gentle. Too much pressure can harm the wood. Wipe away the dust after sanding. This keeps the surface clean.
A stain gives the wood a rich color. Choose a color that matches your decor. Apply it evenly with a brush. Let it dry completely. A sealant protects the wood. It keeps moisture out. Use a brush or roller to apply the sealant. Let it dry before walking on it.
Maintaining Filled Gaps
Check wood floors often. Look for new gaps or changes. Use a flashlight to see clearly. Small gaps might appear over time. Touch the floor to feel for differences. Listen for creaks or noises. These can mean gaps are forming.
Keep floors clean. Dirt hides problems. Regular cleaning helps find issues early. A soft broom works well. Avoid using too much water. Water can cause wood to swell or shrink.
Keep the room at a steady temperature. Wood expands and contracts with heat. Use a humidifier in dry weather. It helps maintain moisture in the air. This stops wood from shrinking too much.
Place mats at doorways. They catch dirt and moisture. Protect floors from heavy furniture. Use pads under legs. Heavy items can cause gaps by pressing too hard.
When To Seek Professional Help
Wood floors sometimes show signs of trouble. These signs need attention. Creaking is a big sign. It means the floor is loose. Gaps that keep growing are not good. They can mean the floor is shrinking. If the wood warps, it might be a moisture issue. Bouncing floors can be dangerous. This means the floor is weak. Discoloration is another sign. It could mean water damage. Look for these signs. They might need a professional’s help.
Experts know wood floors well. They find problems fast. Experts fix the floor correctly. They use the right tools. They save you time and money. They make sure the floor is safe. Professionals give good advice. They know how to keep floors strong. Getting their help is wise. It ensures a strong and lasting floor. They help avoid bigger problems later.
Frequently Asked Questions
What Materials Fill Gaps In Wood Floors?
Common materials include wood filler, epoxy, and caulk. Wood filler is best for minor gaps. Epoxy suits wider gaps and offers durability. Caulk is flexible and easy to apply, ideal for smaller spaces. Choose based on the size of gaps and floor type for optimal results.
Can I Use Wood Filler For Large Gaps?
Wood filler is generally used for small gaps. For large gaps, consider epoxy or caulk for better stability. Wood filler may crack or shrink in large spaces. Always match the filler to the floor’s color for seamless integration. Assess the gap size before choosing the material.
How Do I Prepare Floors Before Filling?
Clean the floor thoroughly to remove dust and debris. Ensure the gaps are dry before applying any filler. Sand the edges of the gaps for better adhesion. Check for loose boards and secure them if necessary. Proper preparation ensures a long-lasting repair.
Is Diy Gap Filling Cost-effective?
DIY gap filling can save money on labor costs. Purchasing materials like wood filler and tools can be economical. Ensure you have the necessary skills for effective application. Research and follow instructions carefully to avoid mistakes. It’s a budget-friendly option if done correctly.
Conclusion
Filling gaps in wood floors enhances home beauty and comfort. Simple methods can make a big difference. Use wood fillers or natural solutions for small gaps. Larger gaps might need professional help. Regular maintenance prevents future issues. Check your floors often to catch problems early.
Repairing gaps adds value and charm to your space. Enjoy a smoother, more appealing floor with these tips. Your floors will look great and feel nice underfoot. Keep your home inviting and well-cared for with proper floor care. Consider these steps for a lovely, seamless wooden floor experience.


