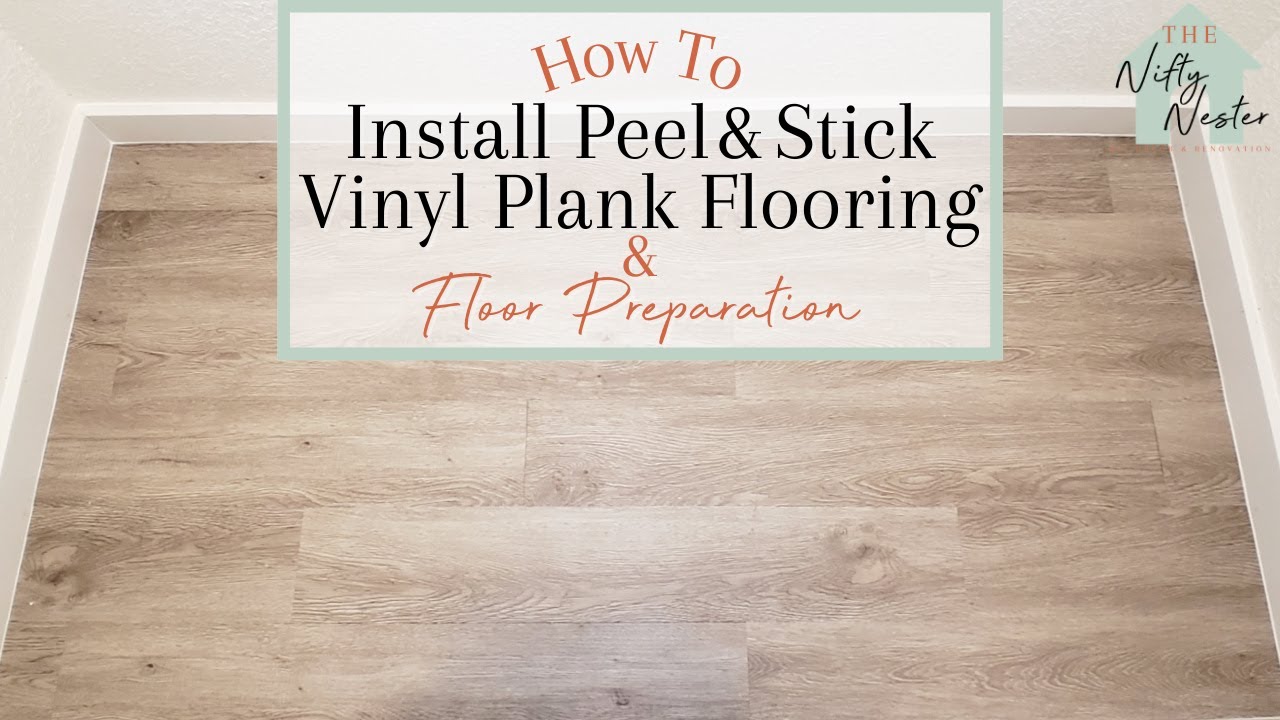
Installing peel and stick vinyl flooring can transform your space without the hassle of traditional flooring methods. Imagine giving your floors a fresh, modern look in just a few simple steps.
This DIY project is not only cost-effective but also incredibly satisfying. You’ll discover how easy it is to revamp your home or office with these versatile tiles. Curious about how to get started and ensure a flawless finish? Dive into our guide and uncover tips and tricks that make this process a breeze.
Let’s make your flooring dreams a reality, one peel and stick tile at a time.
Choosing The Right Vinyl Flooring
Peel and stick vinyl comes in many types. Some look like real wood. Others look like stone or tile. Each type is easy to cut and fit. Choose the one that fits your style best.
Many colors and designs are available. Light colors make rooms look bigger. Dark colors add warmth. Patterns can be simple or bold. Pick colors that match your room. Designs should fit your taste.
Quality matters for lasting floors. Thicker tiles last longer. Check if they resist water and scratches. Good quality vinyl feels strong. It stays nice for many years.
Tools And Materials Needed
A measuring tape is crucial for accuracy. Use a utility knife to cut the vinyl. A straight edge helps make straight cuts. You will need a roller to press the vinyl down. Finally, keep a pencil handy for marking.
Purchase adhesive primer for better sticking. A cleaning cloth is needed to wipe surfaces. Have extra vinyl for any mistakes. Safety goggles protect your eyes during cutting. Always keep gloves to protect your hands.
Preparing The Surface
Make sure the floor is clean. Use a broom to sweep away dust. Remove old floor pieces if needed. Mop the floor with warm water and soap. Let it dry completely. Dirt can make the vinyl stick poorly.
Check for bumps and cracks. These can cause problems later. Use a filler to fix any cracks. Smooth out bumps with sandpaper. This helps the vinyl lay flat. A flat surface makes the vinyl look nice.
The floor must be dry. Moisture can stop the vinyl from sticking. Use a towel to wipe any wet spots. Wait until the floor feels dry. A dry surface ensures good sticking. This helps the vinyl last longer.

Measuring And Planning
Calculating Material Needs involves measuring the room. Measure the length and width. Multiply them to get the square footage. Buy 10% extra tiles. This helps with mistakes and cuts.
Planning Tile Layout is important. Start in the center of the room. Work outwards to the edges. This keeps the tiles even. Use a chalk line to mark the center. This is your guide.
Marking Guidelines keeps your tiles straight. Use a tape measure. Mark lines on the floor. These are your guidelines. Make sure they are straight. Measure twice to be sure. Good guidelines make installation easy.
Installation Process
Begin in the middle of the room. This helps balance the look. Place the first tile carefully. Make sure it’s straight. Press down firmly. This ensures it sticks well. Check if it aligns with the room’s shape. Adjust if needed.
Align the next tile with the first one. Keep the tiles close. Gaps can be a problem. Press each tile firmly. This keeps them in place. Use a roller for better sticking. Roll over each tile. This makes them stick even better.
Use a ruler for straight cuts. A utility knife works best. Cut tiles to fit edges and corners. Be careful with your fingers. Measure twice, cut once. This avoids mistakes. Fit cut tiles snugly. They should look like a puzzle piece.

Post-installation Care
Ensure the floor is clean and dry after installing peel and stick vinyl flooring. Avoid walking on it for 24 hours. Gently clean with a damp mop to maintain its shine and durability.
Sealing The Edges
Ensure all edges are properly sealed. This keeps water out. Use a small amount of sealant. Apply it to the corners and edges. This will prevent any lifting. Let the sealant dry for a day. Check the edges after a week. Ensure everything is still tightly sealed.
Cleaning And Maintenance Tips
Keep your floor clean and shiny. Use a soft broom for dust. A damp mop works well for spots. Avoid using too much water. Water can seep into the seams. Use mild soap if needed. Strong chemicals can damage the vinyl. Regular cleaning keeps the floor looking new.
Troubleshooting Common Issues
Installing peel and stick vinyl flooring can be tricky. Uneven surfaces often cause adhesion problems. Ensure floors are clean and dry for smooth application.
Dealing With Peeling Tiles
Peeling tiles can be a big problem. Check if the floor is clean. Dirt can make tiles not stick well. Press the tiles firmly when installing. This helps them stay in place. If tiles are still peeling, use extra glue. Make sure the glue is safe for vinyl.
Fixing Alignment Problems
Misaligned tiles look bad. Align tiles carefully as you lay them. Use a straight edge or ruler to check. Adjust quickly if they start to go crooked. It’s easier to fix early. Double-check each row before moving to the next.
Addressing Surface Bubbles
Surface bubbles can ruin the look. Smooth the tiles with your hands. Use a roller for better results. If bubbles appear, prick them with a needle. Press out the air gently. This helps the tile sit flat.

Frequently Asked Questions
What Tools Do I Need For Installation?
To install peel and stick vinyl flooring, you’ll need a utility knife, measuring tape, straight edge, and a rolling pin. Ensure your surface is clean and dry. These tools help with precise cutting and secure application. Having them ready beforehand makes the installation process smoother and faster.
Can I Install Vinyl Flooring Over Tiles?
Yes, you can install peel and stick vinyl flooring over tiles. Ensure the tile surface is clean and free of debris. Check for any unevenness and level the tiles if needed. This ensures proper adhesion and a smooth finish. It’s a quick way to refresh tiled areas without removing them.
How Do I Prepare The Floor Surface?
Start by cleaning the floor thoroughly, removing any dirt or debris. Check for cracks or uneven areas and repair them. Ensure the surface is dry before installing the vinyl. Proper preparation is key for effective adhesion and a long-lasting finish.
It helps the flooring adhere securely and look smooth.
Can I Use Vinyl Flooring In The Bathroom?
Yes, peel and stick vinyl flooring is suitable for bathrooms. It’s water-resistant and handles moisture well. Ensure the surface is clean and dry before installation. Proper sealing around the edges prevents water infiltration. It’s an affordable way to enhance bathroom aesthetics while ensuring durability.
Conclusion
Peel and stick vinyl flooring is a practical choice. It’s easy to install. Perfect for DIY projects. This flooring option saves time and effort. No special tools needed. Just peel the backing and stick it down. It transforms any room quickly.
Affordable, durable, and stylish. Ideal for kitchens, bathrooms, or living rooms. Keep surfaces clean and dry before installation. Follow the steps carefully for best results. Enjoy your new flooring. It brings a fresh look to your space. Make your home more inviting and functional with this simple upgrade.


