Are you tired of staring at that worn-out vinyl flooring that just doesn’t seem to fit your home’s vibe anymore? You might think replacing vinyl flooring is a daunting task, but it doesn’t have to be.
Imagine walking into a room where the floor complements your style and brings freshness to your space. It’s easier than you might think, and with the right guidance, you can do it yourself! This article will guide you step-by-step, providing simple tips and tricks to help you transform your flooring without the headache.
Get ready to roll up your sleeves and discover how satisfying it is to see your efforts come to life. Your dream floor is just a few steps away!
Tools And Materials Needed
Replacing vinyl flooring is a fun project. You need the right tools. A utility knife is essential. It helps in cutting the vinyl. Use a tape measure to get accurate sizes. Measuring is important for fitting. A floor scraper removes old glue. This helps in making the floor clean. You need a straightedge for straight cuts. A notched trowel spreads new glue evenly. Don’t forget safety glasses. They protect your eyes from dust.
The materials required are important too. Get high-quality vinyl sheets or tiles. They are strong and last long. Adhesive is needed to stick the vinyl. Choose one that is right for vinyl. Underlayment can make the floor feel softer. It also helps in reducing noise. Having all tools and materials ready makes the work easier.
Preparing The Area
Start by clearing the room of furniture and debris. Ensure the floor is clean and smooth. This makes the vinyl installation easier and more effective.
Clearing The Room
Start by moving all furniture and items out of the room. This makes space for work. Check for any loose objects on the floor. Put them away safely. Ensure that the room is completely empty. This prevents accidents and makes the job easier.
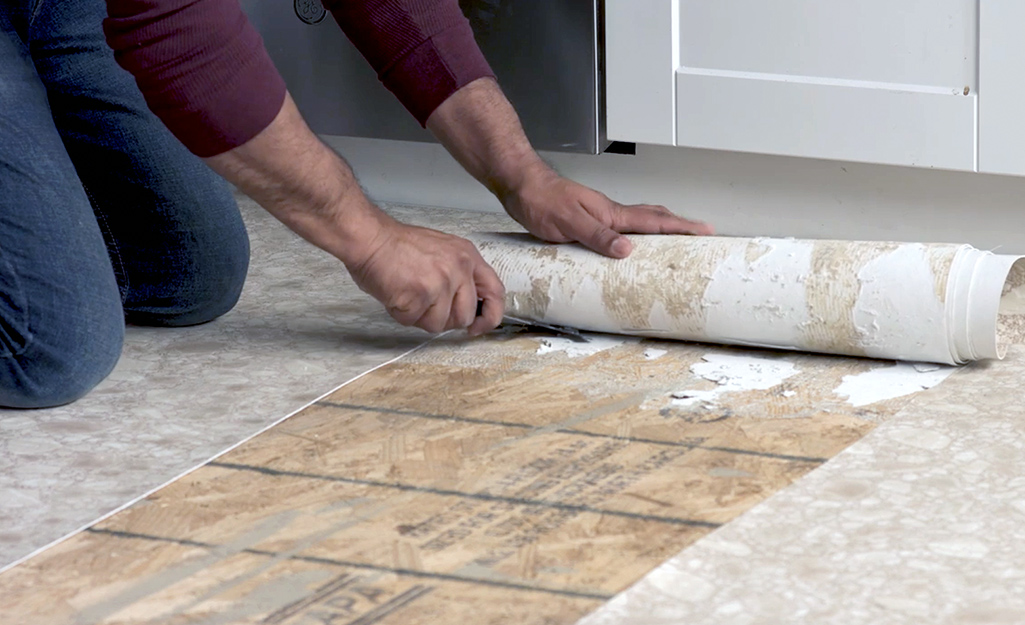
Removing Old Flooring
Use a utility knife to cut the old vinyl. Cut into small strips for easy removal. Peel back the strips gently. Be careful not to damage the subfloor. If glue is present, use a scraper. Remove all pieces of the old vinyl. Make sure no bits are left behind.
Choosing The Right Vinyl Flooring
Vinyl sheets cover large areas quickly. They are good for big spaces. Vinyl tiles look like real tile. Easy to replace if damaged. Vinyl planks mimic wood floors. Great for a cozy look. Each type has its own style and use. Think about what fits best in your room. Consider durability and ease of maintenance. Vinyl flooring is popular for its water resistance and affordability.
Colors can change a room’s feel. Light colors make spaces feel bigger. Dark colors create a warm atmosphere. Choose colors that match your furniture. Designs can be simple or complex. Some designs look like wood or stone. Others are unique and modern. Picking the right design is important. It affects how you feel in the room. Think about the room’s purpose. Bright designs are fun for kids’ rooms. Calm designs work well in bedrooms.

Measuring And Cutting
Make sure to measure your floor space carefully. Use a tape measure for this task. Write down all measurements. Double-check them for accuracy. This will help in cutting the vinyl correctly. Incorrect measurements can lead to wasted materials. Keep a notebook handy for all your numbers.
Use a utility knife for cutting vinyl. Make sure the blade is sharp. A dull blade can cause ragged edges. Straight edges help in making precise cuts. Use a ruler as a guide. Follow the lines you marked earlier. Take your time. Rushing can lead to mistakes. Keep safety in mind. Wear gloves to protect your hands.
Installing The Underlayment
Underlayment is very important for vinyl flooring. It makes the floor smooth. It keeps the floor warm. Noise is reduced by using it. Moisture is also controlled. This keeps the floor safe. The floor lasts longer with underlayment.
Check the surface. It must be clean and dry. Lay the underlayment flat. Align it correctly. Use a utility knife to cut it. Ensure there are no gaps. Overlap the edges a little. Secure it with tape. This will keep it in place. Follow these steps for best results.

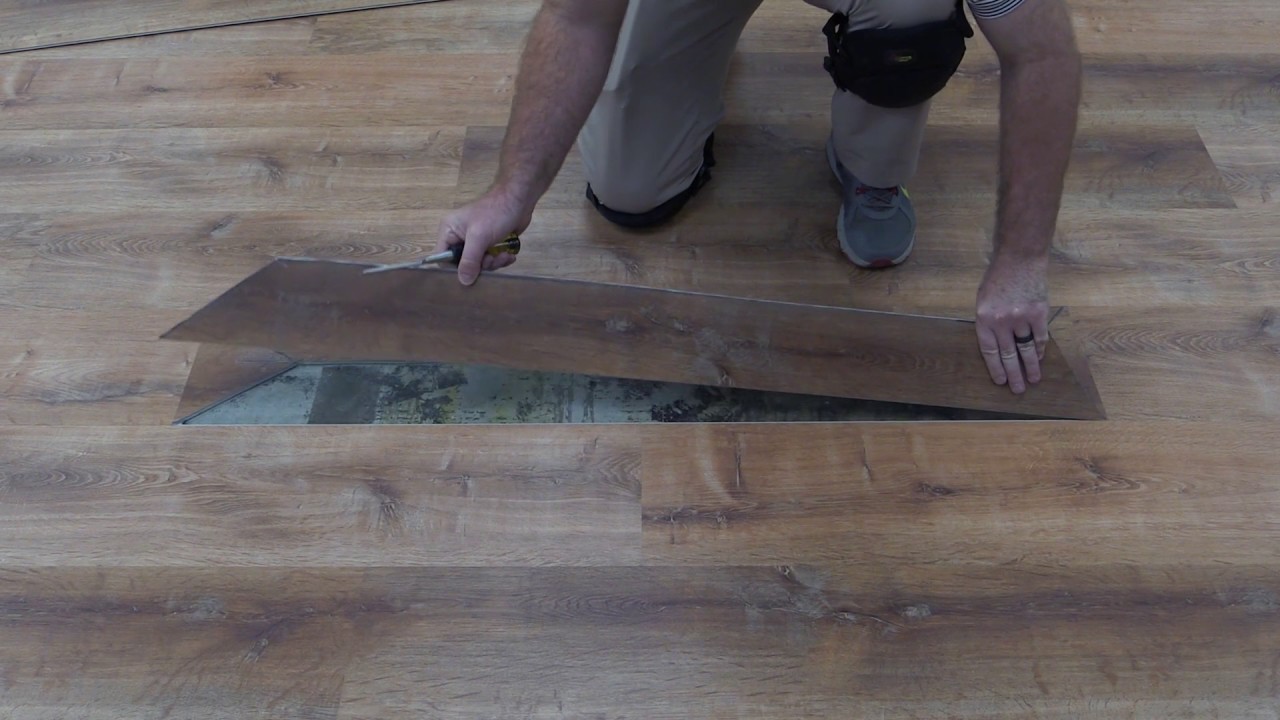
Laying The Vinyl Flooring
Begin by cleaning the floor. Remove all dirt and dust. Measure the room carefully. Cut the vinyl to fit. Lay the vinyl flat. Leave it to adjust for a day. This helps the vinyl settle. Check for any bumps or uneven spots. Smooth them out before moving on.
Rooms have corners and pipes. Obstacles can be tricky. Use a cutter to make small adjustments. Trim the vinyl carefully. Keep extra pieces for later. Seal the edges well. Use a roller to press down. This keeps the vinyl in place. Avoid gaps around pipes. Take your time to ensure a snug fit.
Finishing Touches
Replacing vinyl flooring involves careful removal and fitting new pieces seamlessly. Ensure the surface is clean and dry before installation. Use precise measurements to cut and fit the vinyl correctly, enhancing the room’s appearance with perfect finishing touches.
Sealing The Edges
It’s important to seal the edges of your vinyl flooring. This prevents water from getting underneath. Use a good quality sealant. Apply it around the edges. Make sure it covers all gaps. This stops dirt from getting trapped. It also keeps your floor looking neat. Regularly check the sealant. Reapply if it wears off. This keeps the floor protected.
Cleaning And Maintenance Tips
Keep your vinyl floor clean for long life. Sweep it every week. This removes dirt and dust. Mop it with a damp cloth. Use mild soap, not harsh cleaners. They can damage the floor. Dry the floor after mopping. This stops water stains. Use mats at doors. They keep dirt outside. Regular care keeps your floor shiny and fresh.
Frequently Asked Questions
What Tools Are Needed For Vinyl Flooring Replacement?
To replace vinyl flooring, you’ll need a utility knife, measuring tape, adhesive remover, a notched trowel, and a roller. Additional tools may include a floor scraper and a heat gun for stubborn areas. Ensuring you have the right tools will make the process smoother and more efficient.
How To Prepare The Floor Before Installation?
Start by removing old flooring and cleaning the subfloor thoroughly. Ensure it’s dry, level, and smooth. Fill any cracks or holes with a leveling compound. Check for moisture issues and address them. A well-prepared subfloor ensures better adhesion and longevity of your new vinyl flooring.
Can I Install Vinyl Flooring Over Old Vinyl?
Yes, you can install new vinyl over old vinyl if the existing floor is in good condition. Ensure the old vinyl is clean, dry, and free from damage. Any imperfections can be sanded or patched. However, it’s often recommended to remove the old flooring for the best results.
How Long Does Vinyl Flooring Last?
Vinyl flooring can last 10 to 20 years, depending on quality and maintenance. High-traffic areas may see wear sooner, while well-maintained floors in low-traffic areas can last longer. Regular cleaning and prompt repair of damages extend the life of your vinyl flooring.
Conclusion
Replacing vinyl flooring can be a straightforward task. Gather your tools. Prepare the space. Remove the old flooring carefully. Measure precisely for a perfect fit. Lay the new vinyl smoothly. Secure edges firmly. Check for bubbles or uneven spots. Enjoy your refreshed floor.
Remember, patience and precision are key. Small steps lead to great results. With practice, confidence grows. Soon, you’ll have a beautiful floor. A fresh look for your home. You’re ready to start your flooring project. Happy renovating!


