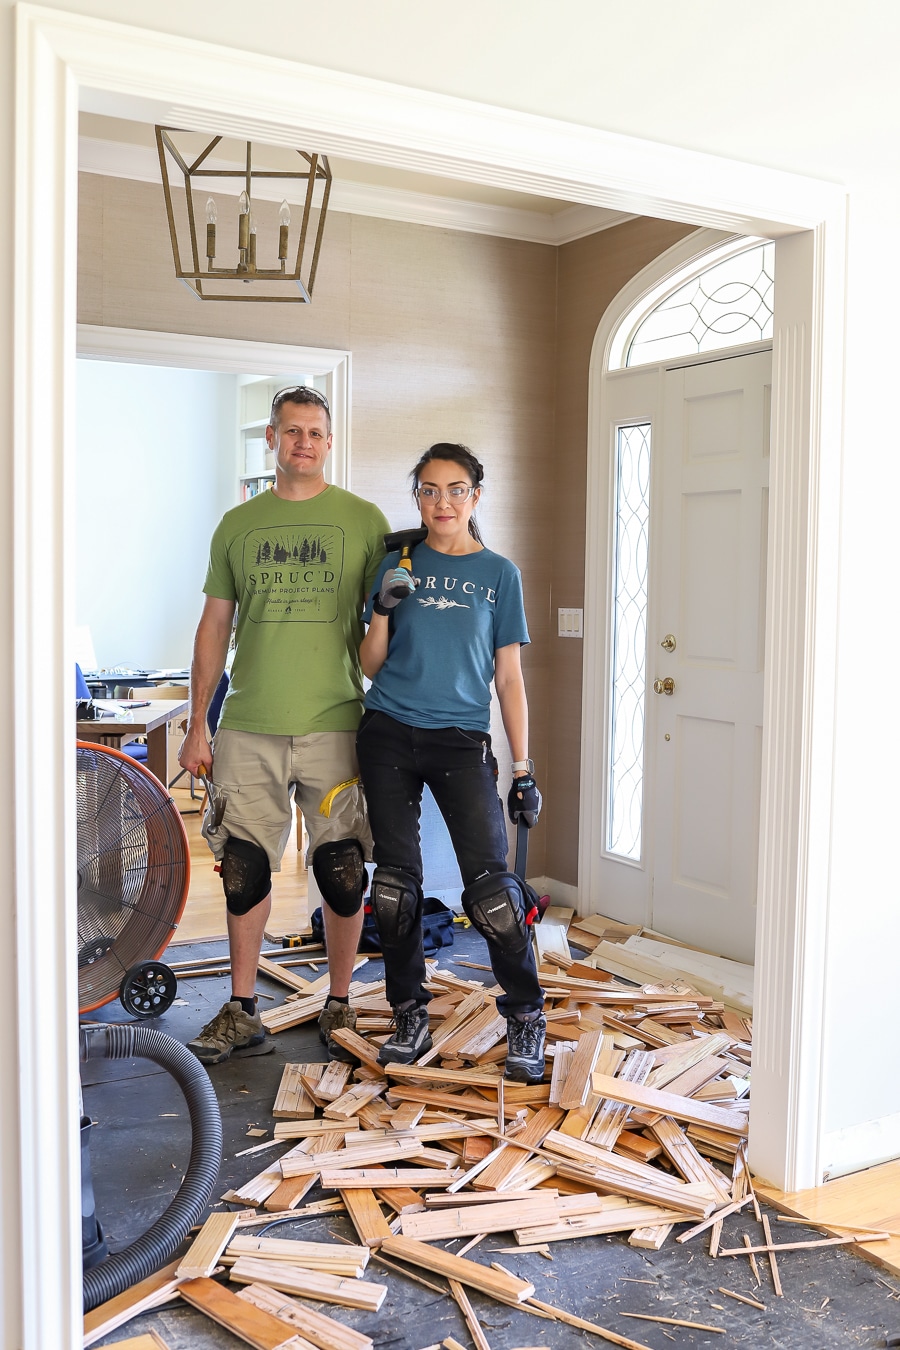
You’ve decided it’s time for a change. Whether it’s damaged planks, outdated style, or a new flooring preference, removing hardwood floors can seem daunting.
But don’t worry—you’ve got this! Imagine stepping into your refreshed space, knowing you transformed it with your own hands. In this guide, you’ll learn simple steps to safely and efficiently remove your hardwood floors. You’ll uncover tips that save you time and effort, and discover how to avoid common pitfalls.
Ready to get started? Let’s dive in and make your flooring project a success!
Tools And Materials Needed
Removing hardwood floors requires some important tools and materials. You will need a pry bar. It helps lift the floorboards. A hammer is also necessary. It helps to remove nails. Safety gear is very important. Use gloves and goggles to stay safe. A utility knife is useful too. It cuts through adhesive or sealant. Don’t forget a dust mask. It keeps dust out of your lungs. You might also need a floor scraper. It helps remove any leftover debris. Have a bucket ready for waste. It keeps your workspace clean. Make sure you have all these tools. They make the job easier and safer.
Safety Precautions
Always wear safety goggles to protect your eyes. Gloves are essential to keep your hands safe. Use a dust mask to avoid breathing in harmful particles.
Inspect the area for nails sticking out. Remove any obstacles that might cause you to trip. Make sure the floor is stable before starting.
Ensure the room is well lit. Ventilate the space to let fresh air in. Keep a fire extinguisher nearby for emergencies.
Handle tools with care. Follow all instructions for each tool. Keep all tools organized to avoid accidents.
Preparing The Area
Begin by removing all furniture. Take out tables, chairs, and lamps. This makes room for work. Next, disconnect electronic devices. Unplug TVs, radios, and clocks. Place them in a safe area. Roll up any rugs. Store them away from dust. Floors should be clear and free.
Cover fixtures with plastic sheets. This includes ceiling lights and fans. Use tape to hold covers in place. Wrap door frames with padding. This keeps them safe from scratches. Cover windows with plastic. This prevents dust from spreading. Protect walls with cardboard sheets. Secure them with tape.
Removing Baseboards
Start by gently removing baseboards to access hardwood floors. Pry them away using a crowbar or putty knife. Work slowly to prevent damage to walls.
Locating And Loosening Nails
Find the nails on the baseboards. Use a flashlight if needed. Nails are often near the corners. Use a small tool to poke around. A pry bar can help in spotting nails. Once found, use a hammer to gently tap around them. This will loosen them. Be careful not to damage the wall. Patience is key.
Carefully Detaching Baseboards
Begin by sliding a putty knife behind the baseboard. This helps to separate it from the wall. Move the knife along the baseboard’s length. Once loose, insert a pry bar. Gently pull the baseboard away from the wall. Work slowly to avoid breaking it. Check for any stubborn nails and remove them. Keep the baseboards in a safe place.
Inspecting The Floor
First, find out what type of hardwood you have. Is it solid wood or engineered wood? Solid wood is thicker and natural. Engineered wood has layers. It is important to know this. Knowing helps in choosing tools. Look for any labels on the floor. Labels might tell you the type. If unsure, ask an expert for help. They can guide you.
Look closely for hidden fasteners. Fasteners hold the floor in place. They can be nails or glue. Sometimes, they are hard to see. Check at the edges of the wood. Use a flashlight to see better. Feel the floor with your hand. If it feels bumpy, there might be nails. Removing these fasteners is important. It makes taking up the wood easier. Be careful not to damage the wood.
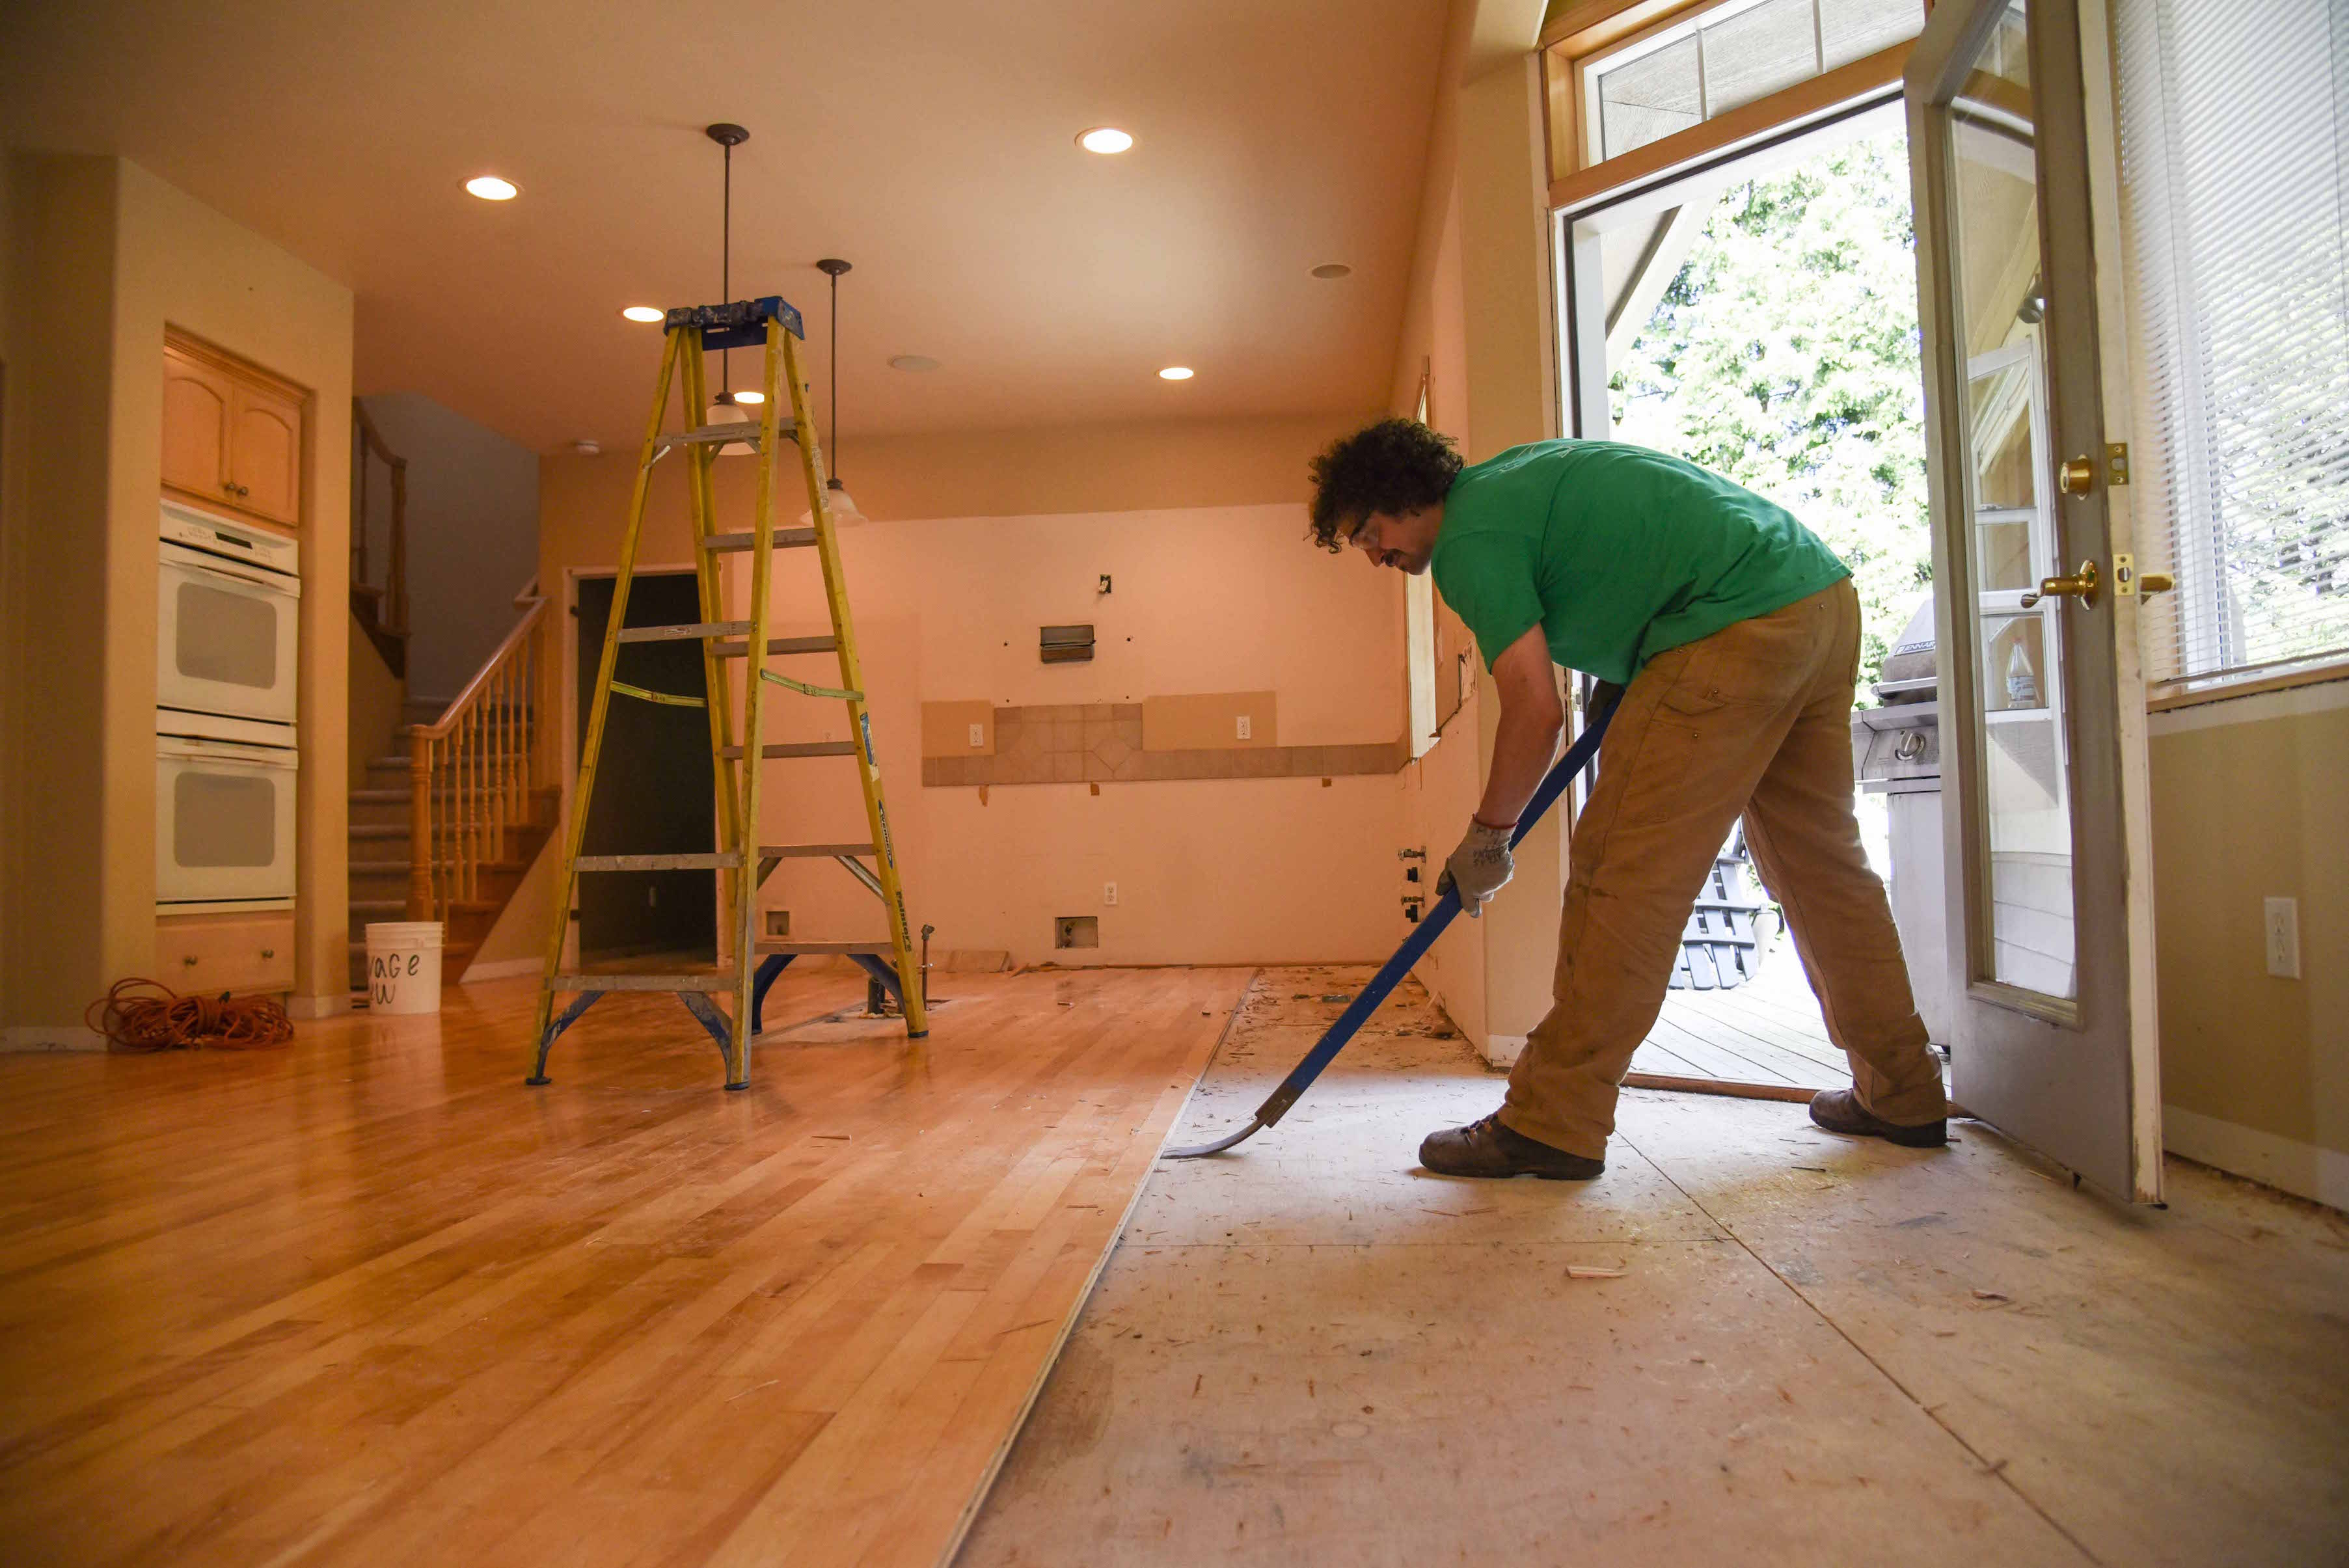
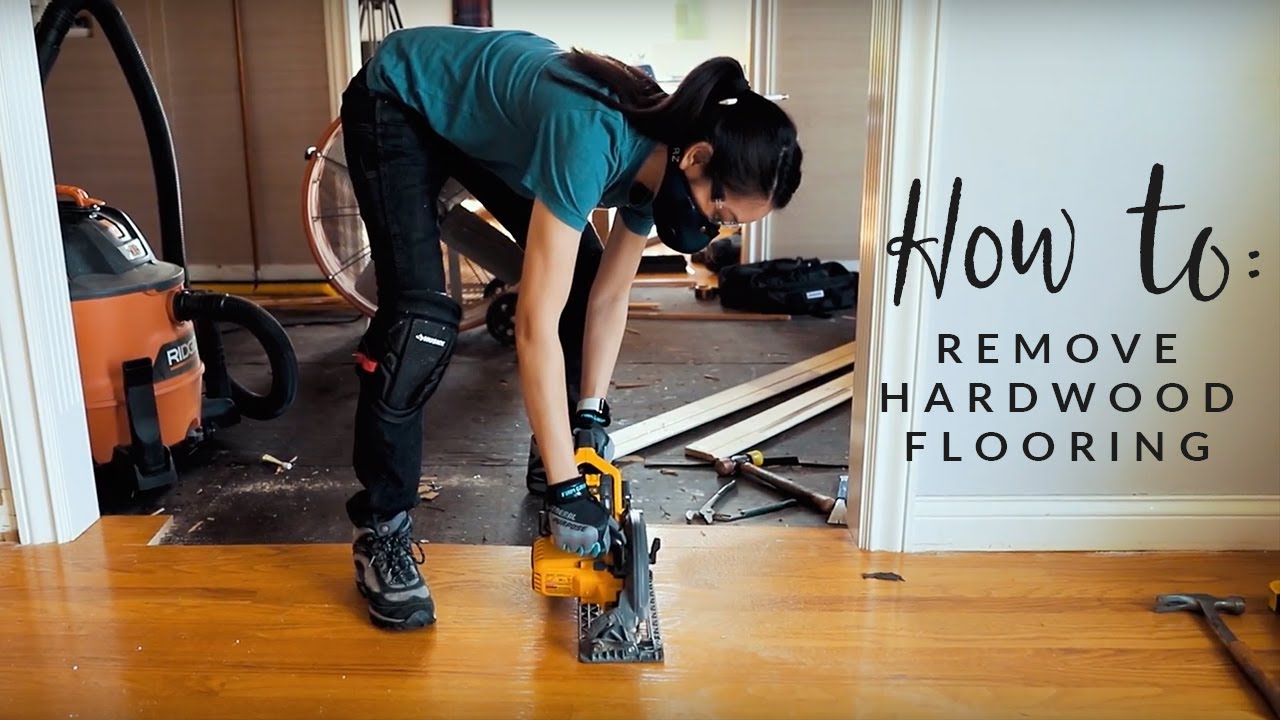
Lifting The Hardwood
Begin at the room’s edge. This is the easiest spot. Use a pry bar to lift the first plank. Be gentle to avoid breaking it. Wooden floors can be reused or recycled. Lift slowly to keep the wood in good shape.
Pry bars and hammers are great tools. Insert the pry bar under the plank. Tap lightly with a hammer. This will loosen the wood. Avoid using too much force. It can damage the floor. Patience is key when removing planks. Work slowly and carefully.
Dealing With Adhesive
Use a heat gun or hairdryer to soften the glue. Warm it gently until the glue is soft. Be careful not to burn the wood. Once softened, the glue becomes easier to handle. This makes the removal simple and quick. Keep the tool moving to avoid damage.
After heating, use a putty knife to scrape off the residue. Start from the edges and work inwards. Apply gentle pressure to avoid scratches. Collect the scraped residue with a dustpan. Repeat until the area is clean. This step may take some time, but patience pays off.
Handling Nails And Staples
Nails can be tricky. Use a hammer with a claw. Gently lift the nail. Hold the board steady. Keep fingers away. Slow and steady wins. Safety is key. Wear gloves. Protect your hands from sharp edges. Removing nails takes patience. Care is essential. Avoid damage to the floor. Use pliers for stubborn nails. Pull straight up. Keep the tool tight. Don’t rush. Stay calm.
Staples need careful handling. Use a staple remover. Insert under the staple. Press gently. Lift slowly. Don’t force it. Staples can break easily. Patience helps. If stuck, use pliers. Grip firmly. Pull straight up. Protect fingers from sharp ends. Safety first. Wear gloves. Staple removal takes time. Keep the area clean. Check for more staples. Avoid accidents. Stay focused.
Assessing Subfloor Condition
Start by removing the hardwood. Look closely at the subfloor. Check for any signs of damage. Look for cracks or soft spots. Use a flashlight for better visibility. Tap the floor with a hammer. Listen for any hollow sounds. This might mean damage underneath. Ensure everything is sturdy and safe.
Clean the subfloor properly. Remove all debris and dust. Use a vacuum for best results. Check for any uneven spots. Use a leveling compound if needed. Make sure the surface is smooth and flat. This helps the new flooring stay strong. Gather all needed tools. Prepare them in advance. Get ready for the new flooring.
Cleaning Up Debris
Old wood can be messy. Gather all broken pieces and sharp nails. Use a broom and dustpan. Sweep the floor carefully. Check corners for small bits. Dispose of sharp objects safely. Use a trash bag for small debris.
Separate materials into piles. Wood, nails, and trash. Take wood to a recycling center. Use a special container for nails. Follow your city rules for disposal. Check if any materials are hazardous.
Clean the area after removing the floor. Use a vacuum for dust. Mop the floor with water. Dry it with a clean towel. Ensure no debris is left. Leave the area neat and tidy.
Frequently Asked Questions
How Do I Start Removing Hardwood Floors?
Begin by clearing the room of furniture and obstacles. Use a pry bar to lift the first plank. Continue to pry up each piece along the seam. Wear protective gear to prevent injuries. Ensure you have a disposal plan for the old flooring.
What Tools Are Needed For Hardwood Floor Removal?
You’ll need a pry bar, hammer, and chisel. A circular saw can help cut planks into smaller pieces. Wear safety goggles and gloves for protection. A vacuum or broom will help clean debris. A disposal bin is essential for waste management.
How Long Does It Take To Remove Hardwood Floors?
The time varies based on room size and floor condition. A small room might take a few hours. Larger spaces or glued floors can take a day or more. Proper preparation speeds up the process. Having the right tools helps efficiency.
Can I Remove Hardwood Floors Myself?
Yes, it’s possible with the right tools and preparation. Ensure safety measures are in place to prevent injuries. Follow step-by-step guides or videos for assistance. Consider hiring professionals for complex situations or glued floors. Doing it yourself saves money.
Conclusion
Removing hardwood floors is a straightforward task. You just need the right tools and a bit of patience. Start by gathering your supplies. Pry bars and hammers work well. Be gentle to avoid damaging the subfloor. Wear safety gear to protect yourself.
Gloves and goggles are smart choices. Work methodically. Focus on one section at a time. Check for nails or staples. Clear debris as you go. Dispose of old flooring responsibly. Consider recycling options. Now, your floor space is ready for a fresh start.
Enjoy the transformation and new possibilities!


