Have you noticed gaps in your timber floors that seem to get bigger over time? These unsightly spaces can make your room look less polished and might even cause concerns about cleanliness or drafts.
But don’t worry—filling these gaps can be easier than you think! You’ll discover simple yet effective methods to restore the beauty of your timber floors. Whether you’re dealing with small cracks or larger gaps, we’ve got practical solutions that you can use to ensure your floors look and feel like new.
Imagine walking across your home without the distraction of those annoying gaps. Ready to learn how you can enhance your living space and boost your home’s appeal? Let’s dive in and show you how to fill those gaps in your timber floors once and for all.

Identifying Floor Gaps
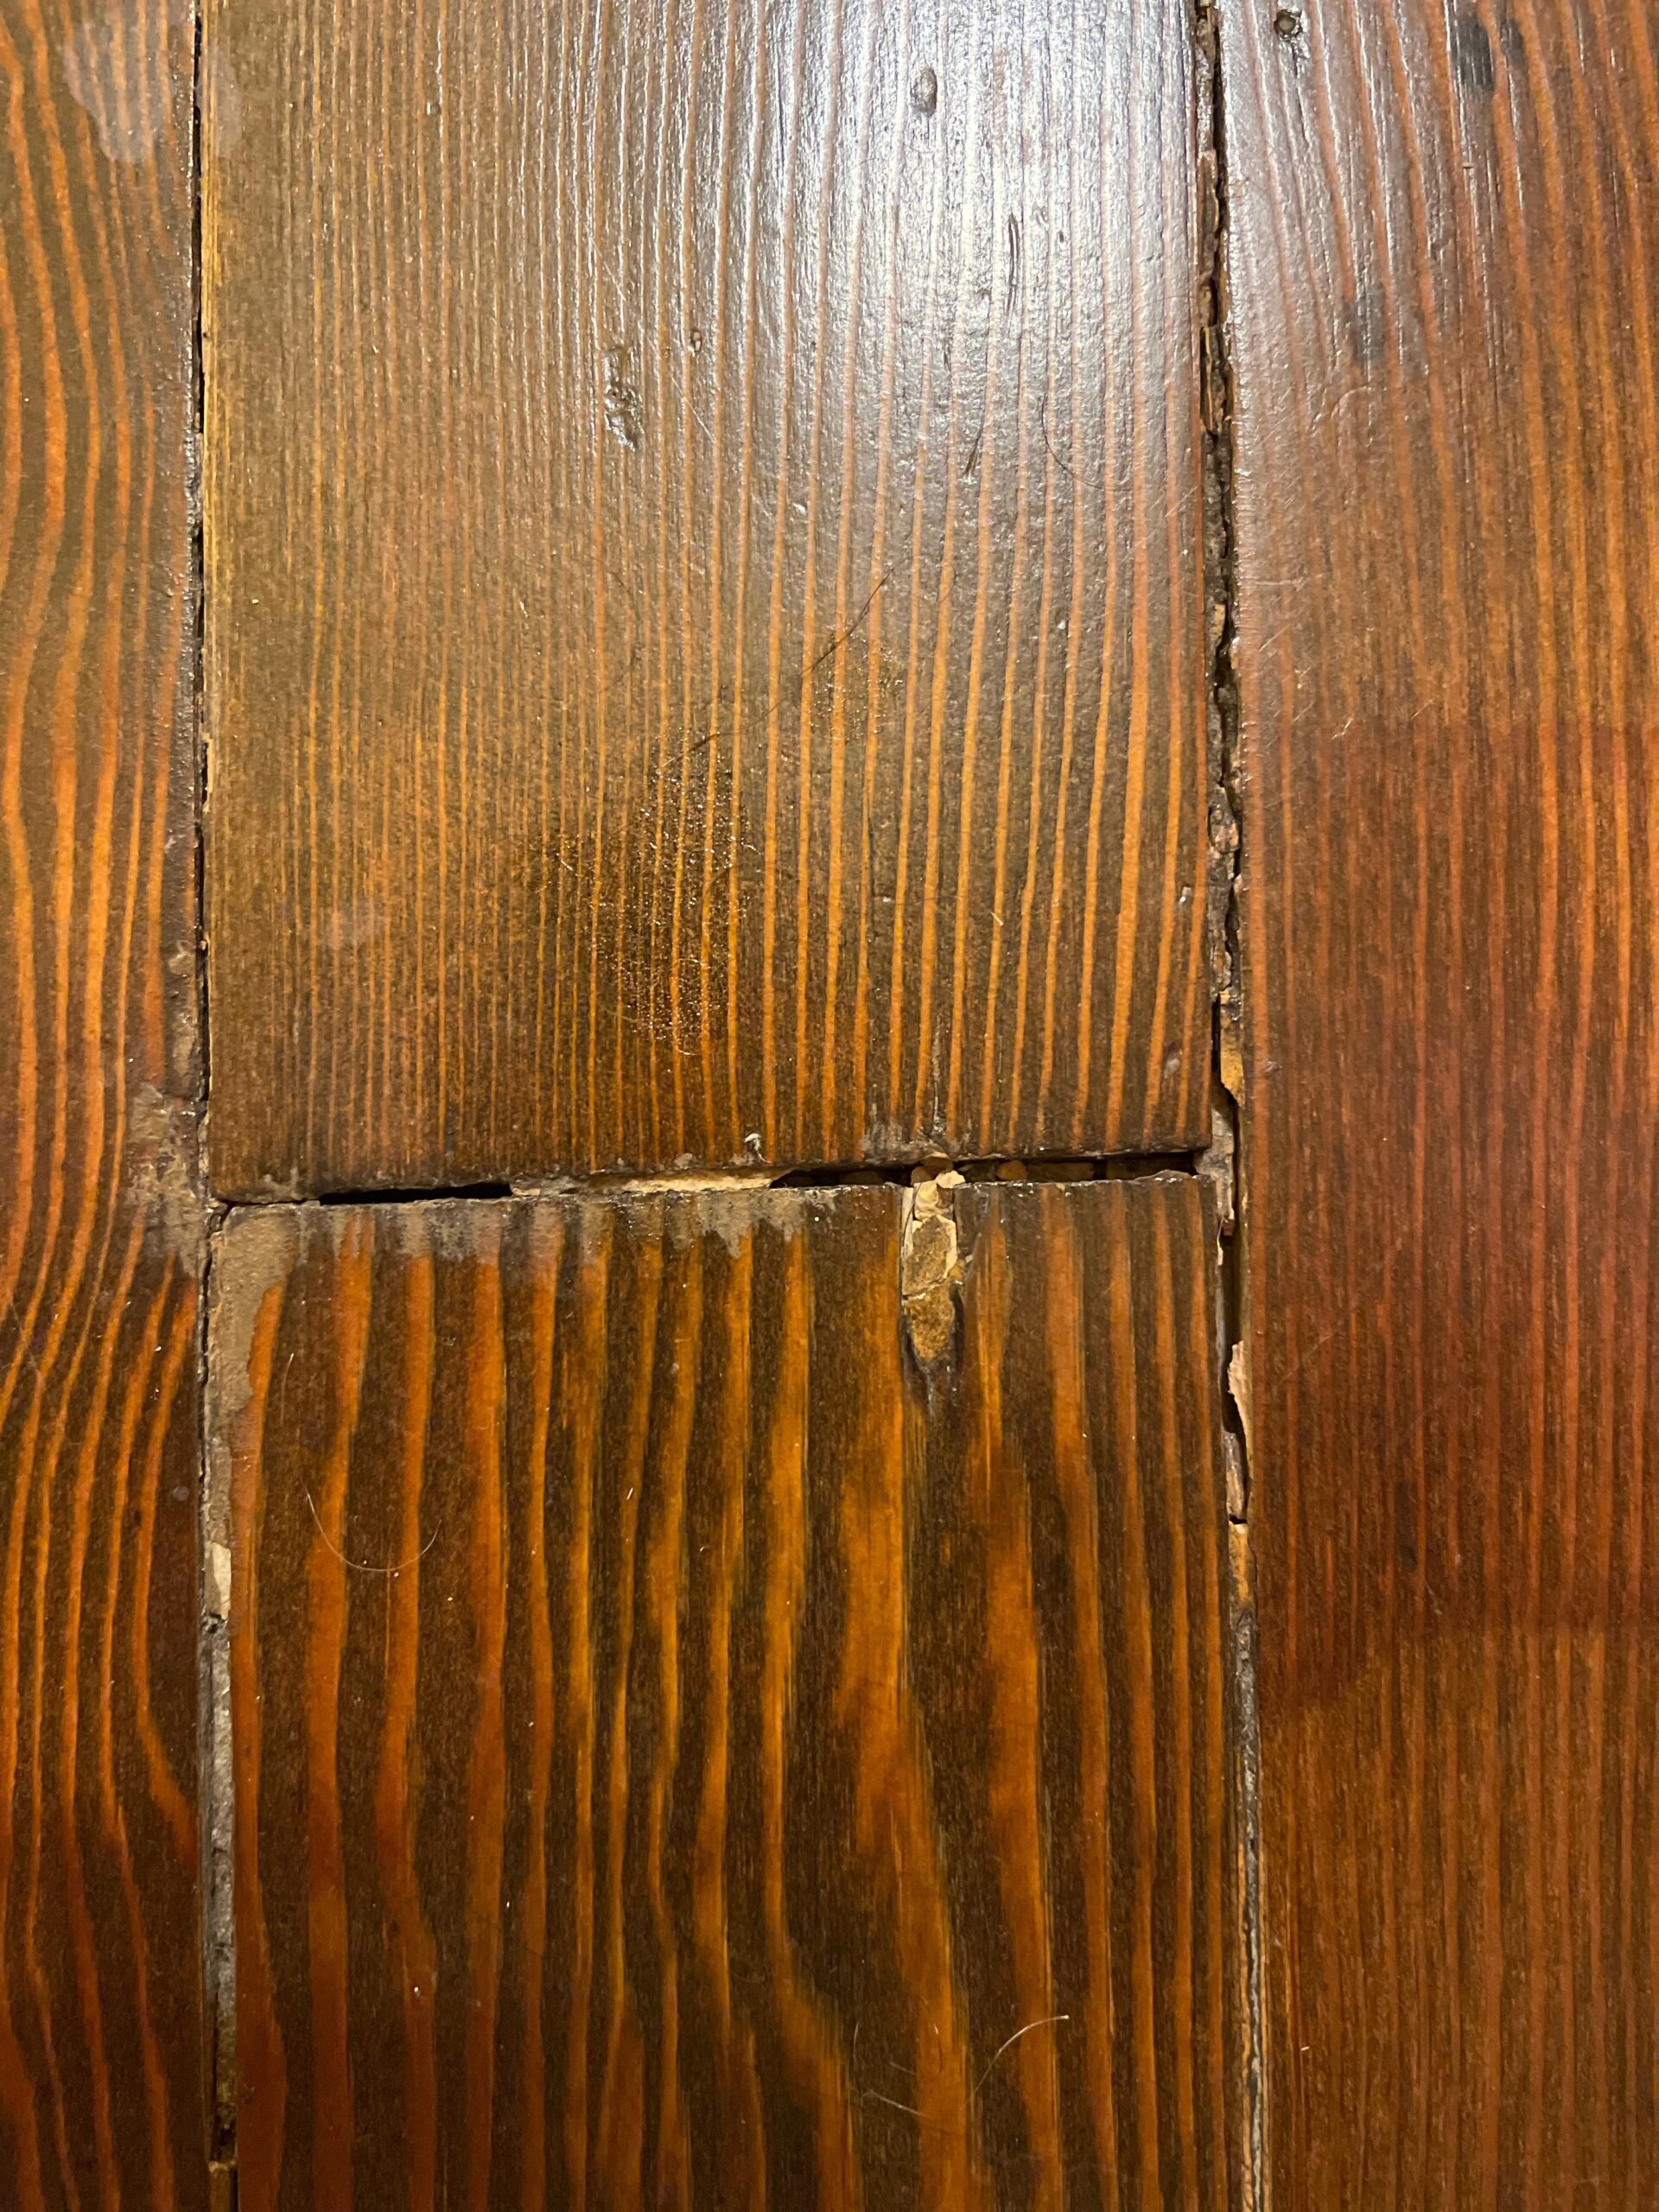
Timber floors can have gaps due to several reasons. Wood shrinkage is a common cause. It happens when wood loses moisture. Temperature changes can also cause gaps. Wood expands in heat and contracts in cold. Improper installation might lead to gaps too. If boards are not fitted well, gaps form. Ageing of the timber can widen gaps over time. Humidity levels play a role as well. Low humidity can make wood dry out, creating gaps.
Check the gap size to assess severity. Small gaps are less than 3mm. These are minor. Medium gaps range from 3mm to 6mm. These need attention. Large gaps exceed 6mm. These are severe and need fixing soon. Measure gaps with a ruler for accuracy. Note any changes in gap size over time. Bigger gaps might mean a problem. Observe floor movement. Too much movement can widen gaps. Serious gaps may need professional help.
:max_bytes(150000):strip_icc()/SPR-how-to-repair-gaps-between-floorboards-1821671-hero-e16551a0b4aa4bd5abdb73a440ebc775.jpg)
Preparation Before Repair
Start by sweeping the floor. Remove any dust and dirt. Use a vacuum for stubborn dirt. Mop the floor with warm water. Let it dry completely. A clean floor shows gaps better. It helps in better repair work.
Collect the tools before starting. Get a putty knife and wood filler. Sandpaper is also needed. You might need a damp cloth. A vacuum cleaner helps too. Keep all tools near you. This saves time and effort.
Choosing The Right Filler
Many types of wood fillers are available. Epoxy fillers are strong and durable. Acrylic fillers dry fast and are easy to use. Latex fillers are flexible and can handle movement. Each type has its own benefits. Choose the one that suits your needs best.
Flexible fillers move with the wood. They are great for timber floors. Silicone-based fillers are very flexible. Polyurethane fillers last a long time. These fillers prevent cracks from forming. They help keep your floor looking nice.
Natural fillers are safe for the environment. Sawdust mixed with glue makes a simple filler. Beeswax is another natural option. It fills gaps and adds shine. Natural solutions can be a great choice for eco-friendly homes.
Step-by-step Filling Process
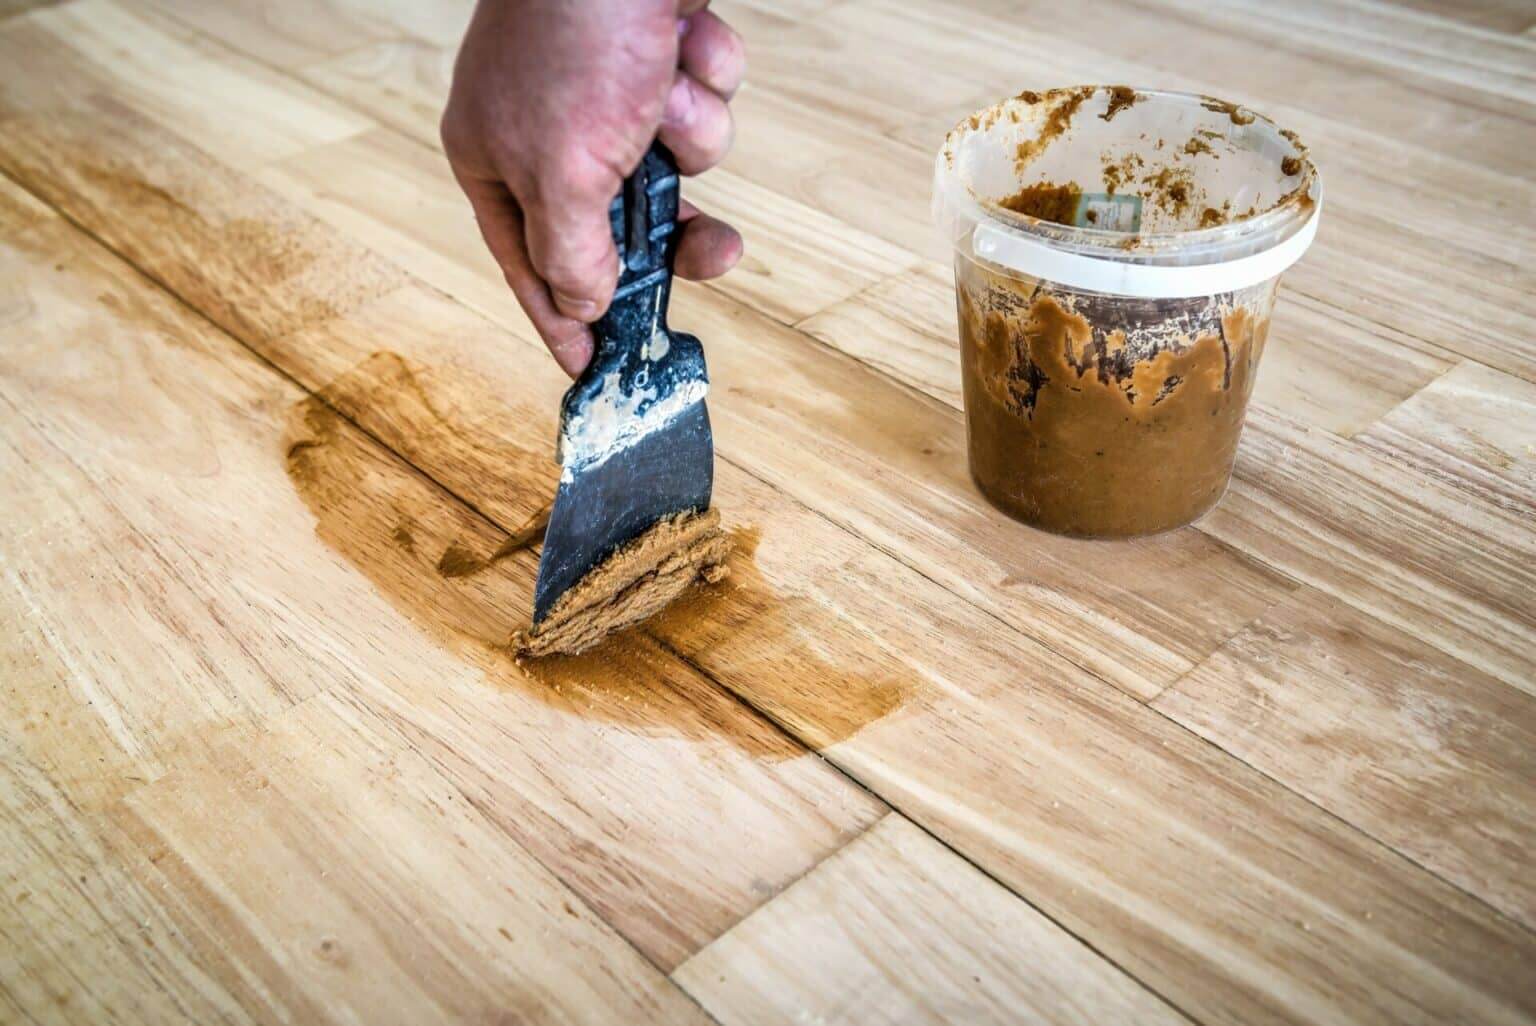
Choose a wood filler that matches the color of your timber floor. Clean the gaps with a vacuum. Make sure there is no dirt. Apply the filler using a putty knife. Press it firmly into the gaps. Wipe off any excess filler before it dries. Allow the filler to dry completely. This may take a few hours.
Once the filler is dry, sand the area gently. Use fine-grit sandpaper to smooth the surface. Be careful not to sand too hard. You don’t want to damage the wood. After sanding, wipe the area clean. Apply a suitable floor finish. Choose between oil or varnish. Apply a thin layer to protect the wood.
Inspect the floor for any rough spots. Sand again if needed. Ensure the floor is even and smooth. Walk over it to check for bumps. Feel the surface with your hands. It should be smooth and soft. If you find uneven areas, repeat the process. Fill, sand, and finish again. This guarantees a nice, smooth floor.
Preventing Future Gaps
Keeping the right humidity levels in your home is crucial. Timber floors need a balanced environment. Use a humidifier in dry months. A dehumidifier helps in wet seasons. Check your home’s humidity regularly. Aim for 40% to 60% levels. This keeps your floors happy.
Check your timber floors often. Look for small gaps or cracks. Fix them before they grow. Use a simple tool like a flashlight. It helps you see better. Clean the floors as you inspect. A clean floor shows gaps easily. Take action quickly to avoid bigger problems. This keeps your floors safe and strong.
Professional Help Vs Diy
Some gaps in timber floors are too big. Professionals know how to handle these issues. Their tools are precise. They can make floors look new again. Complex repairs need a skilled touch. A professional ensures the job is done well.
Hiring a professional can be costly. DIY might save money. But mistakes can be expensive. Think about the cost of tools. Also, consider the time spent on the project. Sometimes paying a professional saves time and stress. Weigh the options carefully.
Maintaining Timber Floors
Always use a soft broom or vacuum to remove dust. This keeps the floor clean and safe. Wipe up spills quickly with a damp cloth. This prevents stains and damage. Avoid using a lot of water. It can harm the wood. A little vinegar mixed with water can help clean too. Use it gently. Regular cleaning stops dirt from causing scratches.
Place rugs or mats at doors. They catch dirt and water. Furniture pads are helpful. They stop marks from heavy furniture. Keep your pets’ nails trimmed. They can scratch the floor. Try to keep the room temperature steady. Wood can expand or shrink with big changes. Use curtains to block strong sunlight. This keeps the color of the wood bright.
Frequently Asked Questions
How Do I Identify Gaps In Timber Floors?
To identify gaps, inspect your timber floor for visible separations between planks. Use a flashlight to highlight small gaps. Pay attention to areas near walls and corners, as gaps often form there. Regularly monitoring your floor will help you address gaps promptly.
What Causes Gaps In Timber Floors?
Gaps in timber floors are often caused by changes in humidity and temperature. These changes cause the wood to expand and contract. Poor installation or quality of the timber can also contribute. Addressing these issues early can help maintain the floor’s appearance and integrity.
Can I Fill Timber Floor Gaps Myself?
Yes, you can fill timber floor gaps yourself with the right materials and tools. Use a flexible wood filler or putty. Ensure the product matches your floor color. Follow instructions carefully for the best results. If unsure, consider consulting a professional.
What Materials Are Best For Filling Gaps?
Flexible wood fillers or putties are ideal for filling gaps in timber floors. Choose a product that matches your floor’s color and texture. High-quality fillers ensure durability and a seamless finish. Always follow the manufacturer’s instructions for application and drying times.
Conclusion
Filling gaps in timber floors enhances both beauty and function. It’s a simple way to preserve your home’s charm. Choose the right materials for lasting results. Clean the gaps thoroughly before starting. Apply filler evenly, and let it dry completely.
Sand gently for a smooth finish. Regular maintenance keeps floors looking fresh and new. Practice patience and attention to detail. Each step contributes to a flawless floor. A well-done job adds value to your space. Enjoy the satisfaction of refreshed and polished timber floors.
Keep your home cozy and inviting with these easy methods.


