Are you staring at your old wood flooring and imagining a fresh new look for your space? Whether you’re planning to replace your flooring or simply want to remove it to reveal the original surface beneath, you’re in the right place.
This task might seem daunting at first, but with the right guidance, you can do it efficiently and safely. Imagine the satisfaction of transforming your room with your own hands and how this change could refresh your environment. You don’t need to be a professional to get this done; you just need some basic tools and a bit of patience.
This guide will walk you through each step, ensuring you have the confidence and know-how to remove wood flooring without a hitch. Let’s get started and pave the way for your room’s transformation!
Preparation
Start by getting all your needed tools. A crowbar, hammer, and safety goggles are essential. You also need a dust mask and gloves. Don’t forget a utility knife and bucket. Have trash bags ready too. With these, the job becomes easier and safer.
Wear your safety goggles and dust mask at all times. They protect your eyes and lungs from dust. Always use gloves to avoid splinters. Keep your work area clean to prevent accidents. Safety first!
Remove all furniture and rugs from the room. Make sure the floor is clear. This helps in moving freely. Keep all items away from the work zone. A clear space makes the task easier.
Assess The Flooring Type
Solid wood is heavy and feels cool. Tap on it. It sounds deep and solid. Look for nails. They hold the planks down. Solid wood is thick. It can be sanded many times.
Engineered wood has layers. The top looks like real wood. Underneath, it has plywood. It’s lighter than solid wood. It may not sound as deep. Check the edges. They are often thinner.
Laminate is not real wood. It is very light. The surface is shiny. Tap on it. It sounds hollow. Look for a pattern. It repeats. The edges may chip easily.
Remove Baseboards And Trim
Start by sliding the pry bar behind the baseboard. Be gentle to avoid damage. Work slowly along the length of the board. This helps to loosen it evenly. Keep your hand steady for control. Use a cloth to protect the wall. The cloth stops scratches and marks. Continue until the board comes off.
After removing, label each piece. Use a marker for clear labels. This helps you remember where each piece goes. Store them in a safe place. Keep them together to avoid losing any pieces. Organized storage saves time later. It makes reinstallation easier and faster.
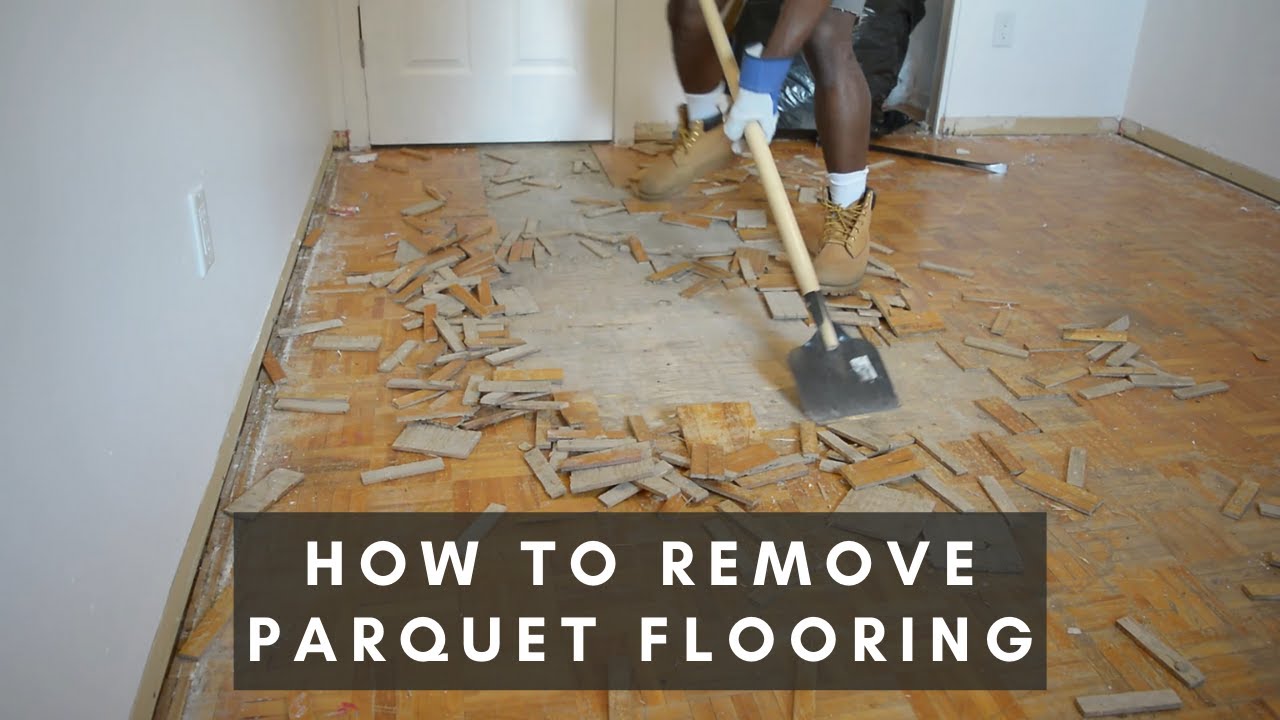
Cut And Remove Flooring Sections
Removing wood flooring involves cutting and lifting sections carefully. Start by prying up a corner to access the boards. Use a saw to cut sections for easier removal, ensuring minimal damage to the subfloor.
Choose Appropriate Saw
Picking the right saw is key to removing wood flooring. A circular saw is often used for straight cuts. It is great for long sections. For small areas, a reciprocating saw works well. It reaches tight spots easily. Always check the blade before cutting. The blade should be sharp and clean. Wear safety goggles to protect your eyes. Gloves can keep your hands safe.
Cut Along Joists
Find the joists under the floor. They support the wood planks. Make cuts along these joists. This makes removal easier. Cut in small sections for better control. Use steady hands while cutting. Keep the saw straight. Cutting along joists helps in lifting planks cleanly. Dispose of removed sections properly. Ensure the saw is unplugged when not in use.
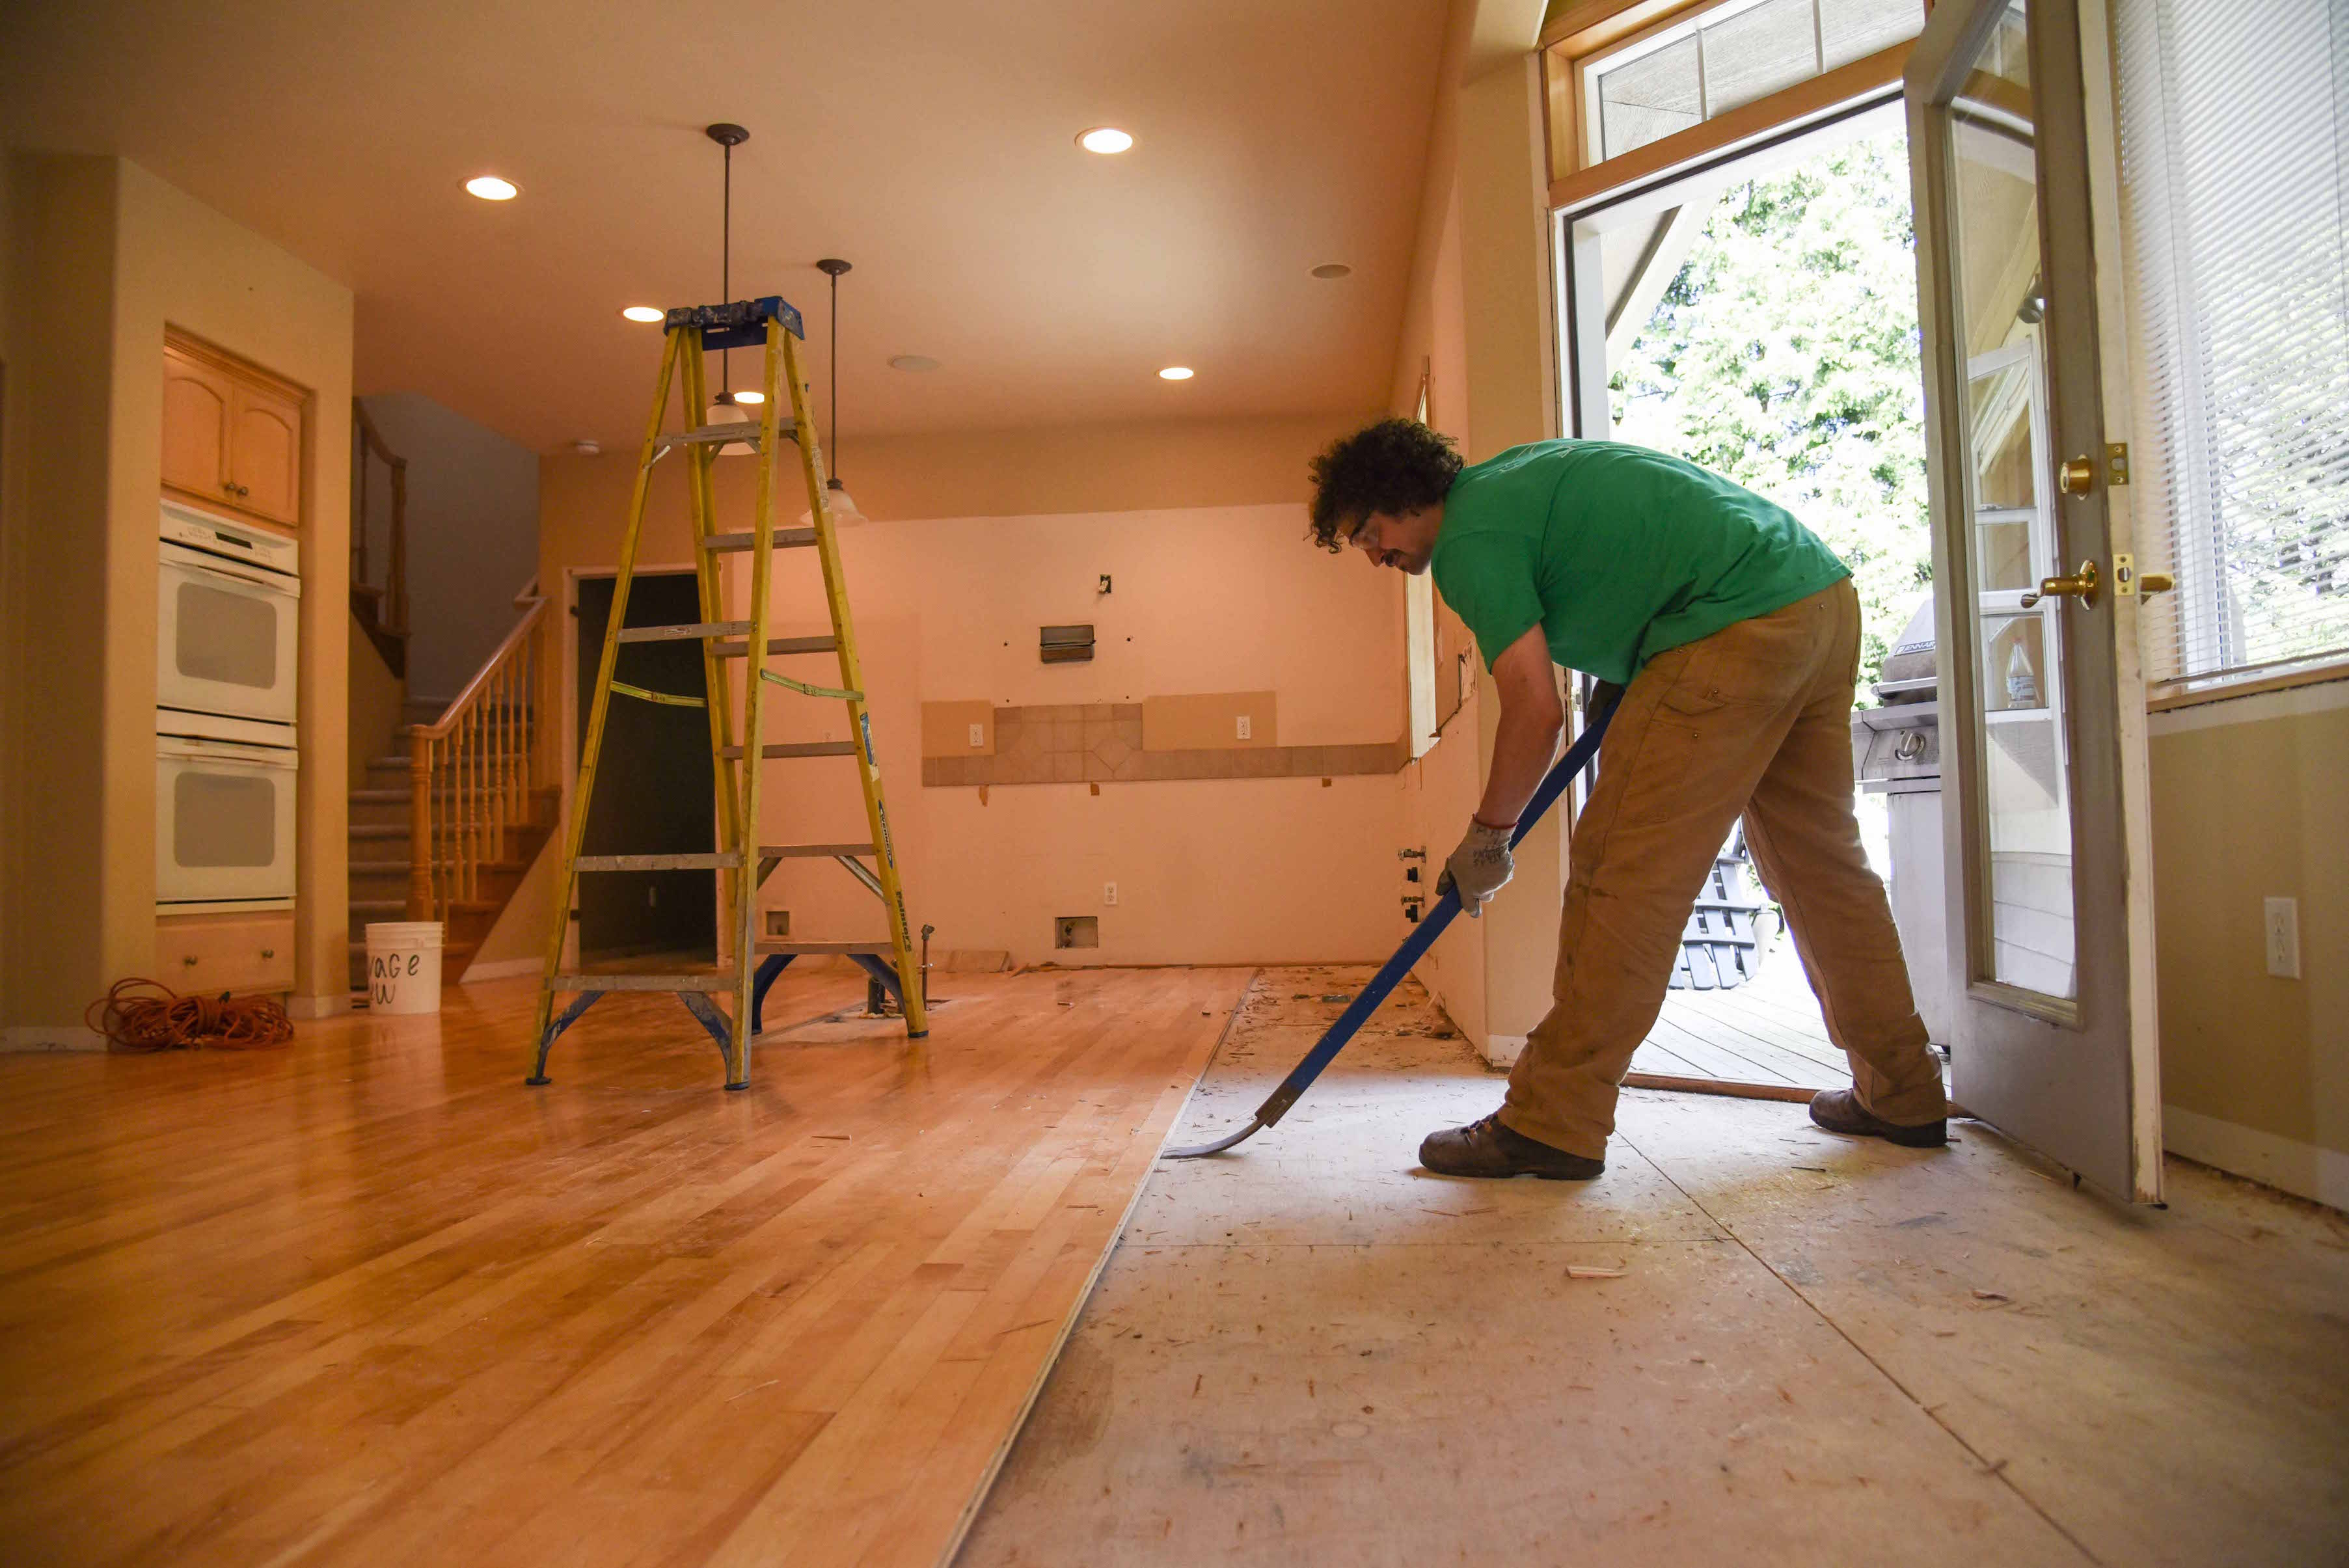
Lift And Pry Up Flooring
Using a pry bar makes removing wood flooring easy. Start at one edge of the room. Gently insert the pry bar under the floorboard. Apply pressure to lift the board. Move slowly to avoid damage. Repeat for each board. This will help keep the wood intact. Be patient and careful.
Check for nails and staples after lifting. Use pliers to remove them. Grip the nail or staple firmly. Pull out slowly to avoid breakage. Ensure the surface is clean before the next step. Clearing nails and staples prevents injuries. Keep a bucket handy for waste. Dispose of nails and staples safely. Always wear gloves for protection. Stay safe and keep your area tidy.
Dispose Of Old Flooring
Sorting the materials is important. Separate wood from other waste. Look for nails and screws. Remove them carefully. Clean the wood pieces. Some parts can be reused. Others can be recycled. Take metal to a recycling center. Check for local places to recycle.
Always know your local rules. Cities have different disposal laws. Some areas allow curbside pickup. Others might not. You may need a permit. Check with the local council. They can provide information. Sometimes, they offer pickup services. Proper disposal helps the environment. It’s always the right choice.
Inspect Subfloor
Check the subfloor for damage after removing wood flooring. Look for signs of moisture or rot. Ensure it’s level and clean before installing new flooring.
Check For Damage
First, you must check for any damage on the subfloor. Look for cracks or holes. Are there any signs of water damage? Use a flashlight to see better. If you find damage, note it down. You might need to fix it later. A strong subfloor keeps your new floor safe.
Clean And Prepare Surface
Remove all dirt and debris from the surface. Use a broom or vacuum. A clean surface helps in better inspection. Next, mop the area with a damp cloth. Ensure the surface is dry before proceeding. This step is important. A clean surface makes the next steps easier. Always work in a small area first. Gradually move to other areas.

Repair And Prepare For New Flooring
Fix Subfloor Issues are important for a smooth floor. Check for cracks or holes in the subfloor. These can cause problems later. Use a filler to fix small holes. Larger holes need more work. Always ensure the subfloor is strong and stable. Weak spots can make the floor uneven. A strong subfloor helps the new floor last longer.
Ensure Level Surface is key for new flooring. A level surface makes installation easy. Use a level tool to check the floor. If the surface is uneven, use a leveling compound. Spread it over the floor and let it dry. This step helps avoid bumps and dips. A level floor feels better to walk on.
Frequently Asked Questions
How Do I Start Removing Wood Flooring?
Begin by clearing the room of furniture and obstacles. Use a pry bar to lift the boards gently. Work gradually to avoid damaging the subfloor. Wear protective gear, including gloves and goggles, to ensure safety. Dispose of removed wood responsibly or consider repurposing it for other projects.
What Tools Are Needed To Remove Wood Floors?
You’ll need a pry bar, hammer, and chisel for removing wood flooring. A circular saw can help cut sections for easier removal. Wearing protective gear is essential. Consider renting a flooring removal tool for large areas. Always follow safety instructions when using power tools.
Can I Remove Wood Flooring Myself?
Yes, you can remove wood flooring yourself with the right tools and patience. Follow step-by-step instructions to ensure safety and efficiency. If you’re unsure, consult professionals for guidance. DIY removal can save money, but ensure you have the necessary skills and equipment.
How Long Does Wood Floor Removal Take?
The time depends on the room size and flooring type. Generally, it takes a few hours to a day. Factors like adhesive used and your experience level also affect duration. Larger spaces or glued floors may require more time and effort for removal.
Conclusion
Removing wood flooring can be a straightforward task. By following the steps outlined, you ensure a smooth process. Start with gathering the right tools. Pry the boards carefully. Protect your subfloor from damage. Dispose of old wood responsibly. Remember, patience is key.
Rushing can lead to costly mistakes. Safety is important; wear gloves and goggles. Take your time and work steadily. You will soon have the floor cleared. With practice, each removal gets easier. Enjoy the satisfaction of a job well done.
Now, you are ready for the next project. Your space is prepared for new possibilities.


