To remove tile flooring, start by gathering essential tools like a chisel, hammer, and tile scraper. Prepare your workspace by clearing furniture and laying down protective covers. First, remove the grout lines using a grout removal tool or oscillating multi-tool, ensuring you wear safety goggles and a dust mask. Next, lift the tiles using a chisel and hammer for small areas or a floor scraper for larger ones. After tile removal, inspect the subfloor for any damage. Finally, clean up debris thoroughly to maintain a safe environment. You'll find more tips to enhance your removal process ahead.
Gather Necessary Tools
Before diving into the tile removal process, you'll need to gather the necessary tools to guarantee everything goes smoothly. Start with essential tile removal tools like a chisel, a hammer, and a tile scraper. These will help you effectively break up and lift the tiles. A pry bar can also be invaluable for removing stubborn tiles. Don't forget a utility knife for cutting any adhesive or grout.
Safety equipment is important; wear safety goggles to protect your eyes from flying debris, and gloves to shield your hands from sharp edges. A dust mask can help keep harmful particulates at bay. Having these tools and safety gear ready will set you up for a successful and safe tile removal experience.
Prepare the Workspace
One essential step in the tile removal process is preparing your workspace to guarantee efficiency and safety. Begin by clearing the area of furniture and any obstacles that could impede your movement. Confirm your workspace organization is on point—lay out your tools within arm's reach and designate a specific spot for debris.
Next, put down a protective covering on the floor to prevent damage and make cleanup easier. Don't forget to wear safety goggles and gloves as you'll be handling sharp tools and materials. It's important to maintain a clean and organized environment to minimize accidents and distractions. Proper preparation sets the tone for a successful project, allowing you to focus on the task at hand without unnecessary interruptions.
Remove Grout Lines
To tackle the removal of grout lines effectively, you'll want to start by selecting the right tools for the job. A grout removal tool or oscillating multi-tool fitted with a grout blade works best. You'll also need safety goggles and a dust mask to protect yourself. Begin by carefully scoring the grout lines with your chosen tool to break the seal. Use cleaning techniques like dampening the grout with water to ease removal, minimizing dust. Once you've scored the lines, carefully chip away the grout, working in small sections. Take your time to avoid damaging the tiles. After completing the grout removal, clean the area thoroughly to prepare for the next steps in your tile flooring project.
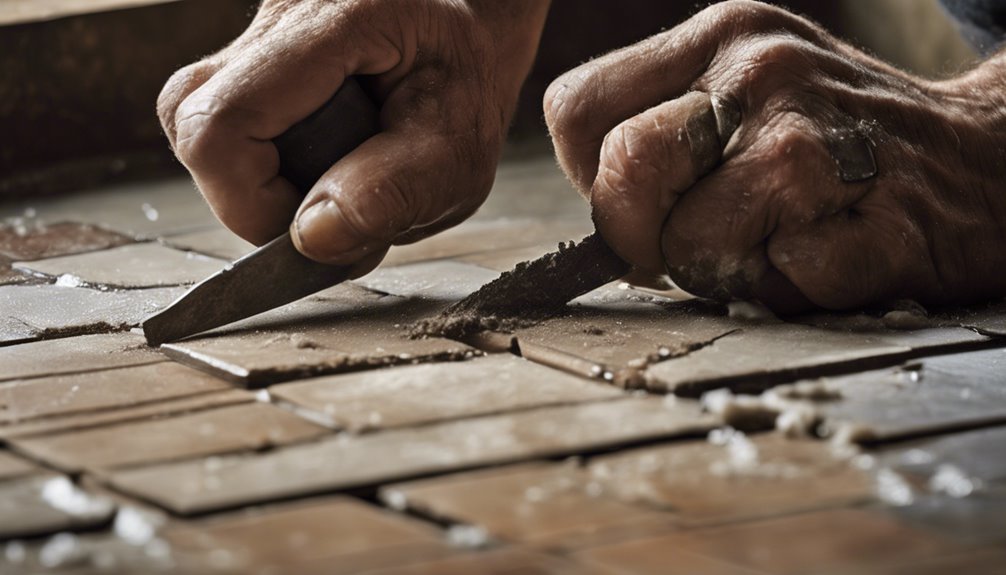
Start Lifting Tiles
With the grout lines removed, you're ready to start lifting the tiles. Begin by choosing a tile removal technique that suits your space. If your tiles are glued down, a chisel and hammer can help pry them up. For stubborn tiles, consider using a floor scraper or a specialized tile removal tool.
Here's a quick overview of effective lifting methods:
| Lifting Method | Description | Best For |
|---|---|---|
| Chisel & Hammer | Manual prying with a chisel | Small areas, DIY |
| Floor Scraper | Uses leverage to lift multiple tiles | Larger areas |
| Tile Removal Tool | Electric tool for faster removal | Heavy-duty projects |
Whichever method you choose, work carefully to avoid damaging the subfloor.
Address Underlying Issues
Before proceeding with your tile removal, it's essential to address any underlying issues that could affect your new flooring. Start by identifying any signs of water damage, such as discoloration or mold, which can compromise the integrity of the subfloor. Next, inspect for cracks in the substrate that may require repair to guarantee a stable and durable installation after the tiles are removed.
Identify Water Damage
Water damage can silently undermine the integrity of your tile flooring, making it essential to identify any issues before you begin removal. Start by checking for signs of a water leak, such as discoloration or mold growth. Use moisture detection tools to assess the subfloor and surrounding areas for excessive moisture levels.
Here's a quick reference table to help you identify potential water damage:
| Signs of Water Damage | Next Steps |
|---|---|
| Discoloration on tiles | Inspect for leaks |
| Mold growth | Use moisture detection |
| Warping or buckling | Replace damaged sections |
Pinpointing water damage early can save you time and money, ensuring a smoother floor removal process.
Inspect for Cracks
Inspecting for cracks in your tile flooring is essential, as these imperfections can signal underlying structural issues that may complicate removal. Begin your crack detection by closely examining the tiles and grout lines for any visible fissures. Use a flashlight to illuminate hard-to-see areas, guaranteeing you don't miss smaller cracks that could indicate a larger problem. Conduct a thorough tile assessment, noting the size and location of each crack. If you find significant damage or a pattern of cracks, it might be wise to consult a professional to address structural concerns before proceeding with removal. This proactive approach not only guarantees a smoother removal process but also helps maintain the integrity of your flooring in the long run.
Clean Up Debris
Once you've removed the tiles, it's crucial to clean up the debris to guarantee a safe and efficient workspace. Proper debris disposal not only helps maintain order but also guarantees safety throughout your project. Utilize effective cleanup techniques to streamline the process. Here's how you can tackle the mess:
- Gather tools: Use a broom, dustpan, and a vacuum for smaller particles.
- Wear protective gear: Safety goggles and gloves can prevent injuries from sharp debris.
- Dispose responsibly: Check local guidelines for proper disposal of tile materials.
- Check for hidden debris: Inspect the floor for any remaining bits that could pose a hazard.
Frequently Asked Questions
Can I Reuse Tile After Removing It?
Yes, you can reuse tile after removing it, but it requires careful handling. To guarantee tile preservation, you should use proper tools to avoid cracks during removal. Clean the tiles thoroughly to remove any adhesive residue. When you're ready to reinstall, follow reinstallation tips like using the right mortar and guaranteeing a level surface. With the right techniques, you can successfully repurpose your tiles, giving your space a fresh look without the cost of new materials.
How Long Does Tile Removal Usually Take?
You might feel like tile removal could take an eternity, but fear not! With proper project planning, you can make accurate time estimations. Generally, it can take anywhere from a few hours to a couple of days, depending on the area size and your experience. If you've got the right tools and a solid plan, you'll be freeing yourself from those tiles in no time. Just remember, patience is key!
What Types of Tiles Are Easiest to Remove?
When considering tile removal, you'll find that vinyl tiles are often the easiest to take out. They're usually thinner and can sometimes be peeled off without much effort. Ceramic tiles, however, can be more challenging due to their rigidity and strong adhesive. If you're looking for a quicker project, focus on vinyl tiles, but be prepared for a bit more work with ceramic ones. It's all about knowing what you're up against!
Should I Hire a Professional or DIY?
When deciding whether to hire a professional or tackle the job yourself, consider the cost comparison and your skill assessment. If you've got experience and the right tools, DIY can save you money but may require significant effort. However, if you're unsure about your skills or the complexity of the job, hiring a pro might be worth the investment for a smoother, quicker result. Ultimately, it's about balancing your budget and confidence level.
What Safety Gear Is Recommended During Tile Removal?
Did you know over 20% of DIY injuries occur due to inadequate safety measures? When tackling tile removal, it's essential you gear up properly. Start with safety goggles to protect your eyes from flying debris, and wear a dust mask to filter harmful particles from the air. These simple items can greatly reduce your risk of injury, ensuring you stay safe while enjoying the freedom of completing your project yourself.


