To regrout your tile floor, start by evaluating the grout's condition for cracks or discoloration. Gather essential tools like a grout saw, float, and sponge. Next, prepare the surface by removing old grout and ensuring the area is clean and dry. Mix the new grout according to the manufacturer's instructions. Apply it with a float, pressing it firmly into the joints and working in small sections. Wipe off excess with a damp sponge. Finally, seal the grout to protect it from moisture and stains. You'll find detailed tips for maintaining your newly regrouted floor ahead.
Assessing the Condition of Grout
Before you begin regrouting your tile floor, it's essential to assess the condition of the existing grout to determine if it indeed needs replacement. Start by inspecting for grout discoloration causes, such as mold, mildew, or staining from spills. If the grout appears darkened or unevenly colored, it may indicate underlying moisture issues. Next, look for grout damage signs like cracks, crumbling, or missing sections. Use a utility knife to gently scrape the surface; if it disintegrates easily, replacement is necessary. Pay attention to the grout's flexibility; if it feels brittle or crumbles under pressure, that's a clear signal. By carefully evaluating these factors, you can decide whether regrouting is the right course of action for your tile floor restoration.
Tools and Materials Needed
After determining that regrouting is necessary, gathering the right tools and materials is the next step to guarantee a successful project. You'll need:
| Tool/Material | Purpose | Grout Type |
|---|---|---|
| Grout float | Apply grout evenly | Thin-set or epoxy |
| Grout saw | Remove old grout | N/A |
| Sponge | Clean excess grout | N/A |
| Bucket | Mix grout and water | Pre-mixed or powdered |
Choosing the appropriate grout types, like sanded or unsanded, depends on your tile spacing. Familiarize yourself with various application techniques to ensure a smooth finish and lasting results. With the right tools and knowledge, you'll regain your tile floor's beauty.
Preparing the Tile Surface
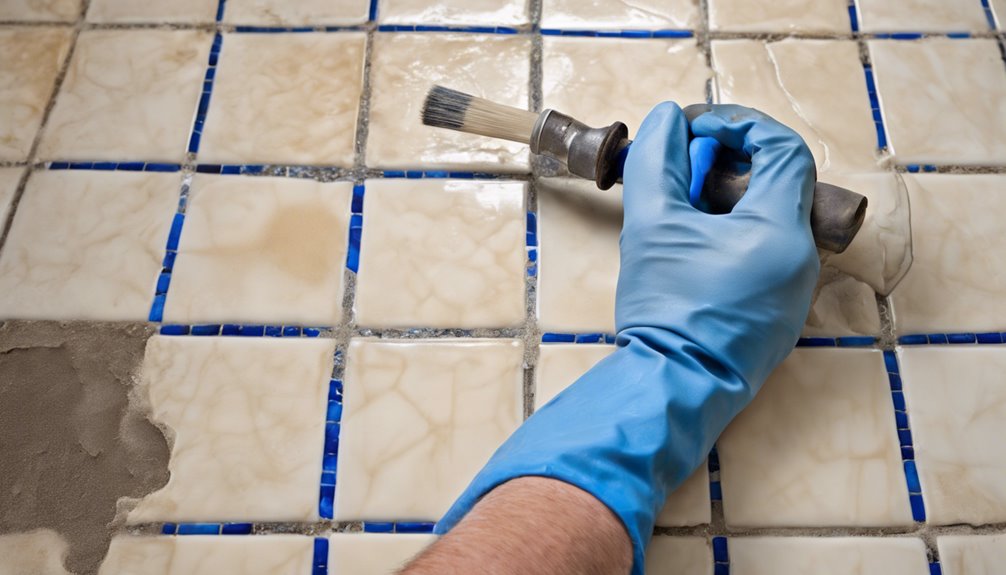
Preparing the tile surface is essential for achieving a strong bond with the new grout. Start by conducting a thorough surface inspection to identify any damaged tiles or loose grout. Remove any debris, dust, or dirt using effective cleaning techniques such as a vacuum or a damp cloth. For stubborn stains or residue, consider using a mild cleanser or tile-specific cleaner. After cleaning, allow the surface to dry completely to prevent moisture from interfering with the grout adhesion. If you notice any remaining old grout, use a grout saw or chisel to eliminate it, guaranteeing a smooth surface for the new grout. This meticulous preparation will guarantee ideal results when you apply the new grout.
Applying New Grout
Start applying the new grout by mixing it according to the manufacturer's instructions, ensuring a smooth, consistent texture. For effective grout application techniques, use a rubber float to spread the grout diagonally across the tiles, pushing it firmly into the joints. Work in small sections to prevent the grout from drying out before you finish. When it comes to color selection tips, consider how the grout color contrasts with your tiles; a lighter grout can brighten the space, while a darker hue can hide stains better. Always wipe away excess grout with a damp sponge before it hardens, and remember to rinse the sponge frequently to maintain clarity in your lines. Enjoy the freedom of customizing your space!
Finishing Touches and Maintenance
Once the grout is fully applied and has dried according to the manufacturer's recommendations, it's essential to focus on the finishing touches and ongoing maintenance to guarantee your tile floor remains in excellent condition. Start by performing grout sealing to protect against moisture and stains. This process involves applying a high-quality sealer to the grout lines, which will enhance durability. After sealing, establish a routine cleaning schedule using a pH-neutral cleaner to maintain the floor's appearance. Avoid harsh chemicals that could damage the grout or tiles. Regularly inspect for cracks or discoloration, as early detection allows for prompt repairs. By following these steps, you'll make certain your tile floor not only looks great but also lasts for years.
Frequently Asked Questions
How Long Does Regrouting a Tile Floor Typically Take?
When tackling a project, it's important to take into account time estimation for ideal results. Regrouting a tile floor typically requires around 4 to 8 hours, depending on the area's size and complexity. This project duration can fluctuate based on your experience and the condition of the existing grout. If you're prepared and organized, you'll likely find it a rewarding endeavor that enhances your space, allowing for a fresh, clean appearance.
Can I Regrout Over Existing Grout?
You can't simply regrout over existing grout without proper preparation. Effective regrouting techniques often require grout removal to guarantee a strong bond. If you don't remove the old grout, the new grout may not adhere properly, leading to future issues. Start by using a grout saw or a rotary tool to remove at least half of the existing grout. This'll create a solid foundation for the new grout to set and perform effectively.
What Type of Grout Is Best for My Tile?
When choosing the best grout for your tile, consider epoxy grout and sanded grout. Epoxy grout's highly durable and water-resistant, making it ideal for areas prone to moisture. It's also stain-resistant, ensuring a clean finish. On the other hand, sanded grout is suitable for larger joints and provides a more traditional look. It's essential to match the grout type to your tile's specific needs and the environment where it'll be installed.
Will Regrouting Fix Cracked Tiles?
You might think regrouting can't fix cracked tiles, but it can be part of effective cracked tile solutions. While grout repair techniques focus on the joints, they won't mend the cracks themselves. If your tiles are structurally sound, regrouting can enhance their appearance and prevent further damage. However, if the cracks are severe, replacing the tiles may be necessary. Always assess the underlying issues to guarantee a long-lasting solution.
How Often Should I Regrout My Tile Floor?
You should consider regrouting your tile floor every 5 to 10 years, depending on grout maintenance and the wear your tiles experience. Regular inspections will help you identify any cracks or discoloration, which can compromise tile longevity. If you notice these issues, it might be time to regrout sooner. This proactive approach not only enhances the appearance but also protects your investment, ensuring your floor remains functional and beautiful for years to come.


