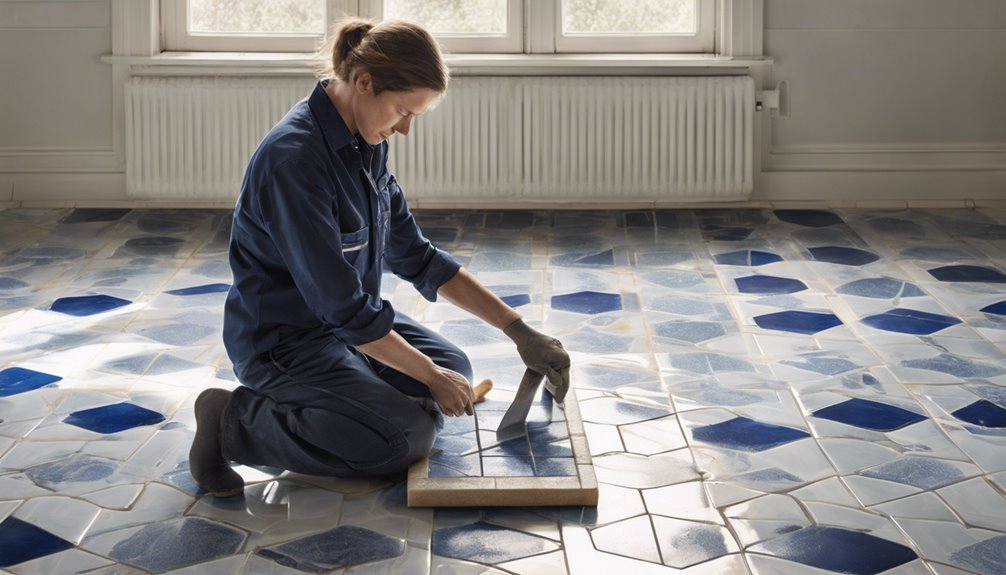
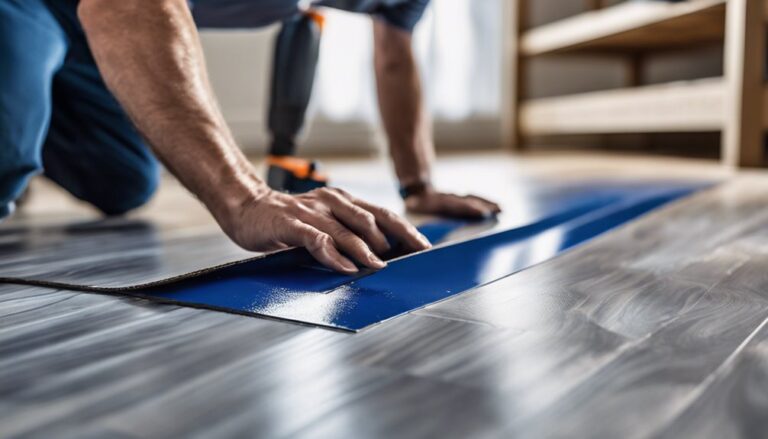
To lay floor tile, you need proper tools like a tile cutter and trowel, along with materials such as thin-set mortar and grout. Start by prepping the subfloor; verify it's clean and level, and install a moisture barrier where needed. Measure the room to determine tile quantity and layout, marking a centerline for balanced placement. Cut tiles accurately using a tile saw and guarantee a tight fit. After placing the tiles, apply grout into the joints with a float. Finally, seal the grout for protection. By following these steps, you'll achieve a professional finish and guarantee long-lasting results.
Gather Your Tools and Materials
Laying floor tile requires specific tools and materials to guarantee a successful installation. First, create a tools checklist that includes a tile cutter, trowel, level, spacers, and a grout float. These tools assure accuracy and efficiency as you work. Next, consider the material types you'll use. Options include ceramic, porcelain, and natural stone tiles, each with unique properties. Choose based on your space's needs and your desired aesthetic. Don't forget thin-set mortar and grout, essential for securing tiles and filling joints. Having the right tools and materials at hand not only streamlines the process but also empowers you to achieve a professional finish. Being prepared assures your project is both enjoyable and rewarding.
Prepare the Subfloor
Once you've gathered your tools and materials, the next step involves preparing the subfloor. This process is vital, as different subfloor types require specific attention to guarantee a solid foundation for your tile. Begin by inspecting the subfloor for any damage or unevenness. Repair any imperfections and make certain the surface is clean and dry. If you're working in a moisture-prone area, installing a moisture barrier is essential to prevent future issues.
- Check for structural damage
- Level the subfloor if necessary
- Clean the surface thoroughly
- Install a moisture barrier (if applicable)
- Allow the subfloor to dry completely
Taking these steps will provide you with a reliable base for your tile installation, assuring durability and longevity.
Plan Your Tile Layout
Before laying your tiles, you need to measure your space accurately to determine the amount of tile required. Next, choose a tile pattern that complements your design preferences and fits the layout. Finally, mark your starting point to guarantee an even and precise installation process.
Measure Your Space
To guarantee a successful tile installation, accurately measuring your space is essential for planning your tile layout. Begin by determining the total area where you'll lay the tiles. Consider the following steps:
- Measure the length and width of the room.
- Calculate the total square footage by multiplying these dimensions.
- Factor in the tile dimensions, ensuring you know the size of each tile.
- Add a space allowance for grout lines and cutting waste.
- Create a scaled drawing to visualize the layout before installation.
Choose Tile Pattern
Choosing the right tile pattern is essential for achieving a visually appealing and functional floor. Start by considering current pattern trends that suit your style and space. Common choices include straight lay, diagonal, herringbone, or basketweave. Each pattern can dramatically change the perception of your room's dimensions.
Next, think about tile color—lighter shades can make a small area feel larger, while darker tones add warmth and coziness. You can also mix colors within your pattern for a unique look, but aim to maintain balance to avoid overwhelming the space.
Before finalizing your selection, visualize how the patterns and colors will interact with your existing decor. This thoughtful approach guarantees a cohesive and liberating design.
Mark Starting Point
Since laying tile requires careful planning, marking your starting point is essential for achieving a straight and balanced layout. Understanding the starting point importance allows you to utilize effective tile alignment techniques, ensuring a professional finish.
To mark your starting point:
- Measure the room's dimensions accurately.
- Find the centerline using chalk or a laser level.
- Adjust the starting point to avoid small tile cuts on edges.
- Use spacers to maintain uniform gaps.
- Double-check your measurements before proceeding.
Cut and Place the Tiles
Once you've planned your tile layout, it's essential to measure and mark your tiles accurately. You'll need to employ specific cutting techniques to guarantee a precise fit, especially around corners and edges. This step is important for achieving a professional-looking finish in your tile installation.
Measuring and Marking Layout
Before you start cutting and placing the tiles, it's crucial to measure and mark your layout accurately. This guarantees proper tile orientation and layout symmetry, allowing for a visually pleasing finish.
- Determine the center point of the room.
- Use a chalk line to mark reference lines.
- Measure the distance from the center to the walls.
- Plan for cuts at the edges to maintain balance.
- Double-check measurements before cutting.
Cutting Techniques for Tiles
Cutting tiles accurately is essential for achieving a professional finish, and there are several techniques you can use to confirm precise cuts. One effective method is using tile saws, which provide clean, straight cuts for larger tiles. If you're working with smaller tiles or need to make intricate cuts, scoring methods can be your best bet. With a tile cutter, score the tile along your marked line, then apply pressure to snap it cleanly. For curved cuts, consider using a wet saw or a handheld tile cutter. Regardless of the method you choose, always wear proper safety gear and take your time to ascertain accuracy. This attention to detail will result in a flawless floor tile installation.
Apply Grout and Sealant
Applying grout and sealant is a critical step that guarantees the durability and aesthetic appeal of your tiled floor. First, select the appropriate grout types based on your tile material and joint size. Mix the grout according to the manufacturer's instructions, confirming a consistent texture. Use a float to apply the grout, pushing it into the joints at a 45-degree angle.
After the grout has set, proceed with sealant application to protect against moisture and stains.
- Choose a high-quality sealant.
- Apply sealant evenly using a brush or roller.
- Allow the sealant to dry fully.
- Reapply as necessary for maintenance.
- Follow specific instructions for peak results.
This process guarantees your tiled floor remains both functional and beautiful.
Final Touches and Maintenance
Once the grout and sealant are in place, it's time to focus on the final touches and maintenance of your tiled floor. Start by removing any excess grout and debris with a damp sponge, ensuring the surface is smooth and clean. Next, consider applying a tile sealing product to protect against stains and moisture. For ongoing maintenance, use gentle cleaning solutions and avoid harsh chemicals that can damage the finish. Regularly sweep or vacuum to prevent dirt buildup, and mop weekly with a pH-neutral cleaner. These cleaning tips will help maintain the beauty and longevity of your floor. Remember, a little care goes a long way in preserving the freedom your tiled space provides.
Frequently Asked Questions
Can I Install Floor Tile Over Existing Flooring?
Imagine a sturdy ship braving the waves, and you might wonder if it can sail over the old ocean. Yes, you can install floor tile over existing flooring, but there are pros and cons to evaluate. Confirm the base is level and stable, using appropriate installation techniques to avoid future issues. Weighing durability against potential height increases can guide your decision, granting you the freedom to create a new surface without starting from scratch.
How Long Does It Take for Tile Adhesive to Dry?
When considering tile drying times, it's essential to know that adhesive setting can vary based on factors like temperature and humidity. Typically, most adhesive requires about 24 hours to set properly, but it's best to consult the manufacturer's guidelines for specifics. If you're aiming for a flawless finish, patience is key; rushing the process can lead to issues down the line. Always make certain the adhesive is fully dried before proceeding with any further steps.
What Type of Grout Is Best for My Tiles?
When choosing grout, consider the type of tiles you're using. If you want durability and resistance to stains, epoxy grout's a great option. It's waterproof and easy to clean, but can be more challenging to work with. On the other hand, sanded grout is ideal for larger joints and offers better flexibility. It's more user-friendly but less resistant to moisture. Ultimately, your choice should match your project's specific needs and personal preferences.
How Do I Remove Old Tile Without Damaging the Subfloor?
Imagine peeling away layers of an old skin, revealing the fresh surface beneath. When tackling old tile, use careful tile removal techniques—start at a corner and pry gently with a chisel. To protect your subfloor, place a board under your tool to distribute pressure. Work patiently, avoiding forceful blows. If the tiles resist, a heat gun can soften adhesive. Your freedom lies in a well-prepared foundation for your new design.
Is It Necessary to Seal Tiles After Installation?
It's crucial to contemplate sealing tiles after installation. Sealing benefits include protection against stains, moisture, and wear, extending your tile's lifespan. You'll find several sealing techniques, such as applying a penetrating sealer or a topical sealer, depending on the tile type. If you want to maintain the beauty and durability of your tiles, sealing them not only enhances their appearance but also offers peace of mind against potential damage in the long run.


