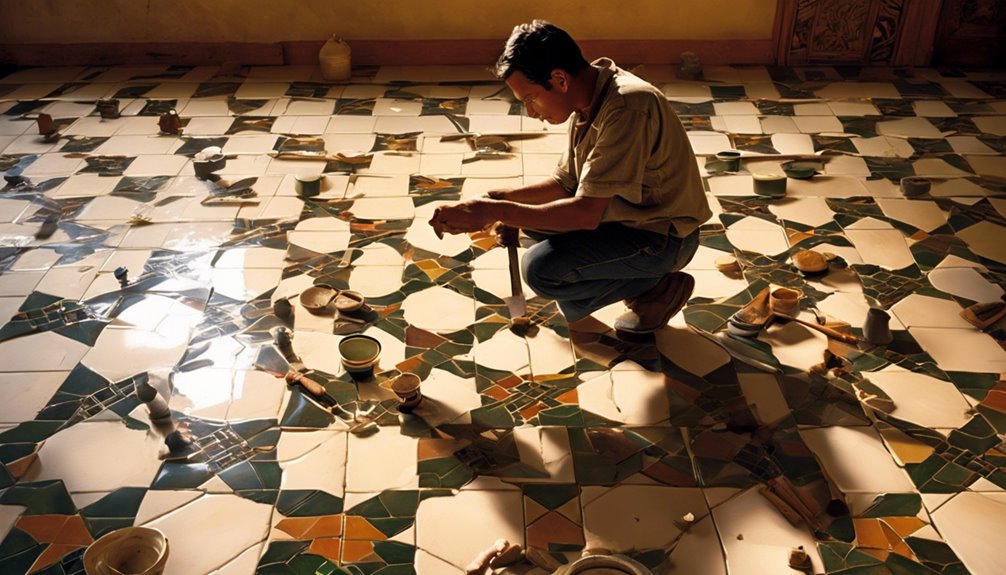
To install tile flooring, start by evaluating and prepping your subfloor to guarantee it's clean, dry, and level. Gather essential tools like a tile cutter, notched trowel, and spacers. Plan your layout with chalk lines and dry lay tiles for adjustments. Apply the right adhesive evenly, then firmly press tiles in place using spacers for even gaps. After the adhesive sets, mix and apply grout, cleaning any excess with a damp sponge. Finally, seal the grout for protection. By following these steps, you'll guarantee a durable and attractive tile floor. There's much more to explore about the process!
Gather Necessary Tools
Before diving into the installation process, you'll need to gather the right tools to guarantee everything goes smoothly. Key tile installation tools include a tile cutter or wet saw for precise cuts, a notched trowel for spreading adhesive, and a level to make sure your tiles sit evenly. Don't forget essential equipment like spacers to maintain consistent gaps between tiles, a rubber mallet for gentle tapping, and a grout float for smooth application. A measuring tape and straight edge are vital for accurate layouts, while safety goggles and knee pads will keep you protected and comfortable. With these tools in hand, you'll be well-prepared to tackle your tile project and embrace the freedom of DIY installation.
Prepare the Subfloor
Preparing the subfloor is vital for a successful tile installation, as it sets the foundation for your entire project. Start by evaluating the subfloor types—plywood, concrete, or cement board—to determine what's best for your tiles. Confirm the surface is clean, dry, and level. If you're working with a wooden subfloor, check for squeaks and reinforce weak spots. A moisture barrier is essential, especially in areas prone to humidity, like bathrooms or kitchens, to prevent water damage. Lay down a quality moisture barrier before proceeding. Remember, a well-prepared subfloor will not only enhance the appearance of your tile but also extend its lifespan. Take your time; this step is key to enjoying your new flooring for years to come.
Plan Your Tile Layout
Planning your tile layout is an essential step that can greatly impact the overall look of your finished project. It's your chance to express creativity while ensuring functionality. Here are three key points to reflect upon during your layout planning:
- Choose Your Tile Patterns: Decide if you want a classic grid, herringbone, or a staggered layout. Each pattern can dramatically change the room's feel.
- Establish a Focal Point: Center a tile design on a specific area, like a fireplace or entryway, to draw the eye and create balance.
- Measure and Mark: Use a chalk line to map out your layout on the floor. This gives you a visual guide and helps prevent mistakes as you work.
With a well-thought-out layout, you'll set the stage for a stunning tile installation.
Apply Tile Adhesive
Apply tile adhesive carefully to guarantee a strong bond between your tiles and the substrate. Start by selecting the right tile adhesive types for your project—thin-set, mastic, or epoxy, depending on your tile and location. Use a notched trowel to spread the adhesive evenly over a small area, ensuring the notches are consistent for maximum grip. This adhesive application technique helps prevent air pockets that can weaken your installation. Work in manageable sections, allowing yourself time to position the tiles accurately before the adhesive sets. Don't forget to check for levelness as you go, adjusting as necessary. By taking your time with this step, you'll set the foundation for a long-lasting and beautiful tile floor.
Lay the Tiles
Now it's time to lay the tiles, and this step is essential for achieving a professional-looking floor. Begin by carefully placing your first tile at the corner, guaranteeing it aligns with your chosen tile pattern. As you continue, keep an eye on tile spacing — use spacers to maintain even gaps for grout later.
Here's a quick guide:
- Start from the center: This helps balance your tile layout.
- Work in sections: Lay a few tiles at a time to manage adhesive drying.
- Check alignment frequently: Use a level to guarantee tiles are even and straight.
Cut Tiles as Needed
Cutting tiles is an essential skill that guarantees a perfect fit for your flooring project. To get started, use accurate tile measurement tips. Measure the area carefully, noting any irregularities, and transfer those measurements to your tiles. For tile cutting techniques, a tile cutter or wet saw can make clean, precise cuts. If you're cutting straight lines, a manual cutter will suffice, but for intricate shapes, a wet saw provides more versatility. Always wear safety gear, like goggles and gloves, to protect yourself during the cutting process. Remember, it's better to cut slightly larger and adjust as needed than to cut too small. With practice, you'll master the art of tile cutting and achieve a professional look in your space.
Grout the Joints
Now that your tiles are cut and laid, it's time to grout the joints for a polished finish. You'll want to choose the right grout type for your space, mix it properly to achieve the right consistency, and apply it evenly to fill in the gaps. This step not only enhances the look of your floor but also helps to protect it from moisture and dirt.
Choosing the Right Grout
Choosing the right grout is essential for ensuring the longevity and appearance of your tile flooring. You'll want to take into account both grout types and color selection to achieve the best results. Here are three key factors to keep in mind:
- Grout Types: Decide between sanded and unsanded grout. Sanded grout is perfect for wider joints, while unsanded is ideal for narrower spaces.
- Color Selection: Choose a color that complements your tile. Lighter colors can make spaces feel larger, while darker shades can hide stains.
- Sealing: Reflect on whether to use pre-mixed grout or if you'll be sealing it afterward. Sealing can enhance durability and resist moisture.
With these factors in mind, you can confidently select the right grout for your project, ensuring a beautiful finish that lasts.
Mixing Grout Properly
Once you've selected the right grout, it's time to focus on mixing it properly to achieve the best results for your tile flooring. Begin by following the manufacturer's instructions, adding water gradually until you achieve the desired grout consistency. It should be smooth yet thick enough to hold its shape. Remember, grout color can influence the overall look of your tiled space, so take your time in mixing.
Here's a handy reference for you:
| Consistency | Description | Effect on Color |
|---|---|---|
| Too Wet | Runs off the tile | Lighter appearance |
| Just Right | Holds shape | True color revealed |
| Too Dry | Crumbles | Darker appearance |
Mix with passion, and your flooring will shine!
Applying Grout Evenly
As you prepare to grout the joints, it's essential to work methodically to guarantee an even application across your tile flooring. Start by choosing the right grout color selection that complements your tiles. Once that's settled, you can apply grout using effective grout application techniques. Here's how to do it:
- Load your float: Dip the float into the grout and scoop it onto the tile surface.
- Spread evenly: Hold the float at a 45-degree angle and press the grout into the joints, ensuring they're filled without gaps.
- Clean excess: After grouting, use a damp sponge to wipe off any excess grout from the tile surface, being careful not to disturb the joints.
This method will help you achieve a professional-looking finish.
Seal and Finish
Sealing and finishing your tile flooring is essential to protect it from stains, moisture, and daily wear. Start by choosing the right tile sealants; these will create a barrier that prevents liquids from penetrating the surface. Apply the sealant according to the manufacturer's instructions, ensuring even coverage. Once the sealant is dry, you can explore various finish options. For a natural look, consider a matte finish, which enhances your tile's beauty without shine. If you prefer a glossy appearance, opt for a high-gloss finish that adds a touch of elegance. Remember to let each layer dry completely before applying the next. This final step not only boosts your floor's durability but also makes maintenance easier, giving you more freedom to enjoy your space.
Frequently Asked Questions
What Type of Tile Is Best for Bathrooms?
When choosing the best tile for your bathroom, ceramic and porcelain tiles are fantastic options. Ceramic tiles are versatile and come in various styles and colors, making them ideal for personal expression. On the other hand, porcelain tiles are denser and more water-resistant, perfect for high-moisture areas. Both options provide durability and style, so consider your aesthetic preferences and maintenance needs when deciding which tile suits your bathroom best. You can't go wrong with either!
How Long Does Tile Installation Typically Take?
When you're considering a tile installation, the project timeline can vary considerably. It typically takes anywhere from a few hours to several days, depending on installation factors like the size of the area, type of tile, and your skill level. If you're working with intricate patterns or multiple rooms, it could take longer. Planning ahead and allowing for unexpected delays can help you manage your expectations and keep your project moving smoothly.
Can I Install Tile Over Existing Flooring?
Imagine laying fresh tiles like a painter applying a vibrant coat on a canvas. You can install tile over existing flooring, but proper tile preparation is key. Verify the surface is clean, level, and structurally sound. If the current flooring is too thick or uneven, flooring removal might be necessary to achieve a smooth finish. So, weigh your options carefully to create the foundation for a stunning tile masterpiece that reflects your style!
What Should I Do if a Tile Breaks?
If a tile breaks, don't panic! You've got options. First, consider tile repair techniques like using epoxy or adhesive to fill cracks. If the damage is extensive, replacement might be your best bet. Carefully remove the broken tile without disturbing surrounding ones, then install a new tile using the same adhesive or mortar. Always keep a few spare tiles from your original installation for such emergencies. You've got this!
How Do I Clean and Maintain My Tile Floor?
To keep your tile floor looking great, use effective cleaning techniques like sweeping or vacuuming regularly to remove dirt. For deeper cleaning, mop with a mild detergent mixed with warm water. Avoid harsh chemicals that can damage the tiles. As for maintenance tips, seal your grout to prevent staining, and promptly address spills to avoid stains. Regularly inspect tiles for damage, and replace any broken pieces to maintain your floor's appearance and durability.


