To build a shed floor, start by selecting a level, well-drained site. Elevate the floor using concrete blocks or pressure-treated wood beams for airflow. Choose sturdy materials like pressure-treated wood and plywood, ensuring they're appropriate for your shed's intended use. Use essential tools like a circular saw, tape measure, level, and hammer for accurate construction. Lay out the frame, install floor joists every 16 inches, and secure the flooring with screws or nails. For longevity, consider regular maintenance and weatherproofing techniques. For a step-by-step approach that covers all essentials, you'll want to explore further details.
Planning Your Shed Floor
When you start planning your shed floor, it's essential to take into account several key factors to guarantee durability and functionality. First, focus on site selection; make certain the chosen location is level and well-drained to prevent water accumulation. This will help protect your shed from moisture damage. Next, consider floor elevation. Elevating your shed floor a few inches above the ground level can enhance airflow, reducing the risk of rot and pests. Utilize concrete blocks or pressure-treated wood beams to achieve this elevation. Be sure to account for your intended use of the shed, as different activities may require varying floor heights. By carefully planning these aspects, you're setting the foundation for a reliable and long-lasting shed.
Choosing Materials
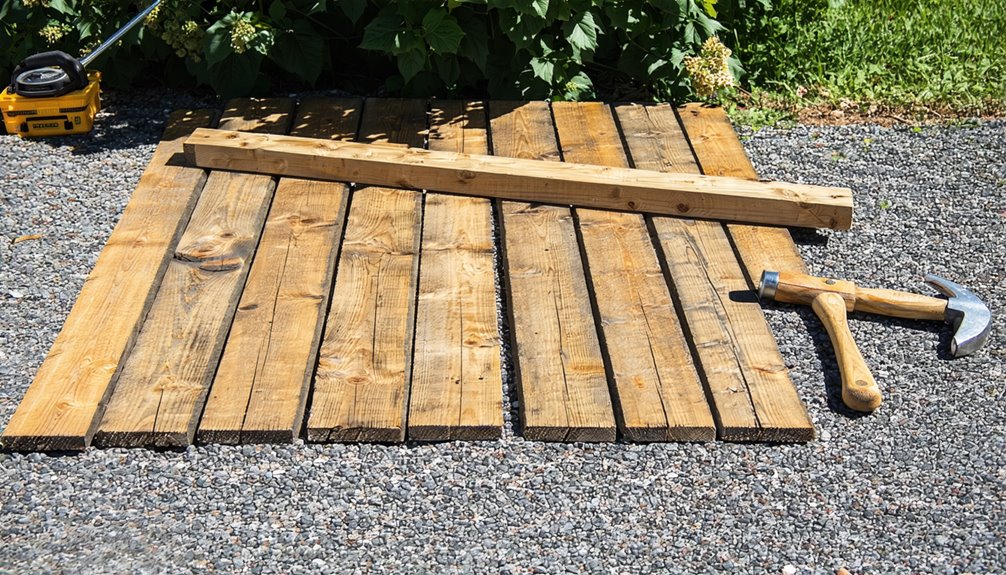
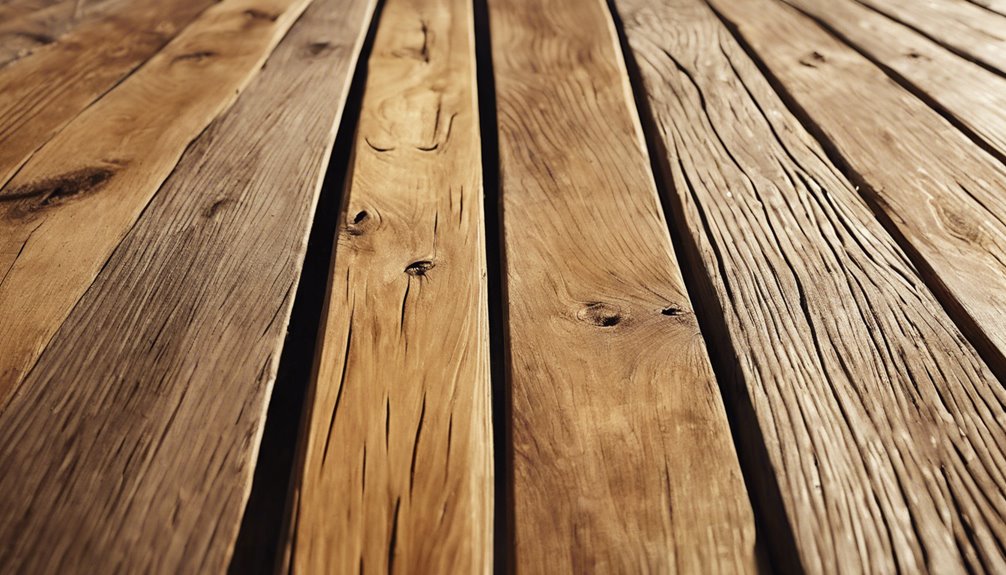
After establishing a solid plan for your shed floor, selecting the right materials is the next step in ensuring its strength and longevity. You'll want to evaluate various wood types and flooring options that suit your needs. Here are some key points to contemplate:
- Pressure-treated wood: Ideal for moisture resistance and durability.
- Plywood: Offers a smooth surface and is easy to work with.
- Composite materials: Provide excellent weather resistance and require less maintenance.
Each option has its advantages, so think about your shed's purpose. If it'll house heavy tools, sturdier materials are essential. For lighter storage, you might opt for simpler flooring options. Make your choice wisely, and your shed floor will stand the test of time.
Essential Tools Needed
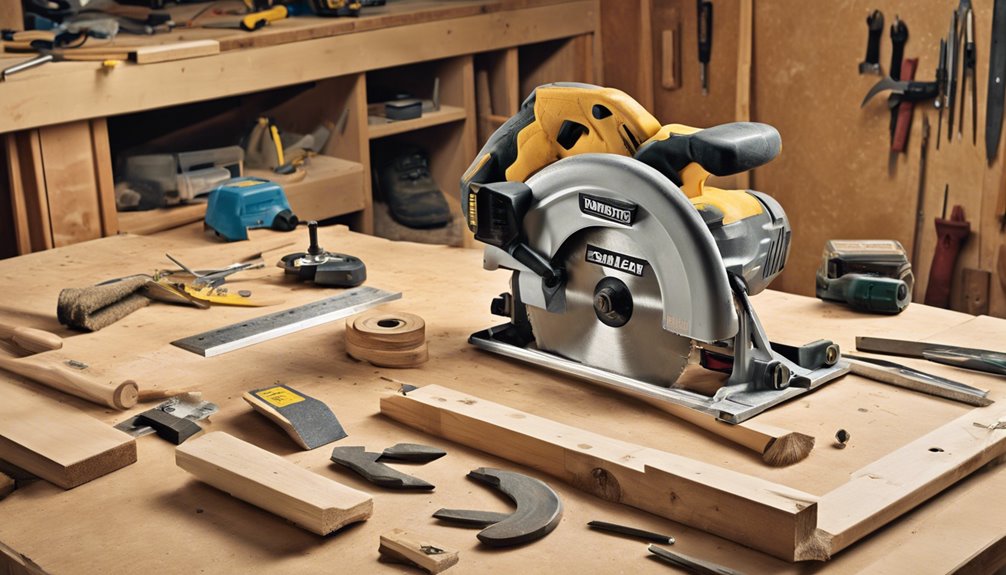
To successfully build a shed floor, you'll need a few essential tools to guarantee the job is done efficiently and accurately. Start with basic tool types like a circular saw for cutting lumber, a tape measure for precise measurements, and a level to ascertain a flat surface. A hammer and nails or a nail gun will fasten your materials securely. Don't forget safety precautions; always wear safety glasses and gloves to protect yourself while working. A square will help you achieve accurate corners, while a drill is necessary for securing screws. Having these tools on hand not only simplifies the process but also empowers you to create a sturdy, reliable shed floor that meets your needs.
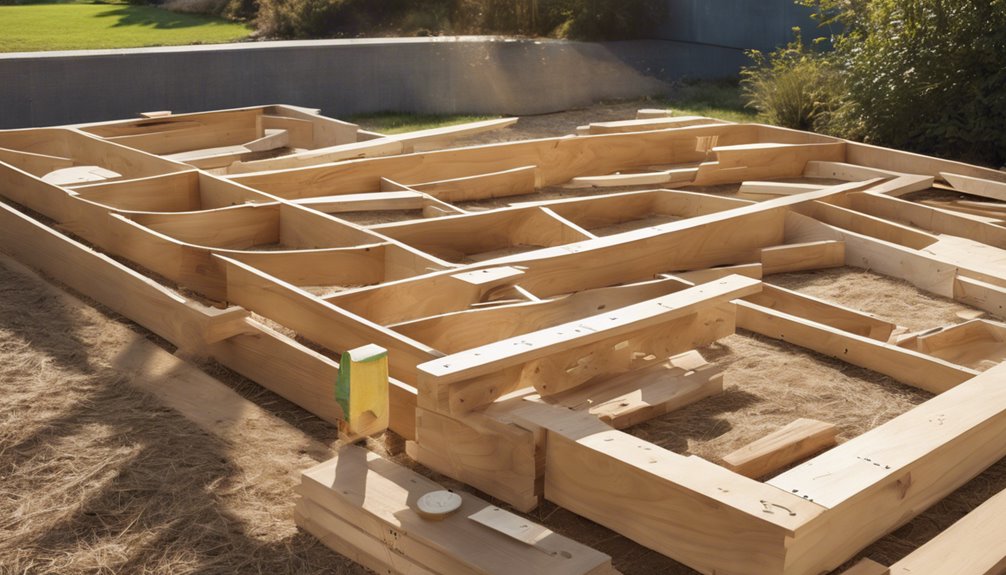
Step-by-Step Construction
Building a shed floor involves several key steps to guarantee stability and durability. First, choose your foundation type; options include concrete blocks, a gravel pad, or a wooden frame. Each offers unique benefits, so select what fits your needs best. Next, lay out the frame using pressure-treated lumber to resist moisture.
- Ascertain the frame is square and level.
- Install floor joists every 16 inches for strength.
- Choose your flooring option, like plywood or OSB, based on intended use.
Finally, secure the flooring to the frame with screws or nails. By following these processes, you'll create a sturdy base that enhances your shed's functionality and lifespan, giving you the freedom to use the space as you wish.
Maintenance Tips for Longevity
Maintaining your shed floor is essential for ensuring its longevity and performance over time. Start by implementing weatherproofing techniques, such as applying sealants or using pressure-treated wood, to protect against moisture damage. Regular inspections are vital; check for signs of wear, rot, or insect infestations at least twice a year. Clear debris and standing water promptly, as these can lead to deterioration. If you notice any damage, address it immediately to prevent further issues. Reinforce the floor structure if you plan to store heavier items, and consider using mats or rugs to minimize wear from foot traffic. By taking these proactive steps, you'll maintain a sturdy, reliable shed floor that supports your needs for years to come.
Frequently Asked Questions
What Permits Are Required for Building a Shed Floor?
When you're considering building a shed floor, it's essential to check what permits you'll need. Local building regulations often dictate requirements, and zoning laws can impact where you place your shed. Before starting, consult your local planning department to guarantee compliance and avoid fines. You'll want to secure any necessary permits, as this keeps your project legal and helps maintain the freedom to use your space as intended.
How Do I Level the Ground Before Construction?
Imagine your foundation as the sturdy roots of a tree, holding everything aloft. To level the ground, start with ground grading—remove any debris and high spots. Use a rake to create an even surface, then compact the soil using a plate compactor or tamper. This soil compaction guarantees stability, preventing future settling. By preparing the ground properly, you're laying the groundwork for a strong, reliable structure that supports your freedom to create.
Can I Build a Shed Floor on Concrete?
Yes, you can build a shed floor on concrete. In fact, using a concrete foundation offers several advantages, like enhanced stability and moisture resistance. It's a strong base that can support heavy loads, making your shed durable. Just guarantee you've got proper drainage to prevent water pooling. By choosing concrete, you're giving your shed a solid, long-lasting foundation that'll keep your belongings safe and dry, allowing you the freedom to focus on your projects.
What Are the Best Drainage Solutions for a Shed Floor?
When you're crafting your own sanctuary, keeping it dry is essential. Effective drainage systems can be your best ally in water management. Consider installing a sloped floor to direct water toward a drainage channel or using gravel beneath your shed to absorb moisture. French drains or perforated pipes can also help redirect water away, ensuring your space remains a haven. By planning for these solutions, you'll enjoy the freedom of a dry, functional shed.
How Do I Insulate My Shed Floor?
To insulate your shed floor effectively, start by choosing suitable insulation materials, like rigid foam boards or fiberglass batts. Before installation, lay down a moisture barrier to prevent dampness from seeping in. Cut the insulation to fit snugly between the floor joists, ensuring there are no gaps. Seal the edges with tape to enhance efficiency. This setup not only keeps your shed cozy but also protects your stored items from temperature fluctuations and moisture damage.


