Yes, you can paint floor tiles, making it a fantastic way to breathe new life into your home without breaking the bank. To get started, make certain you clean the tiles thoroughly and lightly sand them for better paint adhesion. Choosing the right paint, like acrylic or epoxy, is essential for durability. Follow up with a proper sealing process to protect your work. Just be mindful of drying times, as you'll need to avoid foot traffic for at least 48 hours after painting. There's plenty more to take into account to guarantee the best results for your project.
Benefits of Painting Floor Tiles
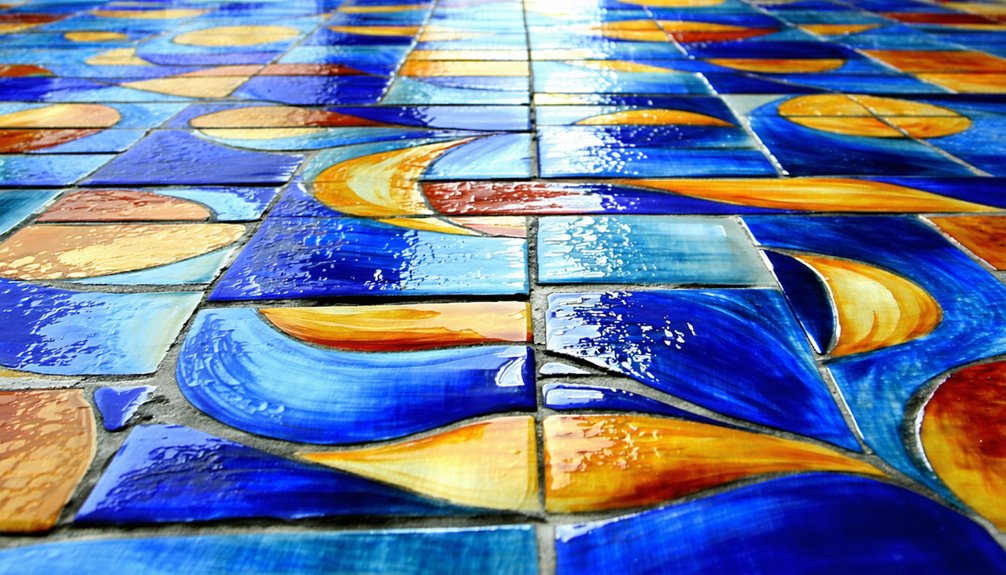
If you're looking to refresh your space without the hassle of a full renovation, painting your floor tiles can be an excellent solution. This approach offers remarkable cost effectiveness, allowing you to achieve a stunning transformation without breaking the bank. Instead of investing in new tiles, you can rejuvenate your existing ones with just a few coats of paint. Plus, the design versatility is truly liberating; you can choose from countless colors and patterns to match your style. Whether you want a bold statement or a subtle change, painting your floor tiles helps you express your creativity. It's a practical way to breathe new life into your home while keeping your budget intact. Embrace the freedom to redesign your space effortlessly!
Materials Needed for the Project
Before you start painting your floor tiles, you'll need a few essential supplies to guarantee a smooth process. This includes the right paint types specifically designed for tile surfaces, as well as tools for proper surface preparation. Let's explore what materials you should gather to get the best results for your project.
Essential Painting Supplies
To successfully paint floor tiles, you'll need a handful of essential supplies that will make the process smooth and efficient. First, grab high-quality tile paint, which will guarantee durability and vibrant color. Next, you'll want a clean, lint-free cloth for prepping the surface and removing dust. A roller and tray are vital for even application, while brushes help with detail work, especially around edges. If you're exploring different painting techniques or creating unique tile patterns, stencils can be a fun addition. Don't forget painter's tape to protect areas you don't want to paint. Finally, a good sealer will protect your masterpiece once it's dry. With these supplies, you're set to transform your tiles into something special!
Recommended Paint Types
When painting floor tiles, the type of paint you choose can greatly impact the outcome and longevity of your project. You've got a couple of solid options to weigh:
- Acrylic Paint: Ideal for indoor tiles, it's flexible, easy to apply, and dries quickly. Plus, it's available in a variety of colors.
- Epoxy Paint: Perfect for high-traffic areas or outdoor tiles. It's durable, resistant to moisture and stains, and provides a glossy finish that can elevate your space.
- Specialty Tile Paint: Some brands offer specialized formulas designed specifically for tiles, guaranteeing better adhesion and longevity.
Choosing the right paint not only enhances your tiles' appearance but also guarantees your hard work lasts. So, pick wisely and enjoy your refreshed space!
Surface Preparation Tools
Preparing the surface of your floor tiles is essential for achieving a smooth and lasting finish. To get the best results, you'll need to focus on effective prep techniques and careful tool selection. Here's a quick overview of the tools you'll require:
| Tool | Purpose | Tips |
|---|---|---|
| Tile Scraper | Remove old paint and grime | Use a sharp blade |
| Sandpaper | Smooth the surface | Choose the right grit |
| Mop | Clean the tiles before painting | Use warm water |
| Paint Roller | Apply paint evenly | Opt for a high-quality one |
With these tools, you'll be well-equipped to tackle your tile painting project. Enjoy the freedom of transforming your space!
Preparing Your Tiles for Painting
Before diving into the painting process, it is crucial to guarantee your tiles are ready for a fresh coat. Proper preparation can make all the difference in achieving a long-lasting finish. Start with thorough tile cleaning to remove any dirt, grease, or grime that could interfere with adhesion. Once you've cleaned the surface, don't skip surface priming; it helps the paint stick better and enhances durability.
Here's what you need to do:
- Clean the tiles with a suitable cleaner and scrub brush.
- Rinse and dry the tiles completely.
- Apply a high-quality primer designed for tile surfaces.
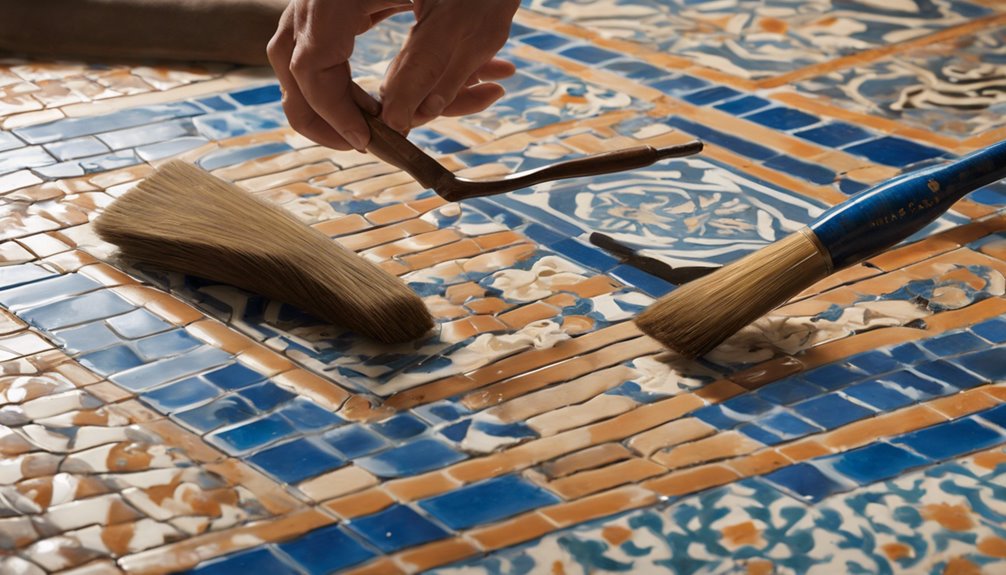
Step-by-Step Painting Process
Once you've prepared your tiles, you're ready to tackle the painting process. Start by choosing your desired design patterns and tile styles. This choice will set the tone for your space. Next, use a high-quality primer to guarantee the paint adheres well. Once the primer is dry, apply your chosen paint, using a brush or roller for even coverage. If you're adding intricate design patterns, consider using stencils for precision. Allow the first coat to dry completely before applying a second coat for enhanced color vibrancy. Finally, seal your painted tiles with a clear topcoat to protect your work and guarantee longevity. With patience and creativity, you'll transform your floor tiles into a stunning reflection of your style!
Choosing the Right Paint
After you've applied your primer and selected your design, the next step is picking the right paint for your floor tiles. You'll want to evaluate various paint types that suit high foot traffic and moisture levels.
- Oil-based paint: Durable and great for long-lasting finishes.
- Acrylic paint: Quick-drying and easy to clean up.
- Specialty tile paint: Specifically designed for tiles and adheres well.
When it comes to color selection, think about how the colors will harmonize with your space. Bold colors can energize a room, while softer tones create a calming atmosphere. Make sure to test samples to see how they'll look under different lighting. Choosing the right paint can elevate your tiled floors and your entire space!
Tips for a Professional Finish
To achieve a professional finish when painting floor tiles, you'll want to focus on two key aspects: surface preparation and paint selection. Properly prepping the surface is essential for ensuring that your paint adheres well and lasts longer. Additionally, choosing the right type of paint can make all the difference in the final look and durability of your project.
Surface Preparation Techniques
When it comes to painting floor tiles, proper surface preparation is vital for achieving a durable and professional finish. You want to make sure your tiles are clean and free from any surface damage. Here are some effective cleaning techniques to get you started:
- Remove dirt and grime with a mixture of vinegar and water.
- Use a scrub brush to tackle stubborn stains and guarantee a smooth surface.
- Dry the tiles thoroughly before applying any paint.
Taking these steps will help create an ideal surface for painting, allowing the paint to adhere better and last longer. Remember, a well-prepped surface can make all the difference in the final look of your painted tiles. So, don't rush this important step!
Choosing the Right Paint
Choosing the right paint is essential for ensuring a professional finish on your floor tiles. Start with your color selection—think about the mood you want to create. Lighter shades can make a space feel larger, while darker colors add warmth. Next, consider the finish options. You'll typically find matte, satin, or glossy finishes. Matte offers a more traditional look, but it may show dirt more easily. Satin provides a balance, while glossy finishes can make colors pop and are easier to clean. Make sure to choose a paint specifically designed for tile, as it'll adhere better and withstand foot traffic. With these tips, you'll create a stunning floor transformation that reflects your style and freedom!
Common Mistakes to Avoid
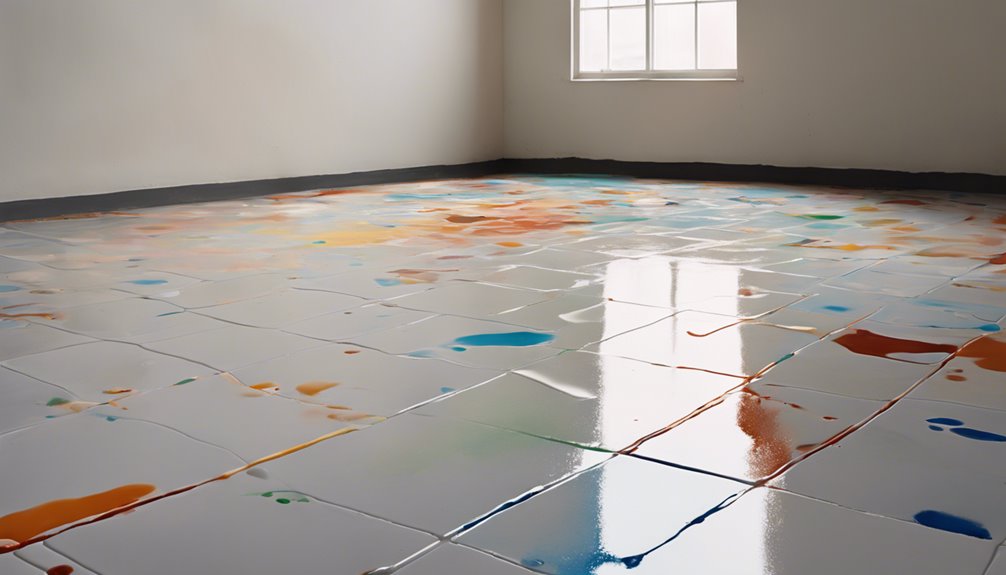
Painting floor tiles can transform a space, but there are several common mistakes that can derail your project. Avoid these pitfalls to guarantee a successful outcome:
- Skipping Surface Preparation: Not cleaning and sanding your tiles can lead to poor adhesion.
- Using the Wrong Paint: Always choose paint specifically designed for tiles; otherwise, it may chip or peel.
- Ignoring Drying Times: Rushing the process can result in smudges or uneven finishes.
Maintaining Painted Floor Tiles
Although maintaining painted floor tiles might seem straightforward, it requires some attention to detail to keep them looking fresh and vibrant. Using the right cleaning techniques is essential; opt for gentle cleaners that won't strip the paint. Regular sweeping and mopping will help prevent dirt buildup.
Here's a handy guide to sealing options that can enhance durability:
| Sealing Options | Benefits |
|---|---|
| Water-based Sealers | Quick drying, easy to apply |
| Oil-based Sealers | Superior durability |
| Penetrating Sealers | Deep protection |
Frequently Asked Questions
How Long Will Painted Floor Tiles Last Before Needing Repainting?
Your painted floor tiles can last anywhere from 2 to 10 years, depending on the paint durability and how well you maintain them. If you treat them like royalty, with gentle cleaning and avoiding harsh chemicals, you'll maximize their lifespan. To keep their shine, follow some maintenance tips: use mats to reduce wear, and touch up any chips promptly. With a little care, your tiles can shine like the stars in the night sky!
Can I Paint Over Existing Vinyl Floor Tiles?
Yes, you can paint over existing vinyl floor tiles, but proper preparation's key. Start by thoroughly cleaning the tiles and ensuring they're free of dirt and grease. Then, use sanding techniques to create a better surface for the paint to adhere. Choose a high-quality primer and paint designed for vinyl. Following these painting techniques will help achieve a durable finish, allowing you to express your style without the commitment of a full floor replacement.
Is It Safe to Paint Floor Tiles in a Bathroom?
Imagine stepping into a vibrant, freshly painted bathroom, where tiles pop with color. To answer your question, yes, it's generally safe to paint floor tiles in a bathroom if you take proper safety precautions. Make certain you use bathroom materials that can withstand moisture, and choose the right paint designed for tiles. Ventilation's key too—keep the space airy while you work. With the right approach, you can transform your bathroom into a stunning retreat!
What Colors Work Best for Small Spaces?
When picking colors for small spaces, consider color psychology and space perception. Lighter shades like soft whites, pastels, or pale blues can create an airy feel, making your space seem larger. You might also try accent walls in bolder colors, but keep it balanced. Reflective surfaces, like mirrors or glossy finishes, enhance the effect of light and openness. Ultimately, choose colors that resonate with you and reflect your personal style, giving you the freedom to express yourself.
Can I Use a Floor Tile Stencil After Painting?
Imagine you've painted your floor tiles a vibrant color, and now you want to elevate the design with stencils. Yes, you can use a floor tile stencil after painting, but it's essential to guarantee the paint's durability first. Using stencil techniques can create stunning patterns, but a well-cured base layer will help prevent peeling. Just remember to choose a high-quality paint to maintain the look and longevity of your new design.


