To remove vinyl flooring, start by evaluating its type and condition. Gather essential tools like a utility knife, scraper, pry bar, and safety goggles. Clear the area of furniture and cover the floor with a drop cloth. Carefully remove baseboards using the utility knife and pry bar. Next, make seam cuts in the vinyl to peel it back, working slowly to avoid tearing. Once the vinyl is up, scrape off any adhesive residue. Finally, clean and inspect the subfloor for damage, preparing it for your next flooring project. There's much more to explore about this process.
Assessing Your Vinyl Flooring
Before you plunge into removing your vinyl flooring, it's essential to evaluate its condition and type. Start by identifying flooring types, as different styles, like sheet or tile vinyl, may require varied approaches. Look closely at the surface for any visible damage, such as tears or bubbles. Next, focus on evaluating wear patterns; areas with heavy foot traffic will show more signs of wear compared to less-used spaces. This examination helps you determine if a complete removal is necessary or if simple repairs will suffice. Understanding these aspects not only streamlines your removal process but also empowers you to make informed decisions about your flooring options moving forward. Enjoy the freedom to create a fresh space that reflects your style!
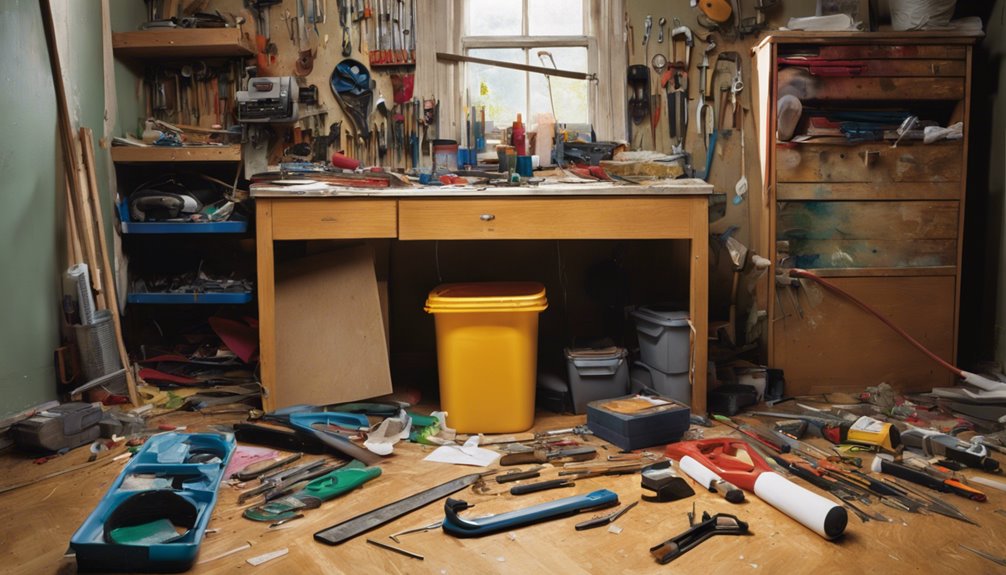
Gathering Necessary Tools
As you prepare to remove your vinyl flooring, gathering the right tools is crucial for a smooth and efficient process. Different vinyl flooring types may require specific removal techniques, so it's best to be prepared. Here's a handy table of the essential tools you'll need:
| Tool | Purpose | Notes |
|---|---|---|
| Utility Knife | Cutting through vinyl | Make sure it's sharp for clean cuts |
| Scraper | Removing adhesive residue | A flat edge works best |
| Pry Bar | Lifting edges of flooring | Ideal for stubborn sections |
| Hammer | Assisting pry bar | Use gently to avoid damage |
| Safety Goggles | Eye protection | Always prioritize safety |
With these tools in hand, you'll be ready to tackle the removal process confidently.
Preparing the Area
Once you've gathered your tools, the next step involves preparing the area where you'll be removing the vinyl flooring. Start by clearing the space of furniture, rugs, and any other items that might obstruct your work. This not only helps with workspace organization but also guarantees a safe environment. Make sure to wear safety goggles and gloves to protect yourself from dust and sharp objects. If you're working in a small area, consider using a fan to ventilate, as older vinyl may contain harmful materials. Finally, lay down a drop cloth to catch debris and minimize mess. By taking these safety precautions and organizing your workspace, you'll set yourself up for a smoother, safer removal process.
Removing Baseboards and Trim
Before you start removing your vinyl flooring, you need to take off the baseboards and trim. You'll want to gather some essential tools, and I'll guide you through a step-by-step process to make it easier. Plus, I'll share tips to help you avoid damaging your walls or the trim itself.
Tools Needed for Removal
To successfully remove vinyl flooring, you'll need a few essential tools for tackling the baseboards and trim. A proper tools overview will help you streamline the process. First, gather a utility knife for cutting through caulk or adhesive. A pry bar will help gently remove the baseboards without damaging the wall. Don't forget a hammer to assist with the pry bar and a safety goggles to protect your eyes from dust and debris.
| Tool | Purpose |
|---|---|
| Utility Knife | Cuts caulk and adhesive |
| Pry Bar | Removes baseboards gently |
| Hammer | Assists with pry bar |
Lastly, always wear gloves to guarantee safety precautions are taken. With the right tools, you're ready to begin the removal process.
Step-by-Step Process
With your tools in hand, you can now begin the step-by-step process of removing the baseboards and trim. Start by using a utility knife to score along the top edge of the baseboard, which helps break the seal between it and the wall. Next, insert a pry bar or flathead screwdriver gently between the baseboard and wall, applying steady pressure to avoid damage. Work your way along the length, loosening the baseboard gradually. If you encounter nails, carefully pull them out using pliers. For trim, repeat the same removal techniques, ensuring you keep pieces intact for potential reuse. Once everything's removed, you're one step closer to installing your new vinyl flooring!
Tips for Avoiding Damage
Although removing baseboards and trim can seem straightforward, taking the right precautions can save you from costly mistakes. To avoid damaging your walls, use a putty knife to gently pry the baseboards away instead of yanking them off. Start at one end and work your way along, applying even pressure. When removing trim, be cautious of any nails or screws that might be hidden—these can cause splits in the wood. Utilizing painter's tape can also help protect the wall paint during the process. Remember, proper vinyl flooring maintenance includes keeping your baseboards intact to prevent moisture damage. Following these damage prevention tips guarantees you won't need to deal with additional repairs later on, allowing for a smoother flooring removal experience.
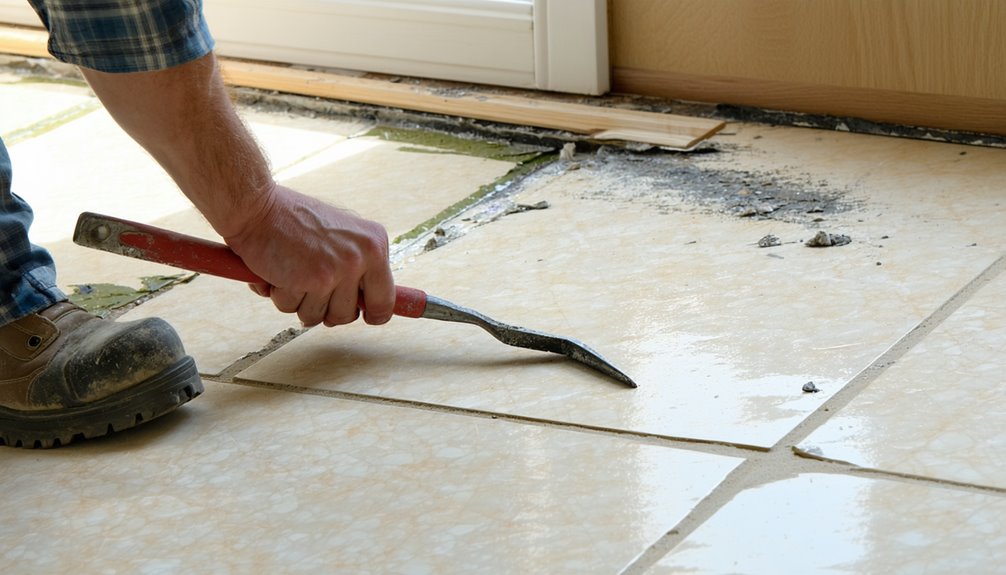
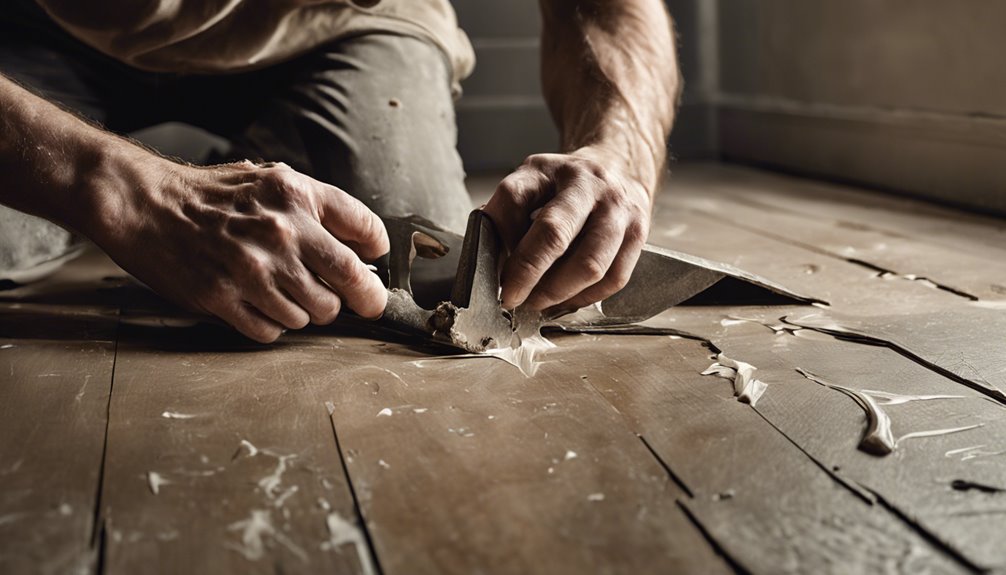
Lifting Up Vinyl Flooring
Lifting up vinyl flooring requires some careful maneuvering to avoid damage to the subfloor underneath. Different vinyl flooring types can affect how easily you can lift them, so it's important to use the right removal techniques. Here's how to get started:
- Cut the vinyl: Use a utility knife to make cuts along the seams, ensuring you don't slice too deeply.
- Peel back the flooring: Start at a corner and gently lift the vinyl, using a scraper if needed to help loosen it.
- Work slowly: Take your time and avoid pulling too hard, as this can cause tears or damage to the subfloor.
Dealing With Adhesive Residue
Once you've lifted the vinyl flooring, you'll likely encounter adhesive residue that needs addressing. To tackle this, start with adhesive removal techniques like scraping gently with a putty knife or a plastic scraper. Be careful not to damage the subfloor. For stubborn residue, consider using residue cleaning solutions such as a mixture of warm water and vinegar or a commercial adhesive remover. Apply the solution, let it sit for a few minutes, then scrub with a scrub brush. Rinse with clean water afterward and dry the area thoroughly. If you're dealing with a large space, a floor buffer with a stripping pad can save time. Remember, patience is key, and don't rush through the process to achieve a clean finish.
Disposal of Old Flooring
After you've tackled the adhesive residue, the next step is figuring out how to dispose of the old flooring. You've got a few options, and it's essential to follow local disposal guidelines to minimize your environmental impact. Here's what you can do:
- Check for Recycling Options: Many areas offer recycling programs for vinyl flooring. Look into local recycling centers that accept it.
- Contact Waste Management: Reach out to your local waste management facility to understand proper disposal methods. They often have specific days or locations for bulk waste.
- Donate If Possible: If your flooring is still in decent shape, consider donating it to local charities or organizations that can use it.
Taking these steps guarantees you dispose of your old flooring responsibly.
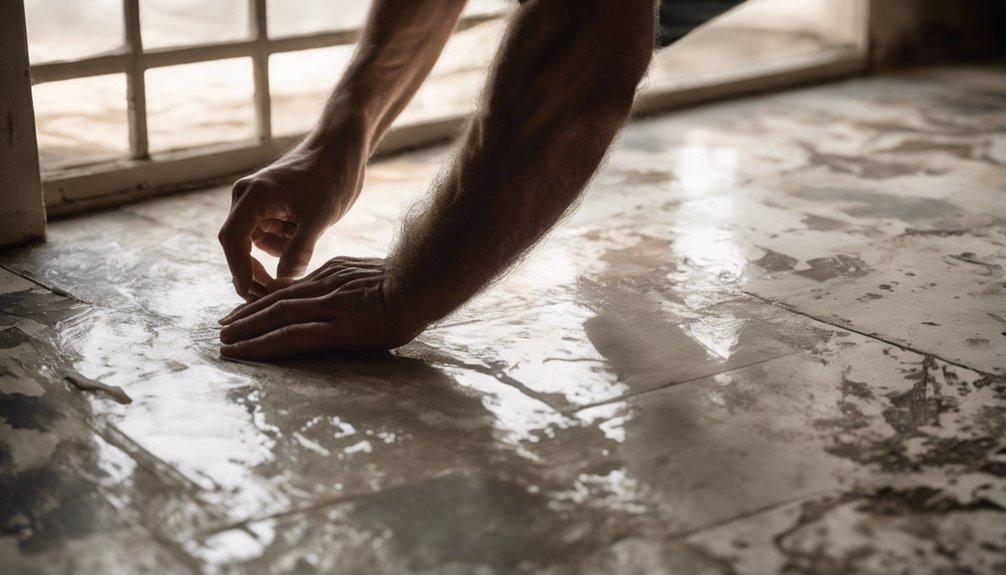
Cleaning the Subfloor
Cleaning the subfloor is an essential step that can considerably impact the longevity and performance of your new flooring. Start by identifying the subfloor types—plywood, concrete, or OSB—as each requires different cleaning methods. Remove any debris, dust, and adhesive residue using a vacuum or broom, then mop the surface with a gentle cleaner suitable for your subfloor material. Pay special attention to moisture control; check for any dampness or stains, as excess moisture can lead to mold and damage. If necessary, consider using a dehumidifier to maintain a dry environment. Once clean, allow the subfloor to dry completely before installing your new flooring, ensuring a solid foundation for lasting results.
Inspecting for Damage
Once you've cleaned the subfloor, it's time to inspect for any damage. You'll want to check for tears in the vinyl, examine the integrity of the adhesive, and look for any discoloration that could indicate moisture issues. Addressing these problems early will help guarantee a smoother installation of your new flooring.
Check for Tears
Before you begin the removal process, it is essential to check for tears and other damage in your vinyl flooring. Identifying these issues early can save you time and effort. Use these tearing techniques to assess your flooring materials effectively:
- Visual Inspection: Look for any visible rips, scuffs, or discoloration that could signal deeper problems.
- Tactile Check: Run your hand over the surface to feel for uneven areas or soft spots, which may indicate damage beneath.
- Flex Test: Gently lift a corner to see if the vinyl bends easily or if it feels rigid, suggesting potential tears.
Examine Adhesive Integrity
Inspecting the adhesive integrity of your vinyl flooring is essential for a successful removal process. Start by identifying the adhesive types used beneath your flooring—whether they're pressure-sensitive, water-based, or a more aggressive solvent-based adhesive. Look for signs of damage, such as loose edges or areas where the vinyl is lifting. These indicators can help you gauge how challenging the adhesive removal will be. If you find that the adhesive is compromised, it may require different removal techniques, like heat or specific solvents. Always consider the type of adhesive when planning your approach, as each type may need a tailored solution. By understanding the adhesive integrity, you'll set yourself up for a smoother removal experience.
Look for Discoloration
While you're evaluating the condition of your vinyl flooring, be sure to look for any discoloration that might indicate underlying damage. Discoloration can result from various causes, such as moisture, sun exposure, or wear over time. Noticing these changes early helps in addressing issues before they escalate.
Here are three common causes of discoloration:
- Moisture: Water leaks or spills can lead to mold or mildew.
- Sunlight: Prolonged exposure to sunlight can fade colors.
- Chemical Damage: Harsh cleaning products can affect the finish.
To guarantee discoloration prevention, maintain a regular cleaning routine, use UV-blocking window treatments, and avoid abrasive cleaners. Keeping an eye out for discoloration will help you protect your flooring investment.
Tips for New Flooring Installation
When you're ready to install new flooring, it's crucial to prepare the space properly to guarantee a smooth process and a successful outcome. Start by choosing the right flooring types that suit your lifestyle and aesthetic preferences. Whether you prefer laminate, hardwood, or vinyl, each has unique characteristics. Once you've selected your flooring, familiarize yourself with the installation techniques required for your choice. For example, some flooring types may need a floating installation, while others require glue or nails. Clear the area of furniture and debris, and verify the subfloor is clean and level. Additionally, acclimate your flooring to the room's temperature for at least 48 hours. Taking these steps will help you achieve a professional-looking finish with your new flooring.
Frequently Asked Questions
Can I Remove Vinyl Flooring Without Damaging the Subfloor?
Yes, you can remove vinyl flooring without damaging the subfloor if you use the right removal techniques. Start by loosening the edges with a putty knife, then gently lift the vinyl. Be cautious not to scrape the subfloor. If the adhesive is tough, a heat gun can help soften it. Work slowly and steadily, ensuring you minimize any force to avoid subfloor damage. With patience, you'll achieve a clean removal without compromising your subfloor.
How Long Does It Typically Take to Remove Vinyl Flooring?
Typically, removing vinyl flooring can take anywhere from a few hours to a full day, depending on the size of the area and the condition of the flooring. If you've got the right removal tools, like a utility knife and a pry bar, you can streamline the process. Time estimates can vary, so it's wise to plan for unexpected challenges. Enjoy the freedom of transforming your space, knowing you've prepared for the task ahead!
Is Professional Help Recommended for Vinyl Flooring Removal?
You might be wondering if tackling vinyl flooring removal alone is the best choice. While DIY can be tempting, think about cost considerations and the potential headaches involved. Professional help brings expertise in effective removal techniques, preventing damage to your subfloor. Plus, it can save you time and stress. If you want freedom from worries and a job well done, enlisting a pro could be worth the investment.
What Are the Safety Precautions When Removing Vinyl Flooring?
When you're tackling vinyl flooring removal, it's essential to prioritize safety. Wear safety gear like gloves, goggles, and a mask to protect yourself from dust and debris. Make certain there's proper ventilation in the area; open windows or use fans to circulate air. If you're dealing with older flooring, be cautious of potential asbestos. Taking these precautions helps guarantee a safer, more enjoyable experience as you work on your home improvement project.
How Do I Know if My Vinyl Flooring Contains Asbestos?
When it comes to your vinyl flooring, you might want to tread carefully, especially if it's older. To determine if it harbors the notorious asbestos, consider asbestos testing. Look for flooring manufactured before the 1980s, as that's when asbestos was commonly used. You can also check for labels or consult a professional. If you're uncertain, it's always wise to err on the side of caution and get a sample tested. Your safety's paramount!


