Installing LVP flooring is simple and rewarding. Start by gathering tools like a utility knife and tapping block, and check your subfloor for any damage or unevenness. Acclimate your planks by letting them sit in the room for at least 48 hours. Measure your space and plan the layout, maintaining expansion gaps around the edges. Cut the planks accurately, then lay them end-to-end, ensuring they interlock securely. Finally, trim the edges with quarter-round molding for a polished look. If you follow these steps, you'll love your new floor, and there's more to discover about care and maintenance!
Tools and Materials Needed
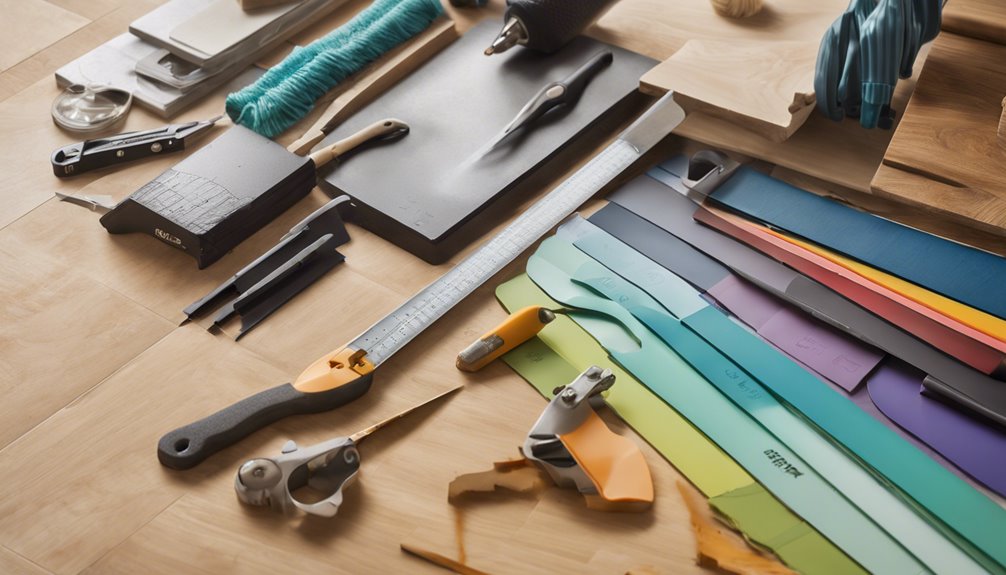
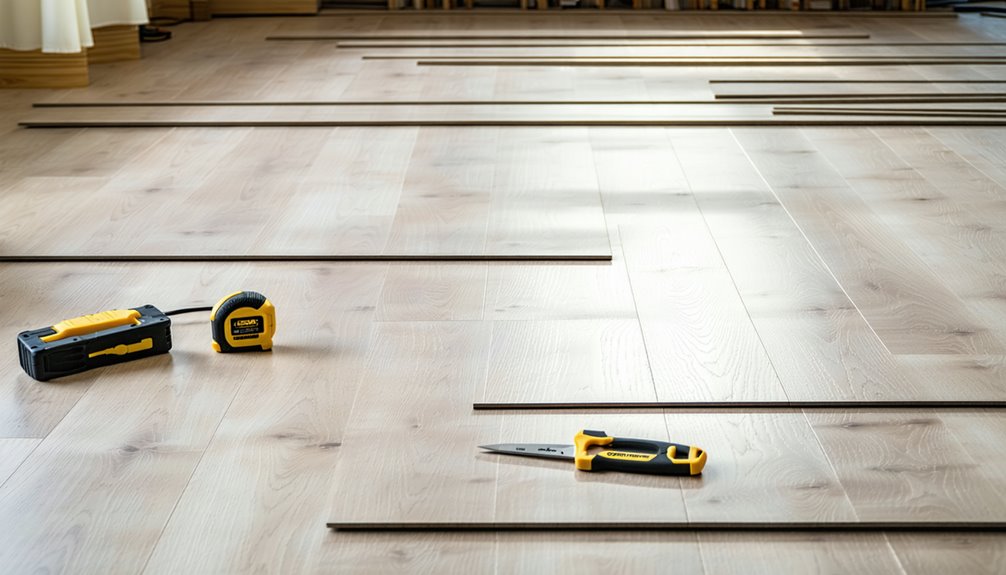
When you're ready to tackle the installation of LVP flooring, having the right tools and materials at your fingertips is essential for a smooth process. Start with a tape measure, utility knife, and a straight edge for precise cuts. You'll also need a tapping block and pull bar to guarantee snug seams between planks. Don't forget a rubber mallet for gentle adjustments! For your materials, choose high-quality LVP flooring types that fit your aesthetic and durability needs. A moisture barrier might be necessary, depending on the installation area. Familiarize yourself with various installation techniques, like click-lock or glue-down, as these will dictate some of your tool choices. With the right setup, you're ready to release your creativity on your space!
Preparing the Subfloor
Preparing the subfloor is essential for a successful LVP installation. Start with a thorough subfloor assessment. Check for any uneven areas, debris, or damage that could affect the flooring. Clean and repair these issues before moving on. Next, conduct moisture testing to guarantee the subfloor is dry enough; LVP doesn't handle moisture well. Use a moisture meter for accurate readings.
| Task | Tools Needed | Importance |
|---|---|---|
| Subfloor Assessment | Level, Trowel | Guarantees a flat surface |
| Cleaning | Broom, Vacuum | Removes debris |
| Moisture Testing | Moisture Meter | Prevents warping or damage |
Acclimating the LVP
Acclimating your LVP flooring is an essential step that can't be overlooked. This acclimation process guarantees your planks adjust to the room's temperature and humidity, preventing warping or gaps later on. Here's what you need to do:
- Store planks in the room where they'll be installed for at least 48 hours.
- Maintain a stable temperature between 65°F and 85°F during this time.
- Check humidity levels—ideally between 30-50%.
- Inspect the planks for any imperfections before installation.
Measuring and Planning Layout
Before you start installing your LVP flooring, it's essential to measure your room dimensions accurately to guarantee a perfect fit. You'll want to evaluate different layout design options that complement your space while also planning for an expansion gap around the perimeter. Taking these steps will help you avoid potential issues down the line and achieve a professional-looking result.
Room Dimensions Assessment
Measuring your room accurately is essential for a successful LVP flooring installation. Start by determining your room size, as this will guide your space planning. Here are some important steps to follow:
- Measure the length and width of the room to calculate the total square footage.
- Check for any irregularities like alcoves or closets that may affect flooring layout.
- Consider doorways and connections to guarantee a seamless flow between spaces.
- Take note of any furniture or fixtures that may impact installation.
Layout Design Options
Once you've assessed your room's dimensions, it's time to contemplate your layout design options, which can greatly influence the overall look and feel of your space. Consider different design styles—do you prefer a traditional, rustic vibe or a sleek, modern aesthetic? Your choice will guide your layout patterns. For instance, running planks diagonally can create a dynamic appearance, while straight layouts lend a more classic touch. Think about the room's function too; high-traffic areas might benefit from a staggered pattern for added durability. Also, guarantee your layout flows seamlessly with adjoining rooms, maintaining a cohesive look throughout your home. With a bit of creativity and planning, you'll achieve a stunning result that reflects your personal style!
Expansion Gap Consideration
As you plan your layout, keeping in mind the necessary expansion gaps is essential for the longevity of your LVP flooring. These gaps allow for natural expansion and contraction due to temperature changes, ensuring your beautiful floors remain intact. Here are some vital expansion considerations:
- Room Size: Larger rooms need bigger gap allowances.
- Temperature Fluctuations: Areas with extreme temp changes require more space.
- Humidity Levels: High moisture areas, like bathrooms, should have generous gaps.
- Flooring Type: Different LVP materials might have varying expansion needs.
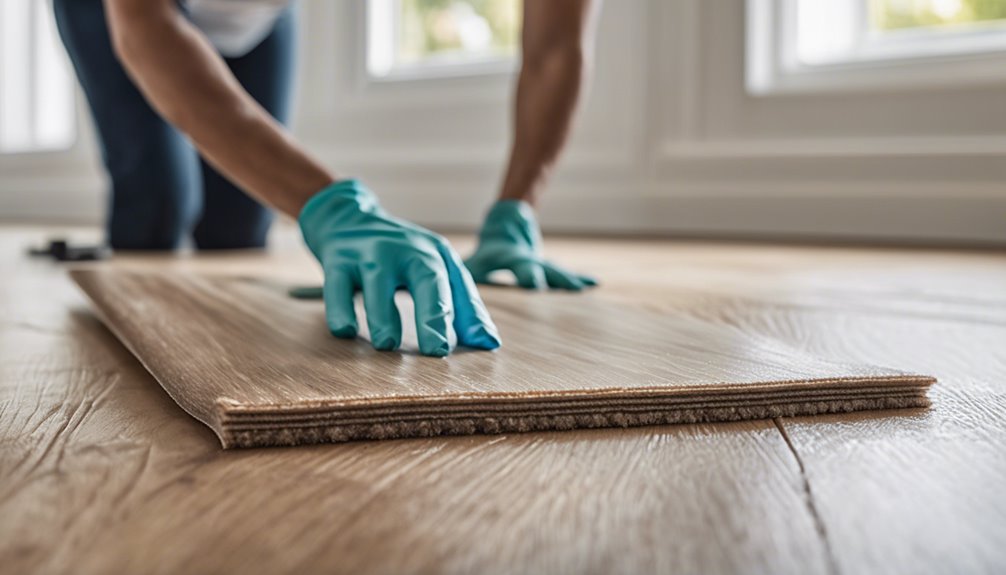
Cutting the Planks
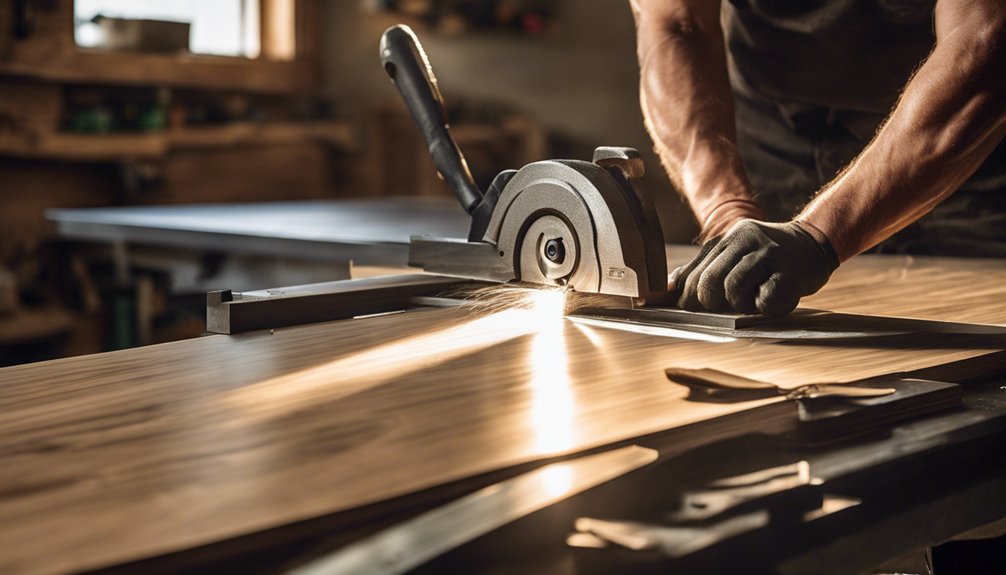
Cutting the planks is an essential step in achieving a flawless installation of your luxury vinyl plank (LVP) flooring. You'll need to use precise cutting techniques to guarantee each plank size fits perfectly in your space. A utility knife works well for straight cuts; just score the plank and snap it along the line. For intricate cuts, like around door frames, a jigsaw can provide the flexibility you need. Measure carefully before cutting to avoid wasting materials. Remember, it's better to cut a little less than too much; you can always trim more later. By mastering these cutting techniques, you'll create a seamless look that enhances your floor's beauty and durability, giving you the freedom to enjoy your space without worry.
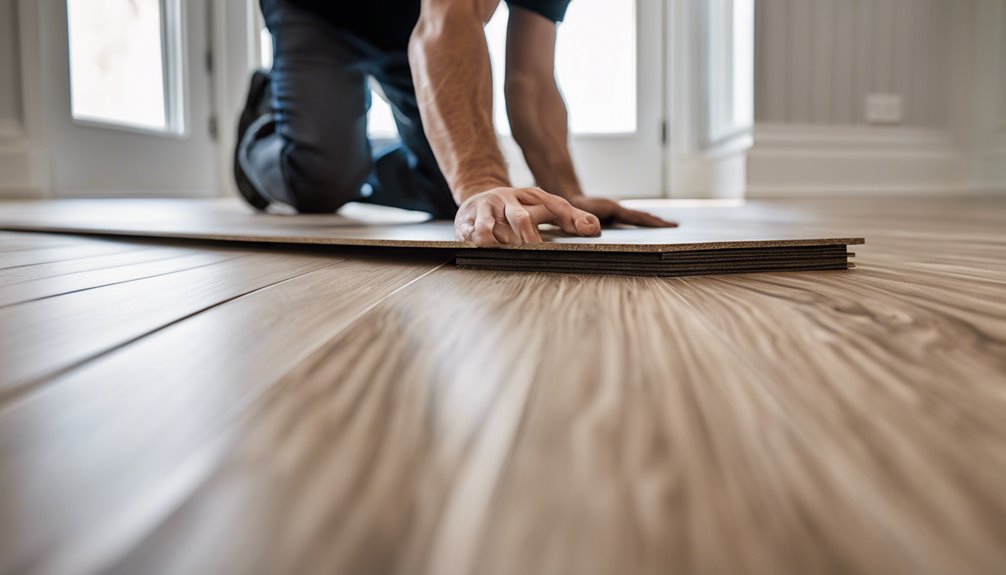
Installing the First Row
Before you start laying down the first row of your LVP flooring, make sure your subfloor is clean and level. You'll want to align and position the planks carefully, ensuring they fit snugly against the wall. Don't forget to use spacers to maintain an even gap for expansion—this step is essential for a professional-looking finish!
Prepare the Subfloor
Preparing the subfloor is essential for a successful installation of your luxury vinyl plank (LVP) flooring, and it all starts with ensuring a clean, dry, and level surface. Different subfloor types require specific preparation methods, but the goal remains the same: a flawless finish.
Here's what you need to do:
- Clear the area of all debris and furniture.
- Inspect for moisture; use a moisture meter if necessary.
- Level the surface with a self-leveling compound for any uneven spots.
- Repair any damage to the subfloor, like cracks or holes.
Align and Position Planks
Starting the installation of your luxury vinyl plank (LVP) flooring is an exciting step, and getting the first row right is essential for a seamless finish. Begin by laying the first plank along a straight edge, ensuring it's parallel to your wall. This plank alignment sets the tone for your entire project, so take your time. Use a level to check for any gaps and adjust as needed. For ideal flooring aesthetics, consider the plank pattern; staggering joints adds visual appeal. As you position each plank, maintain consistent spacing between them for a clean look. Remember, the first row is the foundation for the rest of your installation, so getting it right will give you the freedom to enjoy your stunning new floor!
Secure With Spacers
As you lay down the first row of your luxury vinyl plank (LVP) flooring, securing it with spacers is crucial to achieving a professional finish. Spacers maintain the necessary expansion gap, allowing your flooring to breathe and adapt to temperature changes. Here are some installation tips to keep in mind:
- Choose the Right Spacer Types: Use 1/4-inch spacers for most installations.
- Position Them Correctly: Place spacers at both ends of each plank for stability.
- Check With a Level: Verify the first row is even before moving on.
- Don't Rush: Take your time to align the spacers and planks properly.
Following these steps will help you achieve a beautiful and long-lasting floor that you can enjoy freely!
Continuing the Installation
With the initial rows in place, it's time to dive deeper into the installation process of your Luxury Vinyl Plank (LVP) flooring. Start by laying your next planks end-to-end, ensuring they interlock securely. Follow your chosen pattern—whether staggered or straight—as it adds visual appeal. Remember some installation tips: maintain a consistent gap for expansion and use spacers to avoid issues later on. If you encounter any troubleshooting issues, like misalignment, don't hesitate to lift the planks carefully and reposition them. Take your time and double-check each row for a flawless finish. Enjoy the freedom of creating a beautiful space, knowing you're just a few steps away from a stunning floor that reflects your style!
Trimming and Finishing Edges
Once you've laid down your LVP flooring, it's essential to focus on trimming and finishing the edges for a polished look. Proper edge finishing not only enhances aesthetics but also protects your flooring. Here are some effective trimming techniques you can use:
- Quarter-round molding: This adds a smooth connection between floor and wall, hiding imperfections.
- T-molding: Perfect for doorways, it guarantees a seamless look between different flooring types.
- Thresholds: Use these where LVP meets carpet or other surfaces for a clean finish.
- Caulking: Fill small gaps for a tight seal, keeping dirt and moisture at bay.
With these tips, you'll achieve that sleek, professional finish you desire—giving your space the freedom to shine!
Cleaning and Maintenance Tips
Keeping your LVP flooring looking its best requires a consistent cleaning routine, so let's talk about daily maintenance. You'll also want to know effective stain removal techniques to tackle any spills, along with long-term care practices that can extend the life of your floors. With the right approach, you can maintain that fresh, polished look effortlessly!
Daily Cleaning Routine
Although LVP flooring is known for its durability, establishing a daily cleaning routine can help maintain its appearance and longevity. You'll love how easy it is to keep your floors looking fabulous with just a few simple steps. Here's a quick daily maintenance checklist:
- Sweep or vacuum: Remove dirt and debris to prevent scratches.
- Damp mop: Use a microfiber mop with a suitable cleaning product to avoid streaks.
- Wipe spills promptly: Quick action keeps stains at bay and protects the surface.
- Check for scratches: Regularly inspect your floors and address any damage immediately.
Stain Removal Techniques
Even with a solid daily cleaning routine, stains can happen, and knowing how to tackle them is key to preserving your LVP flooring's beauty. For effective stain removal, you'll want to act quickly and use the right cleaning solutions. Here's a quick reference guide to help you out:
| Stain Type | Cleaning Solution |
|---|---|
| Food/Drink | Warm water & mild dish soap |
| Pet Accidents | Vinegar solution (1:1 ratio) |
| Ink | Rubbing alcohol on a cloth |
| Grease | Baking soda paste (apply & wipe) |
| Scuff Marks | Magic eraser or soft cloth |
Always test your chosen solution in an inconspicuous area first. With these tips, you'll keep your LVP floors looking fantastic!
Long-term Care Practices
To guarantee your LVP flooring remains in pristine condition for years to come, it's vital to adopt a consistent cleaning and maintenance routine. With the right approach, you'll enjoy its long lasting beauty while providing protective measures against wear and tear. Here are some essential tips:
- Sweep or vacuum regularly to remove dirt and debris, preventing scratches.
- Use a damp mop with a pH-neutral cleaner for deeper cleans, avoiding harsh chemicals.
- Place mats at entryways to capture moisture and grit, reducing damage.
- Avoid dragging heavy furniture across the floor; use furniture pads instead to preserve the surface.
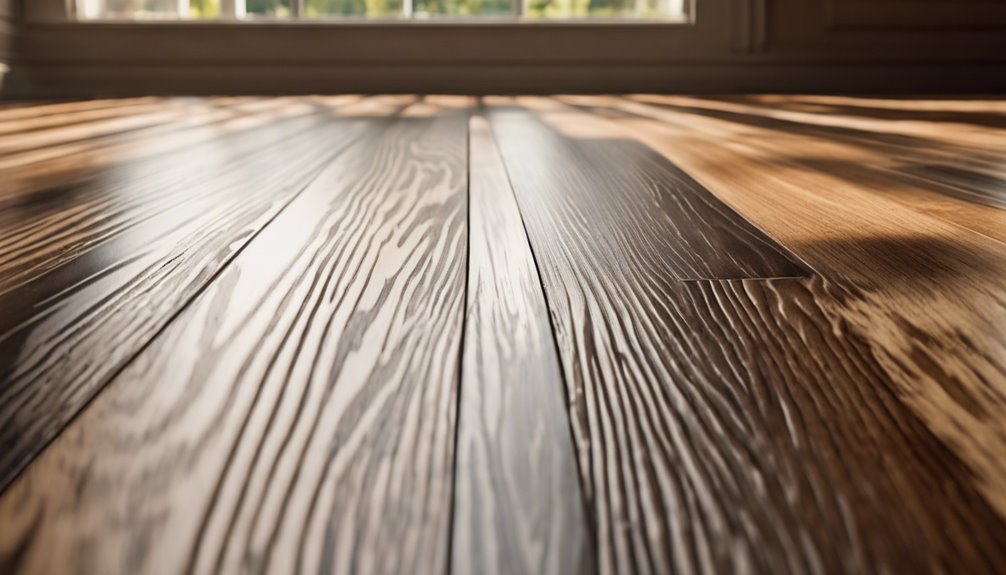
Enjoying Your New Floor
Once you've successfully installed your luxury vinyl plank (LVP) flooring, the real fun begins: enjoying the beauty and functionality it brings to your space. With LVP, you get to experience stunning floor aesthetics that elevate your home's look while providing essential comfort factors. It's perfect for any lifestyle!
Here's a quick guide to maximize your enjoyment:
| Aspect | Tip |
|---|---|
| Maintenance | Regularly clean to keep it fresh |
| Decor | Use rugs to enhance comfort |
| Temperature | Verify your space is well-ventilated |
| Lighting | Consider natural light for ambiance |
Get creative with your decor and notice how your new floor transforms your everyday life. Embrace the freedom that comes with a beautiful, functional space!
Frequently Asked Questions
Can LVP Flooring Be Installed Over Existing Carpet?
Imagine your space, a canvas waiting for a masterpiece. While the allure of LVP installation over existing carpet might tempt you, it's not advisable. The carpet can trap moisture, leading to issues down the line. You'd want to embrace a smooth, clean surface for the best results. So, don't hesitate—carpet removal is the way to go! This guarantees your new flooring shines brightly, giving you the freedom to enjoy your transformed home.
How Long Does LVP Flooring Typically Last?
LVP flooring typically lasts 15 to 25 years, depending on the quality and your LVP maintenance. With proper care—like regular cleaning and avoiding excessive moisture—you can maximize its durability. Its resilience against scratches and dents makes it a great choice for busy households. You'll love how LVP provides a beautiful, long-lasting floor that fits your lifestyle, giving you the freedom to enjoy your space without constant worry about wear and tear.
Is LVP Flooring Waterproof or Just Water-Resistant?
Isn't it great when flooring can handle a little splish-splash? LVP flooring is water-resistant, which means it can withstand spills and moisture, but it's not entirely waterproof. This gives you the waterproof benefits you need for everyday life, without the worry of damage from minor accidents. To keep it in top shape, follow some maintenance tips like promptly cleaning up spills and using a damp mop for regular cleaning. Enjoy your freedom from flooring worries!
Can I Use LVP in Bathrooms or Kitchens?
Yes, you can definitely use LVP in bathrooms and kitchens! Its bathroom durability makes it a great choice for areas prone to moisture. Unlike traditional flooring, LVP is designed to withstand kitchen moisture, ensuring it won't warp or swell. Just be sure to choose a high-quality product with a strong wear layer for added protection. This way, you can enjoy the freedom of beautiful, resilient flooring without worrying about damage in these essential spaces.
What Is the Cost Range for LVP Flooring Installation?
Imagine transforming your space with a flooring makeover that feels like walking on clouds. When it comes to LVP flooring, installation costs typically range from $1.50 to $4 per square foot, depending on the flooring materials you choose. While you might save by DIYing, hiring a pro can guarantee a flawless finish. Remember, investing in quality materials can lead to long-term satisfaction, giving you the freedom to enjoy your beautiful new floors for years.


