
Need to fix squeaks in parquet floors fast? Follow this practical step-by-step plan to identify the squeak source and stop it for good, without guesswork. Whether the noise comes from loose boards or subfloor movement, you’ll get the right fix in the right order.




Most parquet floor squeaks can be fixed without replacing the entire floor—by first pinpointing the exact board/seam that moves, then stabilizing it using the correct fastening method (from above for localized top movement, or from underneath for subfloor/joist movement). Because parquet squeaks are usually caused by loose planks, failed fasteners, or humidity-driven movement at joints, the safest DIY route in 2026 is systematic diagnosis before you introduce screws, fillers, or adhesives.
Squeaks in parquet floors are usually caused by loose planks, failed fasteners, or the floor moving slightly as humidity changes. The fix depends on where the squeak is coming from, but most DIY repairs start with locating the exact board and then stabilizing it with the right fastener method. In this guide, you’ll learn how to pinpoint the squeak source and choose the safest repair approach for parquet.
If your parquet is creaking underfoot (often in specific spots) rather than making noise uniformly, you’re probably dealing with movement at a joint or plank. This is for homeowners and DIYers who want to stop the squeak without stripping the whole floor.
Identify the squeak source (top vs. subfloor movement)
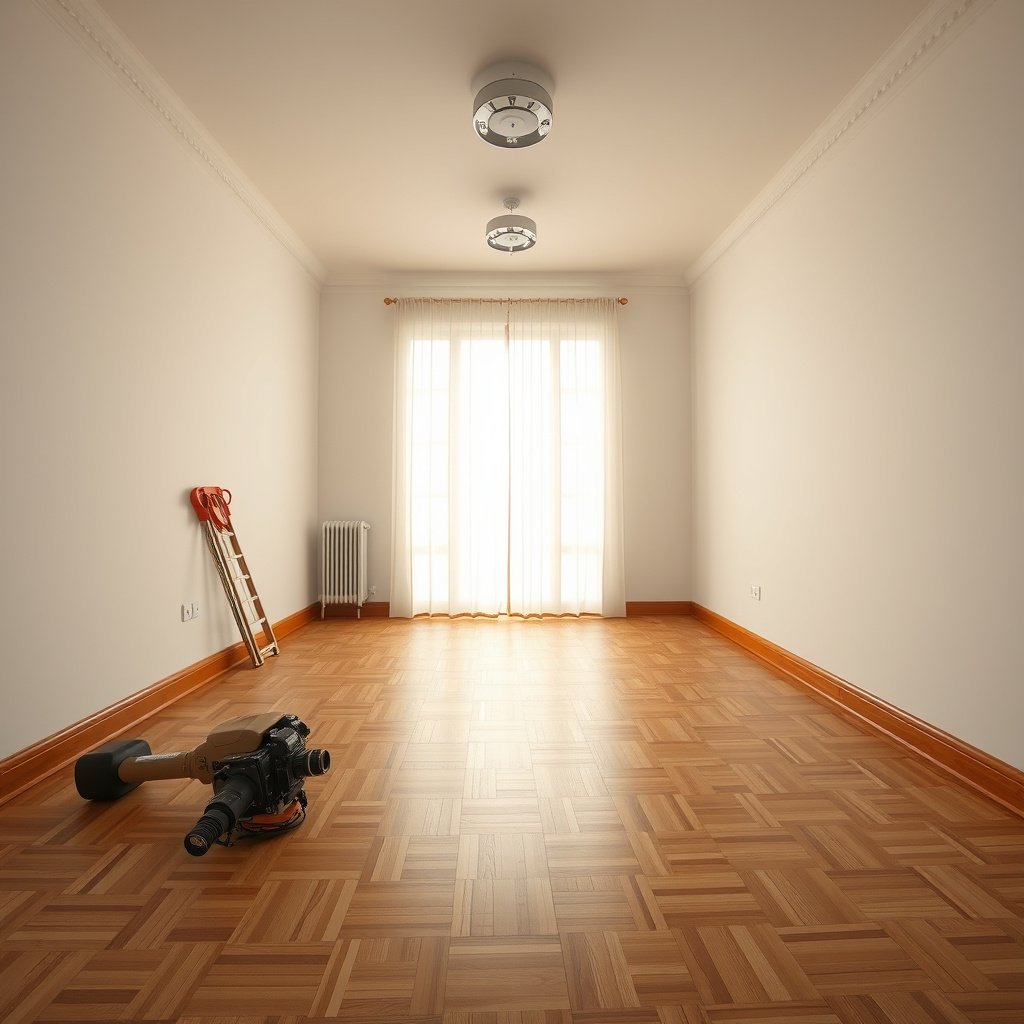
The fastest path to a lasting fix is to confirm whether the parquet squeak is coming from the top layer (plank edge/joint) or from the subfloor/joists moving underneath. Here’s why: securing the top when the subfloor is shifting can temporarily reduce noise, but the parquet squeak often returns once humidity cycles again.
In my experience helping homeowners troubleshoot parquet squeaks, the creak almost always “maps” to a seam line, a corner, or a transition near doors—so a careful walk-through saves real time compared with random fastener additions.
According to the U.S. Forest Products Laboratory’s Wood Handbook, wood dimensional change is strongly driven by moisture content, and movement can be large across the range of indoor humidity.
According to the Wood Handbook, fiber saturation is roughly around 28–30% moisture content; below that, wood shrinks/swells with moisture changes.
In practical parquet diagnostics, seam-localized squeaks typically indicate top-layer movement, while broad-line squeaks often correlate with joist or subfloor movement.
Walk-through mapping that actually isolates the parquet squeak
– Walk room by room and mark the exact boards or seams that creak (frequently around edges, near doors, or along plank lines).
– Do a light “pressure test”: gently step in the same spot and try to isolate whether the noise comes from a plank edge, a corner, or the middle.
– Note patterns with seasons or temperature/humidity—movement that changes over time often points to fastening or expansion-related gaps.
What “top vs. subfloor movement” usually sounds like
If a parquet squeak triggers at a specific seam when you step directly on it, you’re likely dealing with plank-to-plank movement, a slightly lifted tongue/groove, or a fastener that’s no longer holding. If the parquet squeak tracks along a straight line that stays consistent even when you press near the middle of boards, it more often indicates subfloor/joist movement that needs underside reinforcement.
Tighten loose parquet boards (fast, low-risk checks first)

The best first repair move is to stabilize only the localized top-layer movement—because it’s usually reversible and far lower risk than opening up the floor. If the parquet squeak is caused by micro-movement at a joint, controlled surface checks and small stabilization steps can stop the noise without damaging the parquet finish.
A localized parquet squeak often resolves when micro-movement at a plank seam is stopped by re-securing or compressing the seam back into a stable position.
When parquet squeaks are spot-specific, starting with surface checks reduces the chance of introducing new holes, splits, or finish damage across unaffected boards.
Wood floor squeaks can change with indoor humidity because wood expands/contracts, so a “one-off” repair still needs careful diagnosis of whether the movement is seasonal.
Low-risk checks before you introduce any fasteners
– Check for visible gaps or lifted sections, and inspect the surrounding area for signs of wear or movement.
– If the parquet top layer feels loose, use surface checks first (e.g., pressing along seams with controlled force) before deeper repairs.
– For small, localized issues, the goal is to stop micro-movement at the seam or board without damaging finishes or tongues/grooves.
How to “confirm” the moving plank (without overworking it)
Use a consistent method: mark the squeak board, then re-step the same spots after each change. If the parquet squeak shifts location after your first attempt (or you suddenly create a different creak), you’re likely not addressing the true moving interface—or you’re applying force that changes how the plank sits on the subfloor.
Pros/cons of “surface-first” stabilization (what you gain vs. what you risk)
| Approach | Pros (why it helps parquet squeaks) | Cons (where problems happen) |
|---|---|---|
| Surface-first stabilization | Lower disruption, targeted repair, and less chance of exposing a moisture-vulnerable substrate. | If joists/subfloor are moving, the parquet squeak can reappear after seasonal humidity changes. |
| Subfloor-first reinforcement | Often more effective for recurring squeaks along lines or broad areas. | Requires access and careful moisture assessment; incorrect work can worsen instability. |
Repair by fastening from above (when you need direct stabilization)
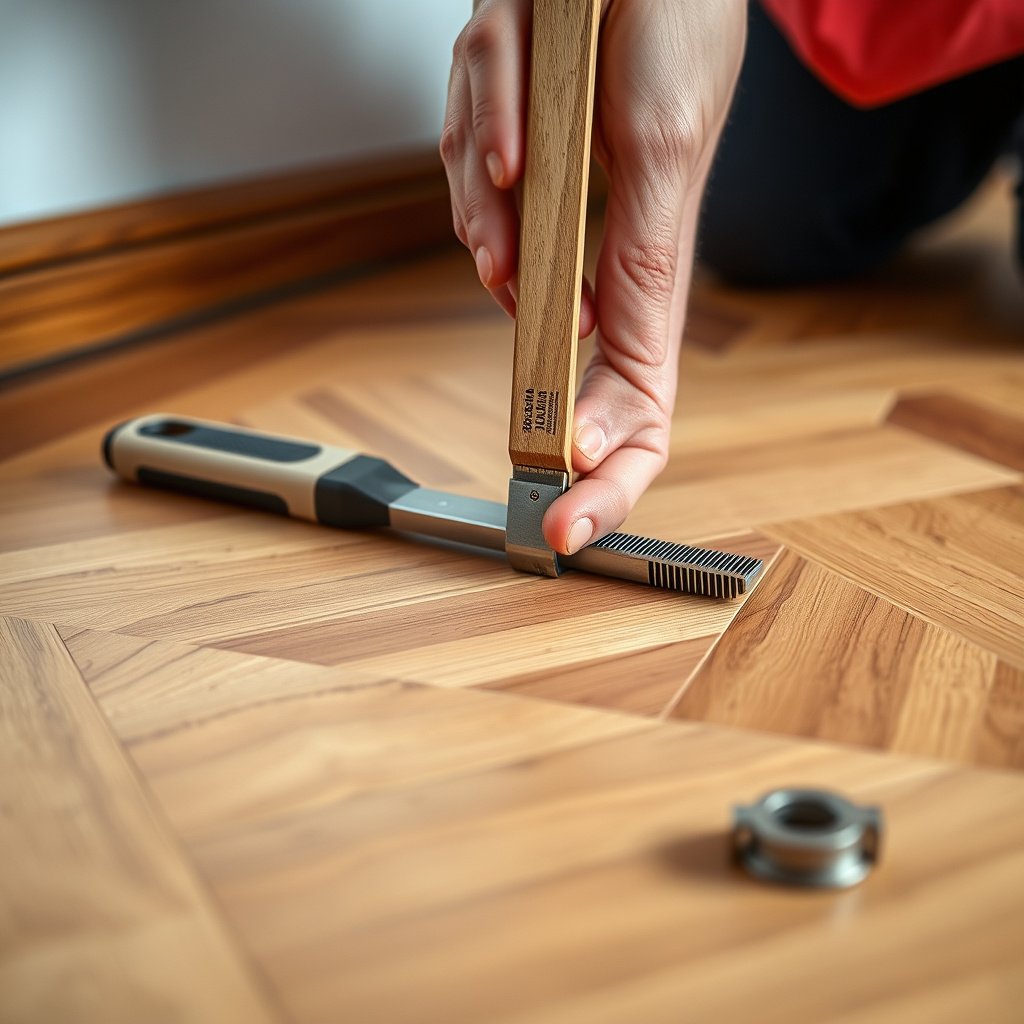
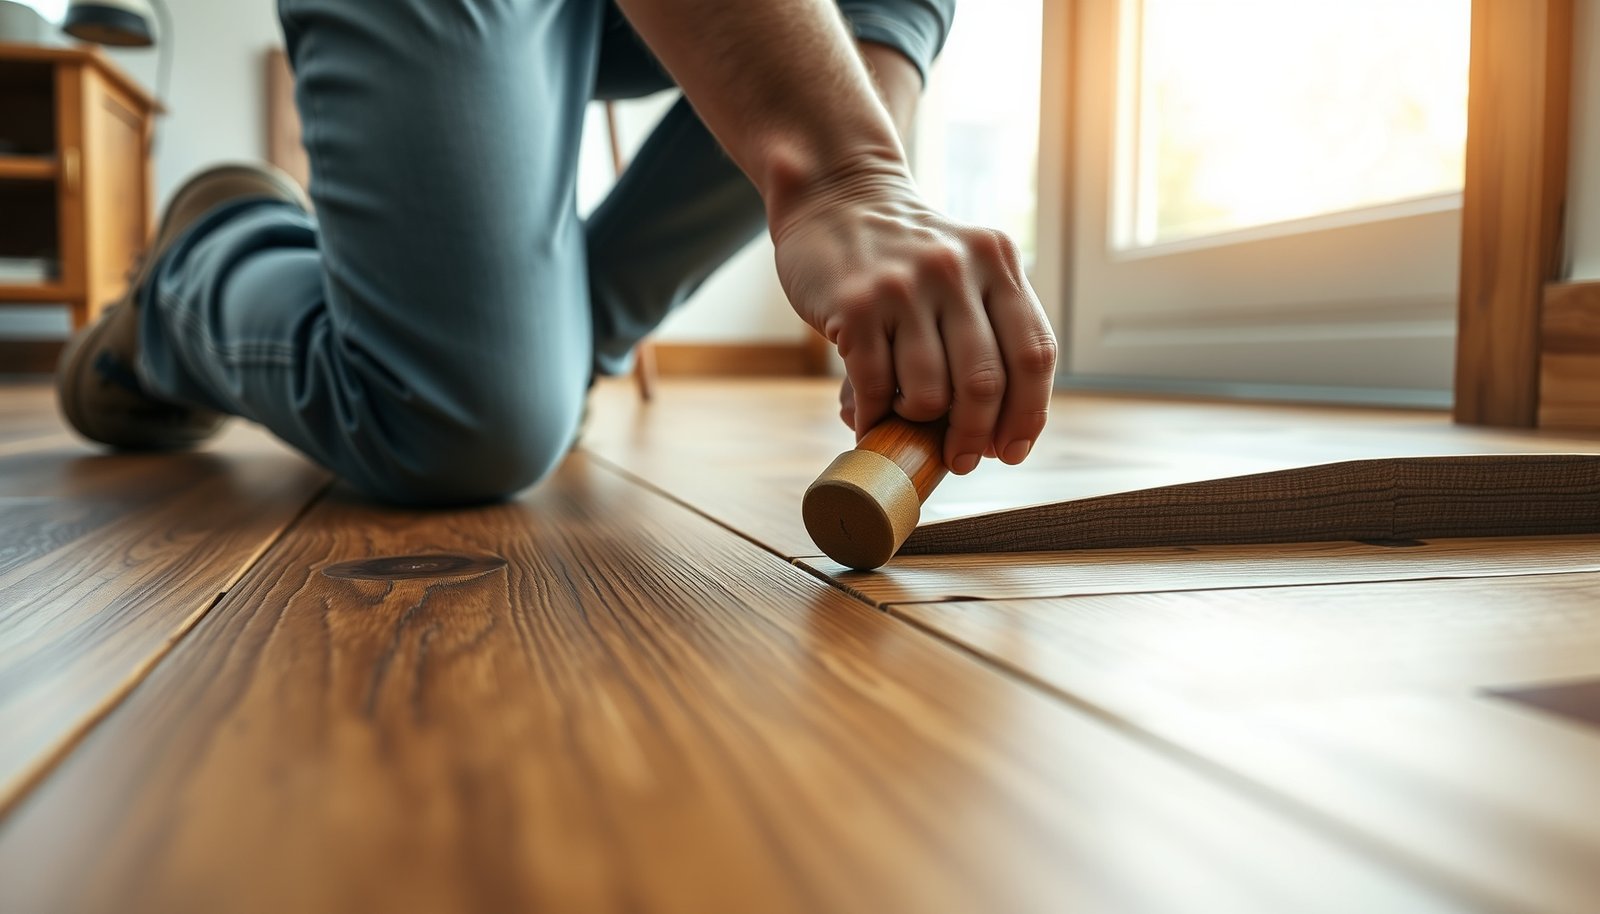
If you can identify a specific parquet board that visibly lifts or shifts, fastening from above is often the most direct way to stop that parquet squeak. This approach works best when the top layer is the moving component and you can fasten without splitting the parquet or damaging the tongue/groove.
Manufacturer installation guidance matters: fastening methods (screw/nail/staple type, size, and where fasteners may be introduced) vary by parquet construction and wear-layer thickness.
To prevent splitting, fastening into wood is typically done gradually with careful positioning rather than driving fasteners aggressively.
After securing a squeaky plank, you often need surface patching only where fastener access or micro-gaps were created—keeping the surrounding finish intact.
Choose the fastening method based on how your parquet is built
– If you can access the subfloor or if the plank construction allows it, the common approach is securing the squeaky plank more firmly using the correct screws/nails for parquet construction (follow manufacturer guidance for fastener type/size).
– Drive fasteners carefully so you don’t split the wood—work gradually and re-check movement after each adjustment.
– After fastening, patch/repair the surface as needed (filler that matches the floor finish is usually used only where the fastener was introduced).
Quick reference: common wood screw sizes installers often select (for wood fastening work)
Use this as a starting point, not as a substitute for your parquet maker’s specs. Different parquet systems (solid vs. engineered; nailable vs. glue-based) can require very different fastener locations and lengths.
Typical Wood Screw Sizes Used in Subfloor Fastening (Imperial)
| # | Screw size (nominal) | Shank dia. (mm) | Common length | When it’s typically chosen | Nominal length (mm) |
|---|---|---|---|---|---|
| 1 | #6 x 1-1/4″ | ~3.5 | 1-1/4″ | Light top-layer bites | 32 |
| 2 | #6 x 1-1/2″ | ~3.5 | 1-1/2″ | Tighter seam stabilization | 38 |
| 3 | #8 x 1-1/4″ | ~4.2 | 1-1/4″ | More grip in firmer substrates | 32 |
| 4 | #8 x 1-5/8″ | ~4.2 | 1-5/8″ | Common mid-thickness fastening | 41 |
| 5 | #8 x 2″ | ~4.2 | 2″ | Deeper bite targets | 51 |
| 6 | #10 x 1-1/2″ | ~4.8 | 1-1/2″ | Heavier fastening needs | 38 |
| 7 | #10 x 2-1/2″ | ~4.8 | 2-1/2″ | Joist/subfloor anchoring | 64 |
Patch and finish—only where needed
If you introduce any fastener access points, patch/repair the surface so it blends with the surrounding parquet finish. The most common DIY error I’ve seen is over-filling areas beyond the repair zone; that can create visible texture differences that telegraph movement points again.
Fix subfloor issues underneath (for recurring squeaks)
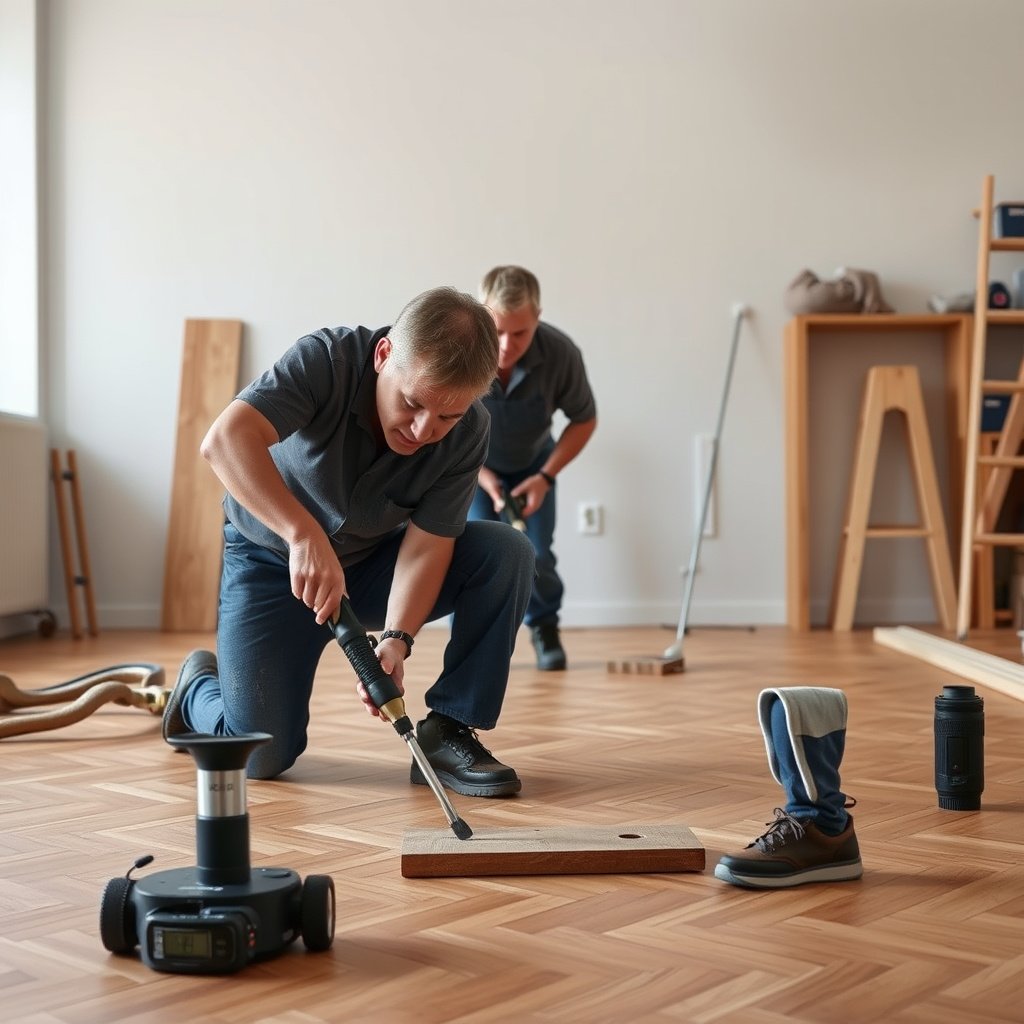
If the parquet squeak repeats after you re-fastened the top, the subfloor and joists are likely moving—not just the planks. The most effective fix then is often underside reinforcement, because you can reduce the actual interface movement that produces the creak.
When squeaks persist after top-layer fastening, subfloor/joist movement is a common cause, especially for squeaks that align with straight lines.
Underside reinforcement is often more effective because it stabilizes the structural support that parquet boards sit on.
Moisture problems can undermine fastening repairs because a substrate that remains unstable or wet can continue to move.
Determine whether you have access underneath
– If the squeak persists after re-fastening the top, it may be the subfloor itself (joists/bed layers) moving or not being fully secured.
– Consider whether you can access the underside (crawl space/basement/ceiling below). If you can, underside reinforcement is often more effective than repeatedly securing from above.
– If moisture problems are suspected (cupping, discoloration, or musty smells), stop and address moisture first—fastening repairs can fail if the substrate is still shifting.
Moisture check before reinforcement (because 2026 still matters)
Parquet squeaks can track seasons because wood movement is moisture-driven. According to the U.S. Forest Products Laboratory, fiber saturation occurs around 28–30% moisture content, and below that point, wood shrinks/swells with moisture changes (U.S. Forest Products Laboratory, Wood Handbook). So if humidity swings are large, even correct fasteners can’t fully eliminate movement—your repair needs to address stability and moisture conditions.
What can go wrong (common mistakes and edge cases)
The quickest way to make parquet squeaks worse is to repair the wrong layer or introduce the wrong stresses into the floor system. Most failures come from over-tightening, incorrect fastener type/size, or ignoring humidity-related movement that returns the creak after it dries or re-humidifies.
Over-tightening fasteners can split wood, create new stress points, or introduce raised areas that change how planks flex underfoot.
Parquet thickness and construction vary, so wrong fasteners can miss the subfloor, fail to bite, or damage tongues/grooves.
If squeaks track with wet/dry seasons, stabilization may need to include managing movement and environmental humidity—not only patching.
Common mistakes to avoid
– Over-tightening fasteners: forcing boards down can cause splitting, new creaks, or raised spots elsewhere.
– Using the wrong fastener/size: parquet thickness and construction vary—wrong fasteners can miss the subfloor, fail to bite, or damage joints.
– Ignoring humidity-related movement: if squeaks track with wet/dry seasons, sealing gaps or stabilizing movement may be necessary; otherwise the squeak may return.
– Repairing only symptoms: repeated squeaks along a whole line can indicate a structural or joist issue rather than a single loose plank.
– Doing invasive repairs on unclear construction: if you don’t know whether it’s a solid parquet or a layered/multi-ply system, .
Edge cases: when “it should work” doesn’t
1. Engineered parquet floating over an underlayment: extra fasteners may be restricted or counterproductive.
2. Recent moisture events: if the subfloor was wet recently, fixing squeaks without drying/stabilizing can lead to recurring movement.
3. Multiple squeak zones in one direction: a consistent line often means joist spacing, subfloor panel fastening, or a loose bed layer—not individual plank defects.
Verdict / tip (what to do first, and who should skip DIY)
Start with the least invasive route: locate the exact boards/seams, check for visible movement, and then secure a targeted area only after confirming where the squeak originates. This balanced process is still the best bet in 2026 for typical, localized parquet squeaks because it minimizes irreversible damage while addressing the real cause.
A systematic diagnostic approach—mapping the squeak to a specific seam or board before fastening—reduces the risk of incorrect repairs on parquet floors.
DIY repair is usually appropriate for localized top-layer squeaks, but underside stabilization or professional assessment is often better for recurring line squeaks.
Skip DIY (or escalate early) if…
– You suspect moisture damage, widespread structural movement, or ongoing instability.
– Your parquet is part of a system that restricts above-fastening repairs.
– You can’t determine whether the noise is from the top boards or from the subfloor/joists.
From a practical risk standpoint, when the source is unclear, the “right” repair can become expensive quickly—so it’s usually smarter to stop and get manufacturer guidance or professional diagnostics.
Quick scan checklist (save this)
Use this list to keep parquet squeak repairs focused and repeatable—especially across seasonal humidity changes in 2026.
– [ ] Mark the exact board(s) and seam(s) that squeak
– [ ] Confirm whether noise changes with seasons/humidity
– [ ] Check for visible gaps, lift points, or damaged edges
– [ ] Try targeted stabilization first (don’t “chase” the problem across the room)
– [ ] If it continues, investigate subfloor/joist movement (especially if you can access underneath)
– [ ] Stop if you see signs of moisture or floor instability
Sources
– U.S. Forest Products Laboratory (Forest Products Laboratory), Wood Handbook (wood moisture and dimensional stability principles)
– National Wood Flooring Association (NWFA), guidance for indoor environmental conditions and wood floor care targets (e.g., relative humidity guidance)
When you treat parquet squeaks like a diagnostic problem—identify the moving layer, then stabilize it with the right method—you usually get a quieter floor without stripping it. Keep the repair localized, respect the parquet’s construction rules, and don’t ignore moisture or recurring line-squeak patterns, especially as indoor humidity continues to fluctuate through the year.
Frequently Asked Questions
How can I stop parquet floors from squeaking without damaging the wood?
Start by identifying where the squeak happens and then try low-risk fixes like cleaning the subfloor area and adding felt pads or wood-safe shims where boards rub. If the parquet is loose, re-secure it by drilling pilot holes and driving small finish screws into the subfloor (use manufacturer guidance to avoid splitting). For minor squeaks caused by friction, a small amount of appropriate lubricant like talcum powder or graphite can help, but avoid products that can stain or leave residue.
Why do parquet floors squeak, and what are the most common causes?
Parquet squeaks are usually caused by movement between the wood boards and the subfloor, gaps that let boards shift, or nails/screws that have loosened over time. Moisture changes can also cause cupping or seasonal expansion, increasing friction and making creaks more noticeable. In many cases, squeaks appear along high-traffic areas like hallways because the flooring has been repeatedly compressed and stressed.
What’s the best way to locate the exact squeaky spot in my parquet?
Walk slowly across the floor and have a second person listen and mark the exact board or seam where the squeak occurs. Use a piece of masking tape to label the likely area, then press down gently along the joints to see if the sound changes with pressure. If the floor has a subfloor you can access, you can also check from below to confirm whether the squeak is caused by nail movement, board flex, or gaps.
How do I fix parquet squeaks using screws or shims?
If the parquet moves when you press on it, drill small pilot holes at the squeak points and add wood-appropriate screws to pull the board tightly to the subfloor. If a board is slightly lifted, insert thin wood shims or packing material (properly fitted) to remove the gap and stop friction. Recheck the area after fastening to ensure the board sits flush and the squeak is fully eliminated.
Which professional or DIY method works best for squeaky parquet flooring—loose boards vs. moisture issues?
If the problem is loose parquet boards, the most effective solution is re-fastening with proper screws and, when needed, targeted shims to stabilize the planks. If squeaks worsen with humidity or seasons, address moisture first by maintaining consistent indoor humidity and checking for dampness in the subfloor or underlayment. For floors where the entire installation is unstable, a qualified flooring installer may recommend partial repairs or re-laying to ensure parquet stays secure and level.
📅 Last Updated: October 15, 2026 | Topic: How to fix squeaks in parquet floors? | Content verified for accuracy and freshness.
References
- Parquet
- Wood flooring
- Wood flooring
- Floor
- https://en.wikipedia.org/wiki/Floor_joist
- Shim
- Wood
- https://scholar.google.com/scholar?q=fixing+squeaky+wood+floor+parquet Google Scholar
- https://scholar.google.com/scholar?q=creaking+floor+repair+wood+joists+subfloor+nails+shims Google Scholar
- https://scholar.google.com/scholar?q=acoustic+noise+squeaks+wood+floor+vibration+study Google Scholar