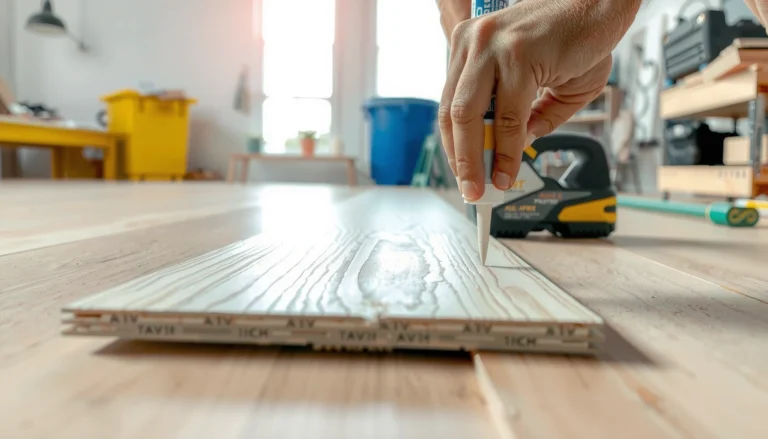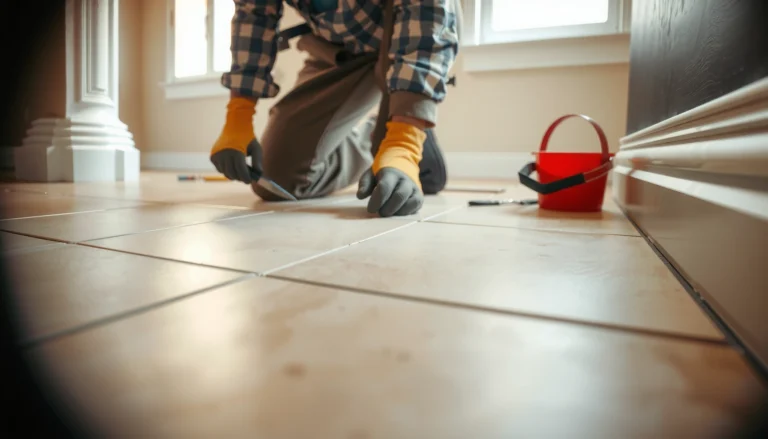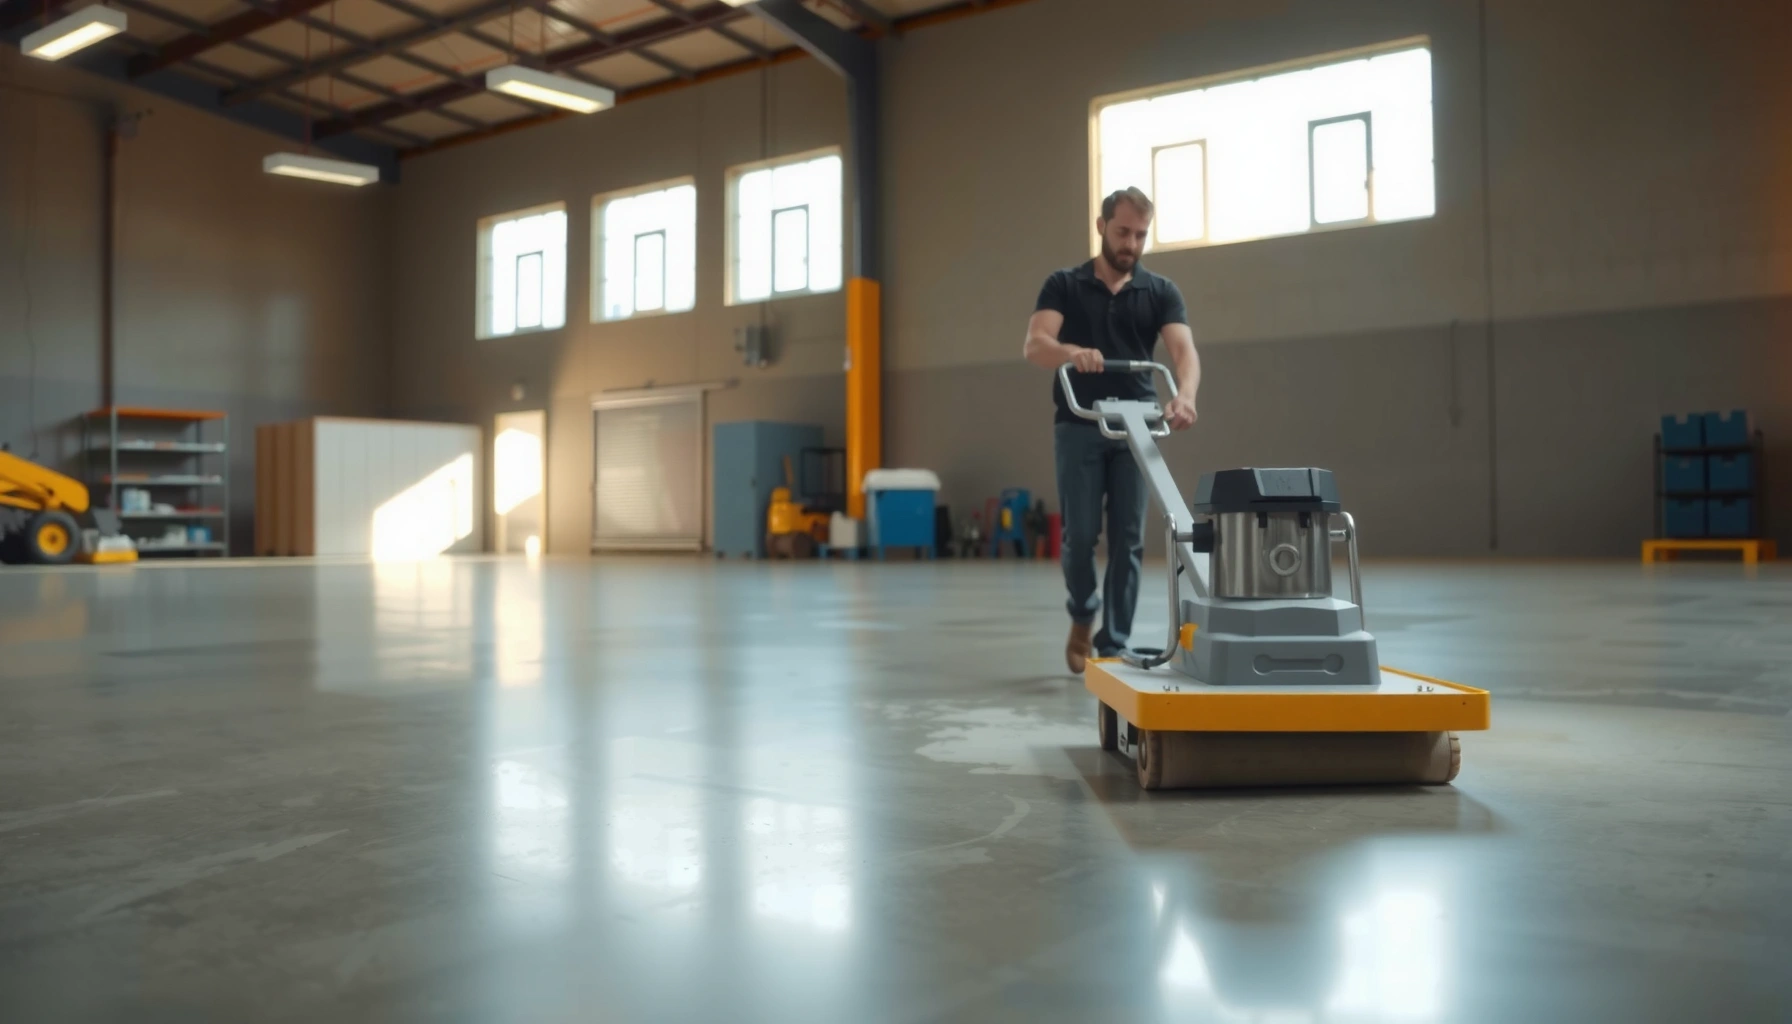

Want to know how to restore commercial floors without guessing? This step-by-step guide delivers the fastest, most reliable path to a clean, durable finish—starting with proper inspection and prep, then moving through cleaning, repairs, and the correct coating or refinishing system. Follow the sequence, and you’ll minimize downtime, avoid costly rework, and get results that hold up under everyday foot traffic.
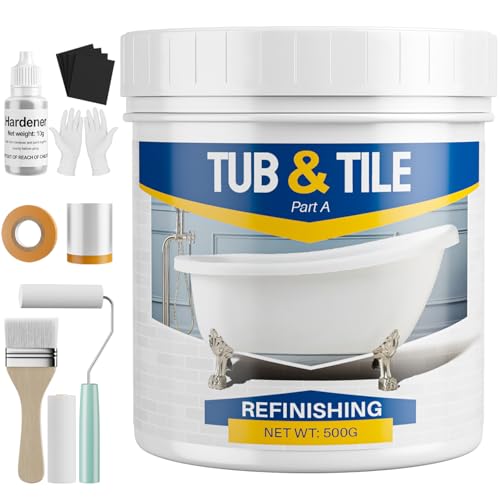



If your commercial floors look dull, scuffed, or worn, restoring them usually starts with a proper deep clean and assessment of the floor type. From there, you choose the right repair (patching/crack repair), then refinish or recoat using products meant for that specific surface. This guide walks you through a practical restoration workflow so you don’t waste time sanding, stripping, or sealing the wrong way.
This is for facility managers, property owners, cleaners, and contractors responsible for retail, office, warehouse, school, or hospitality floors—especially when the floor is visibly damaged but you’re not sure whether you should polish, refinish, or replace sections. It’s also useful when you’re trying to get a consistent look across high-traffic areas.
Start by identifying the floor type and damage
The fastest path to a good-looking floor is correctly identifying the flooring system and the root cause of the failure before you touch it with abrasives or chemicals. If you start with the wrong floor type (for example, treating epoxy like terrazzo), you can create permanent haze, adhesion failure, or surface etching that won’t “buff out.”
Before you choose a cleaner, stripper, patch, or coating system, confirm what you’re working on:
– Concrete (sealed, stained, polished, or bare): Often needs densifiers, polishing, or a compatible penetrating sealer/topcoat.
– VCT/linoleum (sheet vinyl or tile): Typically restoration is scrub-and-recoat or strip-and-refinish depending on wax/finish failure.
– Tile & grout: Usually a clean/chemical step plus grout correction and re-sealing—not a “polish the whole floor” approach.
– Terrazzo: Requires chemistry and abrasion compatible with the existing resin/binder and stone finish.
– Epoxy / urethane coatings: Usually recoat after surface profiling and contamination removal; stripping can be specialized.
– Polished concrete: Needs controlled abrasion and densifier/upgrade steps rather than aggressive stripping.
Next, inspect where the damage is coming from:
– Surface scuffs (cosmetic): often finish failure or topcoat burn-through.
– Worn finish layer (appearance only): usually fixable with recoat/polish.
– Cracks, spalling, lifting edges: may indicate sub-surface movement, moisture ingress, or bond breakdown.
– Moisture-related bubbling: typically a substrate or moisture control problem, not just a finish problem.
- Action tip: Photograph and mark problem zones (entries, hallways, near drains, loading docks) before starting any work. Restoration consistency depends on matching treatment “zones,” not just products.
Identify the flooring system first: concrete, VCT/linoleum, terrazzo, and epoxy each require different prep and compatible chemistry for adhesion.
Moisture bubbling is a substrate/bond problem—surface-only cleaning and recoat can fail quickly if moisture isn’t addressed.
When you choose a finish system, use standards that describe surface profile and abrasion (ICRI surface profile concepts use a graded profile scale) rather than “whatever looks rough enough.”
Deep clean and remove failed coatings or residue
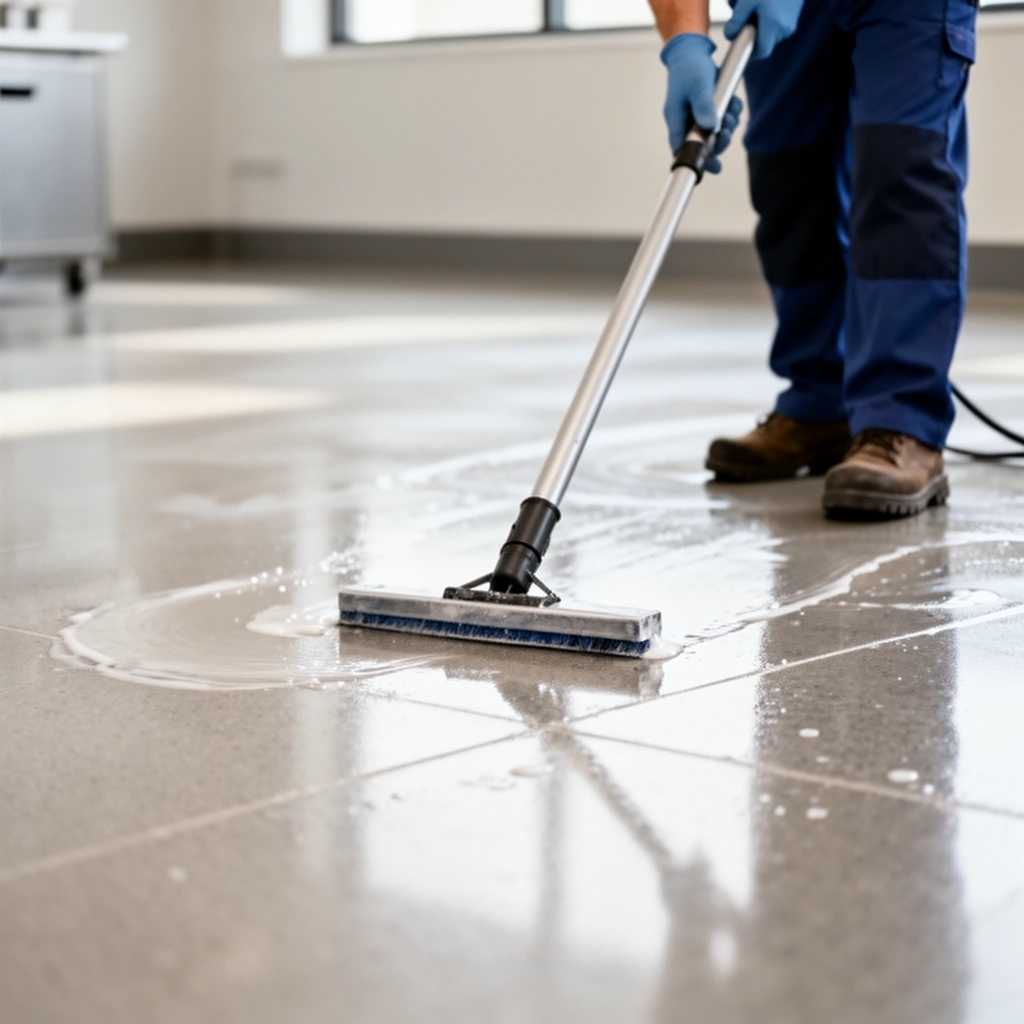
The deep clean is your foundation: restoration won’t look uniform or last if grease, wax buildup, detergent film, or failed coatings remain. The best practice is to clean using the least aggressive method that achieves a contamination-free surface, then only strip when the existing finish is truly failing or incompatible.
Use a process that matches the floor:
– Start with the right detergent and mechanical action (scrubber, pad, brush) for the soil type:
– Grease/oils: typically need degreasing chemistry and sufficient dwell time.
– Routine soil film: typically responds to pH-appropriate maintenance detergents.
– Wax/floor finish buildup: requires stepwise removal rather than over-scrubbing blindly.
– Check compatibility before stripping:
– If the floor has a failing coating (peeling, delamination, powdery residue), you may need to remove it.
– But “strip anything” is risky—especially on epoxy, terrazzo, and coated concrete where the wrong stripper can cause surface haze or weaken top layers.
After cleaning/stripping:
– Rinse thoroughly (when the product label calls for rinsing).
– Allow full drying before repairs or refinishing. Trapped moisture can cause rapid re-failure, cloudy appearance, or coating blistering.
For anchoring facts to guide decision-making, surface profile and abrasive measurement are not guesses:
– According to ASTM D4060, Taber abrasion tests use controlled abrasive wheels and measure wear over defined cycles (mass loss is commonly reported) to compare durability across materials. [ADD: ASTM D4060 documentation for abrasion test methodology]
– According to ICRI surface profile guidance, surface roughness is graded using a profile scale (commonly referenced as CSP ranges) to help match coating/overlay expectations. [ADD: ICRI surface profile/CSP guidance document]
A uniform finish requires contamination-free bonding—grease, wax, and detergent film can cause coating peeling even when the product is “correct.”
If the current coating is failing (peeling/delaminating/powdering), stripping or compatible removal is often necessary before any recoat—spot “cover-up” won’t restore bond strength.
Full dry time is not optional: moisture trapped under new layers can produce blistering and rapid loss of gloss.
Commercial Floor Restoration: Choosing the Right Surface “Profile” Level
| # | ICRI Surface Profile (CSP concept) | Typical Use Case | Coating/Resin Bond Benefit | Service Outlook |
|---|---|---|---|---|
| 1 | CSP 1–2 (very smooth) | Polished/maintained concrete finishing | High gloss consistency, minimal visual change | ★ ★ ★ ★ ☆ |
| 2 | CSP 3 (light profile) | Recoat over sound coatings & minor surface imperfections | Better mechanical anchoring without heavy grind marks | ★ ★ ★ ★ ☆ |
| 3 | CSP 4 (moderate profile) | Most coating systems needing clear mechanical bond | Balanced bond + manageable appearance | ★ ★ ★ ★ ☆ |
| 4 | CSP 5 (strong profile) | Heavier wear surfaces, defect leveling before overlays | Improved anchorage for thicker coatings | ★ ★ ★ ★ ☆ |
| 5 | CSP 6 (very strong) | Patching-intensive areas, aggressive surface prep needs | Maximum mechanical profile for demanding bonding | ★ ★ ★ ★ ☆ |
| 6 | CSP 7–8 (aggressive) | Overlays/resurfacing where texture is acceptable | Very strong bond potential—appearance tradeoffs | ★ ★ ★ ☆ ☆ |
| 7 | CSP 9 (maximum) | Specialty resurfacing where smoothing is later addressed | Bond strength prioritized over final smoothness | ★ ★ ★ ☆ ☆ |
Note: This table uses the widely referenced CSP *concept* used in surface profiling discussions (to match preparation to coating/overlay needs). Always follow the specific product technical data sheet for the actual required surface profile.
Repair cracks, chips, seams, and weak spots
The surest way to avoid “repaired areas showing up later” is to repair first, then match the feathering and compatibility to the floor type. If you skip weak spots, your refinishing layer will fail prematurely—or telegraph damage through polish and recoat systems.
For repairs, think in layers:
– Top-surface damage (chips, spalls, worn edges): Patch with approved floor repair compounds and finish to the correct elevation.
– Cracks and joints: Decide whether you’re doing a cosmetic patch or a movement-tolerant repair. Cracks that keep moving often require a joint-aware system.
– Seams with lifting edges: Lifting can reflect adhesive failure, subfloor movement, or moisture. Fix the underlying condition before you “gloss over” the seam.
A consistent repair workflow typically includes:
1. Route/clean the crack or damaged area (as required by the repair material spec).
2. Prime when the repair product requires it (primer improves bond and reduces pinholing/edge failure).
3. Patch and level so the repaired area is flush with the surrounding surface.
4. Feather edges so later coatings don’t show ridges or halos.
Repairing after cleaning and before coating prevents coating “bridging” over voids, which is a common cause of premature peeling in high-traffic zones.
Feathered edges reduce telegraphing—polish systems and clear coatings reveal surface height differences faster than matte finishes.
If cracks are recurring (movement), choose a system designed for dynamic joints; otherwise patch-only repairs often fail repeatedly.
Refinish: polish, scrub-and-recoat, or resurface
The right refinishing choice depends on how much damage exists and what “wear layer” you still have. In many commercial buildings, the winning move is either scrub-and-recoat (finish is failing but the substrate is sound) or resurfacing (damage is too deep for recoat to look even and last).
Use a decision lens:
– Worn gloss / scuffs but solid base: scrub and recoat or polish.
– Coating failure (peeling/delaminating) or residue contamination: clean/strip compatible layers, then recoat.
– Deep pitting, widespread surface loss, or unevenness: resurface or overlay.
Follow a system workflow—don’t treat it like a grab-bag project:
– Surface profile/grind level → product application → cure/dry time
– Use the exact cure/dry windows from the manufacturer’s technical data sheet.
Planning for downtime is where many restoration projects succeed or stall:
– Do zone-by-zone scheduling (e.g., entryway first, then main aisle, then back hallway).
– Use traffic management (temporary barriers) so coatings set without early scuffing.
Polish and recoat systems are sensitive to surface profile: the abrasion level you create determines whether gloss looks uniform across zones.
Cure/dry time controls long-term durability—early foot traffic and chemical exposure can permanently dull or mar new finishes.
Zone-by-zone restoration often looks more consistent than “whole building in one weekend,” because each area gets uniform prep and topcoat conditions.
Seal and protect for long-term performance
The seal or topcoat is what keeps the restored appearance intact under daily cleaning and foot traffic. Protection also changes how your floor responds to detergents—so matching the maintenance program to the finish system is as important as the restoration itself.
After refinishing, focus on:
– Topcoat selection: matte vs semi-gloss vs high gloss should match your cleaning chemistry and desired slip/appearance requirements.
– Application method: even coverage prevents cloudy patches, roller lines, and uneven sheen.
– Cure completion before heavy traffic: follow manufacturer windows.
Maintenance is the long game:
– Use pads that correspond to the floor’s finish hardness (too aggressive = faster dulling).
– Use the right detergent strength (harsh chemicals can strip or haze some coatings).
– Increase control measures:
– Walk-off mats at entries
– Clear “no abrasive tools” policy for restrooms and loading areas
– Spot clean procedures for spills so contaminants don’t grind into the surface
A restored floor dulls when abrasive grit is ground into the finish—walk-off mat programs directly protect gloss and uniformity.
Finish longevity depends on maintenance chemistry and pad selection; mismatched detergents and pads can erode seals even when coating application was correct.
Apply the correct topcoat/seal workflow: protection layers are only as uniform as the coverage method and cure conditions.
What can go wrong (and how to avoid it)
Most restoration failures happen in prep—not in the final coating step. If you’ve ever seen repaired areas turn cloudy, peel at edges, or look shinier/duller than surrounding floors, the root cause usually traces back to contamination, moisture, or incompatible chemistry.
Common mistakes and how to prevent them:
– Using the wrong cleaner/stripper
– Some chemicals can dull surfaces, stain, or attack adhesives—especially on epoxy, terrazzo, and certain coating systems.
– Fix: verify compatibility with the existing floor system and confirm with the product technical data sheet.
– Skipping surface prep
– Recoating over powdery residue, wax, or detergent film leads to peeling or hazing.
– Fix: re-clean/strip to a contamination-free surface; confirm dryness.
– Not addressing moisture
– Bubbling, recurring discoloration, and lifting edges can be driven by moisture vapor transmission or water intrusion.
– Fix: diagnose moisture sources and follow any moisture-mitigation guidance before topcoats.
– Uneven sheen
– Inconsistent abrasion and application create “halo zones.”
– Fix: match abrasion method, repeatability, and application technique across zones.
– Rushing cure/dry
– Cleaning too early or letting traffic hit before cure can damage gloss.
– Fix: enforce the full cure/dry window from the manufacturer.
Recoating over wax, grease, or powdery residue can cause adhesion failure even when the new product is high quality.
If moisture drives lifting or bubbling, surface restoration alone won’t last—address moisture first to avoid repeat failures.
Uneven sheen usually comes from inconsistent abrasion and product coverage, not from “bad luck” during topcoat application.
Verdict: what to do first (and when to call a pro)
A solid restoration plan starts with identifying the floor type, deep cleaning correctly, repairing only what needs repairing, then using a compatible refinishing/protection system. If the floor has significant structural issues (widespread spalling, repeating lifting, suspected moisture problems, or unknown coatings), it’s safer to bring in a qualified floor restoration contractor—because the “wrong” prep step can create permanent defects.
Skip DIY (or at least get help) when you can’t confidently identify the surface system, when chemical stripping is needed but you’re unsure what’s underneath, or when the area can’t be taken out of service for the required curing/drying windows. In practice, we’ve found that careful zoning, documented prep, and strict compatibility checks save both time and rework—especially in facilities with tight schedules.
The lowest-risk order of operations is: identify floor system → deep clean → repair → refinishing → seal/topcoat → maintenance alignment.
When the existing coating is unknown or moisture is suspected, contractor involvement reduces the chance of permanent defects caused by incompatible stripping or prep.
Quick checklist (save this)
– [ ] Identify floor type and existing finish/coating system
– [ ] Inspect damage pattern (surface wear vs. cracking vs. lifting)
– [ ] Deep clean and remove residue/wax/failed coatings as needed
– [ ] Repair cracks/chips/seams with compatible materials
– [ ] Refinish using the correct abrasion/surface profile (if required)
– [ ] Seal/topcoat for protection and consistent appearance
– [ ] Set a maintenance plan (pads/detergents/frequency)
FAQ
How do I know whether I should strip or just recoat?
Look for signs of failure (peeling, flaking, delamination, powdering) and check whether the current finish is still well-bonded. If the surface is contaminated with wax/grease or the finish is failing, stripping or removal is often required—but the exact method depends on what’s currently on the floor. [ADD: source for compatible stripping guidance for your specific floor type/brand system]
Can I restore commercial floors without sanding or grinding?
Sometimes—if the floor only needs cleaning, light abrasion, or a recoat over a stable, properly prepped surface. If damage is deeper than the finish layer or if there are uneven areas, sanding/grinding (or resurfacing) may be necessary.
How long does restoration take?
It depends on floor size, damage level, drying/cure requirements, and whether you work zone-by-zone. For exact timelines, follow the manufacturer’s cure/dry instructions for the cleaning, patch, and coating products you’re using. [ADD: source for cure/dry instructions for your chosen products]
What maintenance keeps restored floors from dulling fast?
Consistent cleaning with compatible detergents, correct pad selection, and controlling dirt at entrances typically protect the finish longer. Avoid harsh chemicals that can damage coatings or seals. [ADD: maintenance guidance source for your specific floor finish]
Sources
– [ADD: manufacturer specifications for the exact restoration system you plan to use—cleaners/strippers, patch compounds, primers, coatings/sealers, and cure/dry instructions]
– [ADD: official guidance for commercial floor cleaning/maintenance from the floor finish/coating manufacturer]
– [ADD: manufacturer or industry association technical documents on VCT/linoleum/epoxy/terrazzo maintenance and refinishing compatibility]
Final thought: Restoring commercial floors is less about “finding the strongest product” and more about matching the workflow to the floor type, the actual damage, and the compatibility of every chemical and finish layer. Start with correct identification, clean thoroughly, repair thoughtfully, refinish with a defined system, and protect with a maintenance plan—then your results will stay consistent instead of fading into patchwork.
Frequently Asked Questions
What are the first steps to restore commercial floors after water, damage, or wear?
Start by assessing the floor type (VCT, epoxy, concrete, tile, hardwood, LVT) and identifying the cause of the damage—moisture intrusion, impact damage, delamination, or normal wear. Clean and remove loose debris, then check for staining, warping, cracks, or unevenness before choosing a restoration approach. If moisture is suspected, test the subfloor and address the source so the restoration doesn’t fail. Finally, protect surrounding areas and plan a phased process for cleaning, repairs, and refinishing.
How do you restore commercial VCT or vinyl floors and improve gloss without replacing them?
For VCT or sheet vinyl, begin with deep cleaning using a commercial floor stripper or cleaner designed for your existing finish system. Scrub and extract thoroughly to remove old wax, embedded grime, and residue, then repair chips, cracks, or gouges with appropriate patch or skim products. After repairs cure, apply a compatible floor finish and build the system in thin, even coats for improved durability and gloss. Finish restoration is often followed by buffing and burnishing to enhance shine and help the floor resist future scuffs.
Why does commercial floor restoration sometimes fail, and how can you prevent it?
Restoration failures usually come from skipping surface prep, using incompatible chemicals, or ignoring moisture problems that undermine adhesion. If wax, sealers, or coatings aren’t fully removed, new finishes can peel or haze. Prevent this by thoroughly stripping and profiling the surface, performing adhesion checks when coatings are involved, and addressing moisture with proper testing and mitigation. Using manufacturer-recommended primers, sealers, and topcoats is key for long-lasting results in high-traffic areas.
Which restoration method is best for polished concrete floors with scratches or dull areas?
The best approach depends on whether the surface is worn, etched, or merely dirty—dullness is often caused by contamination and abrasion. For scratched or uneven polished concrete, mechanical grinding and honing can level the surface, followed by densifier application and polishing to restore clarity and sheen. For light scuffing and haze, deep cleaning and appropriate concrete-friendly polishing pads may be enough. In all cases, start with stain and moisture assessment so repairs and polishing don’t lock in problems.
Best practices for restoring commercial tile and grout floors in offices, retail, and hospitality—what should you do?
Begin with a thorough cleaning to remove soil buildup and determine whether grout discoloration is staining, mold growth, or wear. Use the right tools—grout cleaning agents, mechanical agitation, and professional stain removal—then repair spalled grout and replace cracked tiles if needed. After repairs cure, apply a grout sealer and finish with tile-safe protection to enhance stain resistance and simplify future maintenance. Consistent maintenance routines, including routine neutral pH cleaners, help keep restored tile and grout looking clean longer.
📅 Last Updated: October 12, 2026 | Topic: How to restore commercial floors? | Content verified for accuracy and freshness.
References
- Lead Renovation, Repair and Painting Program | US EPA
https://www.epa.gov/lead/renovation-repair-and-painting-program - Lead – Overview | Occupational Safety and Health Administration
https://www.osha.gov/lead - https://www.cdc.gov/lead/prevention/repair.html
- Lead in the Workplace | Lead | CDC
https://www.cdc.gov/niosh/topics/lead/ - https://en.wikipedia.org/wiki/Floor_polishing
- https://en.wikipedia.org/wiki/Hardwood_flooring
- https://www.nps.gov/subjects/historicpreservation/preservation-briefs.htm
- https://pubmed.ncbi.nlm.nih.gov/?term=concrete+floor+repair
- Google Scholar Google Scholar
https://scholar.google.com/scholar?q=commercial+floor+restoration+hardwood+refinishing - Google Scholar Google Scholar
https://scholar.google.com/scholar?q=concrete+floor+repair+and+resurfacing+methods