
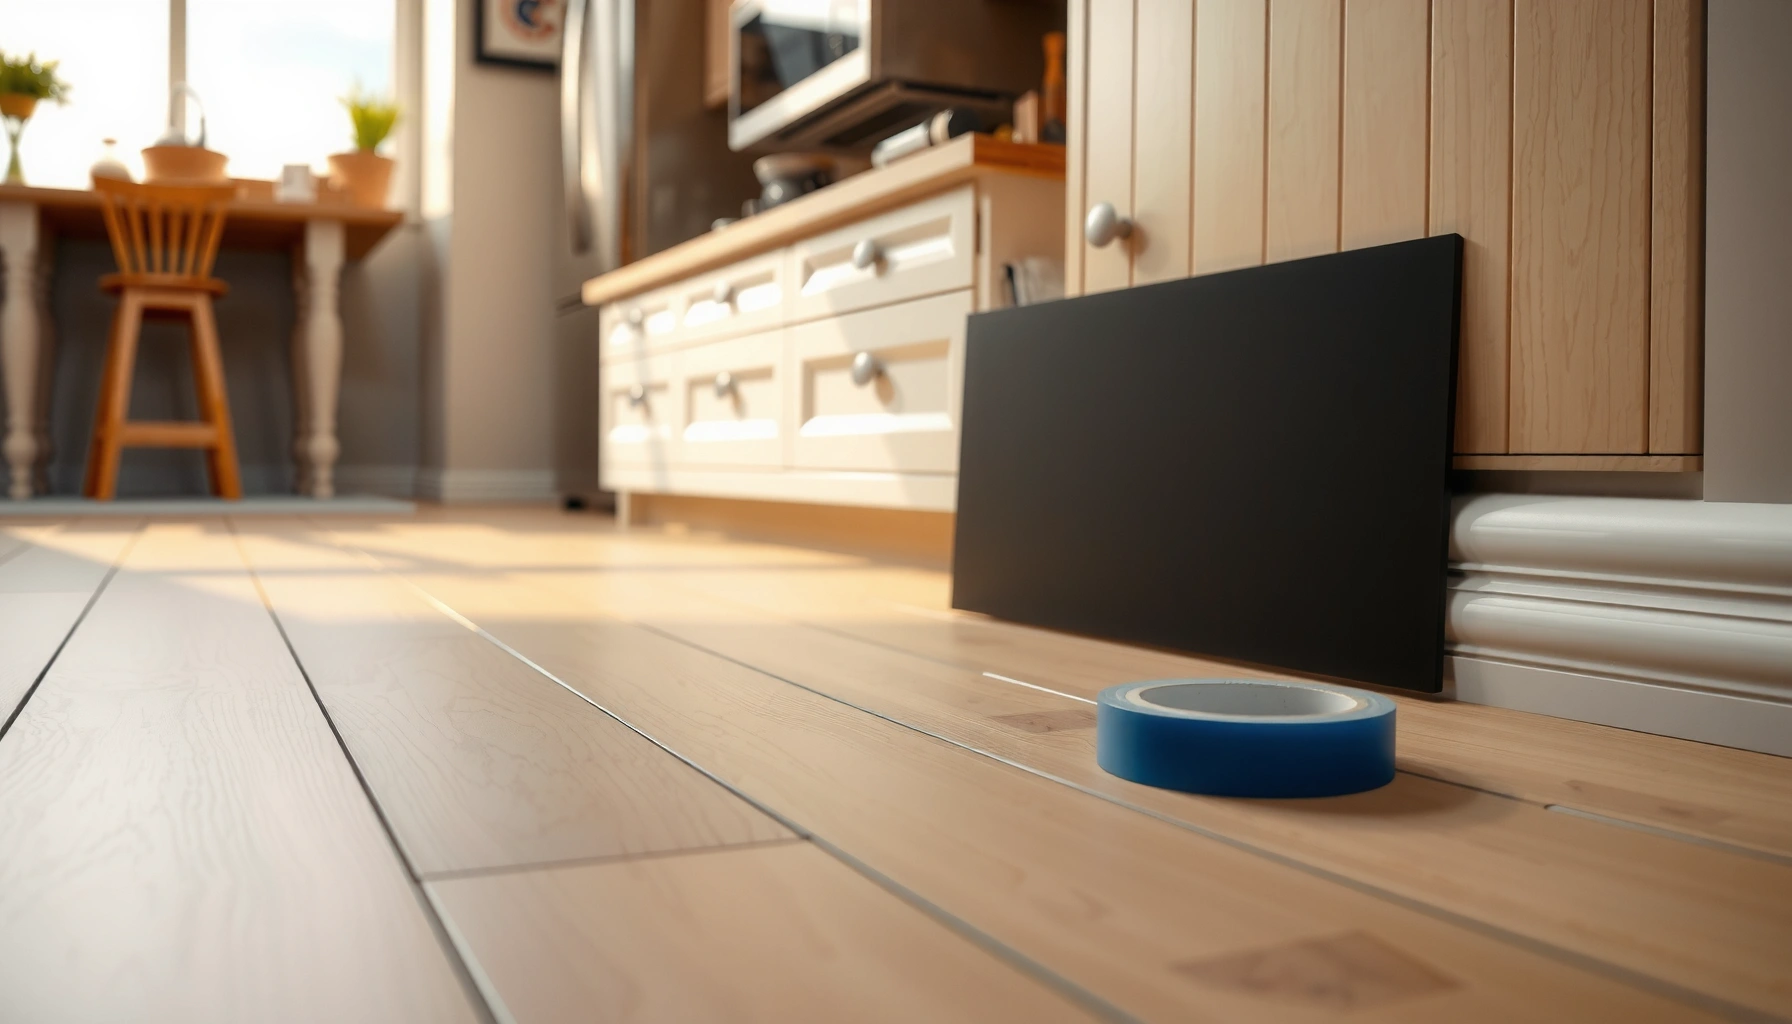

Planning the expansion gap first—then fastening baseboards to the wall (not the flooring) using the method matched to your floor type—is what prevents buckling and keeps trim looking crisp. Below is a practical, DIY-forward approach to measuring, cutting, and installing baseboards around already-laid kitchen floors without locking the flooring in place.




This guide is for homeowners and DIYers replacing or installing baseboards after (or alongside) kitchen floor installation—especially when you want tight trim lines without trapping the floor so it can still expand and contract. If your kitchen floor is already down, the priorities shift to gap control and clean transitions at corners and doorways.
Pre-Plan the Fit (Expansion Gap + Layout)
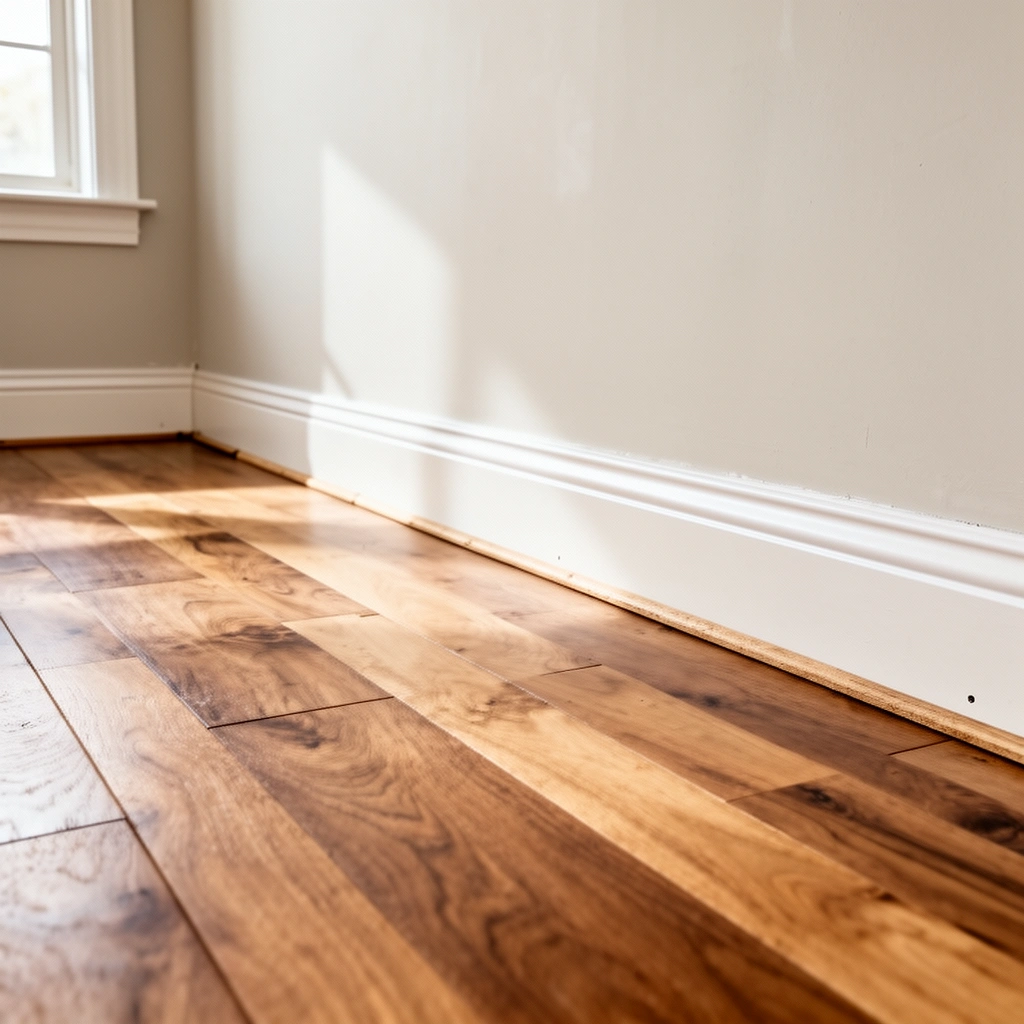
Before you cut any baseboard, confirm the floor’s movement needs and plan a gap you can maintain along every wall. Then choose the baseboard height and thickness so the trim covers the gap without pressing into flooring edges.
“Floating” laminate and LVP/engineered systems typically require a perimeter expansion gap so the floor can expand and contract without buckling.
Baseboards should be fastened to framing (studs/solid backing) so the trim stabilizes itself while the floor remains free to move.
The baseboard-to-floor joint is usually meant to be left open or only lightly finished so movement isn’t restricted.
Confirm your flooring type and its perimeter gap
Kitchen floors vary, and the “right” baseboard approach depends on whether your floor is:
– Nailed-down hardwood or solid wood (movement is different because installation method differs)
– Glue-down wood/LVP (still has expansion, but less “floating” behavior)
– Floating/locking laminate or floating LVP (most sensitive to restricted movement)
Follow the manufacturer’s installation instructions for the required wall gap. In many residential installs, this is commonly around 6 mm (about 1/4 inch), but you should treat it as a product-specific value, not a universal rule ([ADD: manufacturer documentation for required perimeter expansion gap]).
According to typical industry guidance, expansion gaps are necessary to accommodate seasonal dimensional change, and manufacturers specify the exact clearance they need ([ADD: source—manufacturer installation guide or industry standard]).
Plan baseboard coverage so you don’t bridge the gap
Baseboards serve two roles:
1. Hide the perimeter gap between the floor and the wall
2. Provide a clean visual line at the room’s base
To do this, plan the baseboard profile so it visually covers the gap while still leaving the floor free to move. Practically, that means the baseboard edge should not be tight against the floor surface if your floor is designed to float.
Dry-fit the corner strategy and starting point
Baseboard layouts become complex fast because corners and miter joints control the visual “flow” of your trim. Dry-fit:
– Inside corners (often coping is used, depending on trim profile and wall squareness)
– Outside corners (usually mitered)
– Where you’ll start to keep the longest straight runs straight
A small planning choice here—starting at the least-visible side vs. a main hallway—can make the finished seams look intentional instead of accidental.
Measure, Mark, and Dry-Fit Baseboards
Accurate measuring and pre-checking prevent the most common “I installed it and now the corner seam gapped” problem. Measure wall lengths carefully, reference stud/line alignment for consistent height, and dry-fit before committing to final cuts.
A consistent reference line (level/laser line) helps keep the top edge of baseboards aligned across uneven kitchen walls.
Dry-fitting helps catch conflicts with door casings and floor transitions before you cut final-length pieces.
Marking stud locations allows nailing or screwing into solid backing, improving long-term trim stability.
Measure wall lengths with real trim geometry in mind
Don’t just measure “wall to wall.” Account for:
– The baseboard profile thickness/overhang
– Inside vs. outside corner join type (miter vs. coping
– Any door casing or base “breaks” where the trim must stop/start cleanly
Tip: number your walls and baseboard pieces (e.g., “Wall A—piece 1”) so you don’t accidentally swap left/right miter angles later.
Establish the “top line” and verify it’s level enough
Use a level or laser and mark a reference line around the room. This matters because baseboards telegraph wall irregularities.
According to common finishing practice, small out-of-level conditions can be handled with shims, but large warps often require more extensive corrections—especially noticeable on long kitchen walls ([ADD: source—finishing trim best-practice guidance]).
Dry-fit around doorways and flooring transitions
In kitchens, the floor often changes at doorways (tile to LVP, LVP to hardwood, etc.). When baseboards meet those transitions:
– Dry-fit to ensure your baseboard doesn’t interfere with transition pieces
– Confirm you’re not covering/locking the floor system’s movement area
Also check for obstacles like:
– toe-kick details
– plumbing penetrations
– thresholds that must remain serviceable
Cut Corners and Joints Cleanly
Clean corners come from correct join logic and careful cutting—not from forcing pieces to fit. Choose miter vs. coping based on your trim and wall alignment, and pre-test your angles.
Outside corners typically require miter cuts, while inside corners often look cleaner with coping when profiles don’t match perfectly.
Test-cutting scrap first is a reliable way to confirm blade choice and angle settings before cutting your final baseboard lengths.
Pre-drilling or using the correct fastener type prevents splitting in medium-density fiberboard (MDF) and many solid wood baseboards.
Choose miter method vs. coping method
– Outside corners: most straightforward with miter cuts
– Inside corners: depends on trim profile and wall squareness
– If your inside corners are out of square, coping often reduces visible gaps because the profile “locks” visually
Pre-drill, or fasten strategically to avoid splitting
Baseboard materials vary (pine, oak, MDF, composite). Splitting prevention typically comes from:
– pre-drilling pilot holes into wood
– using the correct nail type and angle
– not over-tightening screws
– spacing fasteners properly along studs
If your baseboard is MDF or composite, treat it gently—edges can chip and screws can blow out.
Handle uneven walls without “bending” the trim
If a wall bows, forcing a rigid baseboard to bend creates stress and future gaps. Instead:
– shim behind low spots
– adjust fastener placement so the trim sits flat without fighting the wall line
Install Baseboards Without Damaging the Kitchen Floor
Install baseboards in a way that stabilizes the trim while leaving the flooring’s designed movement untouched. The key rules are: leave the correct clearance, fasten to the wall structure, and caulk only where it won’t restrict floor movement.
For floating floors, manufacturers generally direct that fasteners should not be driven through baseboard to “pin” the flooring.
Caulk should typically be applied between baseboard and wall, not between baseboard and the floor, to avoid restricting expansion.
Using shims behind low wall spots helps baseboards sit flat without flexing or future separation.
Leave the movement gap where the flooring needs it
If your floor is designed to float, you should not press the baseboard tight against the floor edge. The perimeter clearance is often specified by the flooring manufacturer and can be different across products ([ADD: cite—flooring installation guide specifying wall gap]).
Here are three common, real-world numeric anchors you’ll see referenced in installation guidance—confirm yours in the manufacturer instructions:
– Perimeter expansion gaps commonly land around ~6 mm (1/4 in) for many floating products ([ADD: cite—specific flooring manufacturer spec])
– Typical baseboard copings/miter angles are usually 45° for simple outside corners, but always re-check with a corner angle finder on older homes ([ADD: cite—trim fitting guidance])
– Fastener spacing for trim is commonly in the ~12–16 in range depending on material and length stiffness ([ADD: cite—trim fastening guidance or product doc])
Fasten to studs (and use shims for flatness)
A reliable method:
1. Locate studs or wall framing.
2. Fasten into studs with nails/screws designed for trim.
3. Shim behind the baseboard where the wall dips.
4. Keep fasteners consistent so the trim doesn’t “oil-can” (flex and bow) between studs.
This approach gives the trim stability without creating a rigid “bar” that traps the flooring.
Seal gaps carefully (wall-to-baseboard only)
Use caulk for the visual seam between baseboard and wall, but avoid sealing a joint that the floor must keep moving through. Caulking between the baseboard and flooring can crack, peel, or—worst case—limit movement and stress the floor.
Comparison: fastening methods by floor behavior
Use this as a practical decision filter when you’re choosing your fastening approach and finishing strategy:
| Situation | Recommended approach | Why it matters |
|---|---|---|
| Floating/locking laminate or floating LVP | Fasten baseboard to wall structure only; maintain perimeter gap; caulk baseboard-to-wall only. | Floor must move; restricting it increases risk of buckling or joint failure. |
| Glue-down resilient or glue-down plank | Follow manufacturer clearance instructions; still avoid hard seals that block edge movement. | Even glued products expand; blocking the edge can telegraph stress at perimeter. |
| Nail-down wood flooring | Confirm how much movement allowance remains at perimeter and keep baseboard from crushing that zone. | Wood moves with humidity; perimeter is where that movement shows first. |
A note on adhesives (when they’re appropriate)
Some baseboard installs use adhesive plus nails. If you use adhesive:
– Apply only where it supports the trim to the wall
– Avoid adhesive “bridging” into a joint that needs to remain movement-friendly
– Follow adhesive cure and surface requirements from the manufacturer documentation
Handle Common Kitchen Issues (Thresholds, Floors That Float, Uneven Walls)
In kitchens, the “normal wall” assumptions break at thresholds, inside corners formed by cabinetry, and transitions to other floor types. The fix is planning movement paths and designing the trim breaks so the floor stays free to expand.
At doorways and transitions, you should plan baseboard stops and movement allowances so the floor isn’t mechanically locked into place.
When a kitchen has a floating/locking floor, baseboards should not be nailed in a way that pins the flooring edge.
Uneven walls are best handled with shims and controlled jointing rather than forcing rigid baseboards to bend.
Thresholds and transitions: don’t “over-trim”
At doorways:
– Baseboards often stop at a clean line, then resume on the other side
– Thresholds may require clearance so the flooring system can move without interference
If your floor transitions to tile or another room, confirm whether that threshold area includes its own movement design. Your baseboard should complement that design, not block it.
Floating/locking floors: keep the wall-side fasteners only
For floating floors, the safest pattern is:
– Fasten baseboards into studs/wall
– Keep the baseboard edge from pressing into the floor
– Avoid fastening through the baseboard into the flooring system layers
This aligns with manufacturer intent for “floating” products: the floor plane moves as a unit.
Uneven walls: shim behind the trim, not against it
For wavy or out-of-level walls:
– shim at low points
– check for consistent reveal (the visible gap at joints)
– adjust miter/coping where possible
In practice, we often see that “perfect” miters fail on uneven walls. The goal becomes consistent visual alignment rather than pretending every corner is square.
What Can Go Wrong (And How to Avoid It)
Most failures are preventable because the root causes are consistent: blocked movement, wrong sealing, and inaccurate corners. If you avoid those three categories, you’ll solve the majority of kitchen baseboard problems.
Without an expansion gap, floors—especially floating systems—can buckle or create perimeter stress during seasonal changes.
Caulking baseboard-to-floor joints can crack as the floor expands, because caulk isn’t designed to accommodate slab/free movement at that interface.
Unlevel or out-of-square corners create visible seams when miters aren’t adjusted through dry-fitting.
Common mistakes
– No expansion gap: Baseboards that press into flooring can lead to buckling or later separation.
– Caulk where it shouldn’t be: Sealing the baseboard-to-floor movement point can crack or peel.
– Bad corner math: Incorrect miter angles or corners that aren’t square create persistent gaps even after you “force-fit.”
Quick prevention workflow (works for most kitchens)
1. Verify the required perimeter clearance in the flooring guide ([ADD: cite—manufacturer spec])
2. Dry-fit the baseboard run and corner pieces
3. Install with wall-side fasteners
4. Caulk only baseboard-to-wall
5. Re-check movement edges at thresholds before final trimming
Verdict / Tip (What to Do, and Who Should Skip DIY)
If your kitchen flooring already has a specified wall gap and your walls are reasonably stable, this is a solid DIY trim job. The biggest downside is that trim lines can look “off” when walls are significantly out of level—if you’re dealing with major wall unevenness, a pro trim carpenter can save time and reduce visible seams.
Skip DIY (or get help) if you’re unsure whether your floor is truly floating/locking or if the installation instructions are unclear—because the fastening and gap rules can differ. In that case, [ADD: consult your flooring brand’s installation guide] before proceeding.
Common Trim Installation Choices for Kitchen Floors (Decision Matrix, 2026)
| # | Floor Condition in Your Kitchen | Best Fastening Target | Gap Strictness | Risk If You Seal/Pin Wrongly | Recommendation Fit |
|---|---|---|---|---|---|
| 1 | Floating/locking LVP already installed | Wall studs only | Very high | High (buckling stress) | ★★★★★ |
| 2 | Floating/locking laminate already installed | Wall studs only | Very high | High (joint separation) | ★★★★★ |
| 3 | Glue-down LVP | Wall (no floor pinning) | Medium | Medium (edge stress) | ★★★★☆ |
| 4 | Nail-down hardwood | Wall studs or solid backing | Medium | Medium (seasonal movement) | ★★★★☆ |
| 5 | Uneven walls with pre-installed tile | Wall (shim to flat) | High (visual gap risk) | Medium (seam visibility) | ★★★☆☆ |
| 6 | Doorway transitions already trimmed | Wall (plan baseboard breaks) | High | Medium (pinning risk) | ★★★★☆ |
| 7 | Subfloor moisture risk areas | Follow product moisture guidance | Very high | High (perimeter failure) | ★★☆☆☆ |
Quick Checklist (Scan Before You Cut)
– [ ] Confirm flooring type and required wall expansion gap ([ADD: source/spec from manufacturer])
– [ ] Mark studs and wall reference line (level)
– [ ] Dry-fit corners and first/last sections
– [ ] Use correct corner technique (miter vs coping) for your trim
– [ ] Leave movement gap between baseboard and flooring
– [ ] Fasten baseboards to wall (avoid restricting floating floors)
– [ ] Caulk baseboard-to-wall only (avoid locking the floor)
FAQ
Should baseboards be installed before or after kitchen flooring?
Typically, flooring goes first so the baseboard doesn’t restrict the floor’s expansion/movement. However, follow the specific instructions for your flooring type—some scenarios may be handled differently by the manufacturer.
How do I deal with a floating floor under baseboards?
Keep the baseboard fastening on the wall side (generally in studs) and do not press the baseboard into the flooring. Also, maintain the required expansion gap so the floor can move freely.
Do I need to leave an expansion gap between baseboards and the floor?
Yes—most flooring systems require wall gaps to allow movement. The exact gap depends on your flooring product, so use the manufacturer’s installation guide for the correct allowance ([ADD: source for required gap for your flooring]).
What’s the cleanest way to finish corners?
Inside corners often look best with coping (so the profile overlaps), while outside corners usually use miter cuts. If walls aren’t square, dry-fitting and minor angle adjustments matter a lot.
Sources
– [ADD: Flooring manufacturer installation instructions for wall expansion gap and baseboard/trim guidance]
– [ADD: Baseboard/trim product documentation for recommended fastening method (nail vs adhesive) and caulking/seaming guidance]
Baseboards in a kitchen look best—and last longest—when you respect the flooring’s movement needs: plan the perimeter expansion gap, fasten trim to the wall structure, and avoid sealing the joints that must remain free. If you follow the measurement/dry-fit workflow and handle thresholds with intentional trim breaks, you’ll get a tight, professional finish without risking floor buckling or cracked caulk at the kitchen’s most traffic-heavy edges.
Frequently Asked Questions
What’s the best way to install baseboards when the kitchen has tile or vinyl flooring?
Start by checking whether your kitchen flooring is installed flush to the wall; baseboards should cover any small gaps without crushing the flooring edge. For tile floors, use a backer/caulk line so the baseboard has a clean, straight contact point and use painter’s tape to protect grout lines. For vinyl plank or LVP, ensure the floor has proper expansion space and don’t fasten baseboards in a way that restricts the floating floor’s movement.
How do I handle baseboard installation over an uneven subfloor in the kitchen?
Find the high and low points with a straightedge and mark the wall so you can scribe or shim as needed. Use shims behind the baseboard where it won’t sit flat, and fill minor voids with wood filler or paintable caulk to create a smooth transition to your kitchen flooring. If the floor is uneven, consider adjusting your baseboard profile (or using a flexible baseboard) rather than forcing it, which can cause gaps or cracking.
How do I prevent gaps between baseboards and kitchen flooring during installation?
Dry-fit the baseboards first to confirm the cut line aligns with your floor height, especially if you’re installing on top of tile backer boards, underlayment, or new subflooring. Use a combination of caulk and tight carpentry: caulk the top edge of the baseboard where it meets the wall, and keep the bottom gap minimal with accurate cuts or scribing. Avoid over-caulking the floor joint—use just enough so the baseboard looks sealed without interfering with tile movement or vinyl expansion.
Which installation method is safest for baseboards in kitchens with floating vinyl floors?
Floating vinyl flooring typically needs room to expand, so you should avoid nailing or screwing through the baseboard in a way that anchors the flooring. A common approach is to attach the baseboards only to the wall studs (or use construction adhesive where appropriate) while keeping fasteners from contacting the vinyl planks. This lets the kitchen flooring expand and contract while still giving you a clean finished edge for the baseboards and floor trim.
Why should I use scribe cuts or caulking when installing kitchen baseboards against tile?
Tile floors and walls often have slight irregularities, and scribing helps the baseboard follow the contour so you don’t end up with visible daylight gaps. After fitting, apply a paintable caulk along the joint between baseboards and the wall and use a careful bead to cover small transitions at the kitchen flooring edge. For best results, use a caulk that matches the finish and allows movement, which reduces cracking where tile meets trim.
📅 Last Updated: October 12, 2026 | Topic: How to install baseboards with kitchen floors? | Content verified for accuracy and freshness.
References
- Baseboard
https://en.wikipedia.org/wiki/Baseboard - https://en.wikipedia.org/wiki/Skirting_board
- https://en.wikipedia.org/wiki/Flooring
- Expansion joint
https://en.wikipedia.org/wiki/Expansion_joint - Wood flooring
https://en.wikipedia.org/wiki/Hardwood_flooring - Framing (construction)
https://en.wikipedia.org/wiki/Wall_framing - https://en.wikipedia.org/wiki/Tile_installation
- Google Scholar Google Scholar
https://scholar.google.com/scholar?q=installing+baseboards+over+tile+floor+kitchen - Google Scholar Google Scholar
https://scholar.google.com/scholar?q=baseboard+installation+gap+flooring+expansion - Google Scholar Google Scholar
https://scholar.google.com/scholar?q=install+trim+around+hardwood+floor+and+baseboards+best+practice


