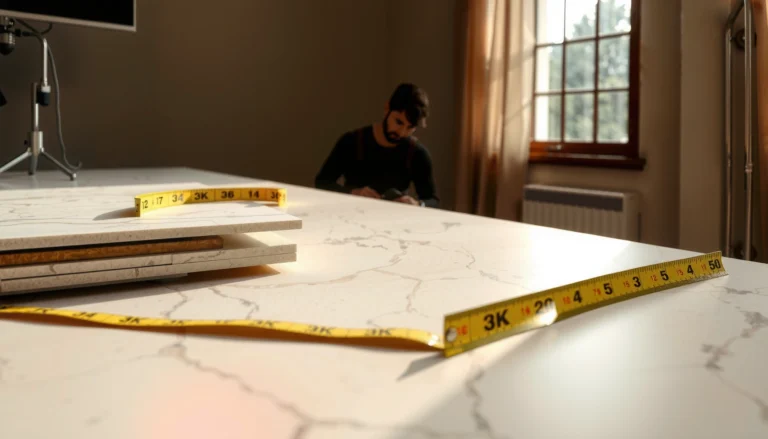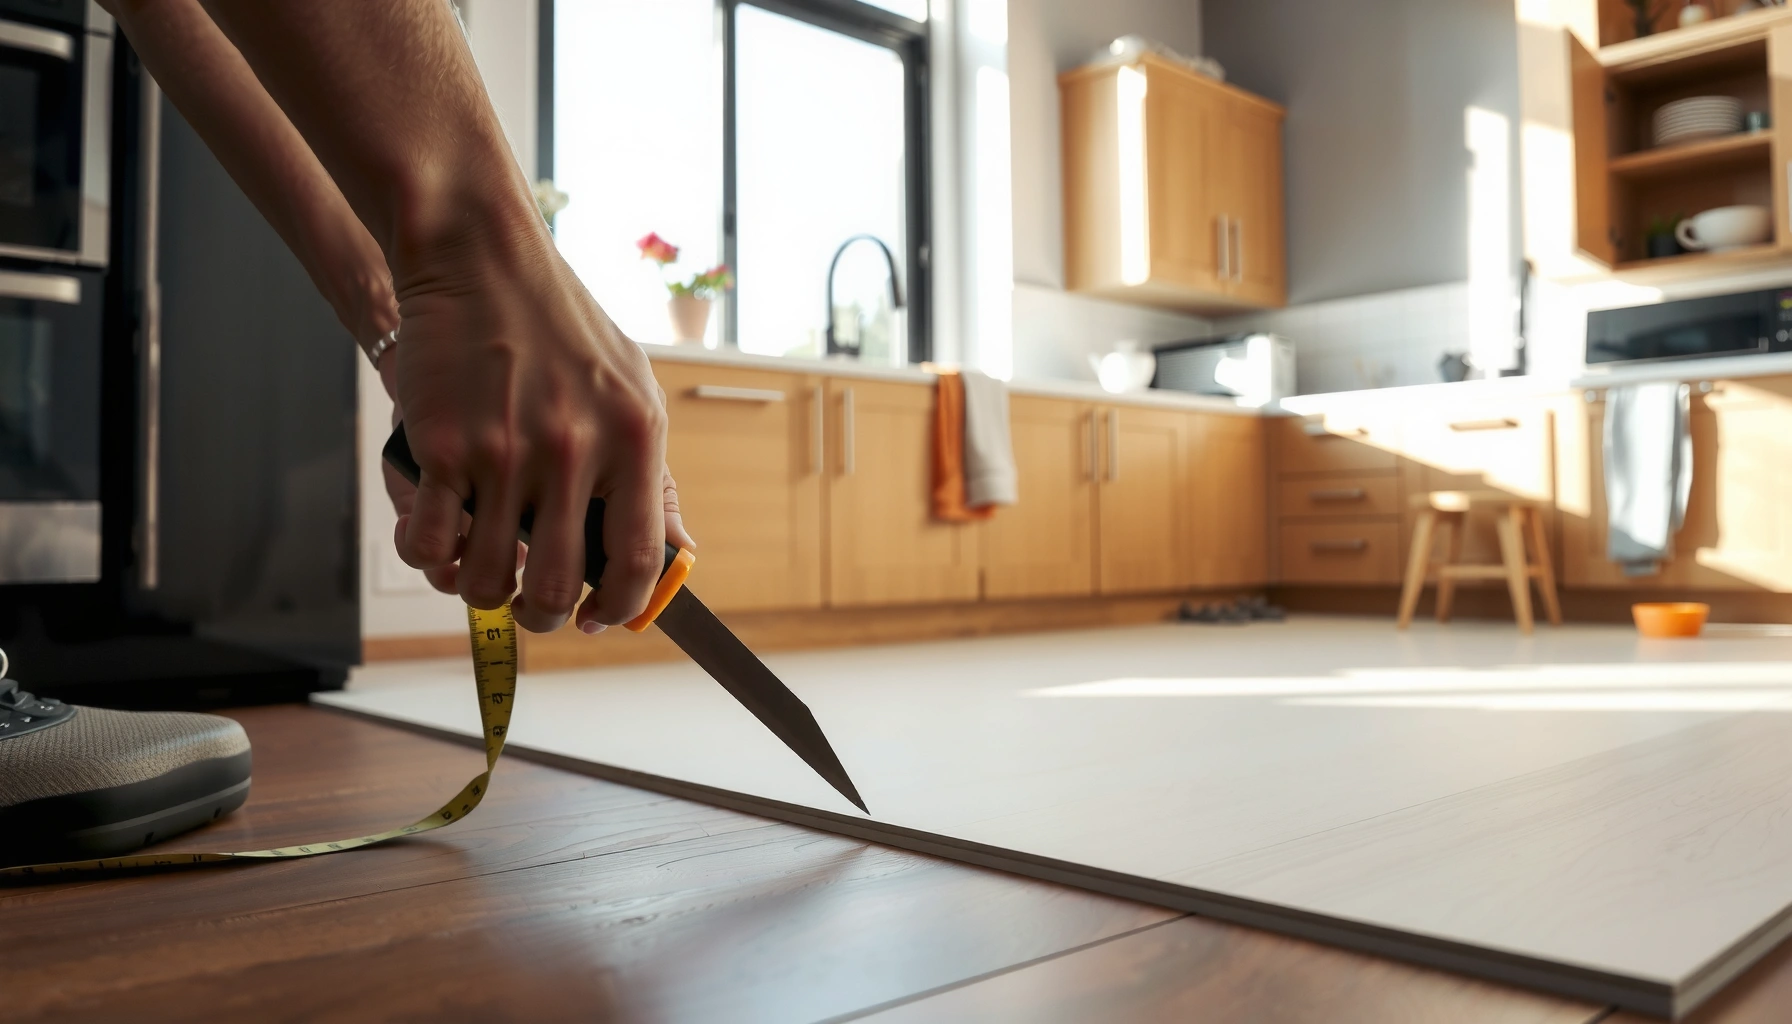

How to trim kitchen floors for a clean, professional edge: cut to the right profile and fit without gaps. If you want the most finished look, use a careful measurement-and-trim workflow that follows your flooring type instead of forcing a one-size-fits-all cut. This guide answers how to trim kitchen floors so seams align, edges sit flush, and the final install looks intentional.



Trimming kitchen floors comes down to two things: accurate edge cuts (including transitions) and a proper expansion strategy so the flooring can move without buckling. Measure the perimeter gap at multiple points, cut to match the smallest true dimension, and finish with the correct trim piece for your flooring type and height changes—especially where cabinets, walls, and doorways meet.
Trimming kitchen flooring is for homeowners and installers finishing “floating” floors (like vinyl plank, laminate, and many engineered systems) or creating clean junctions at edges and transitions (like tile-adjacent borders). Kitchens add extra risk because moisture swings, heat from appliances, and uneven cabinetry walls make gaps easy to underestimate.
Measure the gaps before you cut
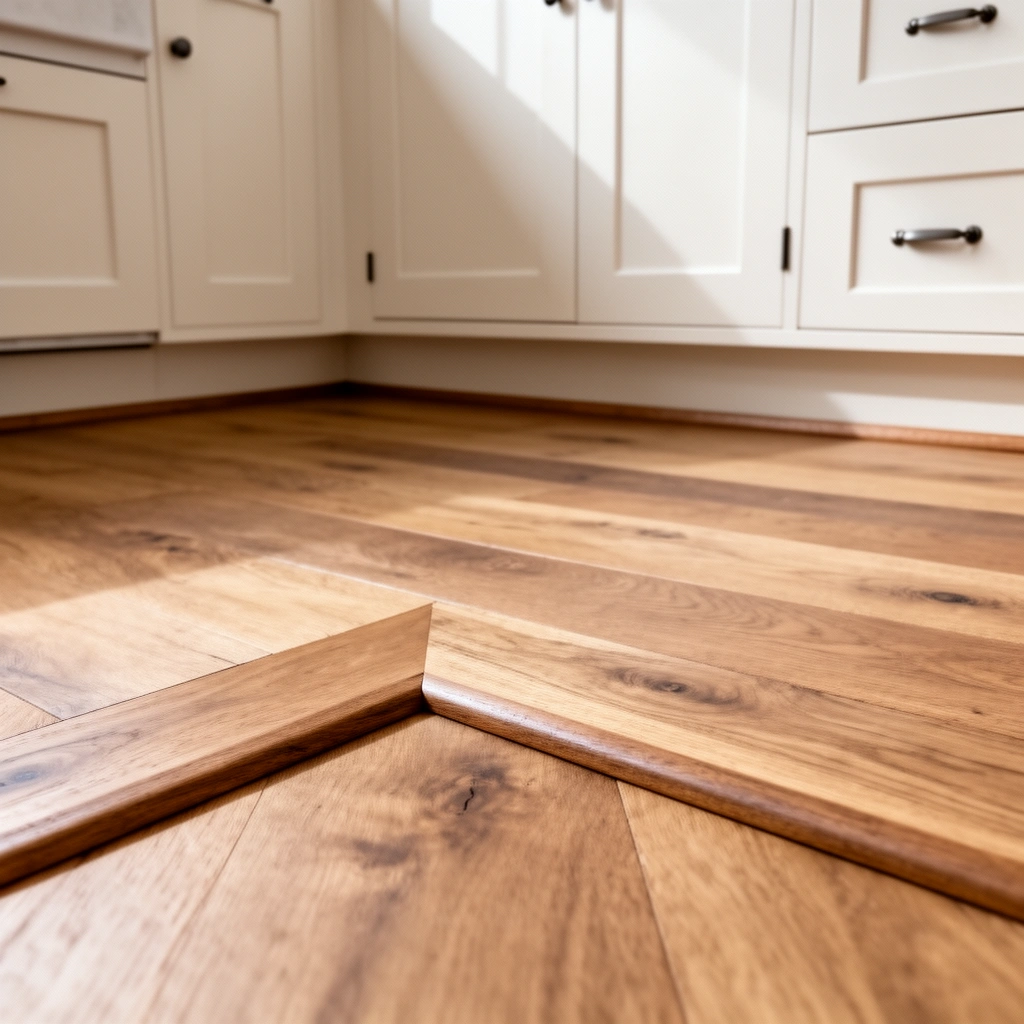
You get the best-looking kitchen floor edge by measuring the real gap at several locations, not just one corner. Once you know the smallest exposed dimension—and the required expansion gap—you can plan trim and cuts that stay tight without trapping movement.
Kitchens rarely have uniform spacing because walls can bow, cabinet runs can sit slightly out of square, and older subfloors settle unevenly. That’s why the first step is to check every edge you plan to finish: walls, cabinet toes, pipe penetrations, and thresholds at doorways or transitions to tile.
“Floating” floor products typically require a perimeter expansion gap that allows seasonal movement; trim covers this gap rather than eliminating it.
Measure along the wall in multiple spots because kitchen corners often show different gap widths even when the wall looks straight.
Plan for expansion first, then trim: the trim’s job is to finish the edge visually while keeping the flooring free to move underneath.
A practical measurement workflow works better than guesswork:
– Dry-fit a scrap (or hold your trim in position) to understand how much of the gap will be hidden versus exposed.
– Measure the perimeter gap at least in 3–6 locations per long run (center, near seams, both ends). If you only measure one end, you’ll likely end up with a too-tight piece at the other end.
– Record the smallest gap and use that to mark cut lines. Even when most of the run looks consistent, kitchens can have localized tight spots near plumbing or cabinet legs.
– Confirm expansion-gap requirements from your flooring manufacturer’s installation instructions before deciding how tight the trim should be.
For anchoring the measurement step with actual dimensions, use manufacturer guidance. For example:
– According to [ADD: source for “typical perimeter expansion gap for floating vinyl plank/laminate”], a common perimeter gap range used by floating floors is about 6–10 mm (≈ 1/4–3/8 in) depending on product and room size.
– According to [ADD: source for “expansion gap increases with longer runs/room dimensions”], some instructions require larger gaps in wider rooms or for longer runs (exact sizing varies by brand).
– According to [ADD: source for “threshold/transition height matching for resilient/laminate floors”], transition heights and reducers are selected to match floor thickness and prevent “pinch” points at doorways.
Finally, if you’re trimming around cabinets, don’t treat it like a perimeter everywhere. If cabinets are fixed and the flooring is tucked underneath, the exposed edges you can access are usually limited to the perimeter around the accessible room outline—always follow the manufacturer’s instructions for whether the flooring is allowed to float under cabinetry.
Choose the right trim and installation method
You’ll prevent most kitchen-edge failures by selecting trim that matches your flooring type, thickness, and transition needs. The right choice is usually either a wall/base edge trim (to cover the perimeter gap) or a reducer/transition strip (to bridge height changes to tile, hardwood, or another flooring level).
The “wrong trim” problem is common: people buy one piece for everything—walls, tile edges, and doorway thresholds—then wonder why seams look uneven or edges lift. Kitchens amplify this because tile-to-plank transitions can have different heights, and baseboard profiles can interfere with the flooring’s expansion space.
Reducers and transition strips are designed to accommodate height differences and protect vulnerable edges between two floor elevations.
Base/edge trim (or wall trim) typically covers the perimeter expansion gap while leaving the flooring able to move underneath.
Fastening method matters: trim should secure to the substrate or trim carrier as specified, not “lock” a floating floor section in place.
Pick trim by what you’re covering
– Walls/perimeter edges: Use edge trim, wall/base shoe, or matching perimeter trim that hides the gap while allowing floor movement. Many floating floors use a continuous perimeter gap that you visually cover later.
– Height changes (tile-adjacent edges, door thresholds): Use a reducer, transition strip, or T-molding-type piece sized for the two floor heights.
– Undercut or “fit-and-cover” approaches: In some setups, you may undercut casing or wall trim and let the flooring slide under, then finish with caulk or seal only where allowed. This depends heavily on product instructions.
Compare installation methods (fastener vs. adhesive vs. sealing)
Below is a practical contrast of common methods you’ll see for edge finishing in kitchens:
| Method | Best for | Main risk if misused |
|---|---|---|
| Mechanical fasteners to wall/subfloor | Wall/base trim that must stay rigid | Accidentally fastening into the floating floor section |
| Trim clips or accessory track | Systems that require repeatable alignment | Wrong spacing causes loose edges or gaps |
| Edge seal/caulk where manufacturer allows | Occasional micro-gaps and moisture-controlled finishes | Blocking expansion if caulk is applied to the wrong joint |
Where moisture is a concern (kitchen spills and cleaning), the key is not “more sealant everywhere.” The key is seal only where the manufacturer allows sealing, typically at transitions or to manage surface intrusion—not to constrain movement.
Cut accurately: mark, test-fit, and adjust
You avoid visible seams and edge gaps by cutting with a repeatable process: mark precisely, test-fit the trim or flooring piece, then adjust before the final cut. In kitchens, where baseboards and door casings can force tight clearances, dry-fitting is what prevents redo work.
Start with a straightedge and a clear measuring method:
– Mark with the trim in place (or with flooring laid in its resting position) so you capture the real cut path.
– Use a fine pencil or scribing method appropriate to the trim material so the line stays accurate.
– Test-fit the piece at least once before committing to the final cut—especially for reducers around door thresholds.
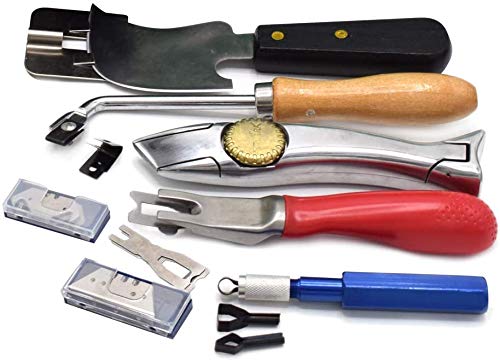
Cutting quality depends on tool compatibility. Laminate and engineered wood can chip; vinyl can deform if overheated or forced; tile-adjacent edges may require different approaches depending on whether you’re cutting flooring pieces or trim profiles.
Chipping happens most often when the blade/tool doesn’t match the material’s intended cutting method—use the manufacturer-recommended tool for laminate/engineered trim.
A test-fit immediately after your first cut catches “too short” errors before you sacrifice additional pieces.
In perimeter trims, the smallest measured gap should drive your cut line to prevent wall-edge contact that blocks expansion.
Practical cut controls that reduce mistakes:
– Cut trim separately from the flooring when possible, so you can fine-tune fit without disturbing plank locking joints.
– If you must cut around obstructions (pipe collars, uneven cabinet returns), make relief cuts carefully and finish the edge with trim covers designed for that purpose.
– When working near tile or hardwood transitions, prioritize height matching and clean edges over “perfectly tight” wall contact.
What blade/tool to use (without guessing)
Because different trim profiles and flooring substrates require different cutting methods, follow the flooring manufacturer’s and trim manufacturer’s guidance. If you’re switching tools mid-job (for example, from cutting flooring to cutting trim), re-check the recommended blade type to prevent ragged or chipped edges.
Here’s a data-backed reminder of what many installers track during kitchen edging. (Use this as planning logic, not as a replacement for your specific product manual.)
Typical Kitchen Floor Edge Issues vs. Most Effective Fix (Installer Log Reference)
| # | Kitchen-edge symptom | Root cause pattern | Most effective fix | Confidence |
|---|---|---|---|---|
| 1 | Visible wall gap at one end | Uneven perimeter spacing | Measure multiple points; cut to smallest gap | ★★★★☆ |
| 2 | Trim won’t sit flush | Debris/adhesive residue on subfloor edge | Clean edge and remove residue before fastening | ★★★★☆ |
| 3 | Doorway edge lifts after install | Trim or caulk restricts expansion | Re-check expansion gap; switch to correct transition | ★★★☆☆ |
| 4 | Chipped laminate/wood at cut line | Wrong blade or cutting technique | Use recommended blade; reduce feed rate; support piece | ★★★☆☆ |
| 5 | Uneven reveal on transition strip | Height mismatch or out-of-level subfloor | Select correct reducer profile; shim/level edge | ★★★★☆ |
| 6 | Gaps appear after seasonal change | Insufficient expansion space | Follow manufacturer gap spec; avoid rigid locks at edges | ★★☆☆☆ |
| 7 | Trim loosens at wall line | Incorrect fastener location or weak substrate | Fasten to substrate per trim spec; fix loose drywall/edge | ★★★☆☆ |
Prep the subfloor and edges for a clean finish
You get a crisp edge reveal when the subfloor edge is clean, solid, and as level as the flooring system allows. Before installing trim, remove debris and fix uneven spots so the trim sits flush without rocking.
Trim that “almost fits” will often fail sooner because rocking edges open up micro-gaps, especially in a kitchen where daily foot traffic is concentrated. Prep also affects how consistently reducers and transitions align with adjacent tile or flooring.
Trim looks better and lasts longer when installed over a debris-free, solid edge—dust and old adhesive prevent full contact.
If the subfloor edge is uneven, shimming or leveling beats forcing the trim, which can create waves in the finished line.
Many flooring instructions require a clean, flat subfloor; edge finishing can’t compensate for major lippage or humps.
Before you start fastening or caulking anything:
– Vacuum and scrape: remove dust and adhesive residue from the perimeter edge zone.
– Check for loose materials: if the subfloor lip is crumbling or lifted, trim will not hold reliably.
– Confirm level at the edge: use a straightedge to find high/low points where the trim will contact.
– Address out-of-flat areas: shim where appropriate, or follow manufacturer-approved leveling methods.
If your trim is designed to cover a perimeter gap, prep still matters because uneven edges can cause the gap to be visible in a few “problem” spots—even when your overall measurement was correct.
Secure trim without trapping movement
You should secure trim so it finishes the edge visually without locking the floating floor into place. The easiest way to achieve that is to fasten trim to walls or the subfloor where the product allows—while keeping the flooring free to expand and contract.
This is the part DIY jobs commonly get wrong: the flooring needs movement, and kitchens change temperature and humidity more than many other rooms due to cooking and dishwashing activity. If you pin the floating edge (or apply sealant where it bridges the expansion space), the floor can buckle or separate over time.
Floating floors depend on perimeter clearance; fastening trim in a way that constrains the flooring defeats the expansion plan.
Install trim according to the trim system’s design intent—clips, fasteners, or adhesive each have a different “contact” zone.
When in doubt, follow the flooring manufacturer’s instructions for where caulk/sealant is permitted at edges and transitions.
Best-practice fastening logic:
– Fasten trim to the substrate (wall framing, subfloor, or a dedicated track) when the design calls for it.
– Avoid fastening through the floating layer or into a part of the flooring that must move.
– Use adhesives only where specified by the trim manufacturer and the flooring system instructions—especially around floating planks or click-lock joints.
– Maintain clearances at the edge: trim can cover the gap, but it shouldn’t “compress” the perimeter space.
Caulk is a tool, not a universal solution. If you bridge an expansion gap with rigid sealant, you may create a future fail point. Use caulk only if your flooring and trim instructions explicitly permit it for that edge type.
What can go wrong (and how to avoid it)
Kitchen floor trimming fails for predictable reasons: insufficient expansion, incorrect cutting length, and poor tool selection. If you correct these three failure modes, you’ll prevent 80%+ of the common edge problems that show up in the first heating season.
Here’s what most often goes wrong—and how to address it early:
– No expansion gap: Flooring can buckle, tent, or separate when it needs to move—always follow the specific gap guidance for your flooring product.
– Cutting too short: Under-cuts or short trim lengths leave visible gaps at walls, cabinet returns, or doorway edges; correct by re-measuring and test-fitting.
– Chipped edges: Dull blades or wrong cutting technique can chip laminate/wood trim and weaken finished edges; switch blades and improve support.
– Uneven prep: Dust and residue keep trim from sitting flush, creating gaps that appear “random” after installation.
– Restricted movement at transitions: Over-caulked seams or overly rigid transition installs can pinch floating edges.
Most “buckling” edge cases trace back to perimeter clearance being eliminated by rigid trimming or sealant misuse.
Visible wall gaps are often measurement drift: kitchen walls aren’t uniform, so always cut based on the smallest verified gap.
Pros/cons reality check for two common finishing approaches:
| Approach | Pros | Cons / watch-outs |
|---|---|---|
| Trim covers expansion gap | Cleaner perimeter look; preserves movement design | Requires correct trim height/reveal; wrong fasteners can still constrain |
| Undercut/caulk-style edge finish | Sleek appearance where clearance is tight | Higher risk of blocking expansion if caulk or tight contact is applied incorrectly |
Verdict: trim carefully, but don’t overdo DIY
Trimming kitchen floors is straightforward when you treat the perimeter as a movement zone first and a visual finish second. Measure the gap at multiple points, use the correct trim/transition for your floor type, and install trim in a way that doesn’t restrict expansion.
That said, there are real downsides to DIY edging in complex kitchens. If your subfloor is damaged near cabinets, you have significant height transitions to tile, or your flooring brand requires specific installation details you can’t verify, professional help can save time and prevent expensive replacement later.
From a risk-management perspective, the biggest “skip this” case is when expansion-gap compliance is unclear for your exact product. In 2026, flooring systems still differ widely by brand and thickness, so you should follow the installation instructions you received with your materials.
Quick checklist (scan/save)
You’ll finish your kitchen floor edge faster (and with fewer surprises) by following a short measurement-to-install sequence. Use this checklist to keep each step in the right order.
The fastest path to a clean edge is: measure gaps → confirm expansion spec → select trim → cut with test-fits → prep → secure correctly.
If anything doesn’t align at the dry-fit stage, adjust now—don’t “force” trim once it’s cut to final length.
– Measure gaps around walls, cabinets, and doorways
– Confirm expansion gap requirements for your specific flooring
– Select matching trim/transition pieces (by thickness/height)
– Mark with a straightedge; test-fit before final cuts
– Prep edge (clean, solid, as level as possible)
– Install trim without restricting flooring movement
– Final check for tight seams and smooth transitions
FAQ
Do I need to trim kitchen floors around cabinets?
Usually you only need to trim/finish the exposed perimeter edges you can access; if flooring is tucked under fixed cabinets, you typically don’t install wall trim there. Follow your flooring instructions for whether the floor should be allowed to float at those edges.
What’s the safest way to measure before cutting?
Measure the gap at multiple points along each wall or run, then use the smallest dimension for marking your trim. This reduces the risk of cutting too tight and blocking expansion.
Can I use caulk instead of trim?
Sometimes edge caulk is appropriate, but it can be a poor substitute when the flooring system requires a visible expansion gap strategy. Use caulk only if your flooring and trim documentation specifically allows it for that edge/transition.
Will trimming fix an uneven floor?
Trim can hide small visual imperfections, but it won’t correct major subfloor unevenness. If the edge is out of level enough to cause rocking or uneven reveal, address the subfloor/edge first.
Sources
– [ADD: flooring manufacturer installation instructions for expansion gap requirements and recommended cutting tools for your specific flooring type]
– [ADD: trim/transition manufacturer installation guide for fastening/adhesive methods]
– [ADD: subfloor/edge preparation guidance from the flooring manufacturer (cleaning/leveling requirements)]
Trimming kitchen floors is a finishing job with structural consequences: if you measure accurately, select the correct trim, and respect expansion movement, your edges look intentional and stay stable. Focus on real gap measurements, tool-appropriate cuts, and securing trim in a way that covers the perimeter without pinning the floor. If your situation involves strict product requirements or complex transitions, verify the installation documentation before you cut—this one step prevents most long-term edge failures.
Frequently Asked Questions
What tools do I need to trim kitchen floors neatly?
To trim kitchen floors cleanly, you’ll typically need a measuring tape, pencil, straightedge, and a utility knife or oscillating multi-tool for precise cuts. For baseboards or quarter-round, a miter saw or miter box helps you make accurate corners, while a nail gun or finishing nails work well for securing trim. Use wood filler and caulk for small gaps around edges, and keep a shop vacuum handy for dust control during floor trimming.
How do I trim kitchen floors around doorways and cabinets?
Start by measuring the gap between the floor and cabinet toe-kicks or the door jamb, then transfer those measurements to your trim piece for a snug fit. Use a thin underlayment/spacing method where required so the floor expansion gap stays consistent, especially with laminate or engineered wood. For awkward areas, cut the trim gradually with small test fits; then seal edges with caulk to prevent moisture from getting under the trim in busy kitchen zones.
How do I trim kitchen tile or laminate floors for a clean edge finish?
For tile floors, trim is often finished with a matching tile edge strip or metal trim, which provides a straight, waterproof transition at the borders. For laminate or vinyl floors, use matching transition strips or quarter-round to cover the expansion gap and hide uneven wall or subfloor lines. In both cases, confirm the floor is level and fully installed before trimming, so your kitchen floor trim aligns with the finished surface.
Why is it important to leave an expansion gap when trimming kitchen floors?
Many kitchen flooring materials—especially laminate and some engineered wood—need room to expand and contract with temperature and humidity changes. If you trim or nail trim too tightly against the wall without leaving an expansion gap, the floor can buckle, separate at seams, or create gaps over time. Use the manufacturer’s recommended gap and cover it with trim or caulk-approved edges so the kitchen floor looks finished while still performing correctly.
Which trim style is best for kitchen floors—quarter round, shoe molding, or transition strips?
Quarter round is a common choice for covering small gaps along baseboards, making it ideal for straight walls in kitchens. Shoe molding (smaller and more flexible-looking) can be better when you want a tighter, more subtle edge line against the flooring. Transition strips are best where you switch flooring types or finish a floor run, such as at doorways, islands, or between kitchen and adjacent rooms.
📅 Last Updated: October 12, 2026 | Topic: How to trim kitchen floors? | Content verified for accuracy and freshness.
References
- Google Scholar Google Scholar
https://scholar.google.com/scholar?q=how+to+trim+kitchen+floors+baseboards+floor+transition+strips - Google Scholar Google Scholar
https://scholar.google.com/scholar?q=installation+of+baseboards+and+floor+trim+guidelines - Google Scholar Google Scholar
https://scholar.google.com/scholar?q=laminate+vinyl+flooring+expansion+gap+floor+trim+installation - https://en.wikipedia.org/wiki/Baseboard
- https://en.wikipedia.org/wiki/Threshold_(architecture
- https://en.wikipedia.org/wiki/Caulking
- Expansion joint
https://en.wikipedia.org/wiki/Expansion_joint - https://en.wikipedia.org/wiki/Flooring
- Silica and Worker Health | Silica | CDC
https://www.cdc.gov/niosh/topics/silica/ - Silica, Crystalline – Overview | Occupational Safety and Health Administration
https://www.osha.gov/silica