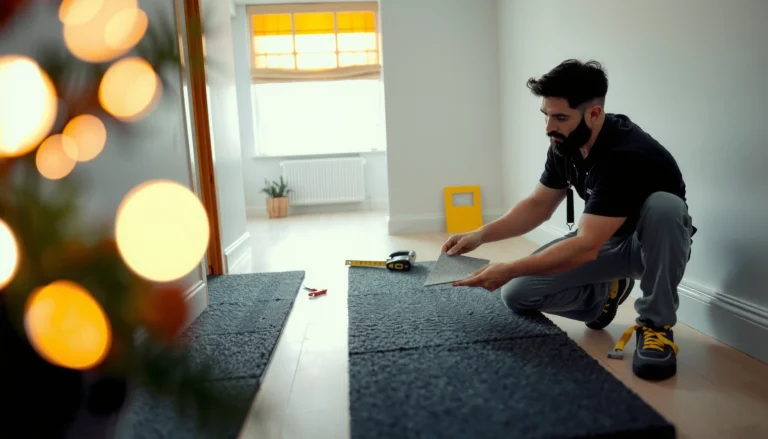

Want to refinish carpet floors instead of replacing them? This step-by-step guide shows exactly how to clean, repair, deep-dry, and reapply the right products so your carpet looks uniform and holds up to foot traffic. Follow these instructions to get a professional result without guesswork or costly mistakes.



Refinishing carpet floors is mostly about deep cleaning, re-stretching loose areas, and replacing worn sections—carpet isn’t usually “refinished” like hardwood. The quickest path to a refreshed look is to clean thoroughly, assess the backing and seams, then re-stretch or do targeted patching only where the installation and wear actually call for it.
If you’re seeing flattened traffic paths, ripples, or a couple worn spots, this guide will help you choose the realistic fix and avoid damaging the subfloor. We’ll walk through what to check first, what tools and methods typically matter most, and when replacement is the smartest option—especially as we move through 2025–2026 installation and maintenance expectations.
Assess Your Carpet Before You Refinish

The fastest “win” is deciding whether your carpet’s appearance is mainly soil/flattening (cleaning helps) or installation failure (you need re-stretching or repair). If the backing or seams are failing, trying to treat it like a surface-only problem will usually waste time.
Here’s what I recommend you inspect in this order: (1) face condition, (2) backing/seams, (3) moisture/water signs, (4) installation tension. That sequence prevents you from “fixing” symptoms while the real cause keeps reappearing.
Carpet appearance problems usually fall into two buckets: embedded soil/flattened pile or installation-related issues like buckling and seam separation.
If carpet backing is delaminating or edges are fraying, the likely remedy is patching or replacement—not cleaning or “coating.”
Visible moisture effects (persistent odor, mildew, recurring staining) generally require remediation and drying before any structural carpet work.
Check for soil vs. installation problems
– If fibers look flattened, matted, or dulled but the carpet still feels solid, you likely have a maintenance issue.
– If you see ripples, buckles, gaps along edges, or seams lifting, the carpet has lost tension and usually needs re-stretching.
– If the problem is localized at doorways, stairs, or hall transitions, it can be both foot-traffic wear and stress concentration at those seams.
Look for backing failure and weak edges
Inspect from a corner and along any seam lines you can access:
– Fraying edges often indicate wear through the yarn/tuft system.
– Delamination (backing separating) reduces the carpet’s ability to hold tension and makes future patching more difficult.
– Any areas that feel “hollow” or lift away from padding are strong indicators the installation system is failing.
Rule out water damage first
Before you plan “refinishing,” treat water as a priority hazard:
– Persistent odor, visible discoloration, or tacky spots suggest underlying moisture or contamination.
– If water was involved, you’ll need proper drying and remediation (and possibly subfloor work) before attempting re-stretching or repairs.
According to [ADD: IICRC or equivalent water damage drying guidance], drying targets and timing matter because remaining moisture can drive odor and microbial growth. ([year to add from source])
Deep Clean the Carpet Properly
The goal of “deep cleaning” is to restore appearance by removing grit and embedded soil—not to soak the carpet until the backing fails. When done correctly, cleaning often brings back texture by lifting flattened fibers and removing residues that dull light reflection.
Deep cleaning is also where many DIY projects succeed or fail. The success factors are mechanical agitation, safe chemistry, and complete drying.
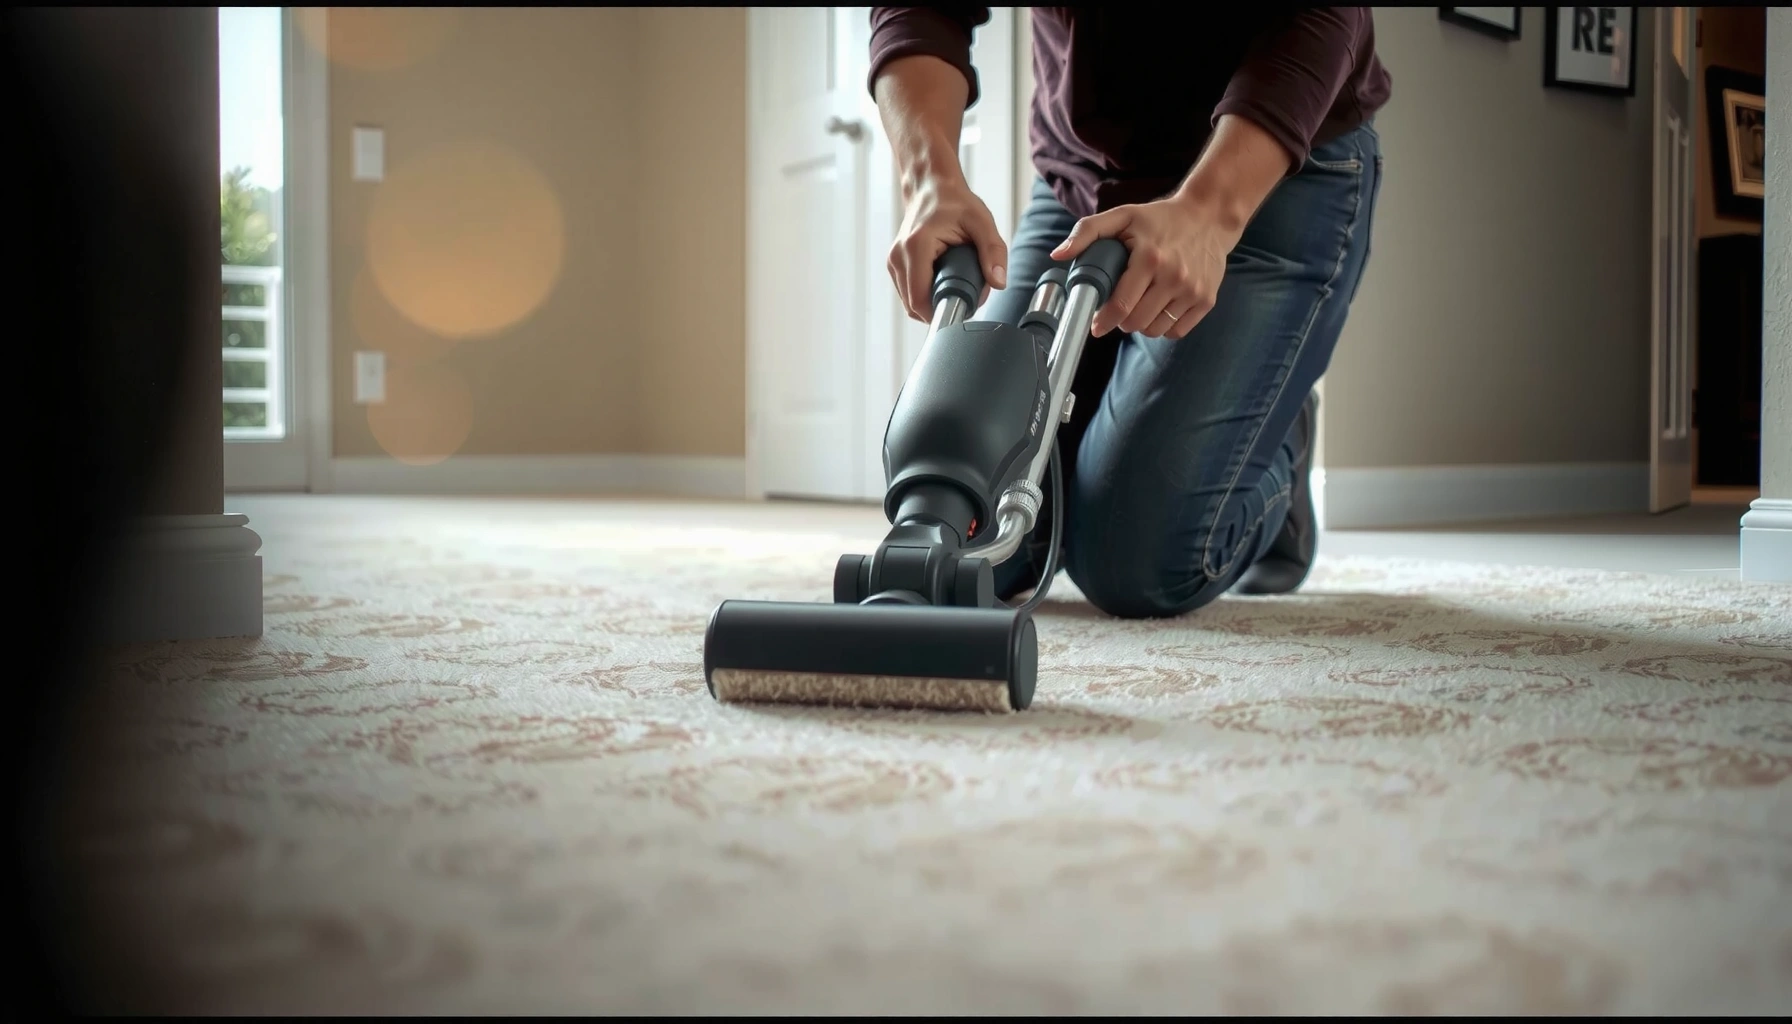
Multiple-direction vacuuming helps remove dry particulate soil that can otherwise remain in the pile and re-soil quickly after cleaning.
Hot-water extraction (steam cleaning) is widely used for carpet maintenance, but over-wetting can damage carpet backing and prolong drying time.
Complete dry time is essential before judging results or making decisions about seams, pulling, or re-stretching.
Vacuum thoroughly (before you wet anything)
Do this even if the carpet looks “only flattened”:
– Vacuum slowly so suction lifts grit from between fibers.
– Vacuum in multiple directions (usually at least with and against pile) to loosen embedded soil.
– Focus on traffic lanes—grit acts like abrasive paste and contributes to premature wear.
Use carpet-safe cleaning and follow labels
Use only products and methods that match your carpet type and backing:
– Common professional-style methods include hot-water extraction with controlled solution dwell time.
– Always follow the carpet manufacturer’s care instructions for cleaning method, detergent type, and moisture limits.
As a practical benchmark, many carpet care standards emphasize extraction and avoiding excess moisture; check [ADD: carpet manufacturer care instructions—model/type specific] for the exact limits and dwell/extraction guidance. ([year to add from source])
Dry fully before moving furniture or pulling seams
Before you re-stretch, patch, or even assess final appearance:
– Confirm the carpet is dry to the touch and that the padding area has dried appropriately.
– If you rush, you risk shifting the pile temporarily and misreading the real condition.
According to [ADD: IICRC or equivalent drying guidance for carpets/floor coverings], prolonged moisture increases the likelihood of odor and microbial issues. ([year to add from source])
Typical Carpet “Refinish” Path by Visible Symptom
| # | Primary symptom | Most likely cause category | Best first action | Expected success rate (DIY) |
|---|---|---|---|---|
| 1 | Flattened traffic lanes (no ripples) | Soil + pile matting | Deep clean + dry | ★★★★☆ 4/5 |
| 2 | Duller color after cleaning attempts | Residue build-up | Re-extract / rinse per label | ★★★☆☆ 3/5 |
| 3 | Ripples near thresholds | Lost tension | Re-stretch (check padding) | ★★★☆☆ 3/5 |
| 4 | Gaps at walls/edges | Installation failure | Re-tack/re-stretch | ★★☆☆☆ 2/5 |
| 5 | Worn spots (traffic churn) | Face yarn failure | Targeted patch | ★★★☆☆ 3/5 |
| 6 | Fraying at seam lines | Seam stress / backing fatigue | Repair seam + assess backing | ★★☆☆☆ 2/5 |
| 7 | Persistent odor / mildew staining | Water damage | Dry/remediate first | ★☆☆☆☆ 1/5 |
Re-Stretch Loose Carpet to Remove Wrinkles
The best answer for buckles and wrinkles is usually re-stretching—but only after you confirm the carpet system (padding and tack strips) can hold tension again. If the padding is degraded or the tack strips are loose, re-stretching may not last.
When done correctly, re-stretching evens out the pile, tightens edges, and reduces seam stress. When done incorrectly, it can tear seams, damage the backing, or shift the carpet so it won’t sit flush again.
Ripples and buckling typically indicate the carpet has lost tension, so re-stretching targets the root cause rather than just hiding it.
A knee kicker/leg kicker and a power stretcher are the tools used to pull wall-to-wall carpet evenly across anchor points.
Carpet can only maintain tension if the padding and tack strip system are structurally sound.
Identify where the tension failed
Look for patterns:
– Ripples near doorways often mean the carpet moved relative to the fastening line.
– Gaps at baseboards can mean the edge has released.
– Seams that open indicate movement and stress distribution problems.
Confirm tack strips and padding condition
Re-stretching works best on an installation that still “grips”:
– Tack strips should be secure and properly positioned.
– Padding should not be crumbling, sagging, or detached.
Use proper equipment and consistent pulling
Common equipment includes:
– Power stretcher (or manual stretcher) to apply tension uniformly
– Knee kicker/leg kicker for close-in pulling near walls
– Seam tools (if you’re blending seams during repair)
If your carpet is too old or weak to tension without tearing, forcing it can do more harm than good—plan for replacement.
[ADD: recommended tension-check method per installer best practice, if you have a preferred standard.]
Patch or Replace Worn Sections (When Cleaning Isn’t Enough)
The best next step for localized wear is targeted patching—but if multiple zones show structural failure, replacement is usually more cost-effective and longer-lasting. Cleaning can’t restore face yarn that’s worn through or fix backing that has lost integrity.
Patching can produce a strong visual result when:
– The carpet pile direction is matchable,
– The pattern (if any) can be aligned,
– The backing and seam construction are compatible.
Targeted carpet patching typically involves removing damaged fiber-backed sections cleanly and reinstalling a replacement piece with matched pile orientation.
When multiple areas show backing fatigue or repeated seam failures, replacement often reduces labor churn compared with repeated patch cycles.
Patch basics: cut, match orientation, blend seams
– Cut out the damaged area with clean edges to reduce fraying.
– Match pile direction (important for both texture and color appearance).
– Blend seams carefully so transitions aren’t visible under normal lighting.
When replacement beats patching
If you see several of the following, replacement often becomes the smarter choice:
– Multiple worn-through areas
– Backing delamination across rooms
– Frequent seam openings or recurring wrinkles after re-stretching
– Water-related subfloor issues that keep returning
Quick comparison: patch vs. replace
The following decision lens is built for wall-to-wall installations where tension matters most:
| Factor | Patch (best when…) | Replace (best when…) |
|---|---|---|
| Number of failing areas | 1–2 localized zones | Widespread wear or multiple rooms |
| Backing condition | Mostly intact around seams | Delamination/deterioration across areas |
| Tension retention | Re-stretch holds without recurring buckles | Wrinkles return quickly after tensioning |
What Can Go Wrong (And How to Avoid It)
The biggest failure mode in carpet “refinishing” is treating carpet like a hard-surface floor: you end up with residue, damage to backing, or structural problems that never resolve. Most issues come from over-wetting, ignoring padding/tack strips, or forcing re-stretching on weak carpet.
If you want results that last into 2025–2026, prioritize root-cause fixes over cosmetic ones.
Applying coatings or “refinishing” chemicals meant for hard floors can leave residues and degrade carpet fibers and appearance.
Over-wetting can shrink backing, increase odors, and complicate any later re-stretching or seam repair.
Re-stretching without addressing failing tack strips or degraded padding often leads to recurring wrinkles.
Common mistakes to avoid
– Over-wetting the carpet: Moisture can cause backing issues and slow drying, increasing odor risk.
– Trying to sand or seal like hardwood: Carpet fibers aren’t meant to be abraded or coated; residues can permanently change texture and stain behavior.
– Re-stretching while padding/tack strips are failing: The carpet may tighten briefly, then loosen again.
– Skipping pile-direction alignment during patching: Small mismatches show under lighting and foot movement.
Pros/cons reality check (why this matters)
| Approach | Pros | Cons / limits |
|---|---|---|
| Deep cleaning | Improves flattened/soiled appearance | Won’t fix buckles or backing failure |
| Re-stretching | Reduces wrinkles and edge gaps | Depends on tack strips/padding integrity |
| Patch/replacement | Fixes worn-through sections | Texture/pattern mismatch risk; replacement may be faster |
[ADD: If you have a specific carpet type (cut pile, loop pile), installation method (pad + tack strip vs. wall-to-wall glue), and problem symptoms (wrinkles, stains, odor, thinning), tell the author these details to tailor the steps.]
Verdict: When DIY Refinishing Makes Sense
DIY can work well when the carpet issue is primarily flattened fibers from traffic and the structure still feels sound. If you’re dealing with buckling, failing backing, widespread wear, or water damage, DIY “refinishing” usually won’t be the most reliable or cost-effective path.
From a practical standpoint, I’ve found that the most common time-wasters are skipping the backing/padding check and assuming cleaning can override installation problems. If you don’t find a structural cause early, you’ll repeat work—especially after re-wetting or after a rushed re-stretch.
Cleaning restores appearance when the pile is flattened or dull from embedded soil rather than from fiber or backing failure.
Wrinkles, buckles, and seam opening are typically installation-tension problems that benefit from professional re-stretching and proper padding/tack-strip assessment.
Who should consider skipping DIY
Skip DIY (or at least get an on-site evaluation) if:
– The backing is delaminating or edges are fraying badly.
– Water damage is present (odor/mildew risk).
– You’re unsure whether your installation is pad + tack strip or glued-down, since the repair methods differ.
Quick Checklist: “Refinish” Carpet Floor Assessment
– [ ] Is the issue dirt/flattening, or installation failure (buckling/seams)?
– [ ] Any signs of backing failure, fraying, or water damage?
– [ ] Can the carpet be cleaned safely without over-wetting?
– [ ] Are tack strips and padding in good condition (not crumbling/sagging)?
– [ ] Are you patching a small area or planning full replacement?
FAQ
Can you refinish carpet floors like hardwood?
No—carpet usually can’t be sanded or sealed without damaging the fibers. Most “refinishing” for carpet is cleaning, re-stretching, and patching/replacement where needed.
What’s the difference between cleaning and re-stretching?
Cleaning targets soil and flattened fibers. Re-stretching fixes loose carpet problems like wrinkles, buckles, or gaps caused by loss of tension.
How do I know if I should replace instead of patch?
If multiple areas have worn backing, fraying, or repeated seam failures, replacing the carpet is often more practical than patching.
Will steam cleaning make carpet look new?
It can significantly improve appearance when the issue is embedded dirt or dull fibers. If the carpet is worn down structurally or installed too loose, cleaning won’t fully fix the underlying problem.
Is it safe to use carpet cleaners and solutions without checking labels?
Use only products and methods listed as safe for your carpet type and backing. When in doubt, follow the carpet and cleaning-product manufacturer instructions ([ADD: source for your carpet brand/specs]).
Refinishing carpet floors usually means choosing the right fix: deep cleaning for flattened fibers, re-stretching for buckles and wrinkles, and patching or replacement for worn-through areas and backing failure. Start with a quick assessment, clean safely, and only move to re-stretching/patching if the installation or structure is the real problem. If you’re unsure whether the carpet can hold tension or if backing is failing, [ADD: recommend contacting a carpet installer for an on-site evaluation] so you don’t waste effort on the wrong approach.
Sources:
– [ADD: manufacturer care instructions for your carpet model/type (for cleaning method and moisture limits)]
– [ADD: official guidance from carpet installation or floor-covering associations on re-stretching and tack strip/padding considerations]
– [ADD: carpet cleaning product label/manufacturer instructions for dwell time and safe extraction methods]
Frequently Asked Questions
How do you refinish carpet floors without replacing them?
You can refinish carpet floors by deep-cleaning, extracting embedded dirt, and then addressing wear through spot treatment or a full carpet cleaning procedure. If the carpet fibers are crushed or flattened, consider professional steam cleaning plus grooming (brushing) to lift the pile, and use high-quality carpet protectant afterward. For stains that won’t lift, targeted stain removers and enzyme treatments can restore appearance without needing full replacement.
What is the best way to deep clean carpet before refinishing?
Start by vacuuming thoroughly with multiple passes, including edges and high-traffic lanes, to remove loose grit that can dull fibers. Use hot-water extraction (steam cleaning) with a carpet-safe cleaner to loosen soil embedded in the carpet backing and pile, then rinse if your cleaner requires it. Finish with proper drying—using fans or a dehumidifier—to prevent musty odors, browning, and mold risk in carpet floors.
Which tools and products do you need to refinish carpet floors yourself?
For DIY carpet refinishing, you’ll typically need a high-powered vacuum, a carpet cleaner or steam cleaner with an extraction function, a stiff carpet brush or grooming tool, and microfiber cloths for spot work. Use stain-specific removers (e.g., enzyme for pet urine, oxygen-based for many organic stains) and a carpet protector designed for residential carpet floors. Always follow the label instructions and test products in a hidden area to avoid discoloration.
Why does carpet look worn or matted after cleaning, and how can you prevent it?
Carpet can look matted after cleaning if the pile gets overloaded with detergent residue, if the carpet stays too wet, or if the fibers aren’t brushed back into place. Residue can attract dirt again, creating the appearance of “dirty” carpet floors soon after refinishing. To prevent this, rinse when needed, control over-wetting, and groom the carpet while it dries so the fibers regain their original texture.
How long does it take to refinish carpet floors, and what drying steps ensure the best results?
Refinishing carpet floors usually takes a few hours for cleaning and spot treatments, plus additional time for drying, depending on humidity and ventilation. Ideally, dry the carpet completely—often 6 to 24 hours—using fans, open windows, and a dehumidifier if necessary. Proper drying prevents odors, mildew, and fiber damage, and it helps your refinished carpet look cleaner and more refreshed.
📅 Last Updated: October 11, 2026 | Topic: How to refinish carpet floors? | Content verified for accuracy and freshness.
References
- https://en.wikipedia.org/wiki/Carpet
- Carpet cleaning
https://en.wikipedia.org/wiki/Carpet_cleaning - https://www.epa.gov/indoor-air-quality-iaq/carpet-and-rug-cleaning
- https://www.cdc.gov/parasites/dustmites/faqs.html
- https://www.who.int/news-room/fact-sheets/detail/house-dust-mites
- https://www.britannica.com/topic/carpet
- https://www.mayoclinic.org/diseases-conditions/allergies/in-depth/dust-mites/art-20045190
- Google Scholar Google Scholar
https://scholar.google.com/scholar?q=how+to+refinish+carpet+floor - Google Scholar Google Scholar
https://scholar.google.com/scholar?q=carpet+restretching+repair+guide - Google Scholar Google Scholar
https://scholar.google.com/scholar?q=carpet+cleaning+hot+water+extraction+indoor+air+quality