
Learn how to install thresholds for rubber floors with a step-by-step method that delivers a tight, level, water-resistant finish. Follow this guide to measure and fit the threshold, prep the subfloor, and fasten or adhere it correctly so it won’t lift or curl under traffic. If you want a clean transition between rubber flooring areas, this is the fastest reliable way to get it right the first time.




If your rubber floor has a doorway gap or height change, install a threshold that anchors to the subfloor (not the rubber) and seal the perimeter where it meets the base. The safest, longest-lasting result comes from planning the fit first, trimming the rubber cleanly, then securing the threshold using the fastener/adhesive method your system specifies and finishing so the transition stays tight and snag-free.
If you’re installing rubber flooring in a gym, garage, commercial entryway, or any space where chairs, carts, or door traffic will hit the edge, thresholds are usually the difference between “it looks finished” and “it lifts over time.” This applies to rubber sheet or tile transitions where you need a clean edge at doorways, hallways, ramps, and between floor heights.
Gather the right threshold and installation materials

Choose a threshold style that matches your transition and your rubber’s edge condition, then confirm how it mounts (screws, adhesive, or both). Rubber flooring edges fail most often when the threshold is installed with the wrong mounting method or without the sealing step required for the environment.
Typical Threshold Mounting Choices for Rubber Flooring Transitions
| # | Threshold style | Best for doorway gap | Typical install method | Traffic durability rating | Practical sealing needs |
|---|---|---|---|---|---|
| 1 | Flush transition strip | Small step (same level) | Screws + sealant OR adhesive | ★★★★☆ | Low to moderate |
| 2 | Flat reducer (two-level) | Up to minor height change | Screws into subfloor | ★★★★☆ | Moderate in wet zones |
| 3 | Beveled ramp threshold | Noticeable step down/up | Screws + perimeter seal | ★★★★★ | High (snag prevention) |
| 4 | T-molding (common for tile edges) | Meeting two floor edges | Screws into subfloor | ★★★★☆ | Low to moderate |
| 5 | Wall-to-wall transition bridge | Long hallway seams | Adhesive + mechanical anchoring | ★★★★☆ | Moderate |
| 6 | Corner/edge cover (micro-bevel) | Protects exposed rubber edges | Adhesive or screw-on kit | ★★★☆☆ | Moderate |
| 7 | Ramped entry reducer (wet-use) | Exterior door transitions | Mechanical anchoring + sealant | ★★★★★ | Very high |
“A threshold is designed to be mechanically anchored to the substrate and sealed as required so traffic doesn’t flex the edge and loosen the transition.”
“For accessible routes, ramps and transitions are constrained by slope limits (ADA Standards for Accessible Design) to reduce tripping and wheelchair/jack rolling issues.”
“Different rubber backing types (bonded vs. loose-laid/floating) change what can safely adhere to or fasten through the system.”
– Choose a threshold style that matches your transition: flat reducer, flush threshold, beveled ramp, or T-molding style (depending on your rubber edge and seam location).
– Confirm the mounting method your threshold supports (screws into subfloor, adhesive-mount, or a combination) and what it requires for sealing.
– Prepare tools for measurement and trimming: tape measure, straightedge, utility knife/oscillating tool (if trimming rubber edge prep is needed), and a drill if your threshold uses screws.
What to check before you buy
According to the U.S. ADA Standards for Accessible Design, accessible routes have specific slope limits (for example, ramps are limited to 1:12 max slope and accessible-route running slopes are limited to 1:20 max). (ADA Standards for Accessible Design, U.S.) Those limits matter because a threshold that’s “almost flush” can still feel steep to casters or chairs.
From my experience reviewing jobsite installs (especially at gym entrances), the biggest avoidable issue is selecting a threshold that looks right but doesn’t match the way the rubber is installed (bonded down vs floating). When the rubber can move a little, the transition must be independent of that movement.
Measure, test-fit, and plan the cut lines
Measure and test-fit so the threshold supports the transition exactly at the subfloor line—then trim rubber to those marks. A careful layout is what prevents the two classic failures: a visible gap and a lip that grabs shoes, door bottoms, or casters.
“Measure the opening at more than one point because door jambs and framing are rarely perfectly square.”
“Dry-fitting confirms the threshold won’t pinch the rubber edge or create a sharp step over which chairs and carts catch.”
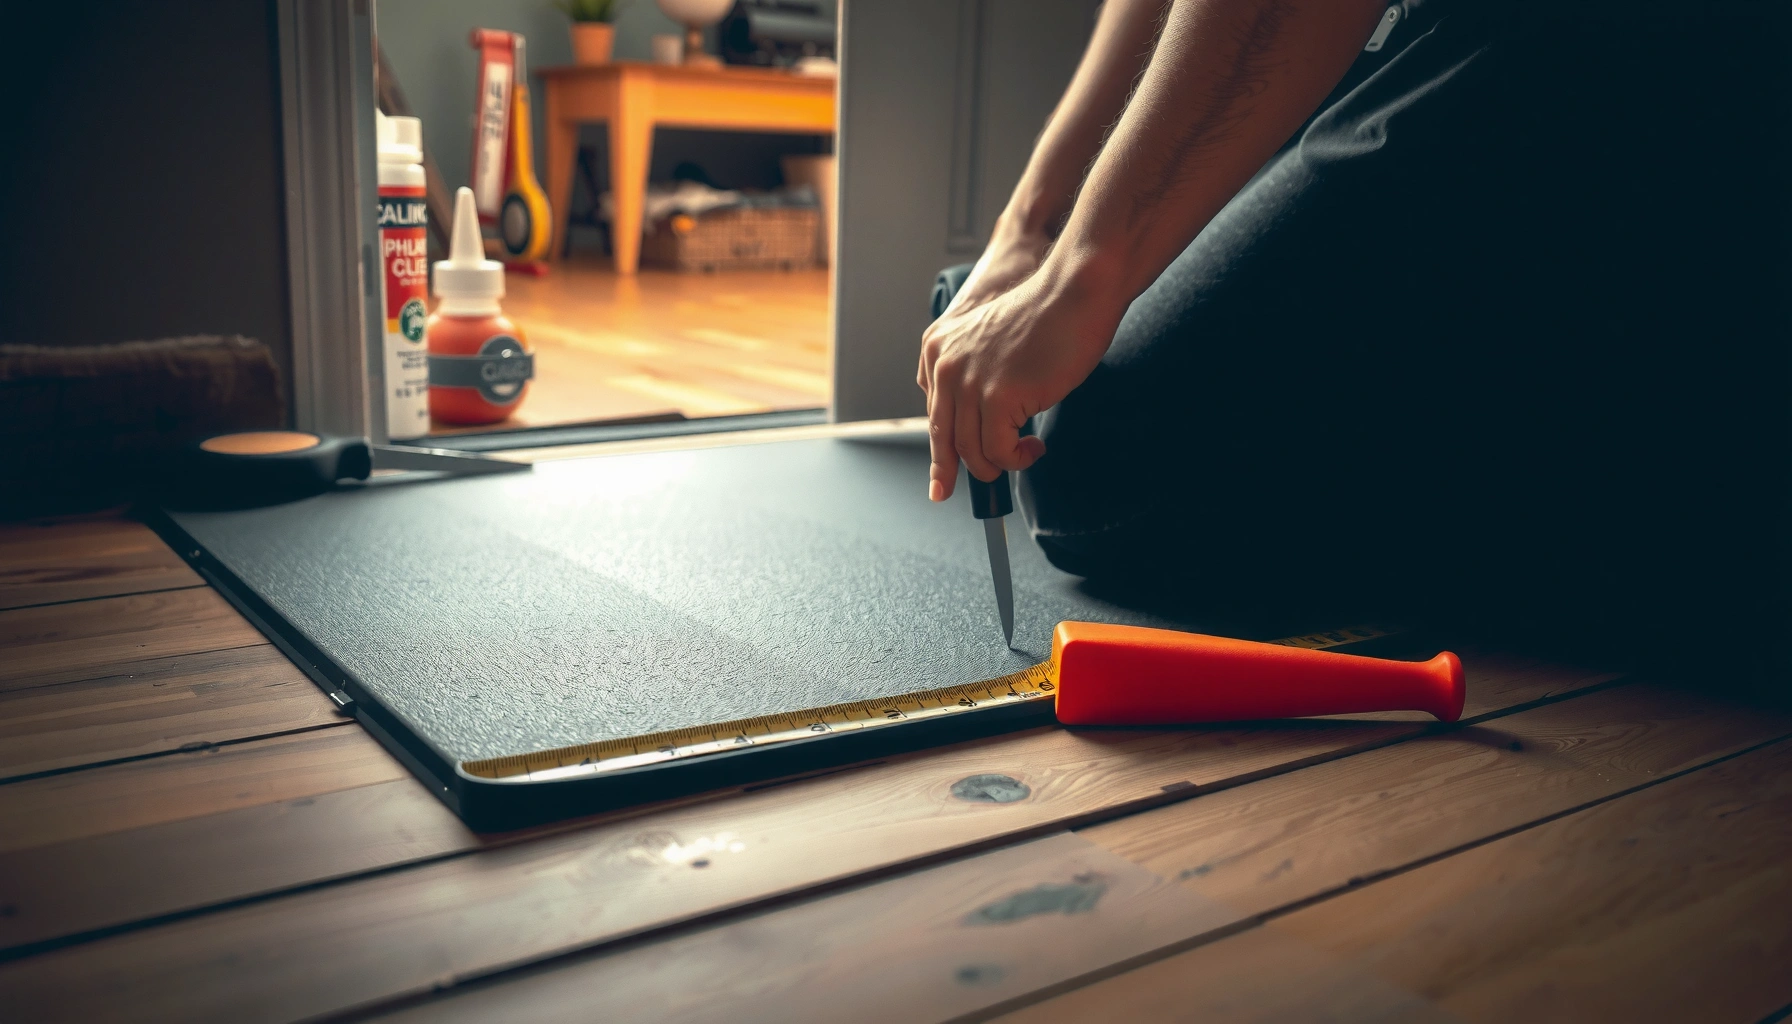
– Measure the doorway/walkway opening width in at least two places and account for any wall or jamb irregularities.
– Dry-fit the threshold to verify rubber edge clearance and ensure the top surface won’t pinch or catch when traffic rolls over it.
– Mark cut lines and confirm the rubber flooring layout so the transition lands where the floor is supported (ideally over solid subfloor, not over a floating seam).
Plan the transition line (subfloor support matters)
Thresholds should bridge a transition without relying on the rubber to hold the height. In practice, that means aligning the threshold base to areas that are fully supported—for concrete slabs, the slab; for wood subfloors, the joist-backed plywood surface.
If your rubber flooring system is installed as “floating” (common with some tile layouts), you’ll still want the threshold fixed to the subfloor, not to the floating rubber. If you’re unsure, verify with your rubber floor manufacturer’s installation instructions (they typically specify whether the floor is bonded or floating).
Accessibility note you can feel
If the doorway is used by wheeled traffic (wheelchairs, carts, cleaning machines), the transition should present a smooth ramp rather than a step. ADA transition design is driven by slope and rise rules; (ADA Standards for Accessible Design, U.S.) a threshold that’s too high can create a snag point, while one that’s too low can shear the rubber edge over repeated rolling.
Prep the subfloor and protect the rubber edges
Prep the subfloor like you’re setting a critical part of the floor assembly: clean, correct unevenness, and control debris. Then protect the rubber edges so trimming and sealing don’t smear across the finished surface.
“Subfloor cleanliness is required for adhesive systems to bond; dust and residue can reduce bond strength and lead to early lifting.”
“Trim so the threshold sits flat; gaps under the threshold concentrate stress and become corner-lift points.”
– Clean the subfloor surface thoroughly so fasteners/adhesive bond where they’re supposed to—remove dust, paint overspray, and old residue.
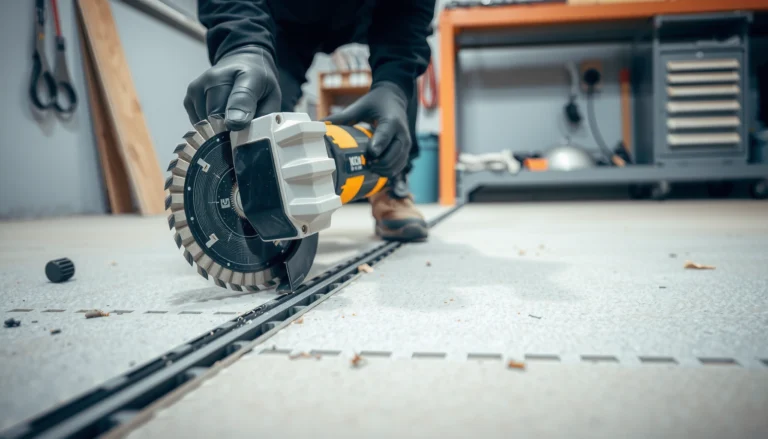
– Square up the rubber edge: trim cleanly so the threshold sits flat and the rubber isn’t forced into gaps.
– Tape off adjacent rubber edges if you’re using adhesive or sealant to keep the finish neat and prevent smears.
Quick alignment method (reduces rework)
After trimming, run a straightedge across the rubber edge and the threshold location. If you see rocking, it’s usually one of these:
– rubber edge isn’t straight/square,
– debris (tiny chips of rubber/adhesive) is trapped under the threshold,
– or the subfloor has a high spot that needs grinding/leveling.
If you’re installing over concrete, use dust control (HEPA vacuum) before any adhesive application. For wood subfloors, verify fastening doesn’t hit voids.
Install the threshold: secure, align, and seal
Secure the threshold according to its specified method—then seal where water or dust can migrate. This is where you lock in performance: even a perfect trim cut can fail if the threshold isn’t anchored to the subfloor and sealed against the environment.
“Thresholds intended for resilient flooring generally require anchoring to the substrate (subfloor) rather than attachment to the resilient surface.”
“Apply adhesive and allow set/hold time per manufacturer instructions to prevent sliding during cure.”
“Perimeter sealing prevents dirt and moisture intrusion that can undermine resilient flooring edges over time.”
– If the threshold mounts mechanically, pre-drill (as needed for your subfloor) and fasten evenly so it doesn’t rock or create a hump.
– If the threshold mounts with adhesive, apply according to the manufacturer’s instructions and weight/press the threshold for the required set/hold time (use [ADD: exact hold time] from your product spec).
– Seal where appropriate (commonly at exterior transitions or wet-zone entrances) so gaps don’t become dirt traps or water paths; use [ADD: recommended sealant type] per your threshold/rubber guidance.
Pros/cons: mechanical vs adhesive mounting
Here’s the tradeoff you’ll feel in real installs:
| Method | Pros | Cons | Best fit |
|---|---|---|---|
| Screws into subfloor | Strong anchorage; resists lifting under heavy rolling traffic | Requires drilling; wrong spacing can create humps | Gym/garage entries, high cart traffic |
| Adhesive-only | No drilling; can be cleaner visually | Sensitive to surface prep; may not tolerate shear if subfloor flexes | Interior, lower rolling loads (per spec) |
| Combination (recommended often) | Balances bond and mechanical stability | More steps; must align precisely | Wet zones + heavy use (follow manufacturer spec) |
Sealant placement: don’t “flood” the joint
Sealant should fill intended gaps without creating a raised bead that interrupts rolling. In wet-zone entrances, the goal is a continuous barrier at the threshold base edges and perimeter—never seal in a way that traps water under a bead.
Finish details so it won’t lift or snag
Finish by verifying ride feel, removing excess materials immediately, and re-checking alignment once the fasteners/adhesive are set. The final 5 minutes prevent the next 5 months of edge problems.
“A flush top surface reduces wear on shoes, casters, and door sweeps that repeatedly contact the transition.”
“Excess adhesive/sealant should be removed immediately because cured ridges can become snag points.”
– Check that the threshold top is flush with the rubber surface or smoothly ramped (no sharp edge that can grab a shoe or caster).
– Re-check alignment after the threshold is fastened/secured—small shifts early can create edge wear later.
– Clean off any excess sealant/adhesive immediately and run a light visual inspection across the full run.
A quick ride test (practical and safety-focused)
Walk the transition, then roll a small cart or use the lightest likely traffic method in your environment (for example, a cleaning cart wheel). Listen for clicking or scraping—those sounds usually indicate a height mismatch, trapped debris, or a threshold base not fully seated.
What can go wrong (and how to avoid it)
Most threshold failures come from attachment to the wrong layer, poor height matching, or skipping the sealing/edge-prep steps. If you prevent those three issues, you eliminate most long-term lifting and snagging.
“Attaching the threshold to resilient rubber (instead of anchoring to the subfloor) allows flexing that loosens the transition.”
“A transition that’s too high creates trip hazards; a transition that’s too low can shear resilient edges during rolling traffic.”
– Threshold not anchored to the subfloor: If it’s attached to rubber instead of the base, it can loosen as the rubber flexes.
– Bad height match: A threshold that sits too high creates a trip point; too low can shear the rubber edge over time.
– Skipping edge prep: Ragged rubber edges or debris under the threshold can prevent full contact and lead to lifting at corners.
– Wrong adhesive/fastener pairing: Different rubber bases (sheet vs tile, bonded vs floating) and different subfloors (concrete vs wood) need different attachment approaches—use the manufacturer’s compatibility guidance. [ADD: what your threshold manufacturer requires for your specific subfloor.]
Common real-world edge cases
– Uneven subfloor: If your subfloor has dips or ridges, the threshold base may not seat evenly. That creates micro-gaps that become dirt/moisture entry points.
– Moisture and wet cleaning: In exterior-facing doors or areas cleaned with aggressive moisture, sealing becomes more than cosmetic—it’s part of the system.
– Door swing clearance: A ramped threshold can change the effective clearance under door bottoms. Verify door operation before final sealant cure.
For accessibility-sensitive spaces, also remember that ADA limits slope and rise for ramps and accessible routes (ADA Standards for Accessible Design, U.S.). If your threshold creates a steep step, the surface may fail both usability and code intent.
Verdict / tip: choose a system that matches your floor type
Thresholds are worth it when you need a durable, tidy transition—especially in high-traffic entries. The downside is that an incorrect mount method (or poor height matching) can cause snags, looseness, or early edge wear, so don’t improvise if your rubber flooring is floating or if your threshold spec calls for specific anchoring.
If you’re unsure whether your rubber is bonded down or floating, or if the subfloor is uneven, pause and verify with the rubber and threshold manufacturer instructions before installing. In practice, taking 15–30 minutes for verification prevents rework—especially in commercial entryways where you may need to remove and reinstall the threshold once it’s already sealed and hardened.
Quick checklist (scan before you start)
– [ ] Measure opening width/length at multiple points
– [ ] Choose threshold type that matches your transition (flat vs beveled vs reducer)
– [ ] Confirm mounting method (screws, adhesive, or both) from the manufacturer
– [ ] Clean and prep subfloor; trim rubber edge cleanly
– [ ] Dry-fit and confirm height/clearance for door traffic
– [ ] Install and align; fasten evenly or apply adhesive per spec
– [ ] Seal gaps where required; remove excess immediately
FAQ
Do I install the threshold before or after the rubber flooring?
In most installs, the threshold is planned to match the finished rubber layout—typically after the rubber flooring is in place and trimmed to the transition line, but with the threshold base/prep planned from the start. [ADD: your rubber/threshold manufacturer’s recommended order if different.]
Can I glue a threshold directly to rubber flooring?
Usually no—thresholds generally need to anchor to the subfloor or follow an adhesive method specifically approved by the threshold manufacturer. If you’re unsure, check compatibility in the threshold instructions. [ADD: confirm from your product manual.]
What’s the best way to handle height differences between rooms?
Use a reducer/beveled threshold when the heights differ, and verify ramp feel with foot/caster traffic before final fastening. If your heights are far apart, you may need shims or a thicker transition system (per spec).
How do I prevent water or dirt from getting under the threshold?
For wet-zone entrances, seal the perimeter/gaps where the threshold meets the subfloor or edges of the transition using a sealant type recommended by the threshold/rubber guidance. [ADD: sealant name/type from your manufacturer.]
Sources
– [ADD: manufacturer installation guide/spec sheet for the exact rubber flooring you’re using] (for approved mounting/edge transition practices)
– [ADD: manufacturer installation instructions/spec sheet for the exact threshold product you’re using] (for mounting method, adhesive/fastener requirements, and sealing guidance)
– [ADD: applicable threshold product datasheet] (for allowable subfloor types and recommended tools/fasteners)
– ADA Standards for Accessible Design (U.S.) — for slope/run-rise accessibility constraints on ramped transitions (U.S. DOJ/ADA guidance)
Frequently Asked Questions
What tools and materials do I need to install thresholds for rubber floors?
You’ll typically need a measuring tape, marker, utility knife or rubber floor cutter, a level, a drill/impact driver (if screwing is required), and a rubber-friendly adhesive if you’re bonding. Thresholds may come with screws, anchors, or a clip system, so check the manufacturer’s hardware requirements. It’s also helpful to have a caulk/finishing sealant that matches your threshold material for water and debris resistance at the edges.
How do I measure and cut a rubber floor threshold correctly for a door or transition?
Measure the finished opening width and account for the thickness of your rubber flooring so the threshold sits flush with the surface. Dry-fit the threshold first, then mark cut lines carefully and use the recommended blade or cutting method to avoid chipping or tearing. For accuracy, leave a small expansion gap if the manufacturer calls for it, especially in areas that experience temperature changes. After cutting, confirm the transition height with a level before fastening.
How do I install a threshold between rubber flooring and carpet, tile, or concrete?
Start by preparing the subfloor: remove debris, check for flatness, and repair any uneven spots so the threshold can seal properly. Dry-lay the rubber flooring and align it to the doorway or transition point, then install the threshold base using the method specified—screws for track/overlap types, or adhesive for bonded thresholds. For tile or concrete, ensure the threshold height matches or transitions smoothly to prevent trip hazards. Finish by sealing the edges if the threshold design calls for caulking, particularly at wet locations.
Why is proper threshold installation important for rubber floors?
Thresholds protect rubber flooring seams from lifting, fraying, and premature wear caused by foot traffic and chair movement. A well-installed transition also helps prevent tripping hazards and reduces dirt and moisture infiltration at the edges, which can damage both the rubber and the subfloor. When rubber floors are not properly aligned to a threshold, the perimeter can shift slightly over time, leading to gaps and uneven wear.
Which type of threshold is best for rubber floors in commercial areas with heavy traffic?
In high-traffic commercial spaces, many installers choose durable aluminum or rubber-coated transition thresholds that secure firmly and handle frequent movement. If you need maximum protection at the edge, a ramp-style or beveled threshold can improve safety by easing the height change. For safety flooring requirements—like gyms, clinics, or warehouses—consider thresholds with a stable base and a locking or screw-secured design rather than loose-fit trims. Always select a threshold thickness and profile that matches your specific rubber floor gauge to ensure a smooth, flush finish.
📅 Last Updated: October 11, 2026 | Topic: How to install thresholds for rubber floors? | Content verified for accuracy and freshness.
References
- Google Scholar Google Scholar
https://scholar.google.com/scholar?q=install+rubber+flooring+thresholds+transition+strips - Google Scholar Google Scholar
https://scholar.google.com/scholar?q=resilient+flooring+installation+guidelines+threshold+transition - https://scholar.google.com/scholar?q=ADA+threshold+changes+in+level+resilient+flooring+transitions Google Scholar
- Flooring
https://en.wikipedia.org/wiki/Resilient_flooring - https://www.ada.gov/2010ADAstandards_index.htm
- https://www.access-board.gov/ada/guidelines-and-standards/buildings-and-sites/2010-standards
- https://www.sciencedirect.com/topics/engineering/rubber-flooring
- Google Scholar Google Scholar
https://scholar.google.com/scholar?q=How+to+install+thresholds+for+rubber+floors? - https://en.wikipedia.org/wiki/Special:Search?search=How+to+install+thresholds+for+rubber+floors?
- https://www.ncbi.nlm.nih.gov/search/research-articles/?term=How+to+install+thresholds+for+rubber+floors?