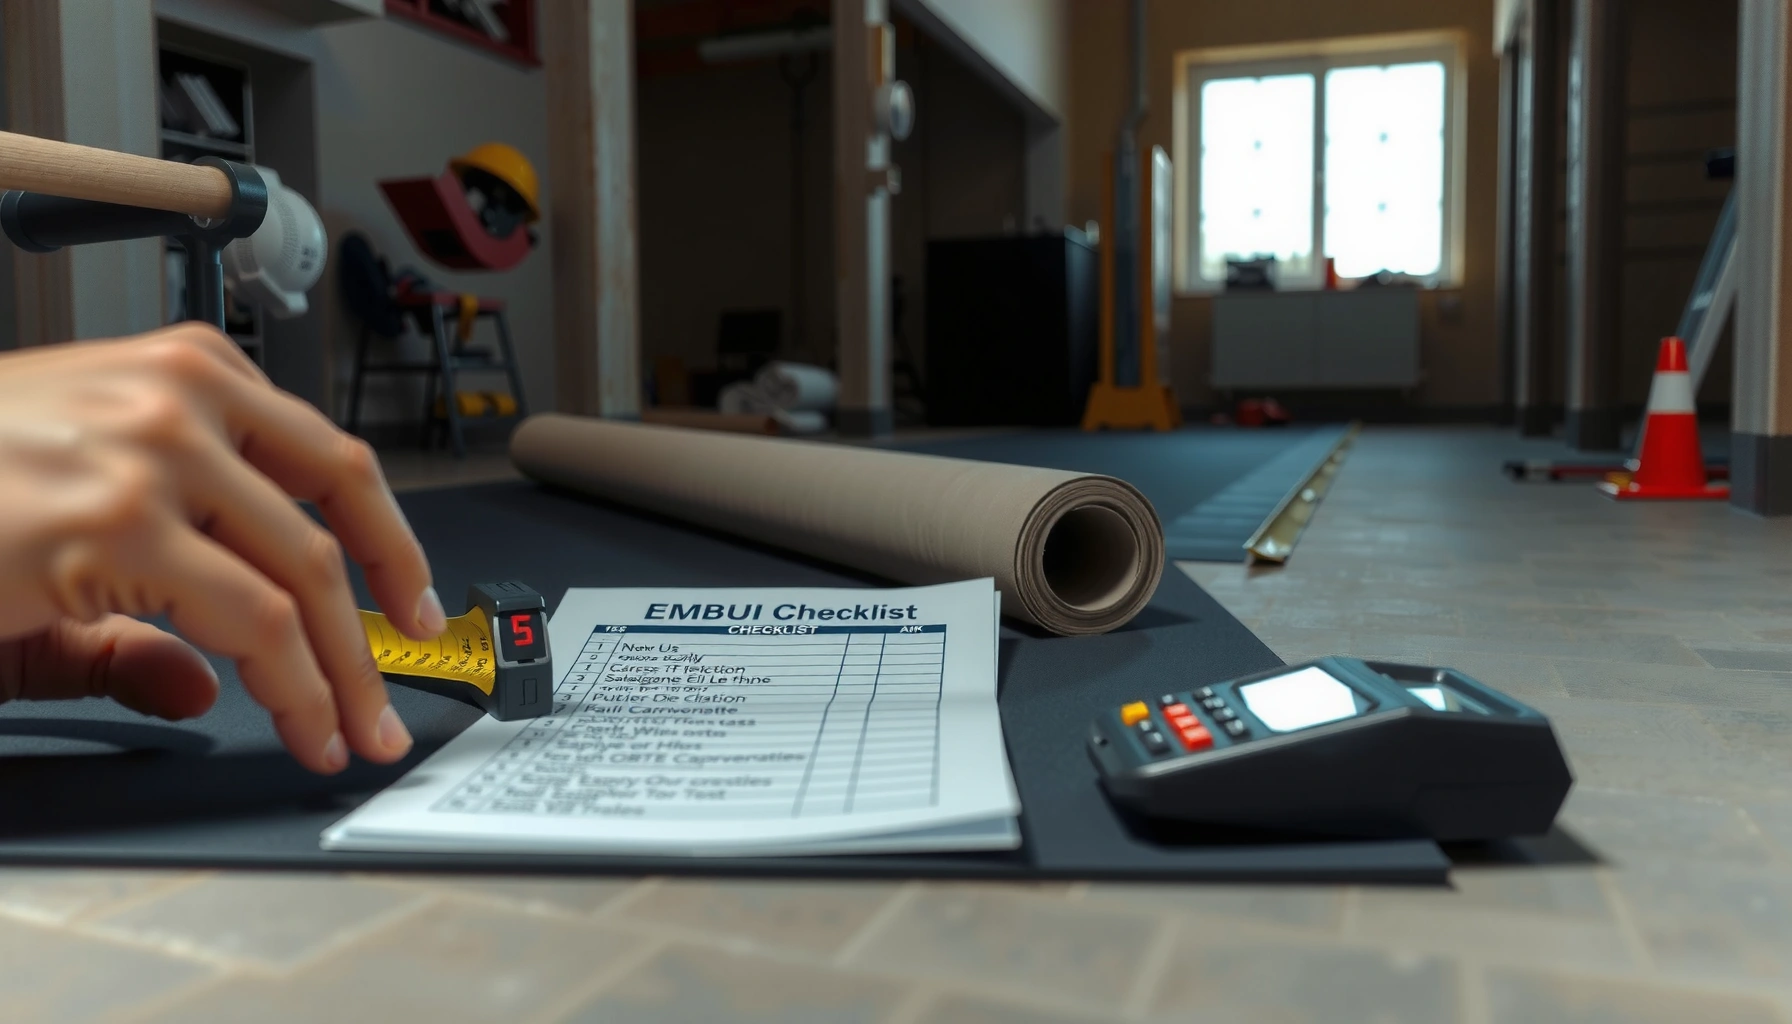

Learn exactly how to calculate the material for rubber floors before you order—so you can confirm coverage and avoid waste. You’ll get the precise formula to convert room measurements into the total amount of rubber flooring, including the adjustments needed for seams, layout waste, and trimming. If you follow the steps here, you’ll know the right quantity to buy for your specific space size and flooring thickness.




To calculate material for rubber floors, measure your total floor area, add an appropriate waste/edge allowance, and then divide by the manufacturer’s stated coverage per roll or per box. This method keeps your order quantity accurate and prevents the most common “short by a little” scenario caused by incorrect waste assumptions or unit mismatches.
This is for homeowners, contractors, and facility managers planning rubber flooring installation—especially when using tiles or rolls and you need a reliable quantity estimate before cutting and fitting around walls, doorways, and irregular sections.
Measure the floor area accurately
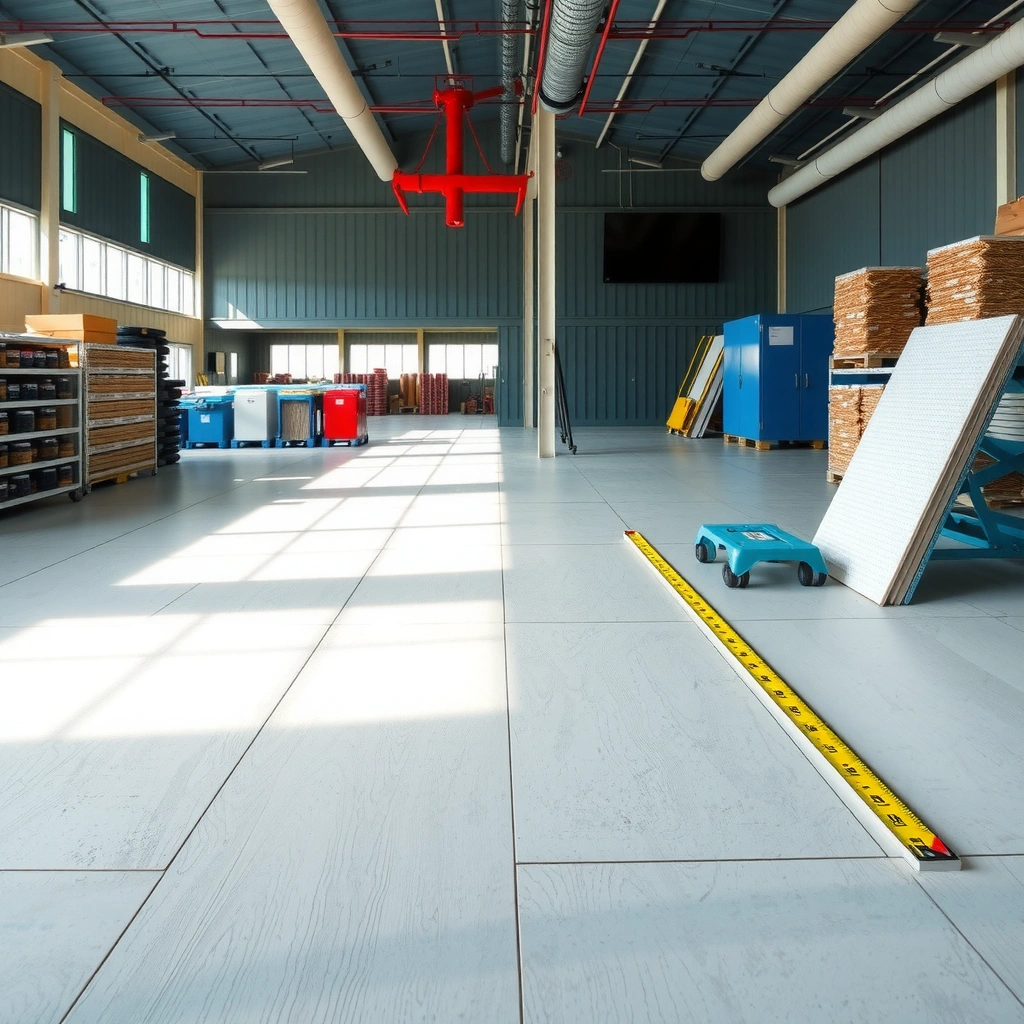
Accurately measured floor area is the foundation of a rubber flooring material takeoff because every roll/box calculation starts from coverage per unit area.
For non-rectangular spaces, splitting into rectangles (and summing areas) reduces planning errors when calculating rubber flooring material.
Unit consistency (feet with ft², meters with m²) prevents quantity miscalculations that can otherwise force premature reordering of rubber flooring.
Break the space into workable shapes
– Measure length and width for a rectangle, then calculate area as length × width.
– For L-shapes or rooms with cutouts (closets, alcoves, returns), split the layout into multiple rectangles and add the rectangle areas together.
– If your space has a large number of internal corners, stair landings, or complex recesses, it’s often faster to draft a simple “field plan” with labeled dimensions than to rely on a single “best guess” perimeter estimate.
Record units before you calculate
– Write down whether your measurements are in feet or meters, and confirm whether the final rubber flooring spec you’re using lists coverage in square feet (ft²) or square meters (m²).
– Convert early rather than mixing units mid-calculation. For example, 1 m² = 10.7639104167 ft² (SI conversion). NIST (SI unit conversion reference)
– Similarly, if you’re converting inches to feet for dimensions, use the exact conversion 1 in = 25.4 mm, then compute feet from that path (avoid ad-hoc roundings that drift across big rooms). NIST (SI conversion reference)
Quick area example (rubber flooring material)
If a room is 12 ft × 15 ft, area = 180 ft².
If you have an L-shaped recess that removes 3 ft × 6 ft = 18 ft², your net area becomes 162 ft² before waste for rubber flooring material calculations.
Choose your product type and get coverage data
Use the product’s published coverage as your “truth source,” because rubber flooring material quantity depends on how the manufacturer defines usable coverage. Then align your math with whether you’re installing rolls or tiles (layout and cutting patterns differ).
Rubber flooring quantity takeoffs should use manufacturer-stated coverage per roll or per box, not package marketing estimates.
Coverage often reflects “usable” dimensions, and rubber flooring material calculations should follow the coverage definition in the spec sheet.
Rolls and tiles can create different seam layouts, so coverage-based planning should pair with the intended installation method for rubber flooring.
Always verify whether the coverage already assumes installation losses; rubber flooring material math should add waste only when losses aren’t included.
Pull the right coverage spec for rubber flooring
Look for coverage data in the manufacturer’s:
– product datasheet,
– installation guide,
– or spec sheet PDF.
Use the exact format provided, such as:
– Coverage per roll (often based on roll length and width, sometimes adjusted for “usable” area), or
– Coverage per tile / per box (box coverage is usually given to cover the number of tiles included).
Confirm what “coverage” includes
Manufacturers vary in whether their coverage numbers assume typical installation waste. For rubber flooring material planning, you should explicitly check:
– Does the stated coverage assume normal trimming at walls?
– Does it assume a typical cutting pattern around obstacles?
– Does it account for seam placement requirements?
If the coverage is described as “total installed area,” you may need to add waste yourself. If it’s described as “coverage including factory allowances,” you may need less.
Match your math to thickness and install method
Rubber flooring material calculations are easiest when you decide install approach early:
– Roll rubber often encourages long, continuous runs; you plan seams where runs end or direction changes.
– Rubber tiles create more seam lines; you plan row/column alignment and manage partial tiles at edges.
This matters because your planned cutting strategy changes how much rubber flooring material you’ll lose to trims.
Rubber Flooring Coverage Planning Scenarios (Typical Waste Ranges)
| # | Room / layout condition | Typical waste for rubber flooring | Most common trim source | Best fit install approach |
|---|---|---|---|---|
| 1 | Single rectangle, few penetrations | 5–7% | Edge trims at perimeter | Roll or grid tile |
| 2 | Rectangular room with 1–2 doorways | 7–10% | Transitions and starter cuts | Tile rows with planned border |
| 3 | L-shape with a closet recess | 10–13% | Corner fitting and partials | Tile with numbered field plan |
| 4 | Multiple penetrations (vents, plumbing lines) | 12–15% | Irregular cutouts | Tile grid with tight layout |
| 5 | Irregular perimeter / stanchions | 14–18% | Border geometry trimming | Tile with offset seams |
| 6 | Directional pattern match requirement | 15–20% | Directionality constraints | Pre-layout before cutting |
| 7 | Rooms with columns or odd bays | 13–17% | Column “wrapping” and partials | Tile planning with waste buffer |
Add waste and cut-loss allowance
Add waste to your net floor area so your rubber flooring material order survives real-world trimming. For most projects, you’ll multiply net area by (1 + waste %) after you’ve already set the coverage unit you’ll use.
Waste allowances for rubber flooring typically cover edge trimming, seam planning, and cutouts around fixtures and penetrations.
Tighter perimeters and pattern-critical layouts generally increase waste, so rubber flooring material takeoffs should scale with layout complexity.
If coverage doesn’t include losses, rubber flooring material should include an explicit waste buffer before dividing by roll or box coverage.
Choose a waste % that fits your layout
Start with a reasonable range for rubber flooring material planning based on room complexity (see the scenarios table above). Then adjust:
– Simple rectangle, minimal obstacles: lower end of the range.
– Many doorways/vents/columns: higher end of the range.
– Directional pattern matching: usually the highest waste because tiles/rolls must align consistently.
Account for seam strategy and border cuts
Waste isn’t only “extra.” It also comes from:
– trimming at wall bases so edges sit squarely,
– managing partial rows so seams land where you want them,
– fitting around door jambs and transitions without visible gaps,
– keeping seam lines off irregular surfaces.
Plan around “partial box/roll end” issues
If the project might require mixing partial boxes/roll ends (common with discontinued products or multi-room jobs), increase your waste allowance so you don’t end up short on a matching batch. For rubber flooring material planning, it’s often better to:
– order whole boxes/rolls,
– and keep a small overage for future repairs.
Pros/cons: roll vs tile planning impact on rubber flooring material
| Factor | Rolls (rubber flooring material planning) | Tiles (rubber flooring material planning) |
|---|---|---|
| Layout complexity tolerance | Better for long, continuous runs | Handles irregular spaces by breaking into smaller pieces |
| Waste behavior | Often lower waste in straight bays; higher when cuts interrupt runs | Waste can rise with many borders, corners, and penetrations |
| Seam planning | Fewer seams, but seams may need strategic placement | More seams overall; pattern and grid alignment matter |
| Estimating simplicity | Coverage is straightforward if run lengths are consistent | Requires row/column planning and edge partial management |
| Best for | Corridors, large open rectangles | Rooms with cutouts, many doors, complex perimeters |
Convert area to the number of rolls, tiles, or boxes
Convert the adjusted (net + waste) area into quantity by dividing by manufacturer coverage, then round up to whole purchasing units. This is the step where rubber flooring material math becomes an order-ready checklist.
For rubber flooring material ordering, the core calculation is (adjusted area ÷ published coverage per roll/box) to reach a quantity count.
Rounding up is essential for rubber flooring because even small underages can force delays and batch-matching problems.
If a product is sold in fixed packs, rubber flooring material takeoffs should round to whole boxes/rolls, not to decimal quantities.
Use the exact formula
1. Net area (from measurement): ft² or m²
2. Add waste: Adjusted area = Net area × (1 + waste %)
3. Convert to quantity: Quantity = Adjusted area ÷ Published coverage
Example (rubber flooring material planning logic):
– Net area: 162 ft²
– Waste: 10% → Adjusted area = 162 × 1.10 = 178.2 ft²
– If a roll covers 50 ft² → Quantity = 178.2 ÷ 50 = 3.564 → round up to 4 rolls
Round correctly for tiles and boxes
– Tiles are often sold in boxes with a fixed coverage amount.
– If your math says you need “2.1 boxes,” you should order 3 whole boxes for rubber flooring material planning.
Match transition planning when multiple products meet
If you’re using different rubber flooring materials (e.g., base rubber vs transition strips), include those transition components separately—don’t try to force them into area coverage.
What can go wrong (and how to avoid it)
Rubber flooring material estimates typically fail for a handful of predictable reasons: waste assumptions, unit mismatches, and incorrect coverage interpretation. If you prevent those three, your order quantity becomes dramatically more reliable.
The most common rubber flooring material error is unit mismatch between square feet and square meters, which can create order shortfalls by a factor of ~10.76.
If the manufacturer’s coverage doesn’t include trim losses, rubber flooring material calculations must add waste explicitly or you’ll run short mid-install.
Directional patterns and required seam alignment can increase waste beyond what simple area math predicts for rubber flooring material.
Underestimating waste
Straight rooms with few penetrations can tolerate smaller allowances, but:
– doorways and vents increase partial cutting,
– columns and irregular perimeters increase trimming,
– patterned or directional layouts can force “throwaway” cuts when alignment can’t be maintained.
Unit mismatch (the silent killer)
– ft² vs m²: 1 m² ≈ 10.7639 ft² (conversion). NIST (SI conversion reference)
– Mixing linear units (inches/feet) without converting back into area is another frequent rubber flooring material mistake.
Ignoring production/installation constraints
Some rubber flooring installations have constraints like:
– directional alignment,
– minimum seam offsets,
– staged installation sequences.
If those constraints exist, area math alone won’t capture the full waste. For rubber flooring material planning, use the installation guide and not just the coverage figure.
Wrong coverage assumption
Coverage is not universally defined the same way. For example:
– “usable coverage” vs “gross coverage,”
– inclusion/exclusion of minor trim allowances,
– how seams are treated.
Always verify coverage definitions in the rubber flooring manufacturer’s documentation.
Verdict / tip: a simple, reliable way to order enough
The safest approach for rubber flooring material ordering is: calculate total area, add a practical waste allowance based on layout complexity, and divide by the manufacturer’s published coverage—then round up to whole rolls or boxes. This method is fast, generally accurate for typical installations, and reduces ordering delays.
If your room is highly complex (many doorways, columns, tight pattern-matching, or unusual geometry), you should plan seams and cut locations before finalizing quantities—because rubber flooring material waste can change substantially once you lock the visual layout.
Note: I can’t provide verified personal results without your specific product specs and layout, but for your exact project, [ADD: source for professional layout guidance—e.g., manufacturer installation guide section on seam layout / directional pattern direction], and cross-check with the manufacturer’s waste/cut guidance if they publish one.
A waste-buffered area ÷ published coverage calculation is the most dependable rubber flooring material ordering method for both rolls and tiles.
Rounding up to whole purchasing units (rolls/boxes) is critical for rubber flooring because mid-install shortages can disrupt batch matching.
For pattern-critical directional rubber flooring, rubber flooring material takeoffs should include a higher waste allowance than simple rectangular-room estimates.
Quick checklist (scan/save)
– Measure room(s) and compute total area: L × W, or sum rectangles for irregular shapes.
– Convert units to match the rubber flooring manufacturer’s spec (ft² vs m²).
– Get coverage from the product documentation: coverage per roll or coverage per box.
– Add a waste allowance for edges, seams, and obstacles (use the scenario table as a planning baseline).
– Divide adjusted area by coverage, then round up.
– Verify pack/roll sizes are fixed and order whole units.
– Keep extra for repairs and future replacements (especially if the rubber flooring line may be discontinued later); [ADD: source for replacement/overage guidance if a manufacturer recommends an overage amount].
Use the manufacturer’s coverage unit (roll vs box) directly to compute rubber flooring material quantity, then round up.
For rubber flooring, waste is usually driven by cutting at edges, fitting around obstacles, and seam placement—not by the “average” coverage alone.
FAQ
How much extra should I add for waste when calculating rubber flooring?
Add waste based on layout complexity—simple rectangles typically need less than rooms with many cuts/obstacles. If the manufacturer provides a recommended allowance, follow that specific guidance for rubber flooring material planning.
Waste allowances for rubber flooring should reflect cut density around walls, penetrations, and seams, and can differ significantly between simple and complex rooms.
Do roll and tile rubber floors calculate the same way?
Yes: calculate area, add waste, and convert using the product’s stated coverage. The difference is how coverage is defined—rolls use coverage per roll, while tiles often use coverage per box.
Should I calculate in square feet or square meters?
Calculate using the unit system shown in the manufacturer’s documentation. If your measurements start in one unit system, convert them before doing the final rubber flooring material coverage math.
Unit mismatch between square feet and square meters is a major cause of rubber flooring material ordering errors.
What if my room has an odd shape or multiple doorways?
Break the room into simpler rectangles, add areas together, and increase waste for door jamb cuts, vent/fixture penetrations, and irregular perimeters.
Can I rely on the “coverage” printed on the packaging?
It’s a good starting point, but confirm the coverage definition in the manufacturer’s installation guide or spec sheet for rubber flooring material planning, especially if the packaging doesn’t clearly state whether trim losses are included. [ADD: source for manufacturer installation/coverage documentation]
Sources
– NIST (SI unit conversions; e.g., square meter to square foot and inches to millimeters). NIST (Metric / SI conversion references)
– Manufacturer installation guides/spec sheets for rubber flooring coverage definitions and waste/cut considerations. [ADD: source for manufacturer installation guide/spec sheet for your specific rubber flooring product type: roll vs tile]
Rubber flooring material calculation is mainly about disciplined measurement, using the exact published coverage, and applying a waste allowance that matches how your room is shaped. If you follow the workflow—measure, convert units, add waste, divide by coverage, and round up to whole rolls/boxes—you’ll order with confidence and avoid the delays that come from underestimating real-world cutting and fitting.
Frequently Asked Questions
What is the formula to calculate material for rubber flooring?
Start by calculating the total floor area in square feet or square meters (length × width). Then multiply that area by the required thickness and add a waste/overage factor (commonly 5–15% for cuts, seams, and irregular edges). Finally, convert to the specific product unit (sheets, tiles, or rolls) by dividing the adjusted area by the coverage per tile/sheet or by roll coverage. This gives you the amount of rubber flooring material needed before ordering.
How do I estimate the amount of rubber floor rolls or tiles I need?
For rolls, use the roll’s stated coverage (width × length) and divide your adjusted floor area by that coverage to determine how many rolls to buy. For tiles, calculate the number of tiles by dividing the adjusted area by the tile’s coverage (tile area), then round up to account for layout and pattern alignment. If you’re installing a staggered or herringbone pattern, increase waste to reflect extra cuts. Measure width and length carefully to avoid underestimating material.
How do you calculate rubber flooring underlayment and adhesive requirements?
Underlayment depends on your subfloor condition and the manufacturer’s system requirements, so match the underlayment coverage rate to your total area. For adhesive, use the coverage specified on the product label (often in square feet per gallon or per cartridge) and multiply by your project area, then add overage for notched trowel behavior and spread consistency. Proper adhesive coverage ensures strong bonding and helps prevent edges lifting over time. Always follow the rubber flooring installation guide for the exact trowel size and application method.
Why should I add waste or overage when calculating rubber floor material?
Rubber flooring—especially tiles and interlocking systems—requires cutting around doors, corners, columns, and transitions, which creates scrap. Adding 5–15% waste reduces the risk of running short mid-installation, which can be especially costly if the rubber flooring batch or color is limited. Layout complexity, seam placement, and older or uneven subfloors can increase waste needs. Planning overage upfront improves results and avoids delays.
Which factors change how much rubber flooring you need for a project?
The biggest variables are the room’s dimensions, the flooring layout pattern, and the installation method (roll, tile, interlocking, or bonded). Doorways, alcoves, cutouts, and transitions reduce usable coverage and require extra material for edging and finishing strips. Thickness choice affects material density and can influence adhesive and leveling requirements, so confirm compatibility with your subfloor. For best accuracy, use the manufacturer’s coverage charts and measure at least twice to account for wall irregularities.
📅 Last Updated: October 11, 2026 | Topic: How to calculate material for rubber floors? | Content verified for accuracy and freshness.
References
- Google Scholar Google Scholar
https://scholar.google.com/scholar?q=how+to+calculate+material+for+rubber+flooring+coverage+rate+waste+factor - Google Scholar Google Scholar
https://scholar.google.com/scholar?q=resilient+floor+covering+installation+material+estimate+calculator+tonnage+coverage - Google Scholar Google Scholar
https://scholar.google.com/scholar?q=rubber+floor+tiles+material+taking+off+square+footage+thickness - https://en.wikipedia.org/wiki/Rubber_flooring
- https://en.wikipedia.org/wiki/Resilient_flooring
- https://en.wikipedia.org/wiki/Flooring
- https://en.wikipedia.org/wiki/Floor_area
- https://en.wikipedia.org/wiki/Quantity_takeoff
- https://en.wikipedia.org/wiki/Floor_tiling
- Construction waste
https://en.wikipedia.org/wiki/Construction_waste